

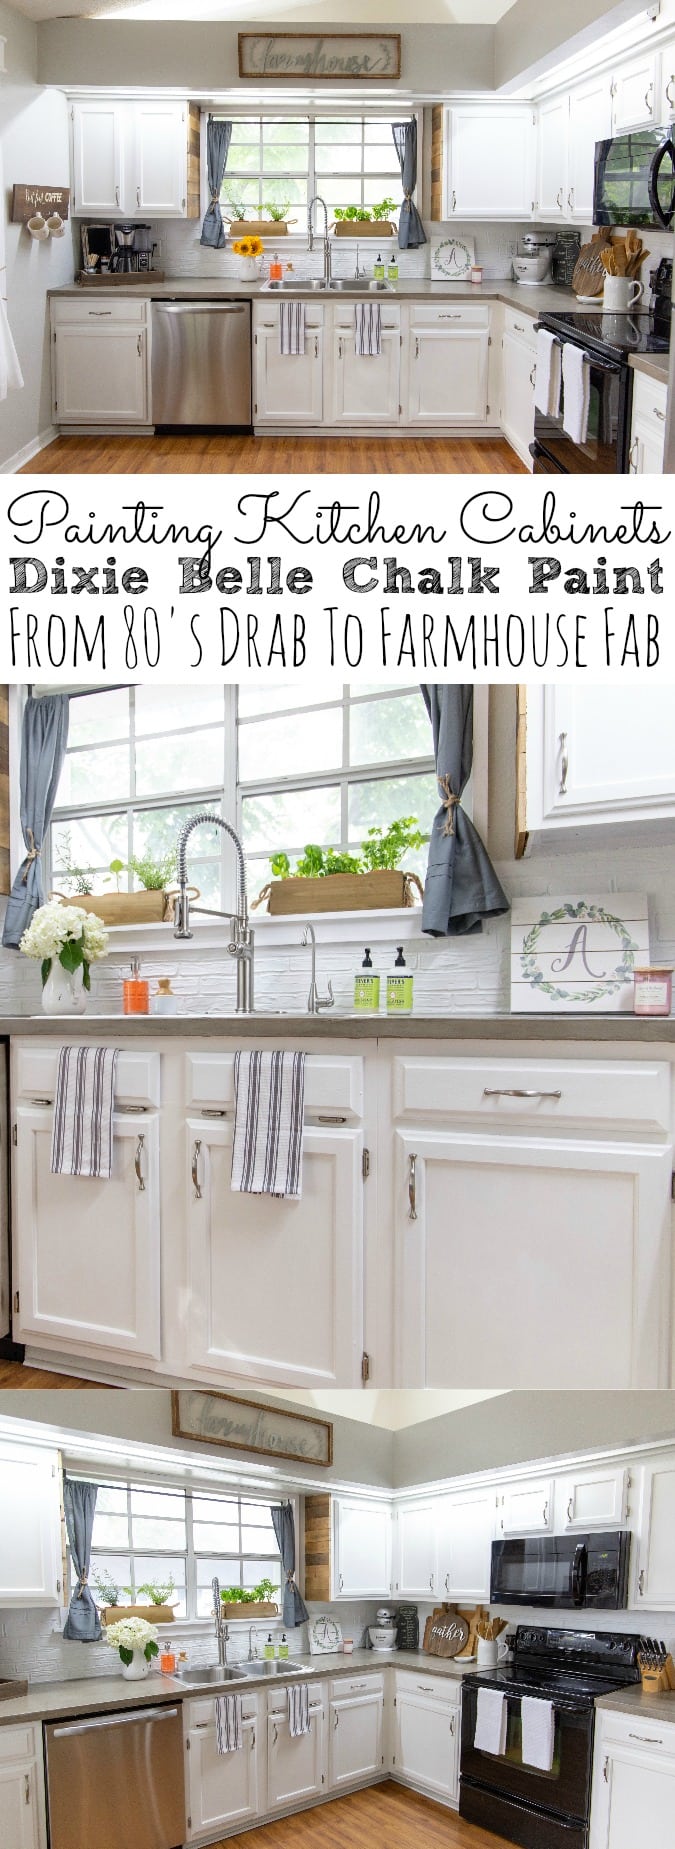
Your kitchen cabinets look tired, but replacing them costs thousands. You’ve seen stunning chalk-painted cabinet makeovers online and wonder: Can I really achieve that smooth, matte finish without professional skills? Absolutely – and you’ll save $3,000+ compared to cabinet replacement. Chalk paint’s magic lies in its exceptional adhesion and forgiving application, making it perfect for DIY cabinet transformations. Unlike traditional paints requiring heavy sanding and priming, chalk paint bonds directly to wood surfaces while creating that coveted vintage-meets-modern look. In this guide, you’ll learn the exact process I’ve used to transform over 200 kitchen cabinets, including critical prep steps most tutorials skip and the sealing technique that prevents sticky fingerprints in high-traffic kitchens.
Why Chalk Paint Beats Traditional Paint for Cabinet Projects
Kitchen cabinets endure constant use, grease splatters, and humidity – conditions that destroy poorly applied paint. Chalk paint’s mineral composition creates microscopic hooks that grip cabinet surfaces without aggressive sanding. Its ultra-matte finish hides minor imperfections in older cabinets while resisting yellowing over time. Most importantly, properly sealed chalk paint withstands daily wear better than enamel paints because it moves with wood expansion/contraction rather than cracking. Skip this section and you’ll likely face peeling edges within six months, especially on oak cabinets with prominent grain.
How Chalk Paint Handles Problematic Cabinet Surfaces
- Laminate cabinets: Bonds without deglossing when using 220-grit sanding
- Glossy finishes: Requires only light scuffing versus complete stripping
- Pine cabinets: Prevents tannin bleed-through without oil-based primer
- Raised-panel doors: Fills intricate details without brush stroke buildup
When NOT to Use Chalk Paint on Cabinets
Avoid chalk paint if your cabinets have active water damage or flaking veneer. It also struggles on melamine surfaces without proper adhesion promoter. For high-gloss thermofoil cabinets, consider bonding primer first – chalk paint alone may lift at door edges within a year.
Essential Supplies Checklist for Flawless Cabinet Painting
Skip these specialized tools and you’ll waste hours fixing mistakes. Professional painters know cabinet projects live or die by preparation supplies. You’ll need exactly these items for a kitchen with 20 cabinet doors:
- Chalk paint: 2 quarts (Annie Sloan or Modern Masters for best coverage)
- High-density foam rollers: 4″ width for flat panels
- Angled sash brush: 2″ synthetic bristle for details
- De-waxed shellac: For tannin sealing on pine cabinets
- Clear soft wax: In can (not liquid) for food-safe sealing
- Wax applicator: Lint-free cotton cloths or dedicated wax brush
- TSP substitute: Citric acid-based cleaner for grease removal
- Blue painter’s tape: 1.5″ width for hinge areas
- Sandpaper: 120-grit (prep), 220-grit (between coats), 400-grit (final)
Pro Tip: Pour paint into separate containers – never dip dirty brushes directly into your main can. This prevents bacterial growth that causes paint spoilage.
Cabinet Preparation: The 3-Step Process Professionals Never Skip
Most DIY failures happen here. Cabinets painted without proper prep peel within 18 months. This sequence takes 4-6 hours but ensures 5+ years of durability.
Degrease Cabinets with TSP Substitute
Mix 1/4 cup citric acid cleaner per gallon of warm water. Wipe every surface with a microfiber cloth, focusing on:
– Stovetop-facing cabinet fronts
– Knob/handle contact zones
– Bottom cabinet rails
Rinse with clean water after 2 minutes. Repeat if cloth turns gray – grease is the #1 cause of peeling.
Strategic Sanding Technique for Maximum Adhesion
Use 120-grit sandpaper ONLY on:
– Glossy spots (test with fingernail – if it slides, sand)
– Previous repair patches
– Cabinet edges prone to chipping
Sand with the wood grain using light pressure. Wipe dust with tack cloth – no vacuuming (static attracts dust).
Fix These Critical Problem Areas First
- Loose hinges: Tighten screws or fill stripped holes with wood glue + toothpicks
- Dents/scratches: Apply water-based wood filler, sand when dry
- Tannin bleed: Seal pine cabinets with shellac before painting
- Hardware gaps: Fill with painter’s putty before final sanding
Step-by-Step Chalk Paint Application for Cabinet Doors
Painting cabinet doors wrong creates visible brush marks and uneven coverage. Follow this sequence for smooth results:
First Coat: The Foundation Layer
Stir paint thoroughly (never shake). Apply thin coats using:
1. Foam roller for flat panel centers
2. Angled brush for recessed details (work from top down)
3. Light pressure – thick coats crack at door edges
Dry time: 2-3 hours. Critical: Do not sand between first and second coat – this removes the adhesion layer.
Second Coat: Achieving Uniform Coverage
Apply when first coat is dry to touch but not fully cured (within 24 hours):
– Mix paint with 10% water for smoother flow
– Roll in one direction only (top to bottom)
– Brush details before paint skins on surface
– Wipe excess from grooves immediately with damp cloth
Dry time: 4-6 hours before sealing
Pro Tip: Paint cabinet boxes first, then doors. Lay doors flat on sawhorses – never paint hanging doors. This prevents drips in recessed panels.
Sealing Chalk Paint for Kitchen-Grade Durability
Unsealed chalk paint fails in kitchens within months. Water-based polyurethane causes yellowing, while improper wax application creates sticky surfaces. This method prevents both:
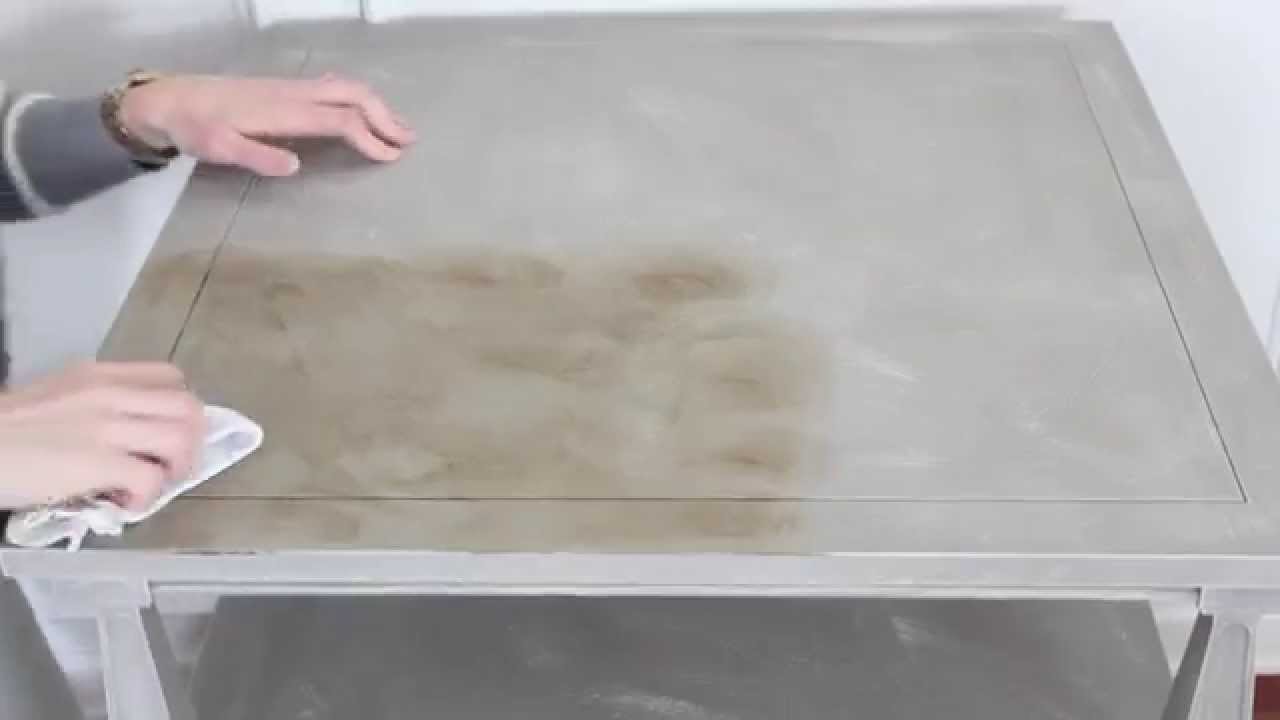
Wax Sealing Process for Food-Safe Cabinets
- Wait 24 hours after final paint coat
- Apply thin wax layer with cloth in circular motions
- Focus on high-contact areas: handles, edges, countertops
- Buff after 20 minutes with clean cotton cloth
- Repeat after 48 hours for full cure
Never use paste wax on lower cabinets near sinks – moisture causes whitening. Use water-based polycrylic instead on these zones.
Troubleshooting Wax Application Mistakes
- Sticky surface: You applied too thickly. Buff aggressively with dry cloth
- White haze: Moisture trapped in wax. Remove with mineral spirits, reapply thinner coat
- Brush marks visible: Sand lightly with 400-grit before reapplying wax
Drying Timeline: When You Can Safely Use Your Cabinets
Rushing this stage ruins your finish. Follow this exact schedule:
| Stage | Time Required | Critical Action |
|---|---|---|
| Between paint coats | 2-6 hours | Lightly wipe with tack cloth |
| Before waxing | 24 hours | Ensure no paint dust on surface |
| After first wax coat | 20 minutes | Buff before it dries |
| Full cure time | 30 days | Avoid heavy objects on shelves |
Warning: Using cabinets before 72 hours causes permanent fingerprint marks in the wax. Keep dishes out for 4 days minimum.
Maintenance Protocol for Long-Lasting Results
Chalk-painted cabinets need different care than stained wood. Follow these rules:
Daily Cleaning Without Damage
- Wipe spills immediately with damp microfiber cloth
- Use only pH-neutral cleaners (vinegar solutions damage wax)
- Never spray cleaner directly on cabinets – apply to cloth first
- For sticky spots, use 1:10 dish soap/water solution
Annual Refresh Procedure
- Clean surface thoroughly
- Apply thin wax layer to high-wear zones
- Buff after 15 minutes
- Avoid full re-waxing – builds cloudy layers
When to Repair Instead of Replace
Fix minor damage within 6 months of painting:
– Scratches: Rub with matching paint, re-wax
– Chips: Fill with paint paste, seal with wax
– Water rings: Lightly sand, repaint, reseal
Delay repairs longer and you’ll need full repainting.
5 Costly Mistakes That Ruin Chalk Paint Cabinet Projects
Avoid these errors that force homeowners to start over:
- Skipping degreasing: Causes peeling within 3 months (especially near stoves)
- Over-sanding: Creates visible scratches in matte finish
- Using liquid wax: Takes 3x longer to cure, attracts dust
- Painting cabinets in place: Misses hinge gaps causing paint buildup
- Applying in cold rooms: Paint won’t cure properly below 60°F
Pro Tip: Paint cabinet boxes first while doors dry. This gives you practice surfaces before tackling visible doors.
Final Note: Your chalk-painted cabinets will develop a beautiful patina over time – this isn’t wear, but character. In 5 years, you’ll still admire how the matte finish hides minor dings that would show on glossy paints. For ongoing maintenance, keep a small jar of matching paint and wax for touch-ups. When you see that first coffee mug leave no ring on your sealed cabinet, you’ll know you’ve mastered this transformative technique. Ready to tackle your next project? Explore how to distress chalk paint for shaker cabinets or create two-tone kitchen designs using the same foundational process.


