

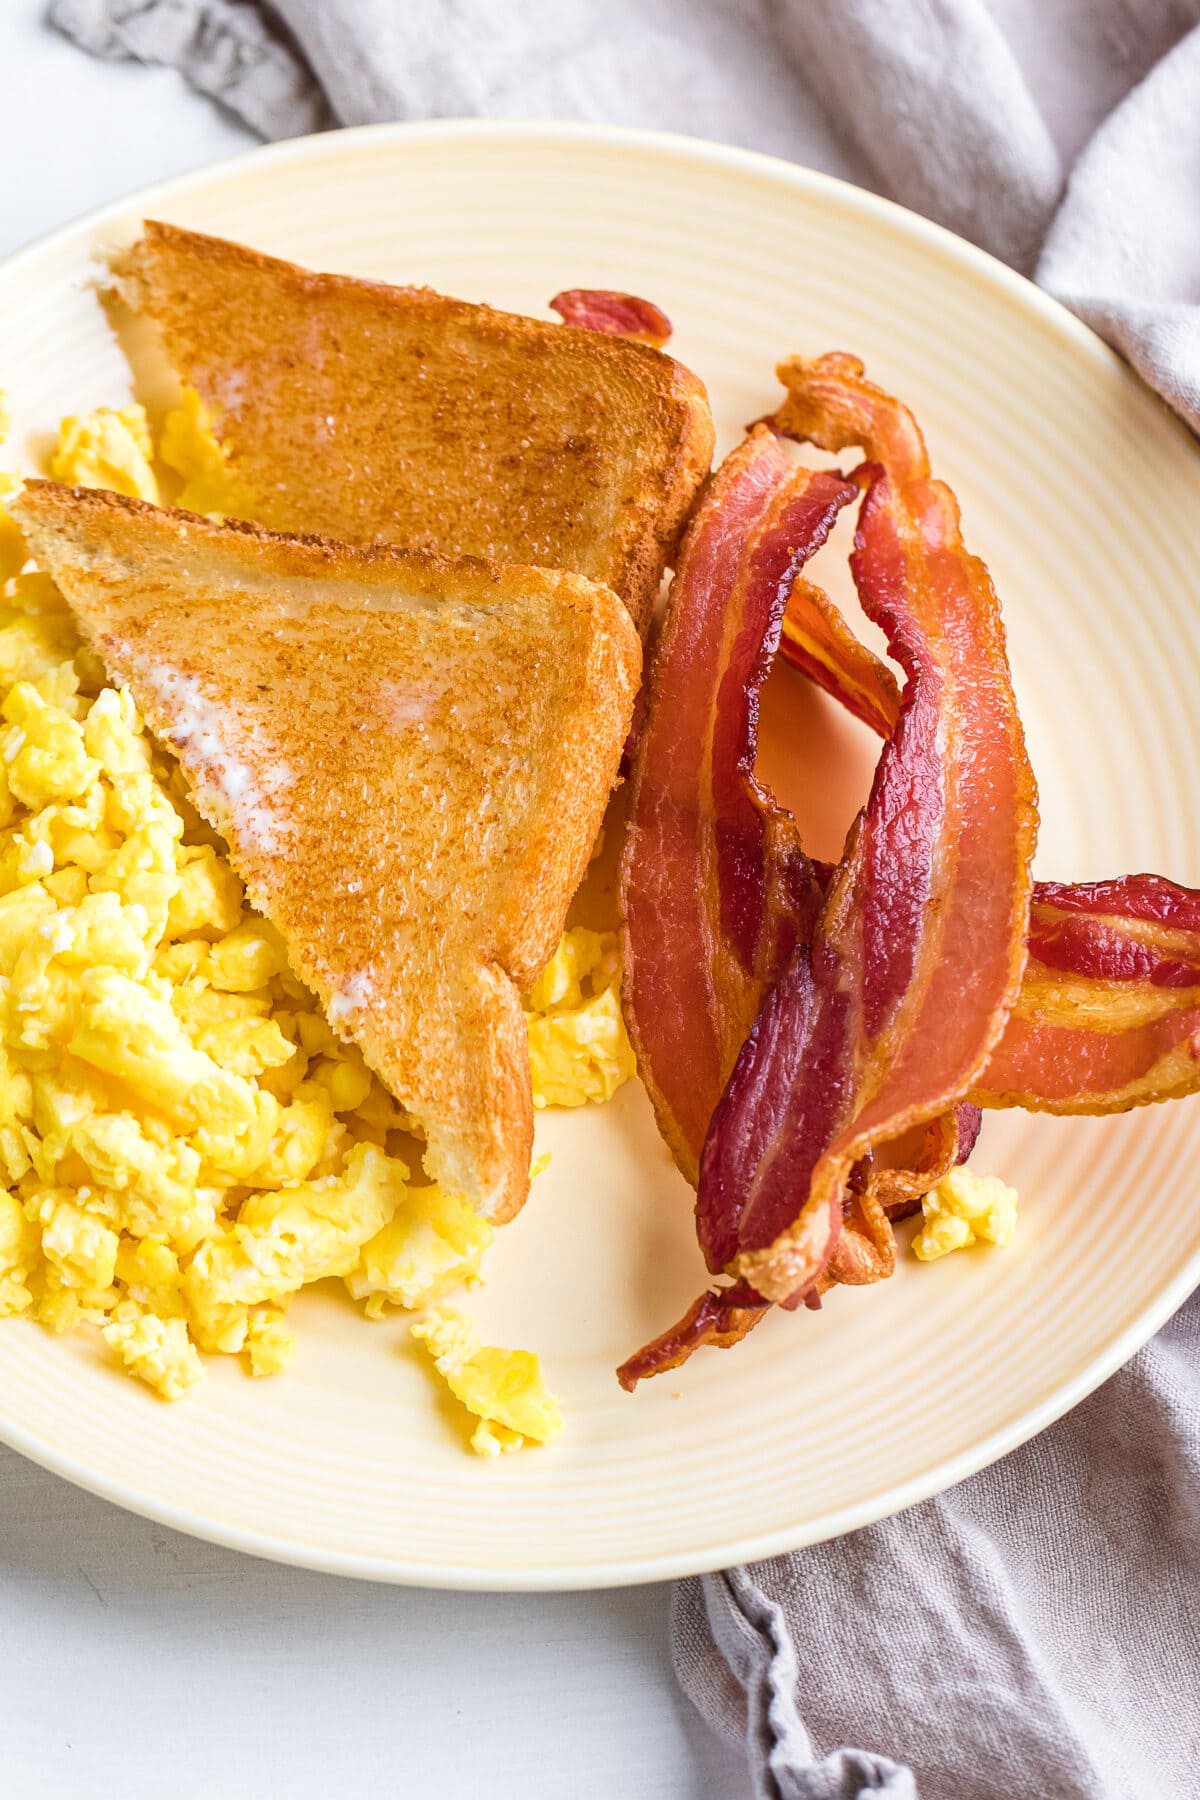
Tired of greasy stovetop splatters and unevenly cooked bacon? Your Cuisinart air fryer oven solves both problems with minimal effort and maximum flavor. This compact powerhouse transforms raw bacon into perfectly crisp strips without the mess—ideal for busy mornings or meal prepping. Forget wrestling with slippery pans; just load, set, and enjoy restaurant-quality results.
In this guide, you’ll discover exactly how to cook bacon in Cuisinart air fryer oven models TOA-60 and TOA-65 for flawless outcomes. We’ve tested every variable—from thickness adjustments to smoke prevention—so you skip the trial-and-error phase. Whether you prefer chewy center-cut or shatteringly crisp thick slices, these step-by-step instructions deliver consistent perfection with zero guesswork.
Cuisinart Models That Work for Bacon
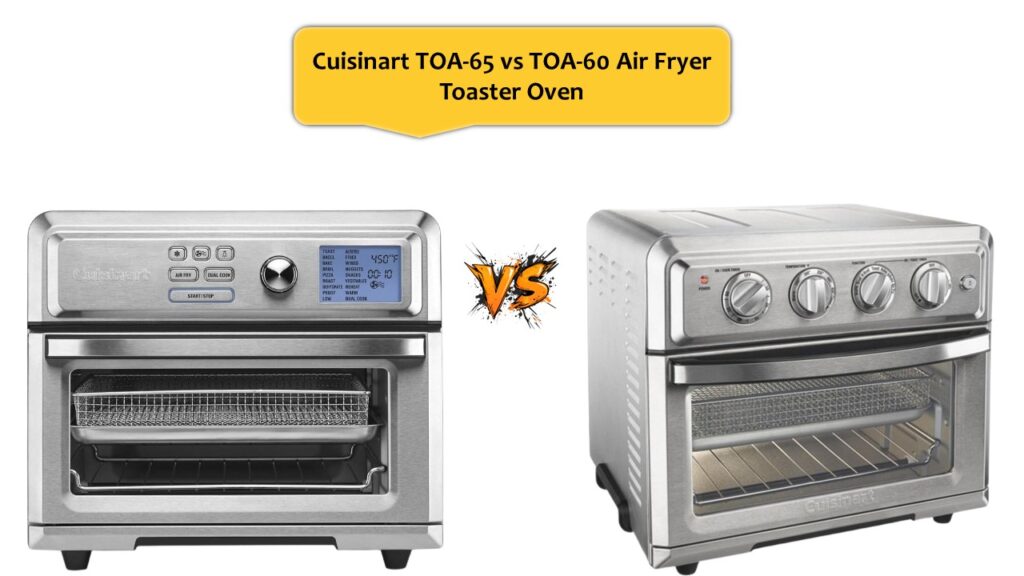
Your Cuisinart air fryer oven’s unique design outperforms basket-style units for bacon cooking. The TOA-60 (manual dial model) and TOA-65 (digital display version) both fit six full strips in a single layer—unlike most competitors that max out at five. This extra capacity means fewer batches when cooking an entire package.
Critical model differences impact your results: The TOA-60 runs hotter at 400°F without preheating, while the TOA-65 requires a 5-minute preheat at 375°F for optimal performance. Attempting TOA-65’s method on the TOA-60 causes burning, and skipping preheating on the TOA-65 yields limp bacon. Match your technique to your model for guaranteed success.
Why Oven-Style Beats Basket Air Fryers
- Even air circulation: Flat trays eliminate hot spots that cause uneven browning
- No flipping needed: TOA-60’s intense heat renders fat without turning strips
- Smoke reduction: Larger drip trays accommodate more grease safely
- Batch efficiency: Cook six strips vs. five in baskets like Ninja models
Perfect Bacon Selection Guide
Thickness directly controls your cook time—more than brand or flavor. Thin-cut bacon crisps in just 8 minutes at 400°F, while thick-cut demands 9-10 minutes. Maplewood smoked varieties develop richer caramelization in air fryer ovens than pan-frying, making them our top recommendation for depth of flavor.
Avoid mixed-thickness packages unless you separate strips by size. Cooking thin and thick slices together guarantees disaster—thin strips burn while thick ones stay rubbery. For foolproof results, buy uniform cuts and count strips before loading (six is the magic number per tray).
Model-Specific Preheating Protocols
TOA-65 users must preheat: Set to 375°F and wait for the confirmation beep—this 5-minute warm-up ensures immediate fat rendering. Skipping this step traps moisture, steaming bacon instead of crisping it. The digital display makes timing effortless, but never add bacon during preheating.
TOA-60 users skip preheating entirely. Its manual controls heat rapidly once bacon hits the basket. Loading preheated strips causes instant splattering. For both models, always place bacon on a cold tray—never hot—to prevent dangerous grease flare-ups.
Step-by-Step Cooking Process
TOA-60 Method: No-Flip Crispy Bacon in 8 Minutes
- Arrange strips vertically in the basket without overlapping—use the wire rack’s grooves to keep them flat
- Set temperature to 400°F using the dial (no timer adjustment needed)
- Cook exactly 8 minutes—thick-cut may need 9 minutes
- Remove immediately when timer ends; residual heat continues cooking
TOA-65 Method: Flip for Maximum Crispiness
- Preheat to 375°F for 5 minutes (display shows “PRE”)
- Place bacon on the preheated tray in a single layer
- Cook 5 minutes, then flip each strip with tongs
- Continue 3-5 minutes until golden—check at 8 minutes
- Adjust time based on visual cues: translucent fat = underdone, deep amber = perfect
Prevent Smoke and Splatter Instantly
The water-in-tray trick is non-negotiable: Pour 2 tablespoons of cold water into the drip tray before loading bacon. This creates a steam barrier that stops grease from hitting hot metal—eliminating smoke alarms and lingering odors. For TOA-65 users, add water after preheating but before adding bacon.
Pro cleanup hack: Line the drip tray with foil first, then add water. Once cooled, the solidified grease-water block lifts out intact. Never use bread or paper towels—these absorb grease unevenly and increase fire risk. If smoking occurs mid-cook, pause immediately and add water.
Texture Control Guide for Every Preference
Your desired crispiness level dictates precise timing adjustments. For chewy bacon with flexible fat layers, pull thin slices at 7 minutes. Standard crispy bacon (our recommendation) hits the sweet spot at 8-9 minutes when fat turns opaque white. Thick-cut lovers need 10 minutes for shatter-crisp results.
Troubleshoot texture fast: Burnt edges but soft centers? Lower next batch to 375°F. Pale strips with white fat? Increase time by 60 seconds. Always test one strip first—oven variances mean your “8 minutes” might be 7:30. Remember: bacon continues cooking on the tray for 30 seconds after removal.
Batch Cooking Strategy Without Overcrowding
Cook entire packages when bacon nears expiration—perfect for meal prep. Never overlap strips, even for the last few pieces. If cooking multiple batches, reduce subsequent times by 30 seconds since the oven retains heat. For large quantities, rotate strip positions (front/back) between batches for even exposure.
Pro tip: Undercook by 30 seconds if reheating later. This prevents over-crisping when you revive strips. Store cooled bacon between paper towels in an airtight container—fridge for 5 days or freezer for 1 month (separate layers with parchment).
Common Problems Solved in 60 Seconds
Curling strips? Cut bacon in half before loading. Shorter pieces stay flat against the tray’s edges. Uneven cooking? You’ve overlapped strips—rearrange for strict single-layer placement. Smoking kitchen? Forgot the water trick; add it immediately for future batches.
Burnt edges but raw centers? Your bacon thickness varies—sort strips by size before cooking. Soggy bacon? Moisture buildup means you skipped preheating (TOA-65) or overloaded the tray. Always leave ¼-inch space between strips for airflow.
Nutritional Impact of Air Fryer Bacon
Air frying automatically drains 30% more fat than pan-cooking. A single slice contains just 54 calories versus 70+ from stovetop methods, with 4g total fat instead of 6g. The drip tray captures excess grease, so you consume less saturated fat.
Important reality check: Bacon remains high-sodium regardless of cooking method. Three slices deliver 291mg sodium and 17g fat—still 25% of your daily limit. For healthier options, choose center-cut varieties and pair with potassium-rich foods like avocado to balance sodium.
Storage and Reheating for Perfect Texture
Fridge storage: Layer cooled strips between paper towels in an airtight container. Lasts 4-5 days without sogginess. Freezer storage: Separate layers with parchment paper; keeps 1 month. Thaw overnight in fridge before reheating.
Reheating restoration: Air fry at 400°F for 3-4 minutes—never microwave. This revives crispiness without drying out strips. For frozen bacon, add 60 seconds. Pro move: Spritz with vinegar-water (1:3 ratio) before reheating to reactivate crispness.
Recipe Applications Beyond Breakfast
Transform air fryer bacon into gourmet dishes effortlessly. For BLT sandwiches, stack warm strips between toasted bread—they’ll crisp the bread perfectly. Crumble over spinach salads while still warm to meld with hot bacon dressing. Chop finely for bacon egg muffins by mixing into egg batter before baking.
Unexpected pro uses: Top loaded baked potatoes with cheese and bacon bits for instant restaurant flair. Wrap around asparagus spears before air frying for elegant appetizers. Finely dice for flavor bombs in mac and cheese or carbonara—no stovetop grease cleanup required.
Mastering how to cook bacon in Cuisinart air fryer oven turns a messy chore into a reliable weekly ritual. With these model-specific techniques, you’ll achieve your ideal crispiness while avoiding smoke alarms and sticky sinks. The next time bacon cravings strike, skip the splatter—load your air fryer oven and enjoy perfect results in under 10 minutes. Your stovetop (and your kitchen) will thank you.


