
Your touch kitchen faucet suddenly stops responding when you tap it, leaving you staring at a dry sink while dinner preparations wait. This frustrating scenario happens to thousands of homeowners each year as touch-activated faucets—the very features designed to make kitchen tasks easier—malfunction without warning. The good news is that most touch faucet issues stem from predictable causes you can diagnose and fix yourself in under 30 minutes. Whether your faucet completely ignores your touch, requires multiple attempts to activate, or won’t shut off properly, this guide reveals the exact troubleshooting steps to restore functionality. By understanding the electronic and mechanical systems behind your touch-activated faucet, you’ll save hundreds in unnecessary service calls and get your kitchen back to full operation.
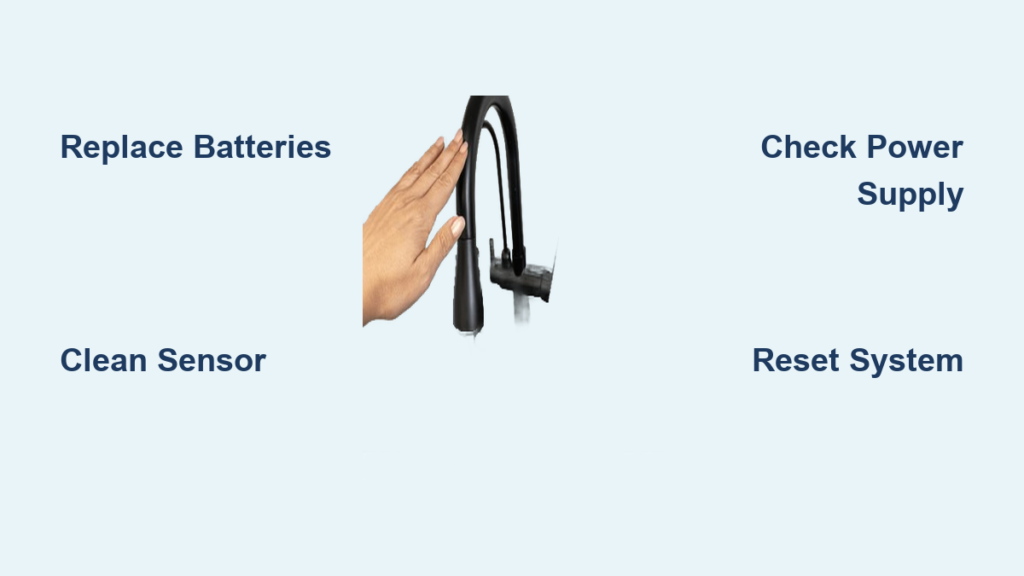
Touch kitchen faucets combine capacitive touch technology or infrared sensors with traditional plumbing components, creating a system that responds to the conductive touch of your hand, wrist, or forearm. When this system fails, the problem typically originates from one of several common areas: power supply issues, sensor contamination, solenoid valve failures, or electronic control problems. Unlike traditional faucets that rely solely on mechanical components, touch-activated models require electricity to operate their internal solenoids that control water flow. This added complexity means troubleshooting requires both plumbing knowledge and basic electrical understanding. The following sections break down each potential failure point with specific, actionable solutions you can implement immediately—no professional plumber required for most common issues.
Power Supply Problems Causing Touch Failure
Battery Depletion and Contact Corrosion Fixes
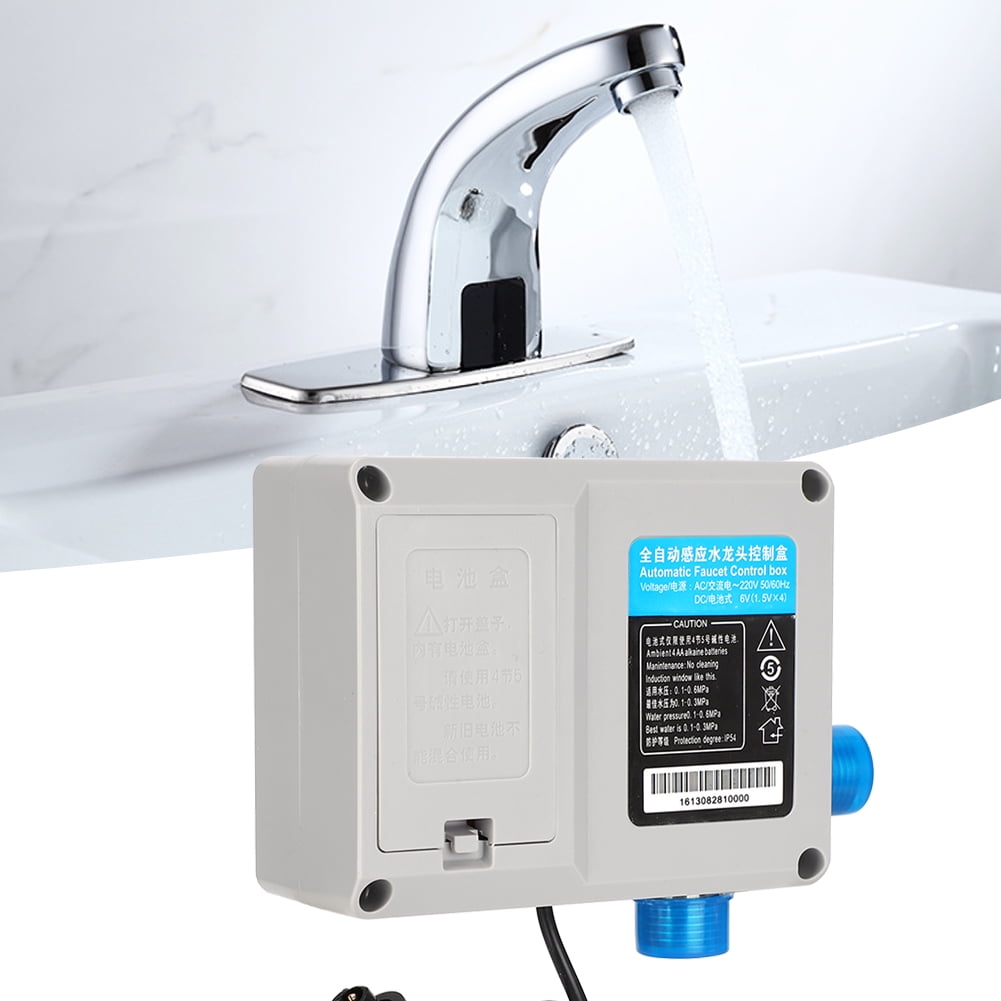
Battery failure causes nearly 60% of all touch faucet malfunctions. Most touch faucets run on four AA batteries housed in a control box beneath your sink. When these batteries weaken, your faucet may respond inconsistently, require multiple touches, or stop working entirely. Check for telltale signs like dimming LED indicators or delayed activation—these signal imminent battery failure. Replace all batteries simultaneously with fresh lithium batteries (not alkaline), as mixing old and new batteries creates uneven power delivery that stresses electronic components.
Corroded battery contacts create poor electrical connections that prevent proper power flow even with fresh batteries installed. Remove the battery compartment cover and inspect for green, white, or brown deposits on the metal contacts. Clean these with a small wire brush or fine-grit sandpaper, then wipe with electrical contact cleaner. Reinstall fresh batteries with correct polarity—reversed batteries won’t damage the system but will prevent operation. This simple maintenance takes under 5 minutes and resolves the majority of touch activation problems.
Transformer and Electrical Connection Checks
Hardwired touch faucets that connect to household current through wall transformers experience different power issues. If your faucet has no batteries but still isn’t working, check the GFCI outlet under your sink—these safety outlets frequently trip and cut power to your faucet. Press the reset button firmly; if it won’t stay reset, you may have a water leak near electrical components requiring professional attention.
Test transformer output with a multimeter set to AC voltage. Place probes on the transformer’s output terminals while plugged in—most touch faucets require 6V, 9V, or 12V DC output. Readings significantly lower than specified indicate transformer failure. Before replacing, check all wiring connections under the sink for loose plugs or corroded terminals. Disconnect and reconnect each connector while observing for solenoid clicks—this simple action often restores intermittent connections without requiring component replacement.
Sensor and Touch Mechanism Troubleshooting
Capacitive Touch Sensor Cleaning and Calibration
Surface contamination on your faucet’s touch area creates the second most common failure point after power issues. Grease, soap scum, and hard water deposits form an insulating barrier that prevents the capacitive sensor from detecting your touch. Clean the entire faucet surface with a soft cloth dampened with white vinegar, focusing on the base of the spout and handle mounting area where you normally touch. Avoid abrasive cleaners that could damage the sensor beneath the finish. Dry completely with a microfiber towel before testing—residual moisture can interfere with touch detection.
After battery replacement, many touch faucets require recalibration. Consult your manufacturer’s instructions for model-specific procedures, which typically involve touching and holding the faucet for 10-15 seconds while simultaneously pressing a reset button. For Delta Touch2O models, hold the spout for 10 seconds; Moen MotionSense models require pressing the handle for 5 seconds. This recalibration resets the capacitance baseline that the sensor uses to detect your touch.
Solenoid Valve and Water Flow Solutions
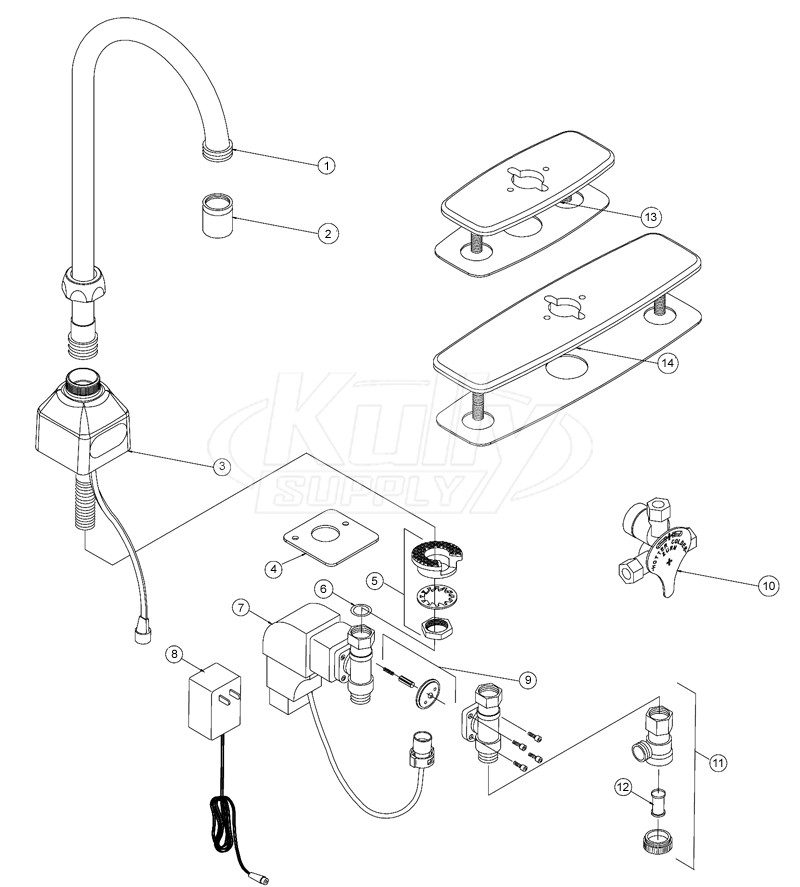
Testing Solenoid Functionality and Clearing Blockages
The solenoid valve acts as the electromechanical switch controlling water flow in your touch faucet. When it fails, you’ll hear no clicking sound when attempting to activate the faucet, even if LED indicators respond normally. Position your ear near the faucet base while touching the spout—healthy solenoids produce a distinct “click” as they open. No click indicates either solenoid failure or power issues further upstream in the electrical system.
Mineral deposits commonly clog solenoid valves in hard water areas. Shut off water supply, disconnect supply lines, and flush both hot and cold lines into a container for 30 seconds each. Reconnect lines and test operation. For severe clogs, remove the aerator and run diluted white vinegar (1 part vinegar to 3 parts water) through the faucet for 30 minutes, then flush thoroughly with clean water. This descaling process dissolves calcium and magnesium deposits that restrict water flow through the solenoid mechanism.
Electronic Control Module Diagnostics

Reset Procedures and Connection Verification
Electronic control modules occasionally develop software glitches that disrupt touch functionality. For battery-operated models, remove all batteries and wait 10 minutes before reinstalling fresh ones. For hardwired models, unplug the transformer for the same duration. This power cycle clears temporary memory errors that may prevent proper touch detection. After resetting, recalibrate the touch sensor as described in the sensor troubleshooting section.
Inspect all wiring connections under the sink for loose plugs or corroded terminals. Disconnect and reconnect each connector while observing for solenoid clicks—this simple action often resolves intermittent connection problems. Apply electrical contact cleaner to connector pins to prevent future corrosion. If problems persist after these steps, the control module likely requires replacement—a task best left to professionals unless you’re comfortable with basic electronics.
Preventative Maintenance for Long-Term Reliability
Monthly and Quarterly Care Schedule
Implement these simple maintenance steps to prevent future touch faucet failures:
- Weekly: Wipe touch surface with vinegar-dampened cloth to prevent buildup
- Monthly: Check battery condition (if applicable) and clean visible connections
- Quarterly: Remove and clean aerator, inspect supply lines for leaks
- Annually: Perform full descaling with vinegar solution, verify all connections
For hard water areas, increase maintenance frequency—monthly descaling prevents mineral deposits from accumulating to problematic levels. Always use manufacturer-recommended lithium batteries in battery-operated models; their consistent voltage output prevents the erratic behavior common with alkaline batteries as they deplete.
When to Call a Professional vs. DIY Repair
Cost-Effective Solutions for Common Problems
Most touch faucet issues can be resolved with $20 or less in parts and under 30 minutes of your time. Battery replacement ($5-10), sensor cleaning (free), and basic descaling ($3 for vinegar) solve 80% of problems. Solenoid replacement ($30-80) remains a viable DIY project for those comfortable with basic plumbing.
Consider professional service when:
– Control module replacement is needed ($100-300)
– Multiple components show failure signs
– Faucet is under warranty
– You lack confidence in electrical troubleshooting
Faucets older than 7 years often cost more to repair than replace—modern touch faucets start around $200 and include improved reliability and longer warranties. Before calling a plumber, try these simple fixes that resolve most touch activation problems in under 15 minutes.
A touch kitchen faucet not working doesn’t have to disrupt your kitchen routine or drain your wallet. By systematically checking power supply, sensor function, and solenoid operation, you’ll identify and resolve the problem faster than waiting for professional service. Remember that regular monthly cleaning prevents the majority of touch activation failures, particularly in hard water areas where mineral deposits accumulate quickly. When simple troubleshooting doesn’t restore functionality, consult your manufacturer’s warranty information—many electronic components carry 2-5 year coverage that could save you significant repair costs. Keep this guide handy for future reference, and you’ll never face a non-responsive touch faucet without knowing exactly what to do next.


