
You’re hosting a dinner party and have carefully prepared a beautiful steak for your guests. You’ve seared it to golden perfection, but when you cut into it, the inside is overcooked and dry. This common kitchen disappointment happens to home cooks everywhere who rely on guesswork instead of precise temperature measurements. Using a kitchen thermometer properly transforms cooking from uncertain guesswork into a precise science that guarantees perfect results. Whether you’re checking if chicken has reached a safe 165°F or determining if your chocolate ganache has hit the ideal 113°F for silky texture, the right thermometer technique makes all the difference. In this guide, you’ll discover exactly how to use kitchen thermometer types correctly, avoid common temperature-checking mistakes, and achieve restaurant-quality results in your home kitchen.
Choosing the Right Thermometer for Your Cooking Task
Instant-Read Thermometers for Quick Temperature Checks
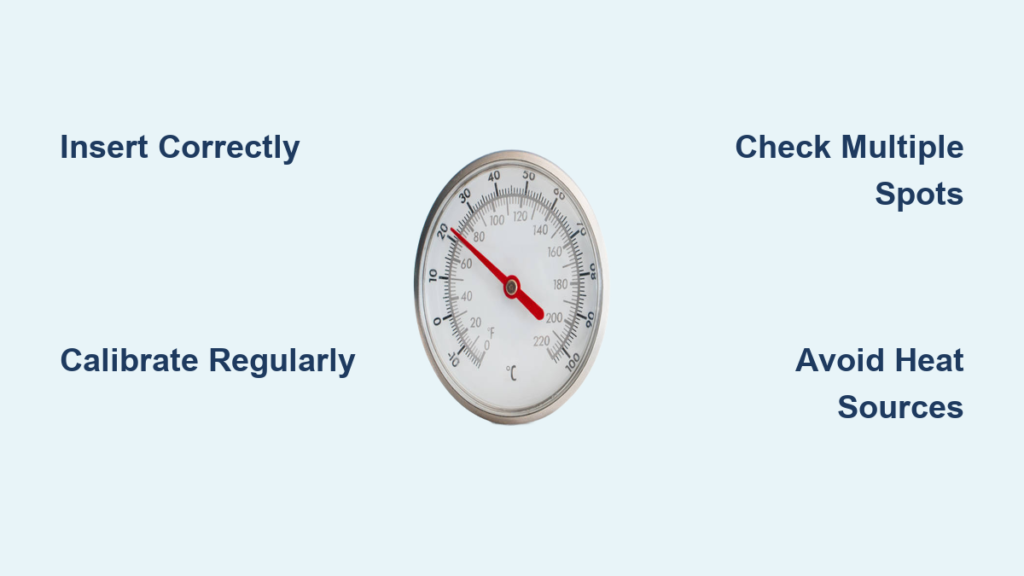
Keep an instant-read thermometer within easy reach whenever you’re cooking proteins or baking delicate items. These slender devices provide accurate readings in 2-5 seconds when properly inserted into food. For best results, insert the probe into the thickest part of meat, avoiding bones, fat, or gristle that could give false readings. When checking multiple items like burgers on a grill, clean the probe with hot, soapy water between measurements to prevent cross-contamination. Professional chefs recommend calibrating these thermometers monthly by testing them in ice water (should read 32°F) or boiling water (212°F at sea level).
Oven-Safe Probe Thermometers for Hands-Off Monitoring
Set up oven-safe probe thermometers before placing food in the oven for worry-free cooking. Insert the probe into the deepest part of your roast or turkey, then route the cord through the oven door seal to connect to the external display unit. Program your desired final temperature so the alarm alerts you the moment your food reaches perfection—no more constant oven opening that disrupts cooking temperatures. When roasting a prime rib, position the probe near the bone for the most accurate reading of the meat’s internal temperature. Always remove probe thermometers before carving to avoid damaging the delicate sensor.
Proper Placement Techniques for Accurate Readings
Where to Insert Your Thermometer in Different Foods
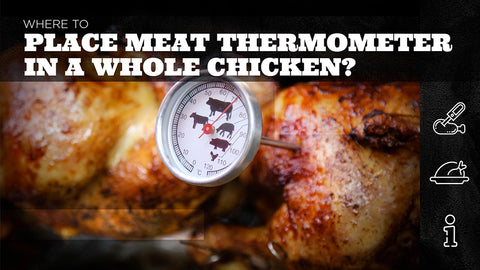
Knowing exactly where to place your thermometer probe separates good cooks from great ones. For burgers and thin cuts of meat, insert the thermometer sideways through the edge to reach the center without going all the way through. When checking whole poultry, insert the probe into the inner thigh area without touching bone—this spot cooks more slowly than breast meat and indicates when the entire bird is safe to eat. For casseroles and thick soups, insert the thermometer into the center of the dish, avoiding the container’s sides which may register higher temperatures from direct contact with hot surfaces.
Avoiding False Readings from Common Placement Errors
Many home cooks unknowingly check temperatures in the wrong spots, leading to undercooked or overcooked results. Never insert your thermometer into areas with excessive fat, as fat registers higher temperatures than lean meat. When checking multiple items like several chicken breasts, test each one individually since they may cook at different rates. For thick cuts like pork shoulder, take readings from multiple locations as temperature can vary significantly within the same piece of meat. If your thermometer consistently shows temperatures higher than expected, you might be accidentally touching bone or the cooking vessel with the probe tip.
Calibrating Your Thermometer for Reliable Results
Ice Water Calibration Method for Cold Verification
Ensure your thermometer delivers trustworthy readings by calibrating it regularly using the ice water method. Fill a glass with ice cubes, then add just enough cold water to create a slushy mixture without floating ice. Stir well and let it sit for three minutes to stabilize. Insert your thermometer probe into the center of the mixture, keeping it away from the glass sides. After 30 seconds, it should read exactly 32°F (0°C). If it shows a different temperature, note the variance for future reference or adjust if your model allows calibration. This simple test takes less than five minutes but prevents dangerous undercooking of proteins.
Boiling Water Calibration for High-Temperature Accuracy
Verify your thermometer’s accuracy at cooking temperatures using boiling water calibration. Bring a pot of distilled water to a rolling boil at your elevation (remember, boiling point decreases at higher altitudes). Carefully insert the thermometer probe into the boiling water, keeping it away from the pot’s bottom and sides. At sea level, it should read 212°F (100°C), but adjust for your altitude—every 500 feet above sea level lowers the boiling point by about 1°F. If your thermometer reads 208°F at 2,000 feet elevation, it’s accurate. If not, either compensate mentally when cooking or adjust if possible. Perform this test whenever you suspect your thermometer might be giving questionable readings.
Troubleshooting Common Thermometer Problems

Addressing Slow or Inaccurate Temperature Readings
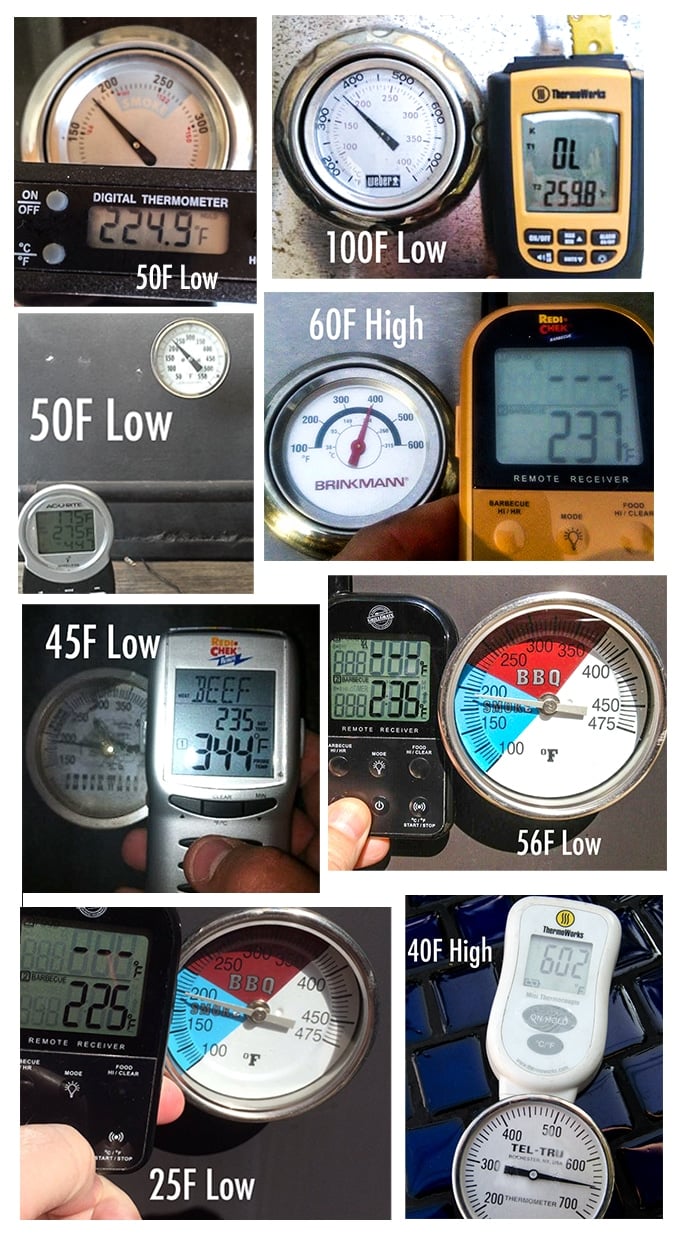
When your thermometer seems sluggish or gives inconsistent results, several factors could be at play. First, check if the battery needs replacing, especially for digital models that may lose accuracy as power diminishes. Clean the probe thoroughly with a soft cloth—grease buildup can insulate the sensor and slow response time. If readings fluctuate wildly, you might be testing near heat sources like oven walls or grill flames that create temperature gradients. For probe thermometers, ensure the cord connection is secure, as loose connections cause erratic readings. If problems persist after basic troubleshooting, your thermometer may need replacement as sensors degrade over time.
Preventing Breakage and Extending Thermometer Lifespan
Protect your kitchen thermometer investment by handling it properly during and after use. Never leave instant-read thermometers sitting in hot pans or ovens, as extreme heat can damage the electronics. Clean digital thermometers with a damp cloth rather than submerging them unless specifically designed to be waterproof. Store probe thermometers with the cord loosely coiled to prevent wire damage. For dial thermometers, avoid dropping them on hard surfaces which can throw off the internal mechanism. Consider keeping a backup thermometer on hand, as even high-quality models eventually fail from regular kitchen use. Proper care ensures your thermometer remains reliable for food safety.
Temperature Guidelines for Perfectly Cooked Foods
Safe Minimum Temperatures for Different Proteins
Knowing exact safe temperatures prevents foodborne illness while avoiding overcooking. Chicken and turkey must reach 165°F throughout, but remove poultry from heat at 160°F as carryover cooking will bring it to the safe temperature. Ground meats like burgers should hit 160°F, while whole cuts of beef, pork, veal, and lamb can be safely enjoyed at 145°F with a three-minute rest period. Fish is done at 145°F or when flesh becomes opaque and flakes easily. When cooking multiple proteins simultaneously, check the item with the highest required temperature first—usually poultry—then verify others as they approach their target temperatures.
Ideal Temperatures for Baking and Candy Making
Precision temperature matters just as much in baking as it does with proteins. Bread dough proofs best between 75-80°F—too cold and yeast becomes sluggish, too warm and it dies. Tempered chocolate must stay between 88-91°F for dark chocolate or 84-87°F for milk chocolate to maintain its glossy finish and crisp snap. When making caramel, the difference between perfect amber and burnt sugar can be as little as 5°F. Custards and crème anglaise set at 175-180°F—any higher and they curdle. Keep your thermometer close when working with temperature-sensitive ingredients to catch subtle changes before they become irreversible.
Final Note: Using a kitchen thermometer properly transforms cooking from guesswork to precision. By selecting the right thermometer for each task, placing it correctly in your food, maintaining calibration, and knowing exact target temperatures, you’ll consistently achieve perfectly cooked meals while ensuring food safety. Develop the habit of checking temperatures at multiple points in larger dishes, and remember that carryover cooking continues to raise internal temperatures after removal from heat. With practice, temperature checking becomes second nature, giving you confidence in every meal you prepare. Keep your thermometer clean, calibrated, and easily accessible—it’s the most important tool for taking your cooking to the next level.


