
Nothing derails a cooking experience faster than not knowing how to use kitchen oven properly. From flat cookies to unevenly roasted vegetables, oven mishaps frustrate even experienced home cooks. Whether you’ve just unpacked a new appliance or finally want to move beyond basic baking, understanding your oven’s mechanics transforms cooking from guesswork to precision. This guide reveals exactly how to use kitchen oven effectively—covering setup, temperature control, cooking modes, and maintenance—so you can bake, roast, and broil with professional results from day one.
Oven Components Decoded for Perfect Cooking Results

Before you even turn on your oven, understanding its anatomy prevents common mistakes that ruin meals. Every kitchen oven shares fundamental components, though layouts vary between models and brands.
Control Panel Functions Every Home Cook Must Know
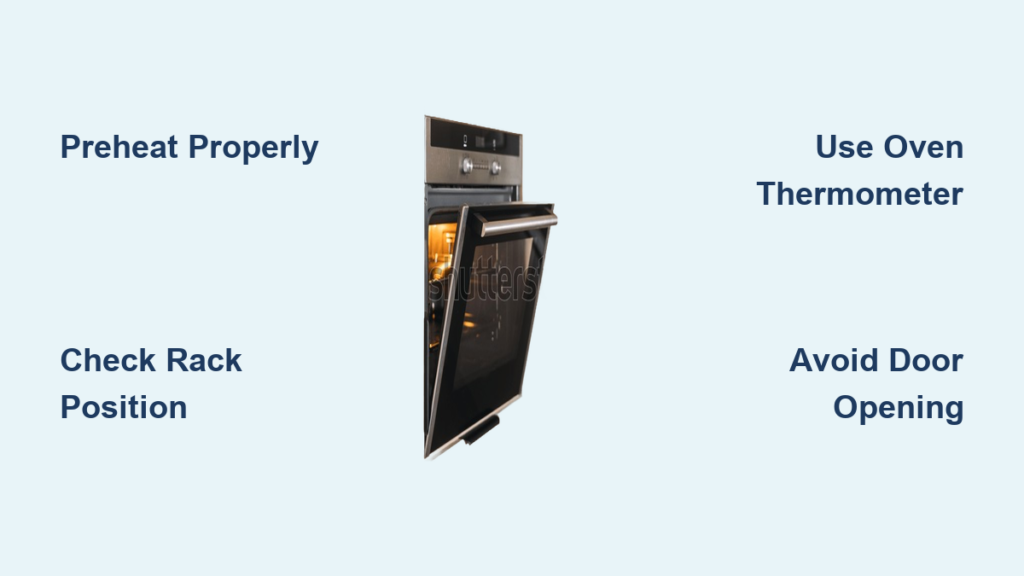
Your oven’s control panel serves as the command center for temperature and cooking modes. Electric models typically display temperatures in 25-degree increments, while gas ovens may use different intervals. Digital displays require precise input, whereas dial controls offer more intuitive adjustments. Always wait for the preheat indicator—usually a light or beep—before inserting food. This confirmation means both the air and oven walls have reached target temperature, which takes 10-20 minutes depending on your appliance. Skipping this step causes baked goods to spread unevenly and meats to cook inconsistently.
Strategic Rack Positioning for Different Dishes
Rack placement dramatically impacts cooking results, yet most home cooks use the same position for everything. The middle rack (position 2 or 3 in a 5-rack system) delivers the most even heat distribution for standard baking and roasting. Move the rack to the top third for broiling, where intense heat from above creates perfect browning on casseroles or seafood. Position lower for large roasts needing extra vertical space—the bottom heat helps render fat while preventing flare-ups. Never adjust rack positions after preheating; always set them while the oven is cold to maintain accurate temperature placement.
Critical First-Time Oven Safety Procedures

Safety precautions before your initial oven use prevent fires, ensure optimal performance, and extend your appliance’s lifespan. These steps take only minutes but make all the difference in your cooking experience.
Packaging Removal Checklist Before First Use
Manufacturers ship ovens with protective materials that create fire hazards if overlooked. Inspect the entire cavity for cardboard spacers between racks, Styrofoam blocks behind control panels, and plastic covers on heating elements. Check door hinges and the area beneath the oven floor—common hiding spots for shipping materials. Run your hand along all interior surfaces to detect any overlooked stickers or tape. Leaving these materials in place causes smoke, burning smells, and potentially dangerous situations during your first cooking session.
Essential Initial Cleaning Protocol
New ovens contain manufacturing residues that affect food taste and safety. Wipe all interior surfaces with a damp microfiber cloth, paying special attention to corners where dust accumulates. Remove oven racks and soak them in warm, soapy water for 30 minutes before scrubbing with a non-abrasive pad. For stubborn residue, create a paste of baking soda and water, apply it to affected areas, and let it sit for 20 minutes before wiping clean. Never use commercial oven cleaners on a new appliance—they’re designed for baked-on grease, not manufacturing residues. After cleaning, run the oven empty at 200°F for 30 minutes to eliminate any remaining odors.
Preheating Mastery: The Secret to Reliable Cooking
Understanding how to use kitchen oven properly starts with proper preheating—a step many home cooks skip or rush. Mastering this process immediately improves your cooking results across all recipes.
Why Preheating Time Varies by Oven Type
Electric ovens typically require 10-15 minutes to fully preheat to 350°F as heating elements warm the entire cavity. Gas ovens heat faster (8-12 minutes) due to direct flame contact with oven walls. Convection models preheat quickest thanks to fan-assisted heat distribution. Always verify preheat completion using your oven’s indicator light rather than a timer—older models often take longer than newer ones. Placing food in an underheated oven creates cold spots that cause uneven cooking, failed rises in baked goods, and inconsistent browning.
Recognizing When Preheating Is Truly Complete
Your oven reaches proper temperature when both the air AND thermal mass components (walls, racks) stabilize at the set point. Watch for these signs: consistent heat distribution (no hot or cold spots when testing with your hand near the door), stable temperature reading on an independent oven thermometer, and the preheat indicator turning off. If cookies consistently spread too much or cakes sink in the center, your oven likely isn’t fully preheated. Invest in an inexpensive standalone oven thermometer—it’s the only reliable way to verify actual temperature versus dial setting.
Temperature Control Strategies for Specific Foods
Knowing how to use kitchen oven temperature settings correctly transforms ordinary meals into exceptional ones. Each cooking task requires specific heat levels that affect texture, browning, and cooking time.
Broiling Techniques That Prevent Burning
The broil setting activates only the upper heating element at maximum intensity—perfect for finishing dishes with a golden-brown top. Position food 3-4 inches from the element and watch constantly, as broiling happens in minutes. Rotate pans halfway through for even browning, and use the broiler pan’s slotted top to allow fat to drip away from food. For delicate items like fish fillets, start broiling with the door slightly ajar to moderate heat intensity. Always finish broiled dishes under the element rather than trying to brown them during regular baking.
Avoiding Costly Oven Mistakes That Ruin Meals
Even experienced cooks make preventable errors that compromise results. Fixing these common issues immediately elevates your cooking success rate.
The Door Opening Disaster You’re Probably Making
Every time you open the oven door, you lose 25-50°F of heat—enough to reset cooking progress and create uneven results. Use your oven light and window to monitor food instead of opening the door. If you must check food, do it quickly and close the door firmly. For longer cooking tasks like roasts or casseroles, minimize door openings to once halfway through cooking. When baking delicate items like soufflés or custards, avoid opening the door completely during the first two-thirds of cooking time to prevent collapse.
Cookware Selection Mistakes That Affect Results
Dark metal pans absorb more heat and produce darker browning—great for pie crusts but disastrous for light-colored cakes. Glass and ceramic dishes heat more slowly but retain heat longer, often requiring 25°F lower temperatures. Never use cookware with plastic handles inside the oven, even if labeled “oven-safe” to 400°F—handles melt at higher temperatures used for broiling or pizza. Always match pan size to burner size on the stovetop before transferring to the oven to prevent uneven heating.
Oven Maintenance Routines That Extend Appliance Life
Regular care keeps your oven performing reliably and prevents dangerous situations from developing unnoticed.
Monthly Deep Cleaning Protocol
While wiping spills immediately is ideal, monthly deep cleaning addresses accumulated grime. Remove racks and soak in hot, soapy water while preparing the oven interior. For self-cleaning models, run the cycle according to manufacturer instructions—never leave unattended. Non-self-cleaning ovens require commercial cleaner applied to cool surfaces, left to penetrate for 20 minutes, then scrubbed with non-abrasive pads. Always clean door gaskets with mild detergent to maintain proper sealing. Never mix cleaning chemicals or use oven cleaner on heating elements.
Annual Professional Inspection Checklist
Schedule service before holiday cooking season when technicians are less busy. A professional inspection should include temperature calibration check, heating element functionality test, gas connection verification (for gas models), and internal component cleaning. Technicians can identify developing issues like failing thermostats or worn door seals before they become major problems. Most manufacturers recommend professional servicing every 1-2 years to maintain warranty coverage and optimal performance.
Specific Cooking Techniques for Perfect Results
Mastering how to use kitchen oven for particular dishes creates restaurant-quality meals at home with minimal effort.
Vegetable Roasting Secrets for Maximum Flavor
High heat (425°F+) triggers caramelization that transforms ordinary vegetables into extraordinary sides. Cut pieces uniformly for even cooking, and spread in a single layer with space between—crowding causes steaming instead of roasting. Toss with high-smoke point oil like avocado or grapeseed before seasoning. Roast root vegetables cut-side down for even browning, and shake the pan halfway through cooking for uniform results. Finish with acid (lemon juice or vinegar) to brighten flavors and balance richness.
Meat Roasting Strategy for Juicy, Flavorful Results
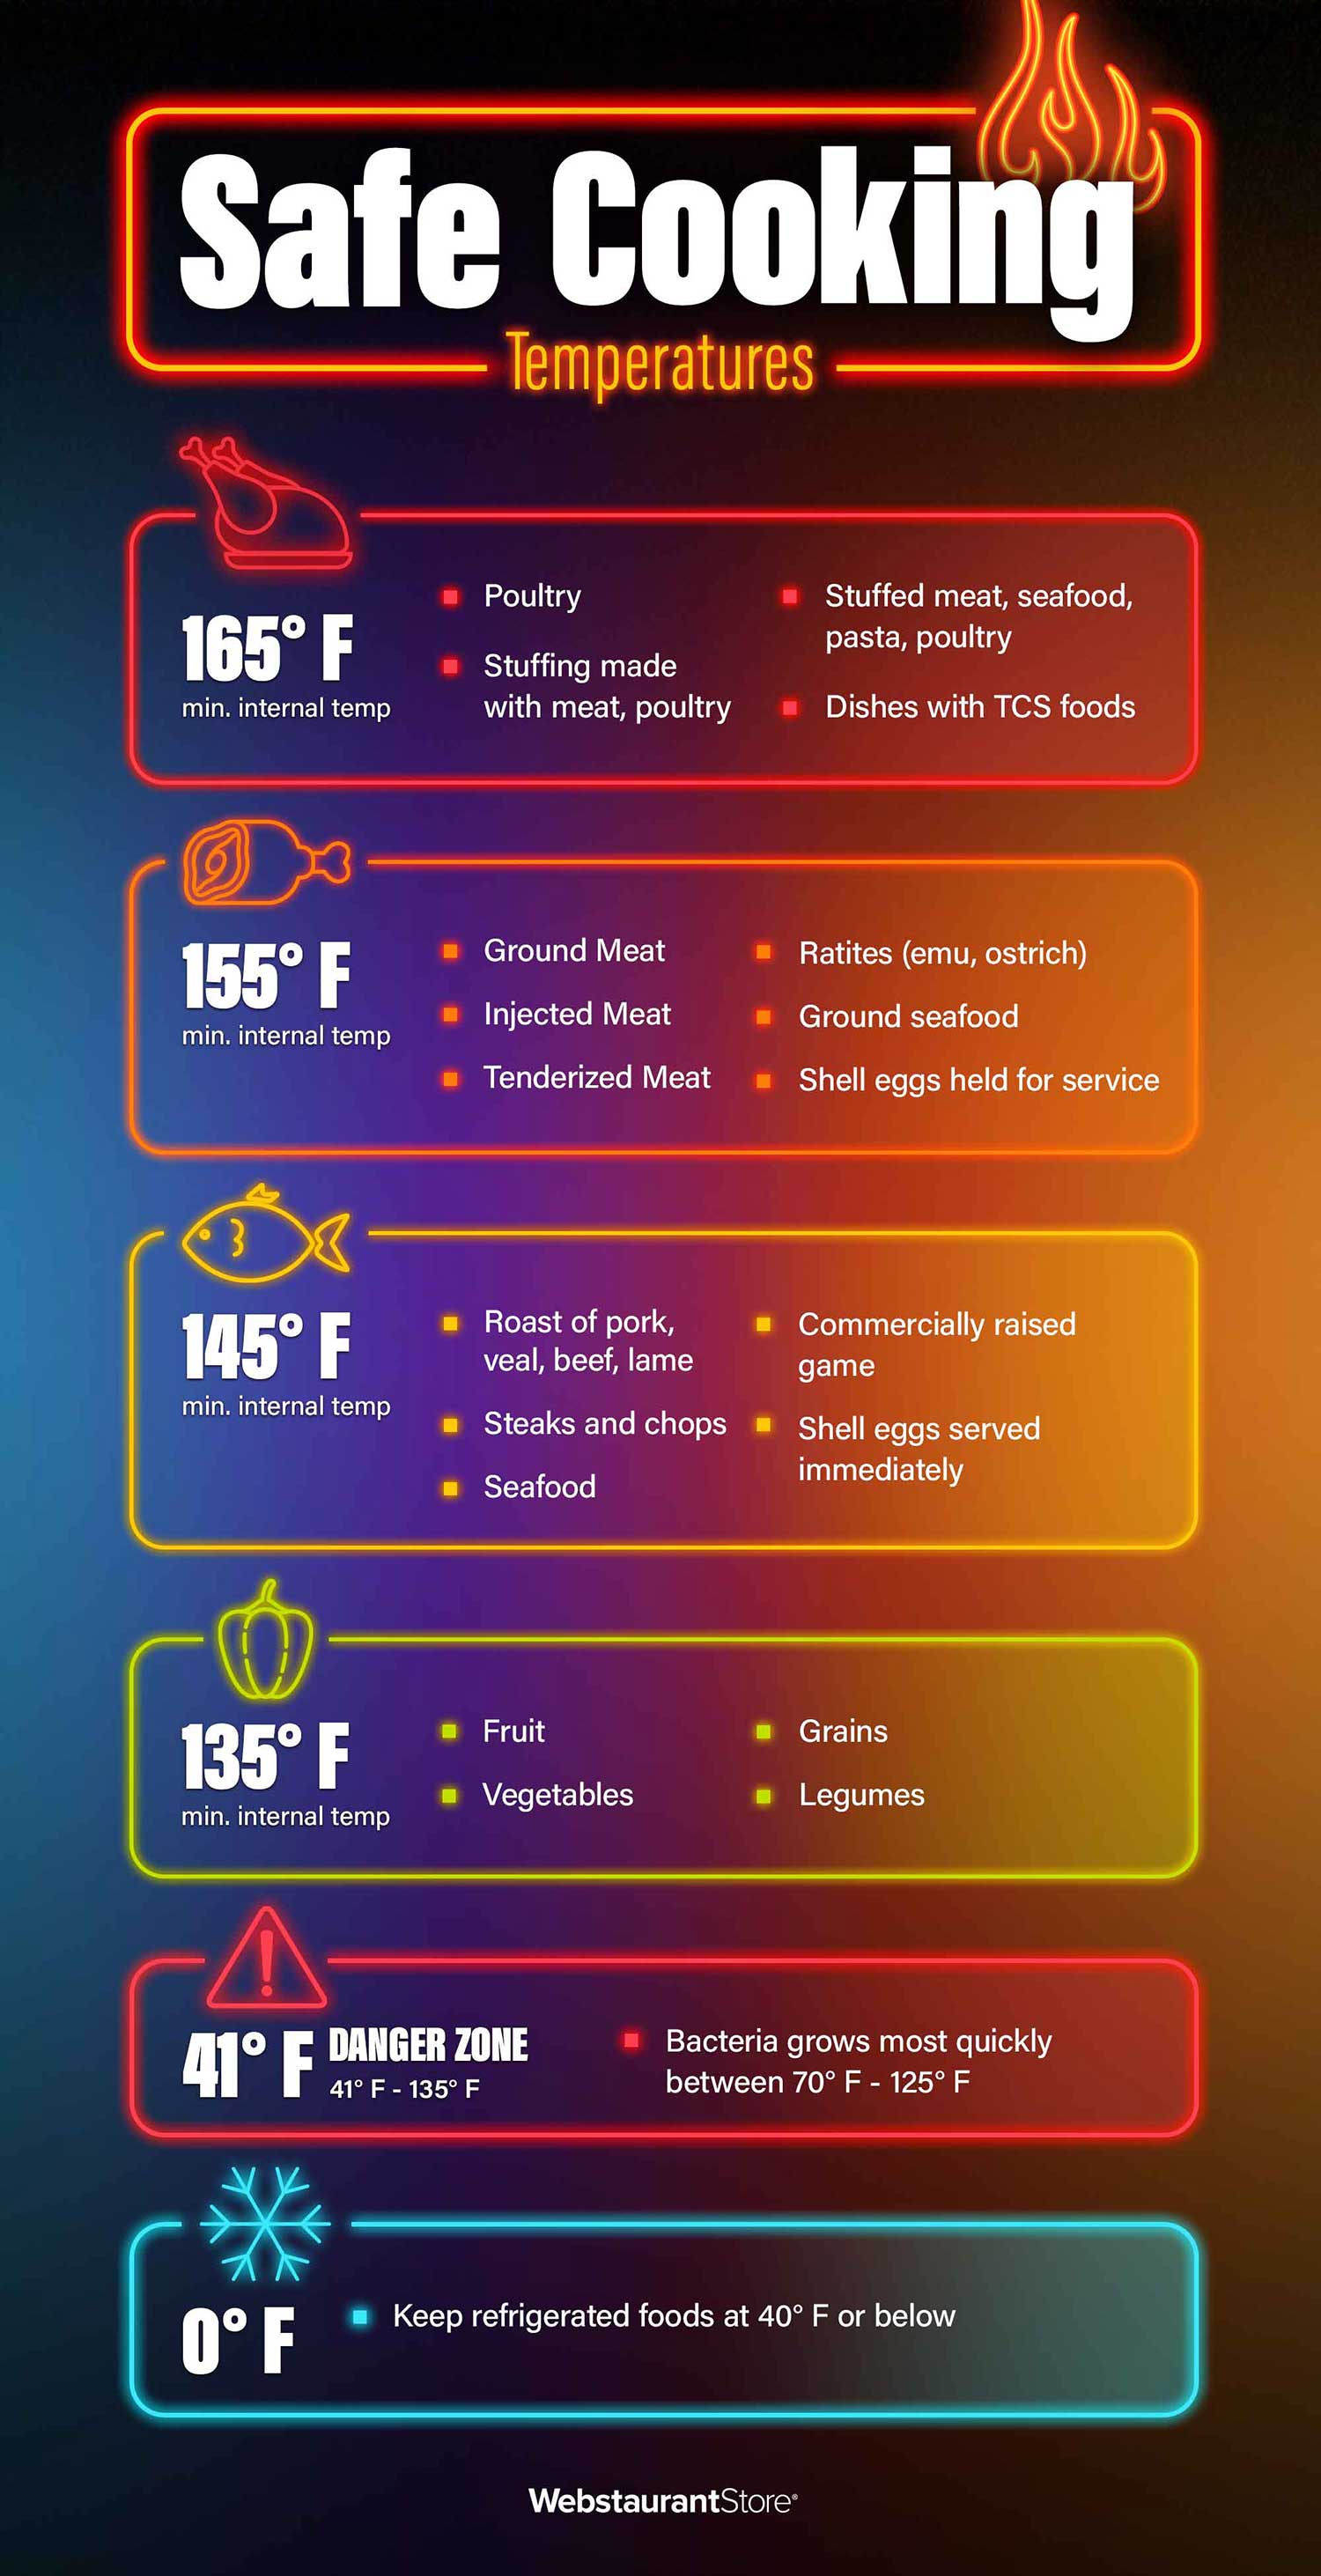
Bring meat to room temperature 30 minutes before roasting for even cooking throughout. Season generously with salt and pepper, and place on a roasting rack to elevate above drippings. Start at high heat (425°F) for 15-20 minutes to develop crust, then reduce to 325°F for slower, gentler cooking. Use an instant-read thermometer to verify doneness—never rely solely on time estimates. Let meat rest 15-20 minutes after roasting; this redistributes juices for consistently moist results. Tent loosely with foil to retain warmth without steaming the crust.
Understanding how to use kitchen oven properly transforms cooking from stressful to satisfying. Start with simple recipes that build confidence, then gradually tackle more complex dishes as you learn your oven’s quirks. Keep a cooking log noting temperatures and times for successful dishes—this personalized reference helps replicate good results and troubleshoot issues. With consistent attention to these fundamentals, you’ll unlock your oven’s full potential and create delicious, reliable meals that impress family and friends.


