
Kitchen foil isn’t just for wrapping leftovers—it’s a powerhouse tool that can revolutionize your cooking experience. Knowing how to use kitchen foil properly unlocks countless possibilities in your kitchen, from perfectly roasted meats to effortless cleanup. This thin sheet of aluminum has been a kitchen essential since the 1940s because it traps heat, creates moisture barriers, withstands high temperatures, and molds to any shape. Whether you’re a beginner cook or a seasoned chef, mastering kitchen foil techniques will save you time, reduce mess, and improve your cooking results significantly.
Most home cooks underutilize this versatile material, sticking to basic covering tasks while missing out on its full potential. This guide reveals professional techniques for using kitchen foil to solve common cooking challenges, prevent food waste, and even tackle household problems. You’ll discover how to create perfect cooking environments, extend food freshness, avoid safety hazards, and transform your foil from a simple wrapper into your most valuable kitchen tool. By the end, you’ll have the knowledge to approach any cooking task with foil confidence.
Perfect Your Foil Wrapping Techniques
Mastering fundamental wrapping methods is essential before exploring advanced applications. The way you wrap food directly impacts cooking results, moisture retention, and whether your dish turns out perfectly or becomes a soggy disaster.
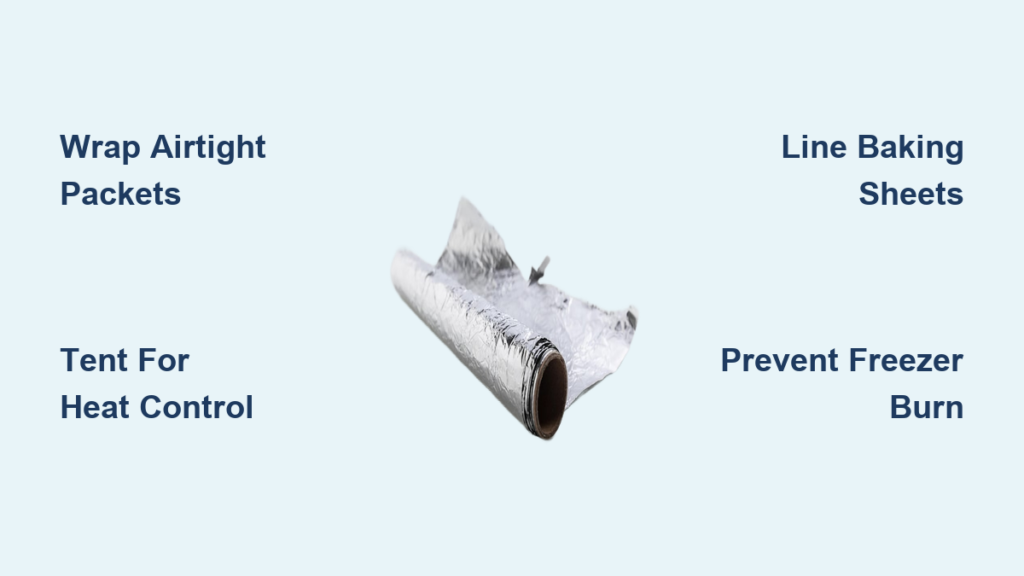
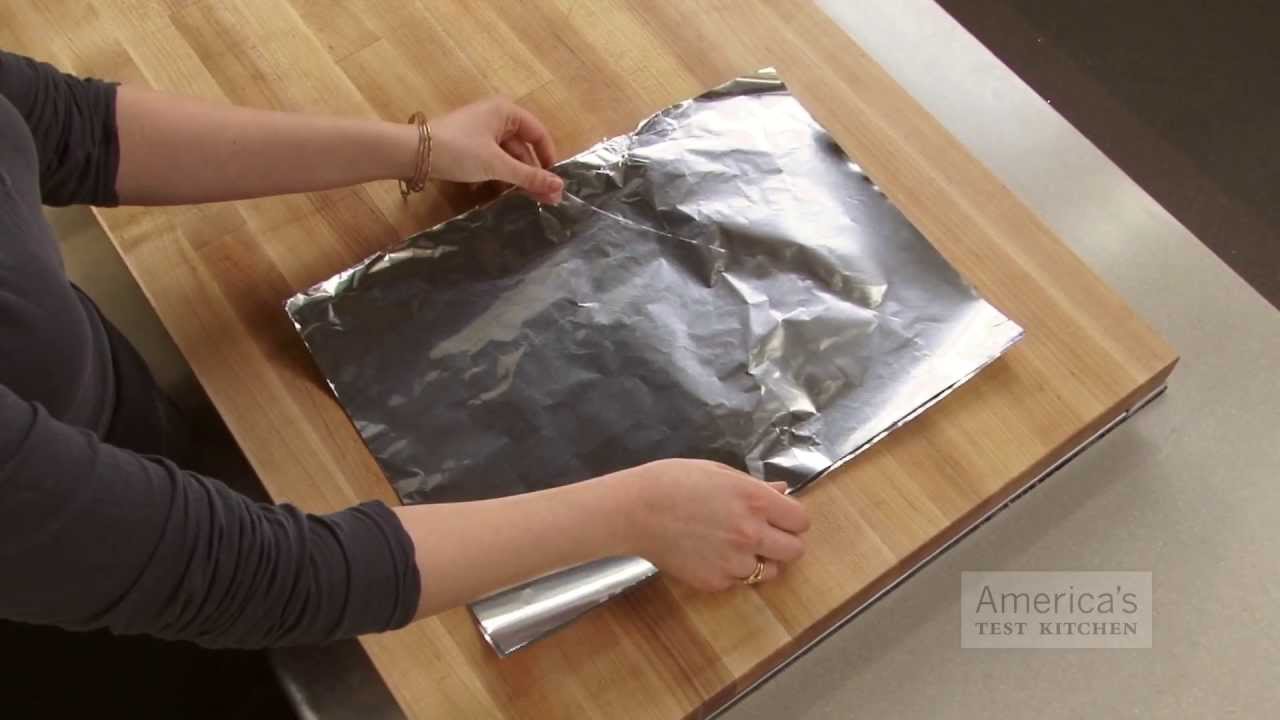
Create Airtight Food Packets with the Envelope Fold
The envelope fold creates sealed cooking environments that lock in moisture and flavor while allowing ingredients to steam perfectly. Place your food in the center of a foil sheet with the shiny side facing down, which reflects more heat back toward your food. Fold the long sides together until they meet in the middle, then fold them again to create a tight seal. Next, fold up one short end, followed by the other, pressing firmly at each fold to eliminate air pockets. This technique shines when preparing individual serving packets for the grill or oven—fish fillets with lemon slices, chicken breasts with herbs, or vegetable medleys all benefit from this method. For best results, add a small pat of butter or splash of broth inside the packet to create steam that keeps food moist during cooking.
Control Heat Exposure with the Tent Method
When you need protection without complete sealing, the tent method provides the ideal solution. Drape foil loosely over your food and tuck the edges underneath the dish or pan, creating a protective barrier that shields from direct heat while allowing steam to escape. Use this technique when preventing excessive browning on casseroles or when covering dishes during initial cooking stages before removing the foil to finish browning. For delicate foods like custards or cheesecakes that might crack under direct heat, tenting provides gentle protection while allowing proper setting. The key is maintaining at least one inch of space between the foil and your food to prevent condensation from dripping back onto the surface.
Optimize Oven Cooking Results
Kitchen foil dramatically improves oven cooking when used strategically, yet most home cooks only scratch the surface of its potential. Understanding how to use kitchen foil in oven applications can prevent common problems like burned bottoms, uneven browning, and messy spills.
Transfer Roasts Effortlessly with Foil Slings
Create a game-changing tool for handling large roasts by making a foil sling. Cut two 18-inch foil sheets and place them crosswise in your roasting pan with ends hanging over the sides. Position your roast on top and cook as usual. When ready to serve, use the foil handles to lift the entire roast smoothly from the pan without risking breakage. This technique proves invaluable for delicate proteins like whole fish, pork tenderloin, or turkey breast that might fall apart when handled with traditional utensils. The foil sling also makes basting easier since you can lift the roast partially from the pan while keeping it stable.
Achieve Perfect Cookie Texture with Foil Lining
Line baking sheets with foil to create more even heat distribution for cookies and other baked goods. The foil’s reflective surface directs more heat upward, producing crispier bottoms while maintaining chewy centers. This trick works especially well with dark metal pans that tend to absorb excessive heat and burn cookie bottoms. For best results, lightly spray the foil with cooking oil or place a silicone baking mat on top to prevent sticking. When removing cookies, gently lift the foil edges to release stuck pieces without damaging your baked goods.
Master Grilling with Foil Techniques
Foil transforms outdoor cooking by enabling cooking methods impossible with direct grill contact alone. Learning how to use kitchen foil for grilling creates controlled environments that infuse ingredients with smoke while protecting delicate foods from flare-ups.
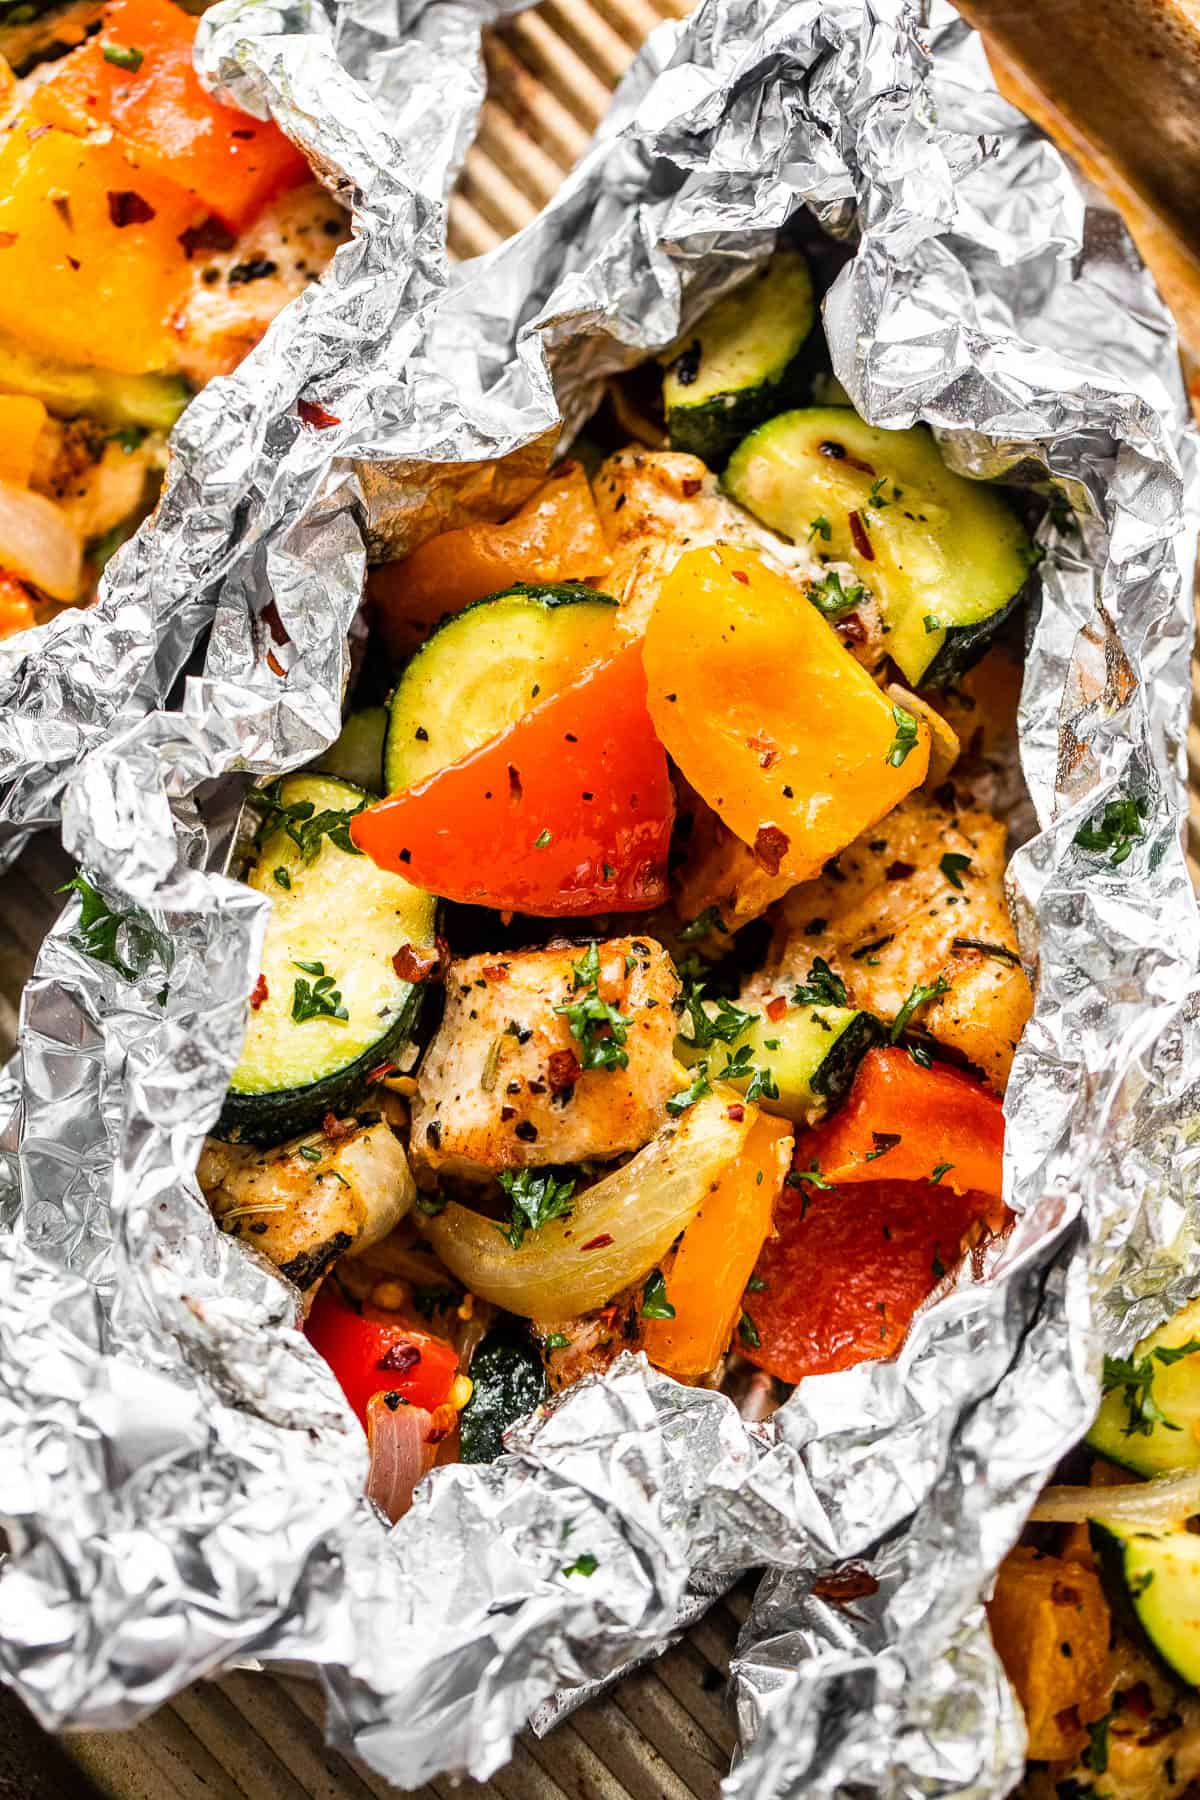
Cook Perfect Hobo Packets on the Grill
Create restaurant-quality hobo packets by placing uniformly cut vegetables, proteins, and seasonings on heavy-duty foil. Fold the edges together to form a sealed pouch, adding a pat of herb butter or splash of wine inside before sealing. Place packets over medium heat and grill for 20-30 minutes, turning once halfway through. The sealed environment allows ingredients to steam in their juices while absorbing smoky flavor. For foolproof results, double-fold all edges to prevent leaks and use heavy-duty foil to withstand grill heat without tearing. Root vegetables like potatoes and carrots should be cut smaller than softer vegetables to ensure even cooking throughout.
Protect Delicate Foods with Foil Boats
Form foil boats for grilling fish and fragile proteins that might stick to grates or fall apart. Fold up the edges of a heavy-duty foil sheet to create a boat shape with an open top. Place your fish inside with seasonings and lemon slices, then set directly on the grill. The open top allows smoke penetration while the foil prevents direct contact with grates. This method works equally well for shellfish, small vegetables, and reheating side dishes. For enhanced flavor, add a splash of white wine or broth inside the boat before grilling to create a steam bath that keeps proteins moist.
Extend Food Freshness with Smart Storage
Kitchen foil remains one of the most effective food preservation tools when used correctly. Understanding how to use kitchen foil for storage extends shelf life, prevents freezer burn, and keeps prepared ingredients ready for cooking.
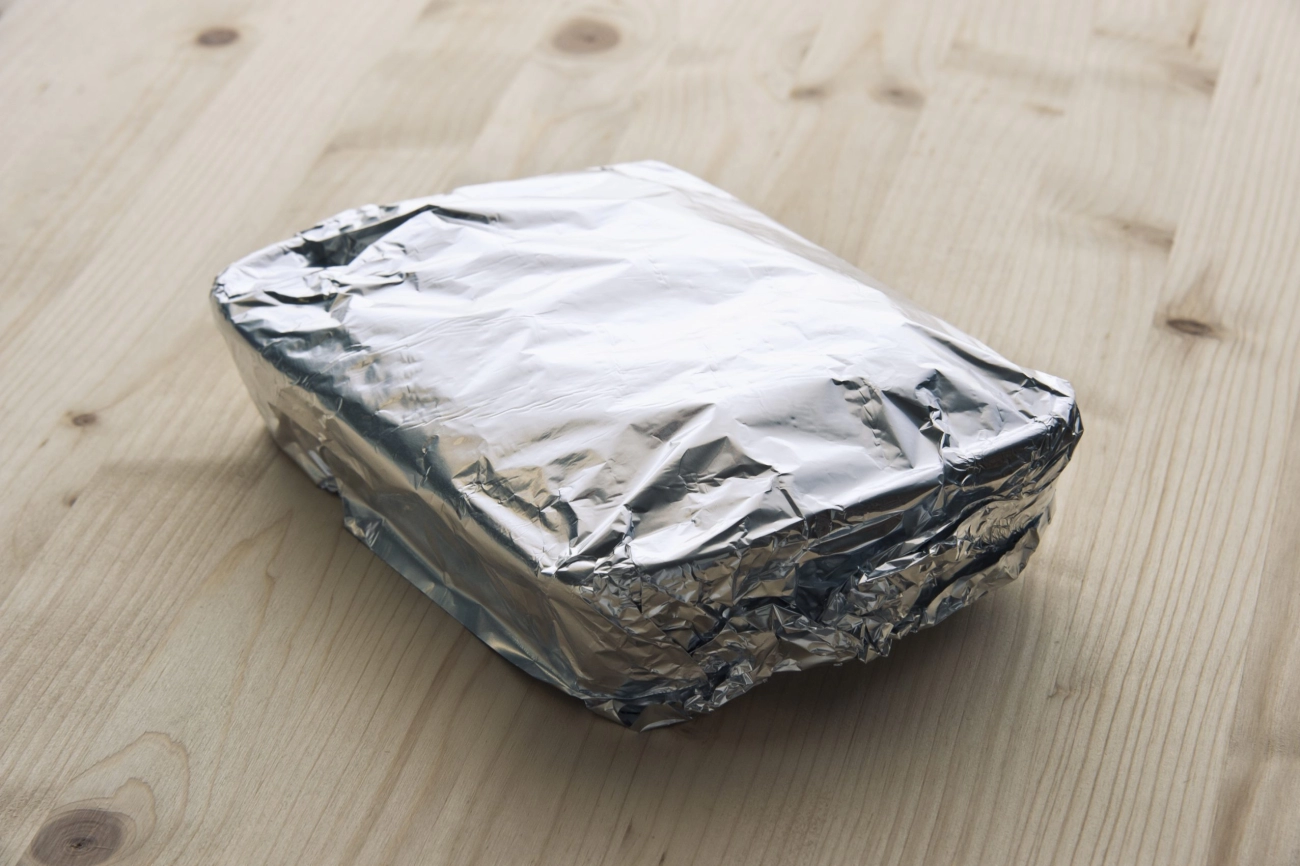
Prevent Freezer Burn with Proper Wrapping
Wrap freezer items tightly in heavy-duty foil, extending it at least one inch beyond all edges before folding and pressing to seal completely. For meats and fish particularly susceptible to freezer burn, double-wrap by first using plastic wrap, then adding a foil layer. Label each package with contents and date before freezing, and use within three months for optimal quality. The foil’s moisture barrier properties outperform plastic wrap alone, especially for long-term storage. For best results, press the foil directly against the food surface to eliminate air pockets that accelerate freezer burn.
Stop Fruit Browning with Breathable Foil Wraps
Create foil packets that prevent browning while maintaining proper moisture levels for cut fruits and vegetables. Wrap cut surfaces tightly but avoid crushing the food, allowing slight breathability that prevents sogginess. This method works exceptionally well for avocados, apples, and potatoes prepared in advance. The foil creates an oxygen barrier that slows enzymatic browning while retaining just enough moisture to prevent drying. For avocados, sprinkle cut surfaces with lemon juice before wrapping to enhance browning prevention.
Follow Essential Safety Practices
While kitchen foil is remarkably safe, understanding proper safety guidelines prevents potential hazards and ensures your food remains healthy to eat.
Avoid Acidic Food Contact
Never allow foil to contact acidic foods like tomatoes, citrus, or vinegar-based sauces during prolonged cooking or storage. The acid causes aluminum to leach into your food, potentially giving dishes a metallic taste and increasing dietary aluminum intake. Instead, use glass, ceramic, or plastic containers for acidic foods, or place parchment paper between the food and foil if covering is necessary. When marinating acidic ingredients, always use non-reactive containers rather than wrapping directly in foil.
Prevent Microwave Disasters
Never use standard foil in microwave ovens—it can spark and create fire hazards when exposed to microwave radiation, especially when crumpled or folded with sharp edges. If covering food in the microwave is necessary, use microwave-safe lids, wax paper, or paper towels instead. Some newer convection microwave combinations allow limited foil use in convection mode only, but always consult your appliance manual before attempting this. When in doubt, skip the foil and use alternative covering methods.
Choose the Right Foil for Each Job
Selecting appropriate foil type makes a significant difference in cooking results and prevents frustration during preparation.
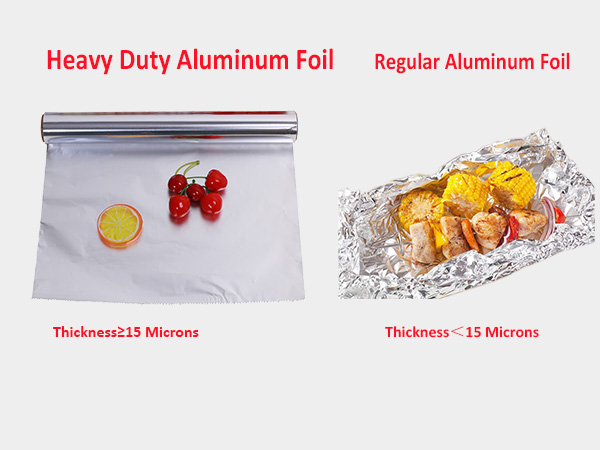
Match Foil Weight to Your Task
Standard-duty foil (about 0.0007 inches thick) works perfectly for wrapping sandwiches, covering leftovers, and light-duty tasks. Keep this economical option for quick jobs where durability isn’t critical. Heavy-duty foil (approximately 0.001 inches thick) provides necessary durability for grilling packets, freezer storage, and prolonged cooking applications. The extra thickness resists tears during handling and withstands abrasion from foods with sharp edges or bones. Invest in heavy-duty foil for any application involving movement during cooking or extended heat exposure.
Consider Non-Stick Options for Messy Foods
Non-stick foil features a special coating that prevents food adhesion, making cleanup virtually effortless for messy dishes like cheesy casseroles, sugary desserts, and sticky marinades. While more expensive than standard foil, the convenience often justifies the cost for particularly problematic recipes. Remember that non-stick foil shouldn’t be used with metal utensils that could damage the coating. For most applications, standard heavy-duty foil provides sufficient performance at a lower cost.
By implementing these techniques, you’ll transform kitchen foil from a simple wrapper into your most versatile kitchen tool. Start practicing these methods today and discover how this humble material can solve countless cooking challenges while improving your results and simplifying cleanup. The next time you reach for that roll of foil, remember—you’re holding a powerhouse culinary tool just waiting to transform your cooking experience.


