
Nothing beats the satisfaction of creating fresh pasta from scratch—until you realize how physically demanding hand-rolling can be. That’s where your KitchenAid stand mixer and pasta attachment become game-changers, allowing you to transform simple flour and eggs into silky fettuccine or delicate spaghetti with minimal effort. Learning how to use KitchenAid pasta attachment properly unlocks the ability to create restaurant-quality noodles in your own kitchen, without the wrist strain of traditional methods. This guide walks you through every critical step—from safety setup to final storage—so you can consistently produce perfect fresh pasta that elevates any meal. Whether you’re making your first batch or troubleshooting inconsistent results, mastering these techniques will transform your pasta-making experience.
Avoid Dangerous Roller Accidents With Proper Safety Setup
Your KitchenAid pasta attachment contains powerful rollers that require your full attention to operate safely. Before attaching any components, remove all potential hazards: take off scarves, necklaces, and any loose clothing that could snag during operation. If you have long hair, secure it completely with a hair tie or clasp—stray strands caught in the rollers can cause painful pulls or damage the attachment mechanism. These safety measures aren’t just for beginners; even experienced pasta makers have learned the hard way that complacency around moving parts leads to accidents. Keep your sleeves rolled up and maintain a firm stance while feeding dough through the rollers to maintain control throughout the entire process.
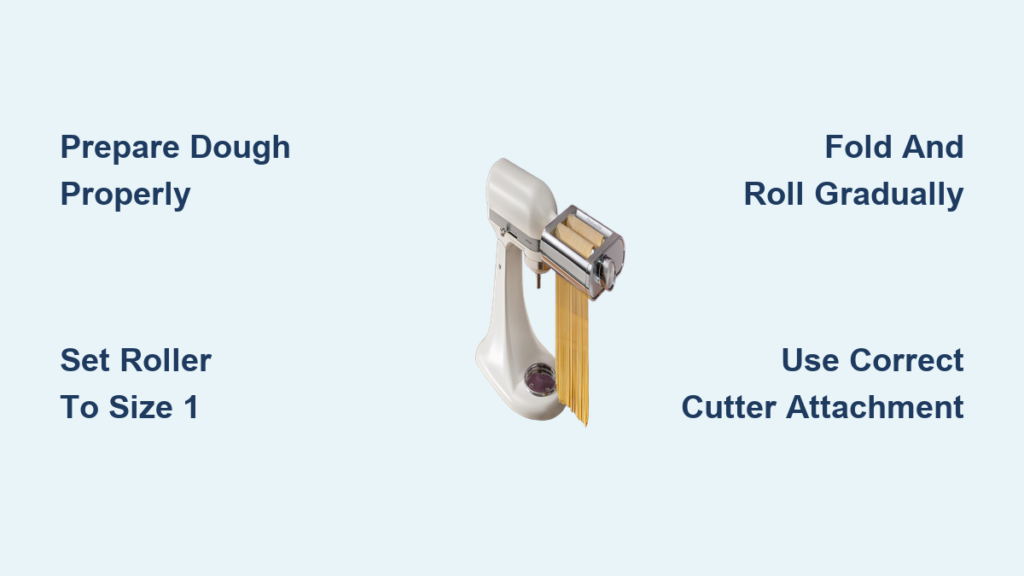
Create Perfect Dough Before Attaching Your Pasta Roller
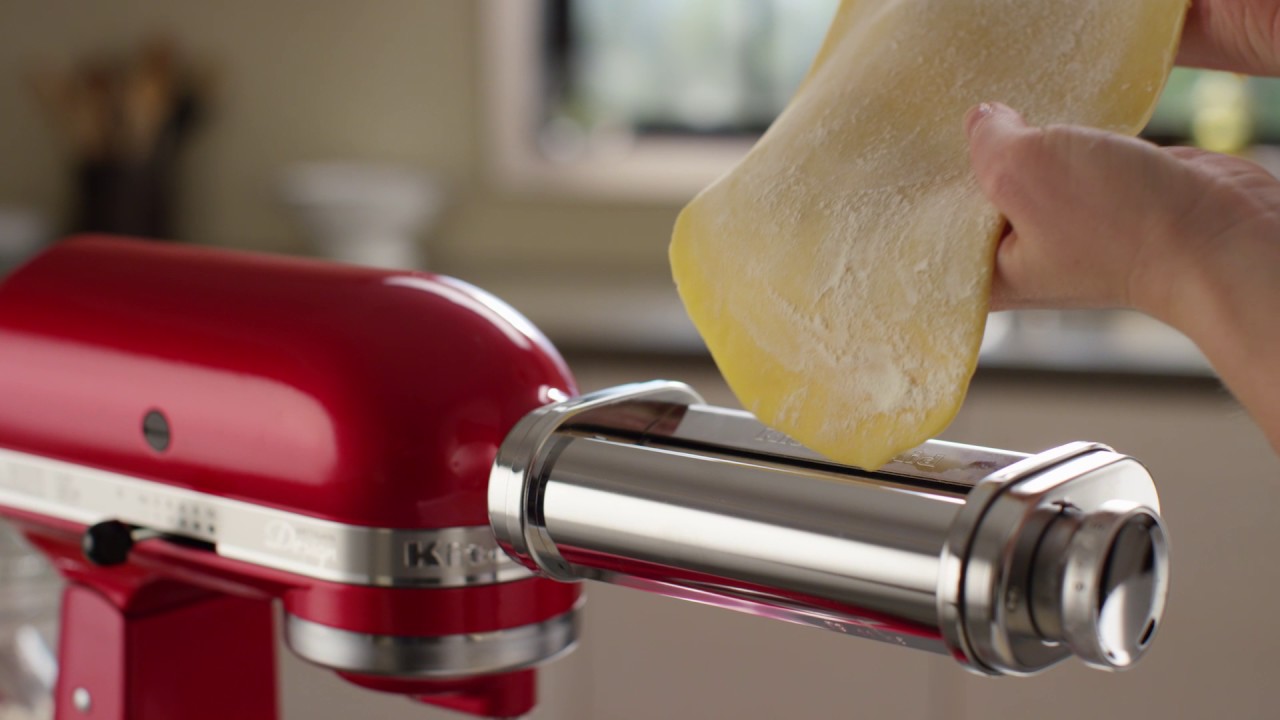
The quality of your finished pasta depends entirely on properly prepared dough, so don’t rush this critical step before using your KitchenAid pasta attachment. Mix your ingredients thoroughly according to your recipe, then knead until the dough becomes smooth and elastic—this develops the gluten structure essential for pasta that holds together during rolling and cooking. After kneading, let the dough rest covered for the recommended time; this hydration period makes the dough more pliable and less likely to tear when fed through the rollers. When ready to roll, divide the dough into golf ball-sized portions you can comfortably handle. Working with smaller sections prevents overloading the attachment and ensures even thickness throughout your pasta sheets, which is crucial for consistent cooking results.
Configure Your Pasta Roller for Flawless First Passes

Setting up your KitchenAid pasta roller correctly prevents frustrating jams and uneven sheets that ruin your pasta-making session. Pull the roller adjustment knob straight out from its housing and rotate it to setting “1”—the widest gap between rollers—which accommodates your initial thick dough sections. Before releasing the knob, verify that the pin on the roller housing properly engages with the opening on the back of the adjustment knob. This engagement is non-negotiable: when correctly aligned, the knob sits flush against the housing without wobble. An improperly engaged pin causes inconsistent rolling thickness and can damage the attachment over time. Take this extra moment to confirm proper setup—it prevents headaches during your rolling process and extends your attachment’s lifespan.
Progressively Roll Dough to Perfect Thickness Without Tears
Mastering the rolling sequence transforms tough dough into delicate pasta sheets with your KitchenAid attachment. Start with the mixer at speed “2” and feed your first dough portion through the rollers, allowing the machine to knead and flatten it in a single pass. Immediately fold the resulting sheet in half and feed it through again—repeat this fold-and-roll process 3-4 times until the dough becomes smooth, pliable, and spans the full roller width without thin spots. This kneading phase develops the dough’s structure for thinning. Once consistently wide, switch to progressive thinning: change to setting “3,” feed through without folding, then incrementally increase to settings 4, 5, and beyond until reaching your desired thickness. Dust lightly with flour between passes to prevent sticking, but avoid excess that makes dough brittle.
Why You Should Never Skip the Kneading Phase
Skipping the initial fold-and-roll kneading process causes immediate problems: dough tears, creates uneven sheets, and resists thinning. This phase aligns the gluten strands just as hand-kneading does, preparing the dough for delicate thinning. Without it, your pasta will lack the elasticity needed for restaurant-quality results and may break during cutting.
Troubleshooting Uneven Pasta Sheets
If your sheets come out uneven with thin spots:
– Check that your dough portions aren’t too large
– Verify the adjustment knob is properly engaged
– Ensure you’re dusting with just enough flour—too much creates dry patches
– Confirm you completed sufficient kneading passes before thinning
Switch to Cutter Attachments for Perfect Fettuccine or Spaghetti
After rolling perfect sheets, transform them into noodles by swapping to your desired cutter attachment. Remove the pasta roller from your mixer head and securely install your fettuccine, linguine, or spaghetti cutter—each creates distinct noodle widths for different dishes. Before feeding dough through, double-check that the cutter is fully locked into place; a loose attachment produces irregular cuts and risks damage. Keep the mixer at speed “2” and feed pasta sheets through steadily—hesitating causes bunching while forcing too quickly results in torn noodles. The cutter automatically slices continuous sheets into uniform strands, but maintaining consistent feed speed ensures professional-looking results every time.
Matching Cutter Types to Your Favorite Dishes
- Fettuccine cutter: Creates wide, flat noodles perfect for rich cream sauces like Alfredo
- Linguine cutter: Produces slightly narrower flat noodles ideal for seafood dishes
- Spaghetti cutter: Makes round strands that pair beautifully with tomato-based sauces
- Ravioli maker: (If you have this specialty attachment) Forms filled pasta pockets in seconds
Prevent Common Pasta-Making Mistakes Before They Happen
Even experienced home chefs make preventable errors when using KitchenAid pasta attachments that compromise results. Never skip the flour dusting between rolling stages—this thin coating prevents sticking during both processing and cooking. After cutting, immediately separate strands rather than letting them rest in a pile; clumped noodles become difficult to untangle and cook unevenly. When drying fresh pasta before cooking, never crowd strands together on your drying surface—allow space for air circulation to prevent sticking. Most importantly, resist the temptation to rush the process; forcing dough through rollers at higher speeds than “2” strains the attachment and produces inferior pasta.
Maintain Your Pasta Attachment for Years of Trouble-Free Use
Proper cleaning preserves your KitchenAid pasta attachment’s precision engineering for consistent performance batch after batch. Immediately after use, remove all dough residue before it dries and hardens on the rollers—dried dough becomes exponentially harder to remove later. Hand-wash all components with warm water and mild soap using a soft brush; never use abrasive scrubbers that scratch the smooth metal surfaces essential for clean rolling. Thoroughly dry every part before storage to prevent corrosion, especially in the narrow grooves of cutter blades. Reassemble the attachment in its original configuration and store it in its protective case or a dedicated container—this prevents damage to the precisely machined rollers and cutter edges that ensure professional results.
Store Fresh Pasta for Immediate or Future Gourmet Meals
Your KitchenAid pasta attachment produces noodles ready for three storage options depending on your meal timing. For immediate cooking, lightly dust strands with flour and let them rest 10-15 minutes before boiling—this brief drying period helps them maintain shape during cooking. To dry for pantry storage, arrange strands on a pasta drying rack or over the backs of chairs covered with clean cloths, allowing 12-24 hours of air drying until completely brittle. For freezer storage, portion cut noodles into single-serving nests, dust generously with flour, and freeze on a baking sheet before transferring to airtight containers. Properly stored fresh pasta retains its superior texture and flavor for months, ready to transform into gourmet meals with minimal preparation.
Final Note: Mastering how to use KitchenAid pasta attachment transforms basic ingredients into culinary masterpieces with surprising ease. By following these precise techniques—from proper dough preparation through final storage—you’ll consistently create restaurant-quality pasta that impresses family and guests alike. The key to perfect results lies in respecting the attachment’s engineering: maintain proper mixer speed, progress through thickness settings methodically, and never skip essential safety steps. With practice, operating your pasta roller and cutter becomes second nature, opening endless possibilities for homemade noodles that dried store-bought versions simply cannot match. Keep this guide handy for your next pasta-making session, and soon you’ll wonder how you ever made pasta without your KitchenAid attachment.


