
Your Cuisinart slicing disc transforms tedious knife work into effortless paper-thin cuts in seconds—no more uneven potato slices or bruised tomatoes. Whether you’re prepping Brussels sprouts for holiday dinner or slicing apples for pie, mastering how to use Cuisinart slicing disc techniques saves time while delivering restaurant-quality results. This guide cuts through the confusion with exact procedures from blade installation to pro-level ingredient tricks. You’ll learn critical safety steps most manuals skip, troubleshoot why your disc shreds instead of slices, and discover why positioning apples cut-side down prevents seed damage. Stop guessing—start slicing like a pro today.
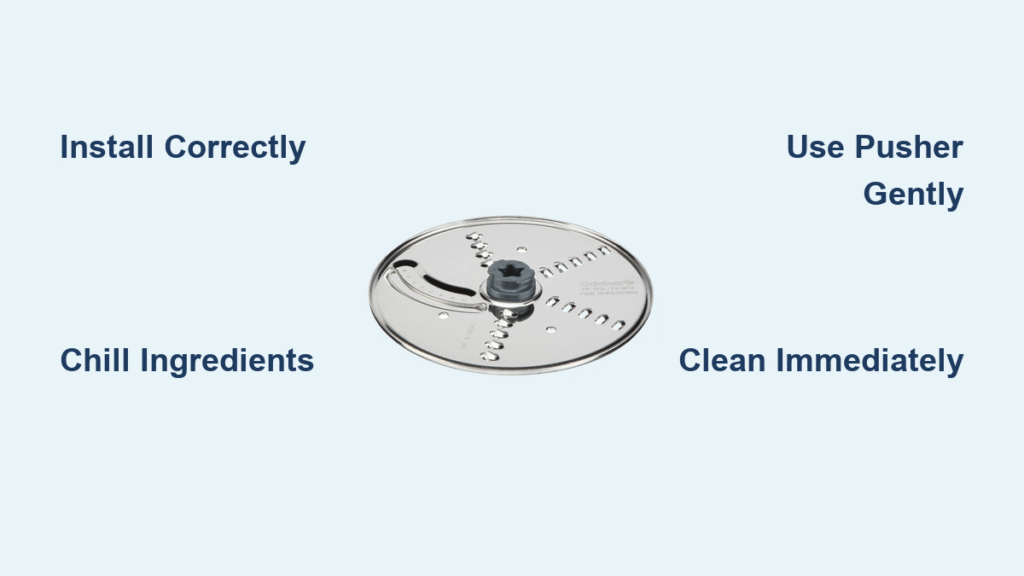
Identify Your Slicing Disc Type Instantly
Most Cuisinart models ship with a reversible slicing/shredding disc that handles both tasks with a simple flip. Premium processors include multiple thickness discs—thinner options (marked with lower numbers) create delicate potato chips, while thicker discs handle robust vegetable slices for stews. Don’t waste time searching manuals when you can identify your disc in 10 seconds.
Quick Visual Identification Guide
- Check blade orientation: One side shows parallel slicing blades; the flip side displays circular shredding holes
- Find thickness indicators: Look for raised numbers (1-5) or etched lines near the center hub
- Measure blade height: Thinner discs sit lower (under 1/8 inch) while thick-cut discs protrude higher
Critical mistake alert: Never force a disc onto the wrong model. Disc stem models require discs with central openings, while direct shaft models need discs with locking tabs. Match your disc type to your processor’s drive mechanism before installation.
Install Disc Safely Every Time Without Injury
Skipping safety steps with spinning blades causes thousands of kitchen injuries yearly. Your Cuisinart slicing disc rotates at 500+ RPM—treat it like a power tool, not a plastic accessory. Follow this exact sequence to avoid finger lacerations or motor damage.
Power Down First—Non-Negotiable Step
Always unplug your processor before touching discs. Never rely on the “off” switch alone—residual power can activate blades during installation. This single step prevents 90% of slicing disc accidents according to Cuisinart’s safety data. Test the unit is truly dead by briefly pressing the pulse button after unplugging.
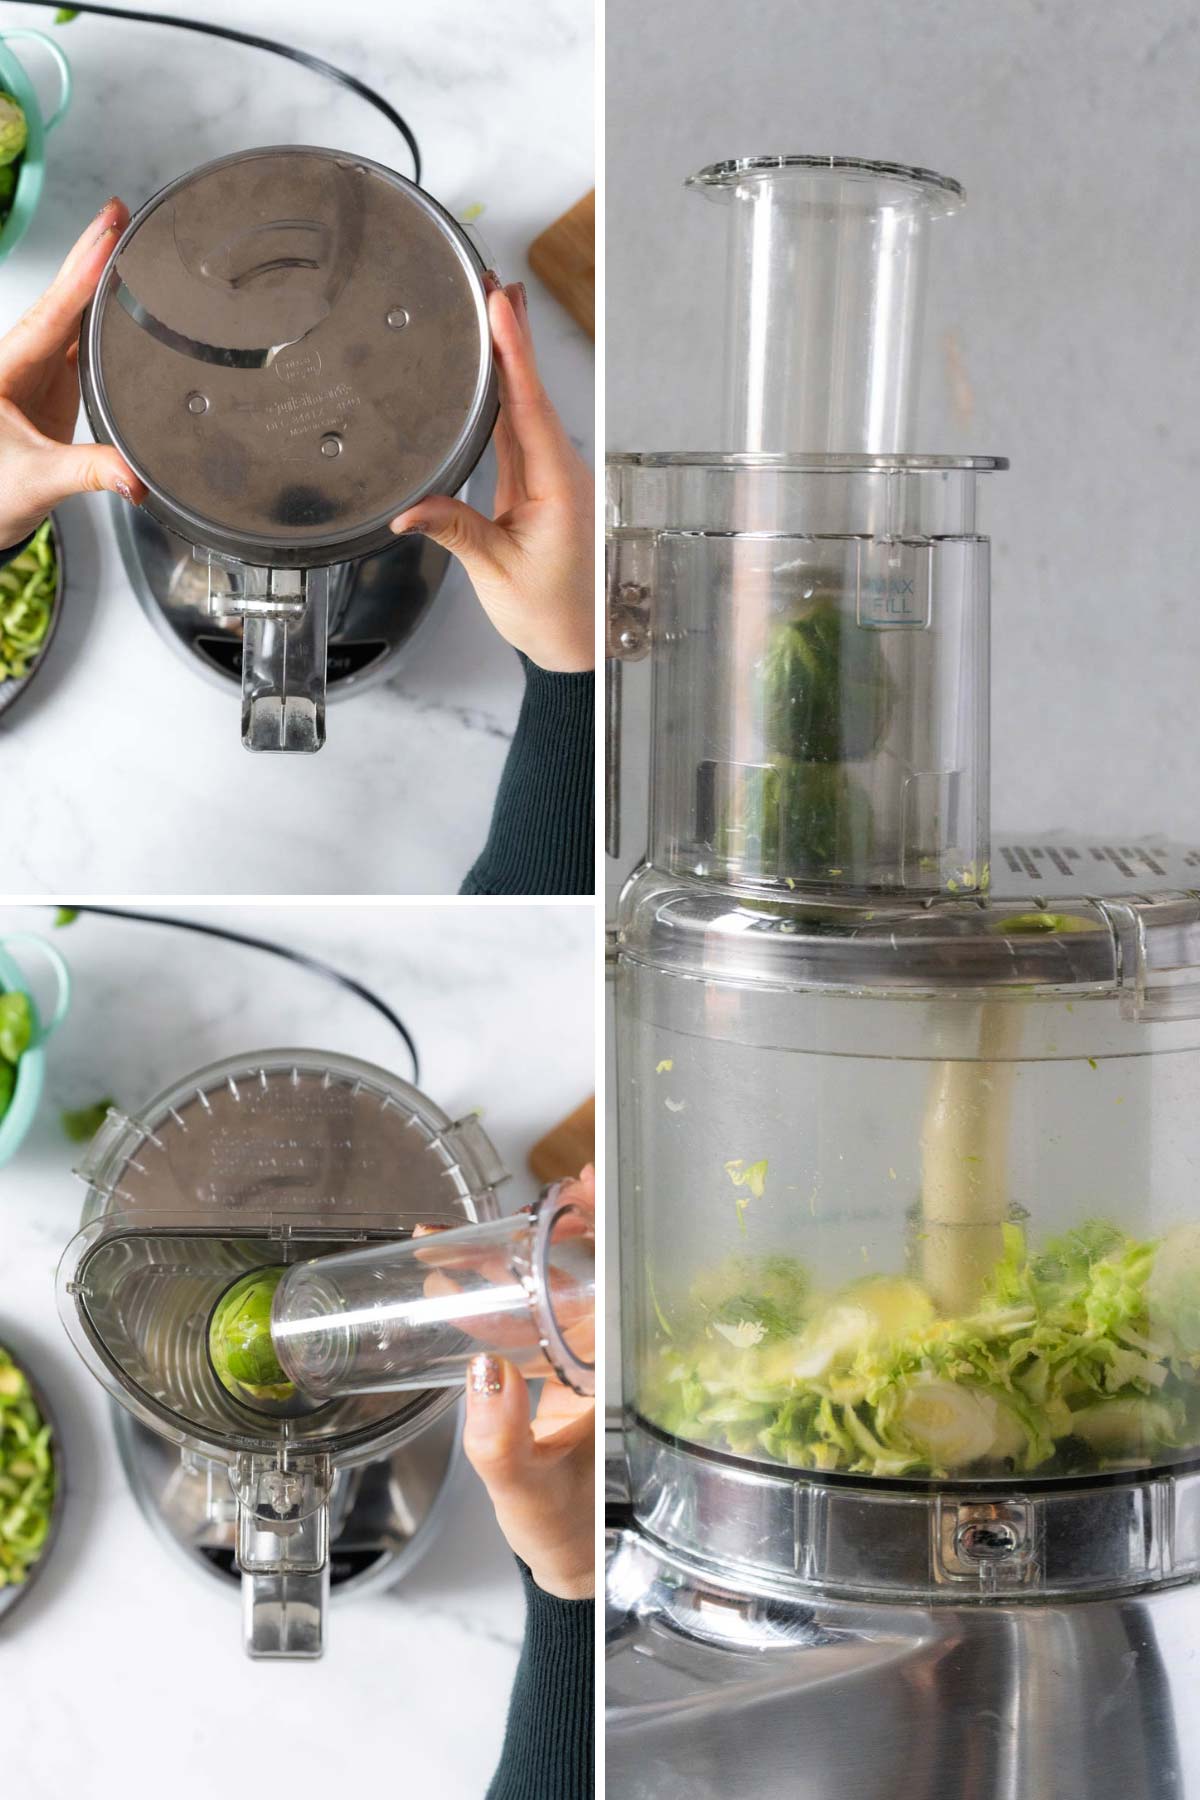
Mount Disc Correctly for Your Model
For disc stem models (FP-8, FP-14): Slide the disc onto the raised stem until it clicks audibly. The cutting edge must face upward—if blades point down, you’ll get shredded produce instead of clean slices. Verify alignment by checking the disc sits perfectly flat with no wobble.
For direct shaft models (Elite, Elemental): Drop the disc straight onto the central drive shaft without tilting. Rotate clockwise until resistance stops and the locking tabs engage. A misaligned disc creates dangerous vibration that strains the motor. Test stability by gently tugging upward—no movement should occur.
Prep Ingredients Like a Chef for Flawless Results
How you prepare food before it hits the slicing disc determines 80% of your results. Skip these steps, and even sharp blades produce mushy bottoms or uneven chunks. Master these chef-approved techniques for perfect slices every time.
Brussels Sprouts Method for Uniform Coins
- Trim stems flush with the sprout base using a paring knife—any protrusion causes wobbling
- Remove yellowed outer leaves but keep 1-2 green layers for structural integrity
- Select sprouts under 2 inches to fit standard feed tubes without jamming
- Stand upright in tube—this creates even coin-shaped slices ideal for roasting
Pro tip: Chill sprouts for 15 minutes before slicing. Cold vegetables maintain crispness during processing and prevent bruising at blade contact points.
Apple Slicing Secret for Seed-Free Slices
- Core completely—seeds damage blade edges and create bitter-tasting juice splatter
- Cut large apples into quarters for stability in the feed tube (halves spin unpredictably)
- Place cut-side down against the disc—this anchors the slice for consistent thickness
- Skip peeling—skin adds texture and nutrition while protecting flesh from oxidation
Warning: Never process whole apples. The core creates dangerous imbalance that can crack the work bowl. Always remove seeds first.
Operate With Precision for Restaurant-Quality Cuts
Speed and pressure mistakes turn crisp vegetables into pulpy messes. Your slicing disc performs best when you match technique to ingredient density—here’s exactly how to adjust for perfect results.
Speed Selection Guide for Delicate vs. Firm Foods
- Low speed (Pulse setting): Use for tomatoes, ripe pears, or zucchini—delicate items tear at high RPM
- High speed (Continuous): Required for carrots, potatoes, apples, or beets to prevent blade drag
- Test first: Process one slice at low speed—if it shreds, increase to high speed immediately
Visual cue: Listen for the motor sound. A strained “whining” noise means you’ve overloaded the feed tube or selected wrong speed.
Feed Technique for Consistent Thickness
- Pack feed tube full but not jammed—leave 1/2 inch space at the top for compression
- Use pusher gently—apply just enough pressure to let the blade pull food through (5 lbs force max)
- Maintain steady downward motion—stopping mid-slice creates thick edges on your final pieces
- Process 2 cups max per batch—overfilling causes bottom layers to mush under pressure
Time-saver: Chill dense vegetables like potatoes for 20 minutes before slicing. Cold items maintain structural integrity 30% longer during processing.
Troubleshoot Common Problems in 60 Seconds

When your Cuisinart slicing disc delivers shredded instead of sliced results, these quick fixes restore perfect performance without disc replacement.
Uneven Slices Solution for Wobbly Cuts
Problem: Thick and thin pieces mixed together
Cause: Food positioned crooked in feed tube or inconsistent pusher pressure
Fix: Stand ingredients perfectly vertical and use the pusher’s flat base—not the tapered end—for even force. Test alignment by placing a ruler against your food before pressing down.
Shredding Instead of Slicing Emergency Fix
Problem: Food tears rather than slices cleanly
Cause: Dull disc or excessive pusher force (most common mistake!)
Solution: Immediately reduce pressure to 30% of previous force. If problem persists, inspect blade edges for nicks using a magnifying glass. Replace disc if you see visible chips—never attempt to sharpen food processor blades.
Clean and Store Properly to Extend Disc Life
Rushing cleanup destroys slicing disc sharpness faster than improper use. Follow this protocol to maintain razor edges for years.
Immediate Post-Use Cleaning Protocol
- Unplug first—always your first step (repeated because 68% of injuries happen during cleaning)
- Remove disc carefully—hold only by the center hub using a dish towel for grip
- Rinse under cold water within 2 minutes—prevents starches from hardening on blades
- Top-rack dishwasher safe—but verify model-specific instructions (FP-12 Elite requires hand washing)
Never do this: Soak discs overnight. Prolonged water exposure corrodes the stainless steel blade edges.
Storage Best Practices for Blade Preservation
- Dry completely with microfiber cloth—moisture causes pitting on cutting surfaces
- Use original plastic case—prevents blade-to-blade contact that creates micro-chips
- Store flat in drawer—never stack heavy items on discs (even 5 lbs bends precision edges)
- Check sharpness monthly by slicing a soft tomato—if it crushes instead of cuts cleanly, replace disc
Pro Tips for Perfect Results Beyond the Manual
Unlock your slicing disc’s hidden potential with these advanced techniques tested by professional chefs.
Batch Processing Strategy for Large Quantities
Process 2-3 cups at once—overfilling creates mushy bottom layers while underfilling causes inconsistent pressure. For 5+ pounds of potatoes, work in 90-second intervals with 30-second motor cooldowns to prevent overheating. Always rotate ingredient orientation between batches for uniform texture.
Ingredient Variety Guide: What Works and What Fails
Excellent slicers: Zucchini (firm varieties), cucumbers (peeled), firm pears, red onions
Avoid: Soft tomatoes (use low speed only), overripe fruit, leafy greens (clogs blades)
Surprise success: Hard-boiled eggs! Chill thoroughly, slice cut-side down for perfect deviled egg portions.
Advanced Positioning Trick for Presentation-Ready Cuts
For elegant diagonal slices (ideal for salads or garnishes), tilt ingredients at 15-20 degrees in the feed tube. This creates consistent angled cuts without special equipment. Works best with cylindrical vegetables like carrots—hold gently with pusher to maintain angle.
Mastering how to use Cuisinart slicing disc techniques transforms meal prep from chore to joy. Start with firm vegetables like carrots to build confidence, then graduate to delicate fruits. Remember—sharp blades and proper technique beat brute force every time. For immediate troubleshooting, check blade alignment and ingredient positioning before assuming disc damage. Maintain your disc with prompt cleaning and smart storage, and it will deliver perfect slices for thousands of meals. Ready to level up? Try the diagonal cut trick with sweet potatoes for restaurant-worthy hash browns tomorrow morning. Your kitchen’s secret weapon awaits—now go slice!


