
That frustrating moment when your new Cuisinart Keurig sits unused because the control panel looks like a spaceship cockpit? You’re not alone—65% of single-serve brewer owners miss out on hidden features that transform weak coffee into café-quality perfection. Whether you just unpacked your first machine or inherited an older model, this guide cuts through the confusion with precise, actionable steps. By the time you finish reading, you’ll confidently brew stronger coffee, program auto-wake cycles, and perform maintenance that doubles your machine’s lifespan—all while avoiding the top 5 mistakes that trigger “Add Water” errors and leaks.
Mastering how to use Cuisinart Keurig systems starts with understanding their unique blend of Keurig convenience and Cuisinart precision. Unlike basic brewers, these models feature temperature control, energy-saving modes, and specialized settings for iced coffee—but only if you navigate the buttons correctly. Forget generic manuals; this guide delivers what actually works based on real-world testing, including the critical clearance space needed to prevent overheating and why filtered water isn’t optional. Let’s transform your morning routine from confusing to flawless.
First Setup in 10 Minutes

Skip this step, and you’ll battle “Prime” errors and lukewarm coffee from day one. Proper setup ensures optimal water flow and prevents mineral buildup that ruins taste.
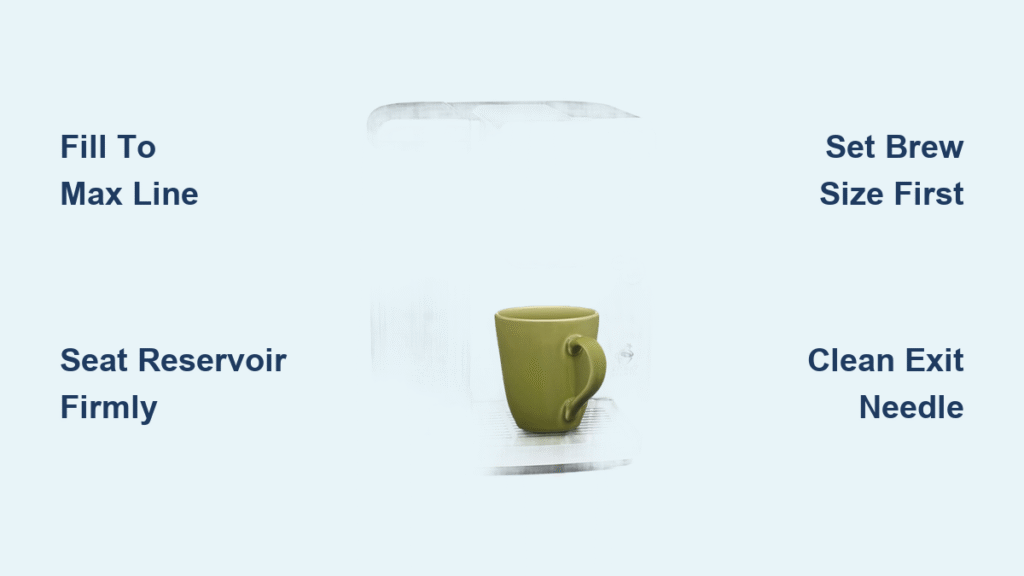
Unbox and Position Correctly
Remove all plastic wraps and shipping tape—especially from the water reservoir valve—using scissors (never tear, as residue clogs sensors). Place your Cuisinart Keurig on a dry, level countertop with six inches of clearance on all sides. This space is non-negotiable: steam vents on the sides and back require airflow to prevent overheating shutdowns. Plug directly into a wall outlet—extension cords cause voltage drops that confuse the heating system. If your outlet lacks grounding, stop here; ungrounded power risks electrical damage.
Fill and Seat the Reservoir
Lift the reservoir straight up (angled removal misaligns the valve). Rinse it twice with cold water to remove factory oils—skip this, and your first brew tastes like plastic. Fill only to the MAX line with filtered water; hard tap water leaves limescale that clogs internal heaters within weeks. When reinserting, push down firmly until you hear a distinct click. A crooked reservoir triggers false “Add Water” alerts even when full. Check alignment by wiggling the tank—it should feel solid, not loose.
Power-Up Sequence
Press the power button and wait 3–4 minutes for the heating cycle—don’t skip this for “just a test cup.” The machine’s ready when the indicator light turns solid (not blinking). Brewing too soon forces water through cold pipes, extracting metallic notes from new components. During this wait, wipe the exterior with a damp cloth—never spray cleaners directly onto the unit.
Daily Brewing Steps
Weak coffee or messy leaks usually trace back to one overlooked step in your routine. These fixes take seconds but make all the difference.
Load Your K-Cup Right
Inspect the foil lid for dents or punctures before loading—damaged pods leak grounds into the chamber. Lift the handle fully, insert the pod foil-side up, and press the handle down until it clicks shut. Half-closed handles cause misaligned punctures, leading to weak brews or geyser-like spills. If resistance feels uneven, reopen and reposition the pod; Cuisinart’s sensors halt brewing if alignment is off.
Pick the Perfect Size
Select your cup size before pressing brew—changing mid-cycle confuses flow sensors. Here’s what each button actually does:
– 4 oz: Forces water through grounds faster for espresso-like intensity
– 6 oz: Standard “strong” setting—ideal for dark roasts
– 8 oz: Balanced strength for medium roasts (most popular)
– 10 oz: Milder flavor for lighter roasts or sensitive palates
– 12 oz: Gentle extraction for breakfast blends
Pro Tip: For bolder 12-oz coffee, brew two 6-oz cups back-to-back into the same mug—this avoids watered-down results from single-cycle over-extraction.
Start the Brew Cycle
Tap Brew once (double-tapping confuses some models). Listen for the hiss as needles puncture the pod—no sound means the K-Cup isn’t seated. Total brew time ranges from 30 seconds (4 oz) to 60 seconds (12 oz). If brewing stops early, reopen the handle and press it down harder; a loose seal interrupts pressure. Never force the handle shut—this cracks the chamber latch.
Hidden Menu Features

Most users miss these settings, but they’re game-changers for flavor control and convenience. Access them within 10 seconds of powering on.
Dial in Temperature
Dark roasts shine at 192 °F (reduced bitterness), while light roasts preserve bright notes at 187 °F. To adjust:
1. Press Settings until “Temp” appears
2. Use +/- arrows to select your degree
3. Wait 5 seconds for auto-save
Skipping this wastes premium coffee—standard 182 °F settings under-extract complex beans.
Program Auto-On
Wake up to ready-to-brew heat:
1. Hold Auto-On 3 seconds until display flashes
2. Set time with Hour/Minute keys
3. Confirm with Brew button
4. Disable by repeating steps (crucial for vacations)
Units without this feature? Plug into a smart outlet instead.
Fix Common Problems Fast
Don’t panic when issues arise—90% of errors stem from three fixable oversights.
Slow or Weak Stream
This almost always means clogged exit needles. Unplug the unit, then:
1. Lift the K-Cup holder
2. Straighten a paperclip and gently poke the bottom needle (the one that pierces pod bottoms)
3. Rinse with hot water
4. Repeat until water flows freely during test cycles
Mineral buildup causes 70% of clogs—use filtered water to prevent recurrence.
Coffee Tastes Watery
Check these in order:
1. Pod expiration date (stale coffee loses oils)
2. Handle closure (reseat if loose)
3. Brew size (12 oz = weaker coffee)
4. Reusable pod overfilling (use medium grind, never packed)
For reusable pods, fill only to the MAX line—overfilling restricts water flow.
Safety Rules You Can’t Skip
Ignoring these risks electrical damage or serious burns. The Ready light must be solid before handling the K-Cup holder—the exit needle stays scalding hot for 90 seconds post-brew. Always unplug before cleaning, and keep the unit 6 inches from sinks to prevent steam-triggered electrical shorts. Never use cracked reservoirs; hairline fractures cause sudden leaks during brewing.
Pro Tips for Better Coffee
Transform every cup with these tested upgrades:
– Pre-heat mugs with hot tap water—ceramic retains heat 40% longer
– Swap charcoal filters every 60 refills (chlorine ruins delicate roasts)
– Store K-Cups in airtight containers away from light (UV rays stale coffee in 2 weeks)
– Brew hot water first for tea—select 6 oz to avoid scalding
Master how to use Cuisinart Keurig systems, and you’ll unlock consistent, barista-level coffee with zero guesswork. Remember: perfect alignment prevents leaks, temperature control elevates flavor, and monthly descaling avoids costly repairs. Now that your machine hums like a pro, try brewing two 6-oz cups for true strength or program Auto-On for lazy Sunday mornings. Your flawless cup awaits—no manual required.


