
That first sip of vibrant, nutrient-packed juice should feel like a victory—not a battle with confusing parts and clogged filters. If your Cuisinart juicer sits unused while store-bought alternatives gather dust, you’re missing out on fresher, cheaper, and healthier drinks. Mastering how to use Cuisinart juicer transforms produce into liquid gold in minutes. This guide cuts through the frustration with precise steps to unlock pro-level results from day one. You’ll learn to avoid common pitfalls that ruin extraction, keep your machine humming for years, and craft blends that outperform juice bar offerings.
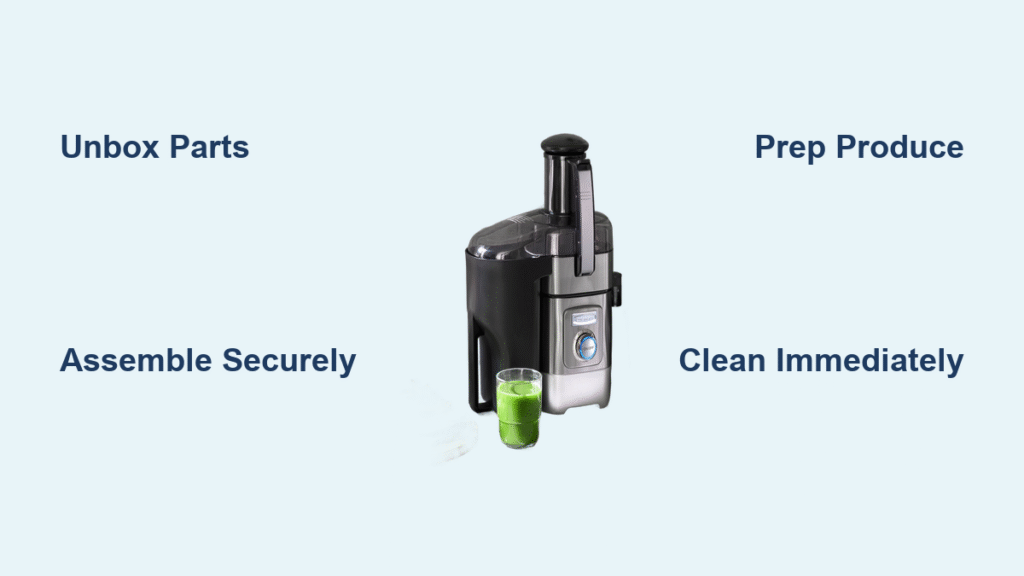
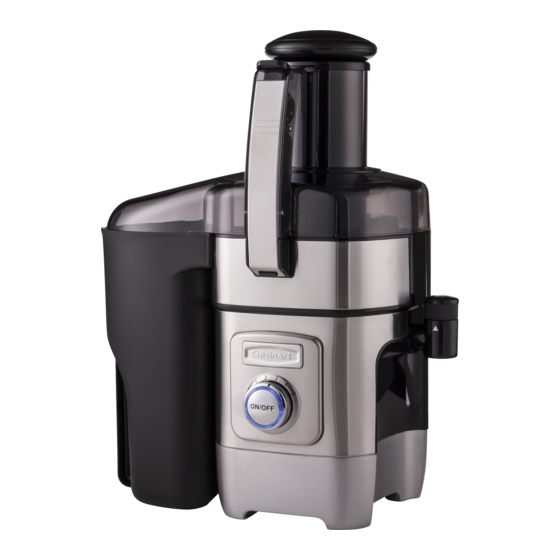
Unbox and Set Up Components
Skip this step and melted plastic wrappers could ruin your first batch. Your Cuisinart juicer arrives with seven critical pieces: motor base, juice pitcher (with measurement lines), pulp container, food pusher, stainless steel micro-mesh filter basket, cleaning brush, and manual. Immediately remove all protective films—especially from the filter basket and motor vents. These thin plastics melt during operation, contaminating juice and damaging parts. Place the motor base on a dry, level countertop with 6 inches of clearance on all sides. This airflow prevents overheating when juicing dense produce like beets or carrots. Never position near sinks or stovetops—water exposure risks electrical hazards.
Assemble Your Cuisinart Juicer

Lock Components in Place
A single misaligned part triggers safety shutdowns. Start by sliding the pulp container into its slot until you hear a distinct click. This activates the safety interlock—without it, the motor won’t engage. Next, insert the stainless steel filter basket into the motor base. Rotate it gently clockwise until it sits flush with the housing. If it wobbles, realign; an unstable basket causes leaks and poor extraction. Position the juice pitcher directly under the spout, ensuring the spout’s tip touches the pitcher’s inner wall to prevent splatter. Finally, drop the food pusher into the feed tube—it should rest securely without falling through.
Pre-Operation Safety Check
Test all connections before plugging in. Press down firmly on the pulp container and filter basket—neither should shift. Inspect the power cord for kinks or frayed wires; damaged cords risk shock. Wipe the countertop dry around the unit. If any component feels loose during this check, disassemble and restart. Cuisinart’s safety systems require perfect alignment: even a 2mm gap in the pulp container disables operation.
Power On and Prepare Produce
Activate Your Juicer
Plug into a grounded outlet, then press the power button (typically on the front panel). Wait 3-5 seconds for the filter basket to reach full speed—rushing this causes jams. Never add produce while the motor ramps up. You’ll hear a smooth hum; if it sounds strained, unplug and check for obstructions.
Prep Fruits and Vegetables
Wash produce under cold running water, scrubbing firm items like carrots with a brush. Remove large pits (peaches, cherries) but keep apple cores intact—they add fiber. Cut into 1–2-inch chunks: oversized pieces jam the feed tube, while tiny bits reduce yield.
Critical prep shortcuts:
– Leafy greens: Roll kale or spinach into tight “cigars” to prevent clogging
– Citrus: Peel but retain some white pith for vitamin C boost
– Hard veggies: Slice carrots/celery into diagonal wedges for smoother feeding
– Ginger: Peel and cut ½-inch chunks—more overwhelms delicate flavors
Master the Juicing Process
Start Juicing Correctly
Feed produce steadily using the food pusher. Apply gentle, consistent pressure—never force pieces down. Forcing strains the motor and shreds pulp into juice. Process soft items first (oranges, berries) to lubricate the filter, then medium-hard (apples, pears), finishing with leafy greens wrapped around apple chunks. Pause 10 seconds between additions to let the motor clear each load.
Optimize Your Juicing Order
Maximize yield with strategic sequencing:
1. Lubricate: Start with 2 orange segments (creates juice flow)
2. Extract: Add 3 carrot chunks (hard produce extracts efficiently)
3. Finish: Push a kale bundle wrapped around apple (greens process completely)
Pro tip: Alternate wet (cucumber) and dry (kale) produce to maintain pulp moisture—dry pulp clogs filters.
Clean Immediately After Use

Quick Rinse Protocol
Unplug and disassemble within 5 minutes—dried pulp becomes stubborn. Hold the filter basket under warm running water, rotating to flush pulp from both sides. Swish the juice pitcher and pulp container vigorously. Never soak the motor base—wipe with a damp cloth only.
Deep Clean Filter Basket
This micro-mesh filter demands special care. Soak in warm soapy water for 10 minutes if pulp cakes on edges. Use the stiff-bristled cleaning brush in small circular motions, focusing where fibers accumulate. Critical check: Hold the basket to light—if you see pinprick holes, rinse longer. Residual fibers taint tomorrow’s juice.
Daily cleaning must-dos:
– Scrub filter basket until mesh shines silver (no green/brown residue)
– Rinse juice pitcher 3x to remove oily film
– Air-dry all parts on a rack (never towel-dry—lint contaminates juice)
Fix Common Juicing Problems
Juicer Won’t Start
90% of failures stem from safety interlocks. First, reseat the pulp container until it clicks. Then check the filter basket alignment—lift and twist it 1/8 turn clockwise. If still dead, test the outlet with a lamp. Never bypass safety features—this voids your warranty.
Poor Juice Extraction
When yield drops, inspect the filter basket for hidden pulp buildup along the rim. Clean it immediately. Also, use room-temperature produce—cold carrots from the fridge reduce yield by 30%. Empty the pulp container at the ⅔-full line; overflow restricts airflow.
Remove Excess Pulp
For silky-smooth juice, strain through a nut milk bag after juicing. If pulp appears mid-session, stop immediately—clean the filter basket. Warning: Forcing fibrous greens like wheatgrass without pre-rolling causes instant clogs.
Maximize Juice Yield and Flavor
Boost Extraction Efficiency
Room-temperature produce extracts 25% more juice than refrigerated items. Process beets with apples to balance earthiness, or freeze grapes 30 minutes pre-juicing for chilled juice without dilution. Pro move: Alternate high-water (cucumber) and low-water (beet) produce to maintain consistent pulp texture.
Top yield-boosting combos:
– Carrot + apple + ginger (sweet, anti-inflammatory)
– Pineapple + mint + celery (hydrating, electrolyte-rich)
– Kale + lemon + pear (vitamin C powerhouse)
Store Your Juicer Properly
Post-Cleaning Storage
Store completely dry parts disassembled—trapped moisture breeds mold in 48 hours. Place the motor base away from sunlight (UV rays degrade plastics). Wrap the cord loosely in a figure-eight loop; tight coils crack internal wires. Keep the cleaning brush clipped to the pulp container so it’s never missing during urgent cleanups.
Warranty Registration
Activate your 3-year warranty within 30 days online. Save your receipt—it’s mandatory for claims. Key coverage: Motor defects and filter basket warping from normal use. Not covered: damage from improper cleaning or juicing frozen fruit.
Advanced Juicing Techniques
Prep for Peak Performance
Core apples but leave skins on—they contain 50% of the fiber. For citrus, remove rinds but keep pith; it’s rich in bioflavonoids. Pro tip: Juice ginger last—it’s potent enough to flavor the entire batch without overwhelming early ingredients.
Enhance Your Juice
Add lemon juice post-extraction to prevent browning—citric acid preserves color for 48 hours. Stir in chia seeds after juicing for omega-3s (they thicken if added during). Storage hack: Fill glass jars to the brim, cap tightly, and refrigerate—minimizing air exposure doubles freshness.
Mastering how to use Cuisinart juicer turns produce into potent wellness fuel with minimal fuss. Start simple with apple-carrot blends, then experiment with layered flavors as you gain confidence. Remember the golden rule: clean within 5 minutes of juicing. This single habit prevents 95% of performance issues and extends your machine’s life beyond the warranty period. Your next glass of vibrant juice is just a properly assembled filter basket away—so plug in, prep right, and press start.


