
You just unboxed your new Cuisinart food chopper, but those vegetables aren’t magically dicing themselves. Whether you’re preparing fresh salsa for game day, making homemade pesto, or creating smooth baby food, this compact kitchen workhorse can transform your prep time from tedious to effortless. The “how to use Cuisinart food chopper” question has a straightforward answer that unlocks restaurant-quality results in your home kitchen. Within minutes of reading this guide, you’ll confidently process ingredients with precision—no more uneven chunks or strained motors. Discover how proper assembly, smart ingredient prep, and pulse techniques turn this simple appliance into your most valuable kitchen ally.
Unbox and Identify Your Cuisinart Model Components
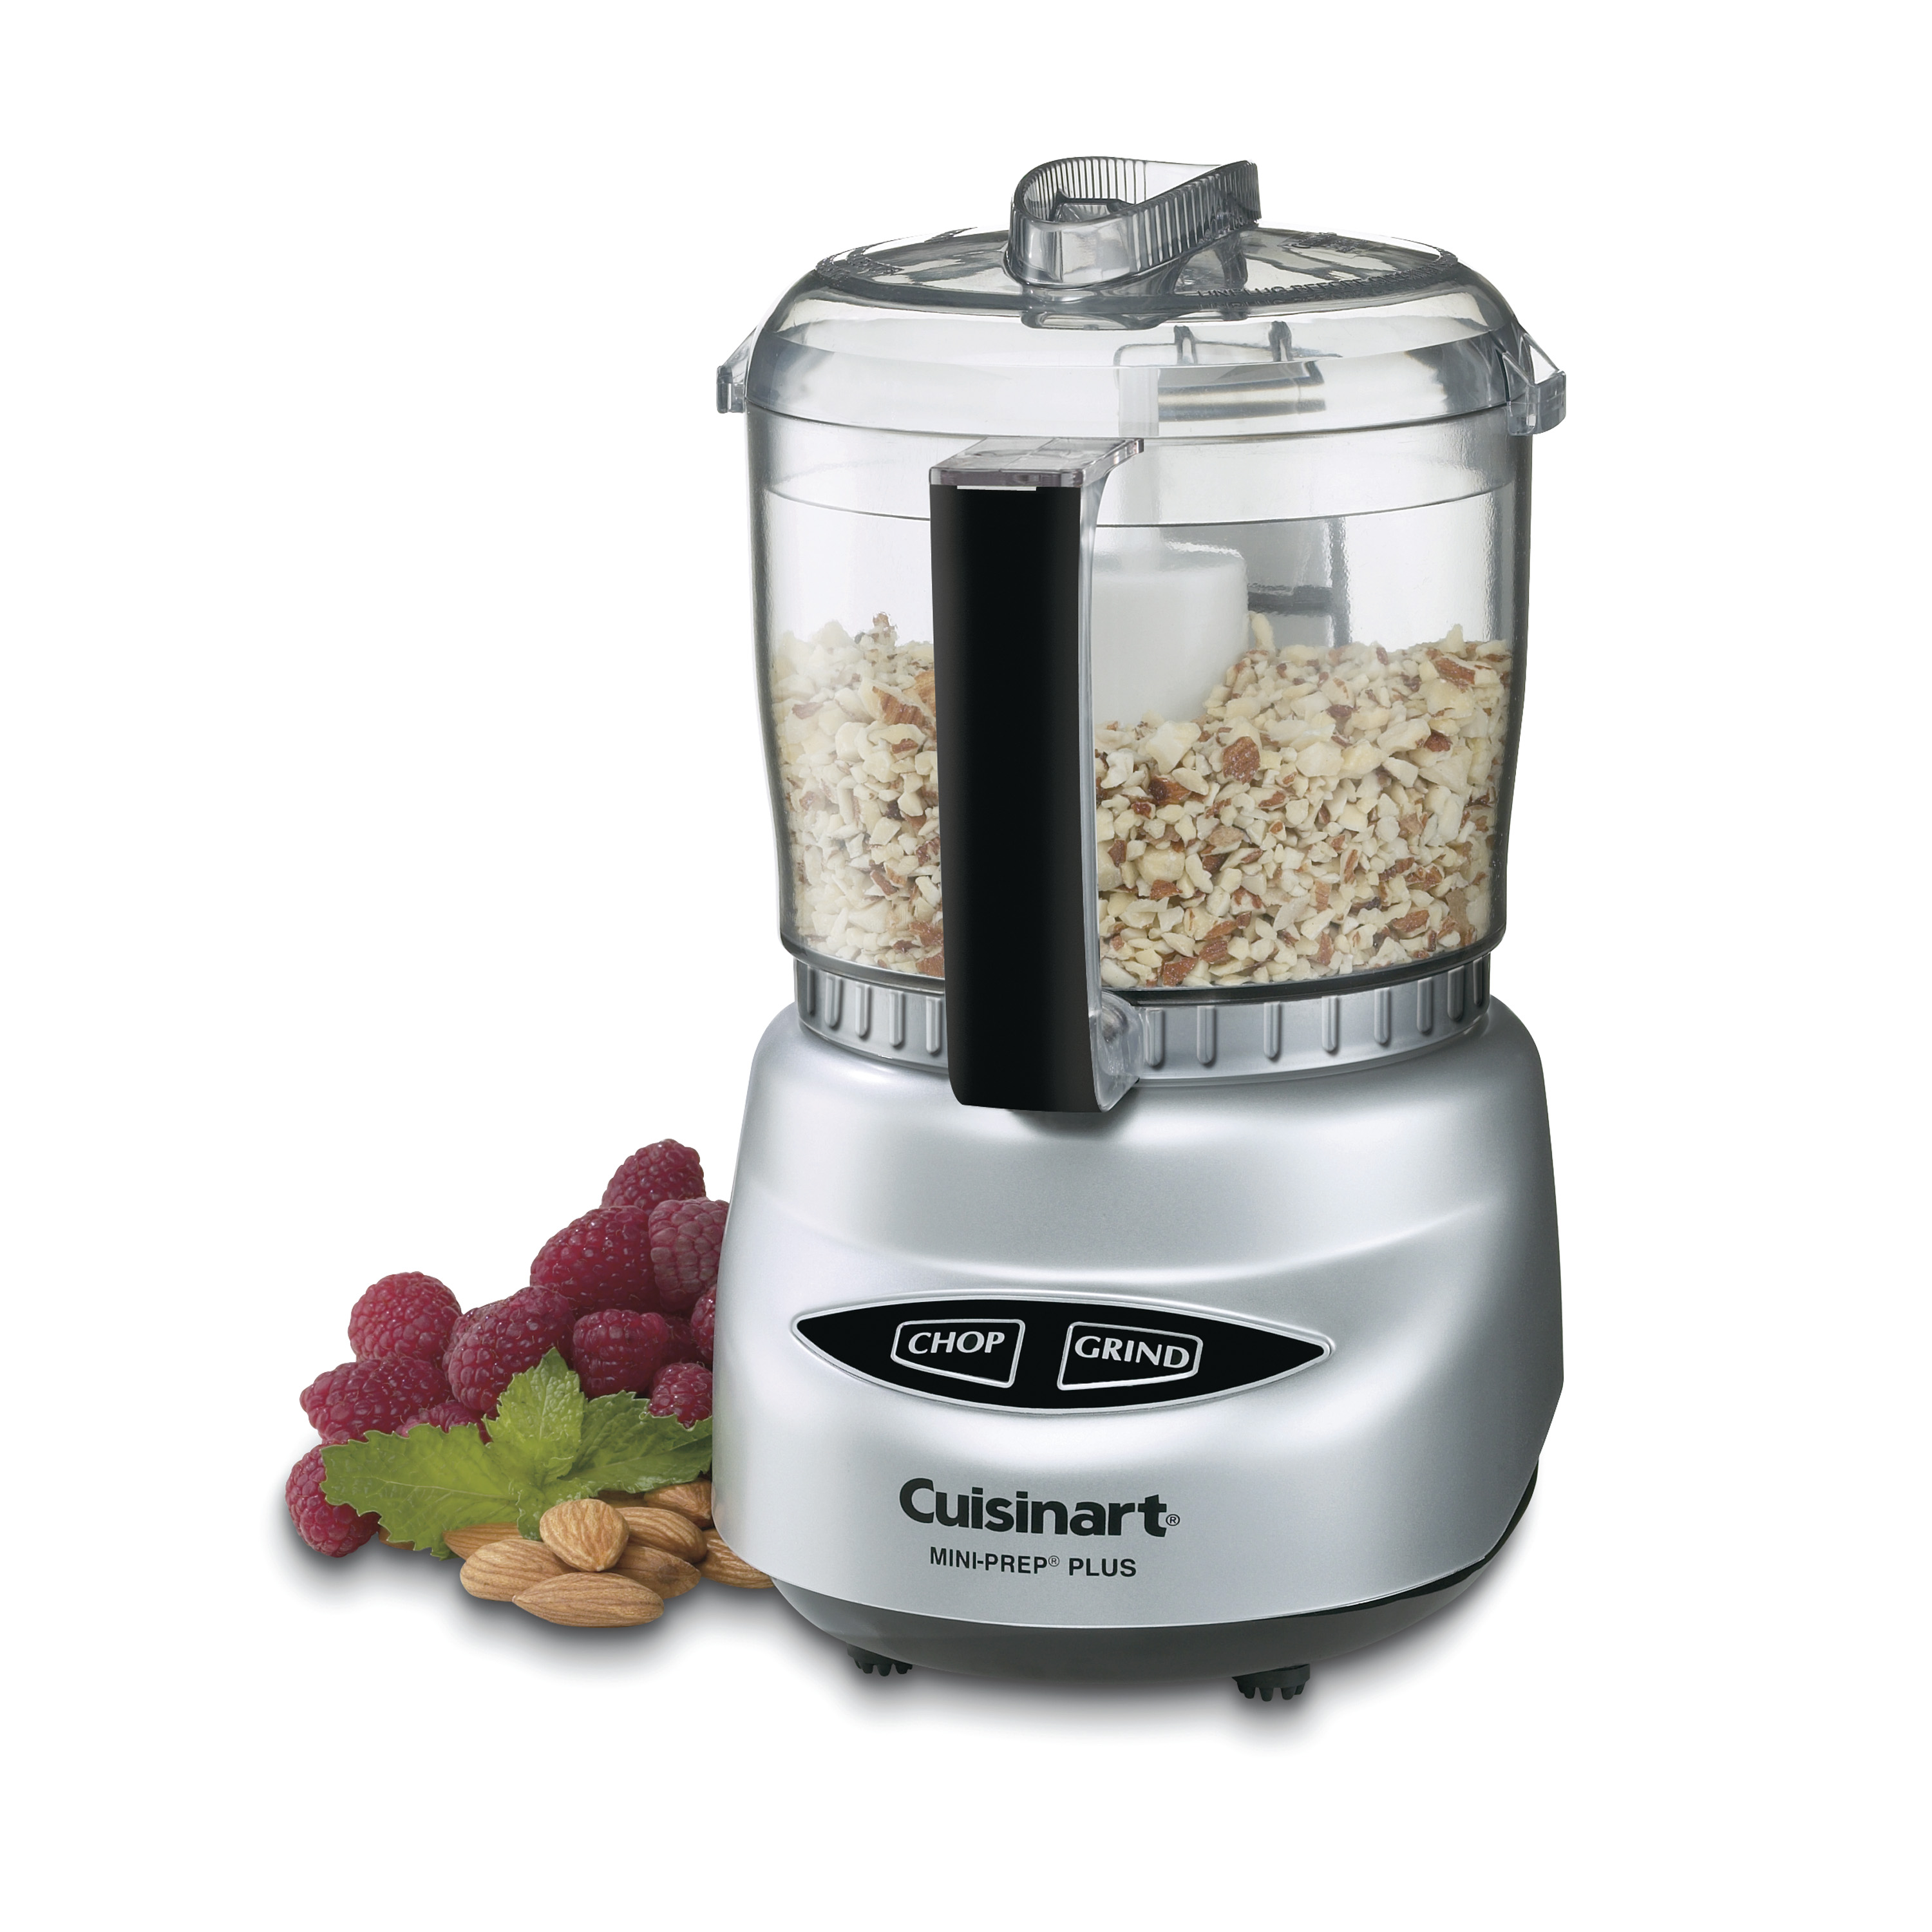
Before touching any buttons, verify all parts arrived intact and understand what each component does. Your Cuisinart food chopper contains four essential pieces that work together seamlessly when properly handled. The motorized base houses the powerful yet quiet operation system, while the clear work bowl with ergonomic handle provides visibility during processing. The stainless steel S-blade delivers precise cuts, and the locking lid with feed tube ensures safe operation.
Rinse Components Before First Operation
Never skip this crucial step—residual manufacturing oils can affect food taste and performance. Hand-wash the work bowl, blade, and lid in warm, soapy water using a non-abrasive sponge. Pay special attention to the blade’s center hub where manufacturing residue collects. The motorized base requires only a damp cloth wipe—never submerge it in water or run through the dishwasher. Dry all parts completely with a soft towel to prevent water spots that could obscure your view during chopping.
Match Components to Your Specific Model
Cuisinart offers multiple food chopper models with varying capacities and features. Locate your model number on the bottom of the motor base—common versions include the DLC-2ABC (3-cup capacity) and CH-4DC (4-cup capacity). Different models have slightly different bowl shapes and blade sizes, so using the correct parts ensures optimal performance. If you’re missing components, contact Cuisinart customer service with your model number before attempting to substitute parts.
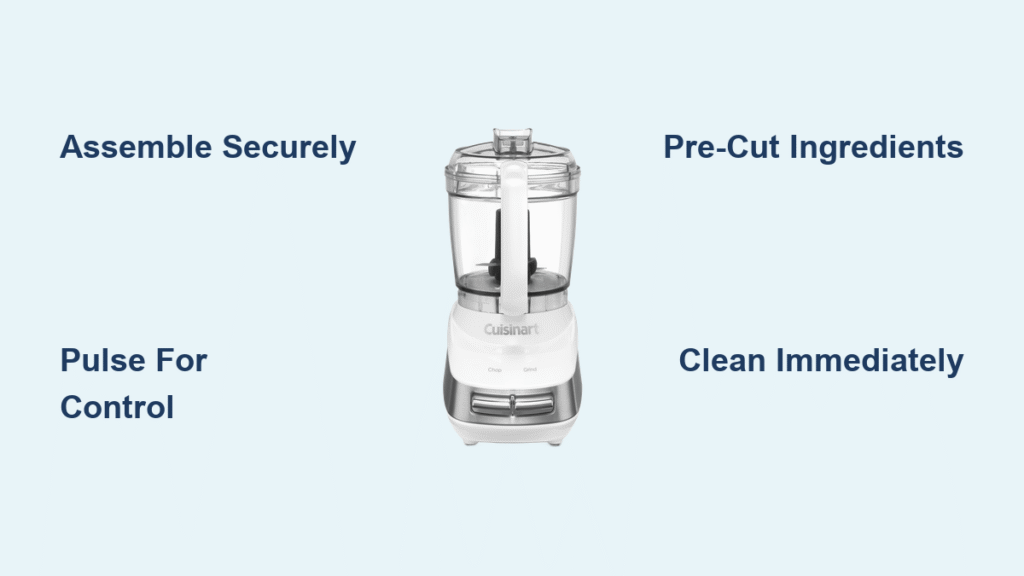
Secure Assembly Prevents Leaks and Safety Issues
Proper assembly isn’t just recommended—it’s required for the safety interlock system to function. Your Cuisinart food chopper won’t operate if components aren’t correctly aligned, preventing dangerous blade exposure.
Lock Work Bowl to Base With Correct Alignment
Place the work bowl over the motor base with the handle positioned at the “unlock” symbol (usually a padlock with an open shackle). Apply gentle downward pressure while rotating clockwise until you hear a distinct click and the handle aligns with the “lock” symbol. If the bowl spins freely when locked, disassemble and try again—this indicates improper alignment that could cause leaks during operation.
Install Blade Without Touching Sharp Edges
Always handle the stainless steel blade by its center plastic hub, never the cutting edges. Drop the blade into the bowl so it rests flat on the drive post—when correctly positioned, it should spin freely with a gentle nudge. If the blade wobbles or catches, it’s not seated properly. Never force the blade down, as this can damage the drive mechanism. A properly installed blade lies perfectly flush with the bowl bottom for consistent chopping results.
Seal Lid with Feed Tube Aligned
Close the lid by matching the arrow indicators on the bowl and lid, then twist clockwise until you feel resistance and hear the safety tabs engage. The feed tube should face forward toward the handle for easy ingredient addition. Your Cuisinart won’t operate if the lid isn’t fully secured—this critical safety feature prevents accidental contact with the spinning blade.
Prepare Ingredients for Perfect Chopping Results
What you do before pressing the pulse button determines your final texture. Proper preparation prevents overloading, uneven results, and unnecessary strain on the motor.
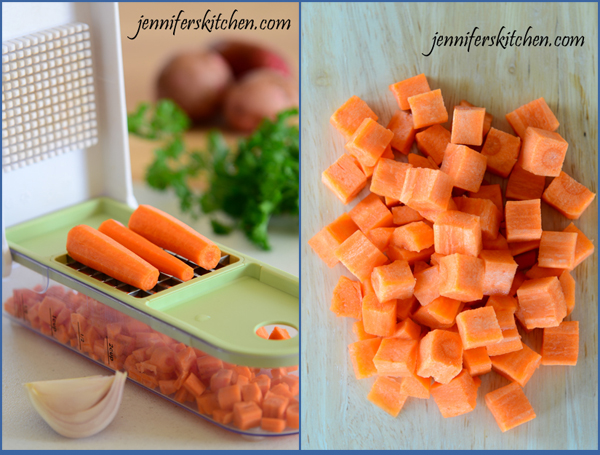
Cut Ingredients to Uniform 1-Inch Cubes First
Whole onions or potatoes overwhelm the small capacity bowl, resulting in inconsistent pieces. Take 30 seconds to roughly chop larger items into uniform 1-inch cubes before processing. This initial prep ensures ingredients move freely around the blade rather than getting trapped against the bowl walls. Dense vegetables like carrots benefit from even smaller pre-cuts (½-inch) for consistent results.
Respect Maximum Fill Line for Optimal Performance
The marked fill line inside your bowl represents the absolute maximum—fill to only two-thirds capacity for best results. Overfilling causes ingredients to pack against the blade, creating uneven textures and forcing the motor to work harder. For dense foods like nuts or hard cheese, reduce capacity to half full. When processing multiple ingredients, add denser items first and lighter items (like herbs) last for balanced results.
Select Compatible Ingredients Only
Cuisinart food choppers excel with soft to medium-hard foods: tomatoes, cooked vegetables, herbs, nuts, cooked meats, and soft fruits. Avoid extremely hard items like whole coffee beans, frozen foods (unless partially thawed), or hard spices that can damage the blade. Never process hot liquids or ingredients above 140°F—the thermal shock can crack the plastic bowl.
Operate Your Chopper With Precision Control
Master these techniques to achieve your desired texture every time, whether you want coarse chunks or smooth purees.
Master the Pulse Button for Texture Control
Hold the pulse button in one-second bursts for maximum control. Start with three pulses, then check consistency before continuing. For chunky salsas, four to five pulses typically suffice. For finer textures like minced garlic, pulse eight to ten times. The pulse function gives you command over texture—continuous operation often over-processes ingredients into an unappetizing mush.
Use Continuous Mode for Smooth Purees
When making hummus, baby food, or pesto, press and hold the “on” button continuously for 10-15 seconds. Stop immediately if ingredients start climbing the bowl walls or you detect motor strain. For thicker mixtures, scrape down the sides with a silicone spatula between 10-second intervals. Never run continuously for more than 30 seconds to prevent motor overheating.
Monitor Through Clear Bowl for Perfect Timing
Watch ingredients through the transparent bowl to determine when processing is complete. Stop when ingredients move in a uniform circular motion rather than jumping erratically. If pieces stick to the sides, unplug the unit, scrape down with the provided spatula, then continue. Proper timing prevents over-processing—most tasks require less than 15 seconds of total processing time.
Clean Immediately to Maintain Peak Performance
Food residue dries quickly on blades and in crevices, making cleaning difficult and potentially damaging components.
Disassemble Safely After Unplugging
Always unplug the unit and wait 10 seconds for the blade to stop completely before disassembly. Unlock the bowl by rotating counterclockwise against the base, then lift straight up. Remove the blade by its center hub—never grab the sharp edges. If ingredients are stuck, rinse the bowl briefly before attempting blade removal.
Clean Components With Appropriate Tools
Rinse the blade immediately under warm running water to prevent food from hardening. Use a bottle brush to clean around the blade hub where food collects. The work bowl and lid are top-rack dishwasher safe, but hand washing preserves clarity longer. For stubborn residue, soak components in warm, soapy water for five minutes before gentle scrubbing.
Dry Completely Before Storage
Air-dry all parts on a clean towel for at least 30 minutes before reassembly. Pay special attention to the blade hub and safety interlock areas where moisture hides. Never store components while damp—trapped moisture causes mold growth and unpleasant odors. Store with the lid off the bowl to prevent humidity buildup.
Troubleshoot Common Operating Issues
Quick fixes resolve most problems without needing professional service.
Fix Non-Starting Unit in Three Steps
First, verify the unit is plugged into a working outlet. Next, check that the work bowl is properly locked (handle at “lock” position). Finally, ensure the lid clicks securely into place. All three components must interlock correctly for the safety system to engage. If problems persist, unplug for one minute then retry the sequence.
Correct Uneven Chopping Results
Overloading is the most common cause of inconsistent textures. Process smaller batches and ensure pre-cut ingredients are uniform size. For dense foods, add one tablespoon of liquid (water or oil) to help ingredients move freely. If blades seem dull after months of use, contact Cuisinart for replacement parts—never attempt to sharpen at home.
Stop Leaking at the Lid Seam
Overfilling forces liquid through the lid seal. Reduce batch sizes by 25% and ensure ingredients stay below the fill line. Check the rubber gasket around the lid for food particles or cracks that compromise the seal. Clean the gasket groove with a toothpick before each use to maintain proper sealing.
Advanced Techniques for Professional Results
Move beyond basic chopping with these chef-inspired methods.
Layer Ingredients for Perfect Salsa Every Time
Place onions and garlic at the bottom (they need more processing), tomatoes in the middle, and fresh cilantro on top (added last to preserve texture). Pulse three times, scrape down, then pulse two more times for restaurant-quality salsa with distinct but evenly chopped ingredients.
Create Custom Nut Butters in Minutes
Process nuts in 15-second intervals, scraping down between pulses. After five minutes of processing, most nuts release their natural oils and transform into smooth butter. Add a teaspoon of neutral oil if needed to achieve desired consistency. Store nut butters in the refrigerator for up to two weeks.
Make Perfect Pie Fillings Without Sogginess
For fruit pies, pulse ingredients just enough to break them down while maintaining texture. Over-processing releases too much juice, resulting in soggy crusts. Pulse berries or apples five times, then check—they should hold their shape but show visible cut marks.
Maintain Long-Term Reliability
Simple maintenance extends your Cuisinart food chopper’s lifespan for years of reliable service.
Replace Blades Before Performance Declines
Cuisinart blades maintain sharpness through normal use but eventually wear down. Signs it’s time for replacement include increased processing time, uneven results, and a “thudding” sound during operation. Genuine Cuisinart replacement blades cost less than $15 and install in seconds.
Store with Blade Protection
Store the blade inside the bowl with the cutting edges facing up to prevent accidental damage. Keep the lid slightly ajar to prevent moisture buildup. Wrap the power cord loosely around the base—never kink or tightly coil it, which can damage internal wiring.
Perform Monthly Deep Cleaning
Once monthly, disassemble completely and soak non-electrical parts in warm, soapy water for 10 minutes. Use an old toothbrush to clean the safety interlock tabs and blade hub. This prevents buildup that can interfere with proper assembly and operation.
Mastering your Cuisinart food chopper takes just minutes but pays dividends in saved prep time and consistent results. Start with simple tasks like chopping onions, then progress to complex recipes as your confidence grows. Clean immediately after each use, respect capacity limits, and use the pulse button for control—you’ll achieve professional results that elevate every dish. Your perfectly prepped ingredients await; plug in your chopper and transform your kitchen workflow today.


