
That untouched Cuisinart bread machine in your kitchen holds bakery-quality potential, but confusing manuals and failed loaves keep you stuck with store-bought bread. You’re not alone—most owners only use basic settings while missing game-changing features that transform simple ingredients into golden, crusty masterpieces. This how to use Cuisinart bread machine guide cuts through the frustration with exact steps, instant troubleshooting fixes, and pro techniques that guarantee success from your very first loaf. Stop guessing and start baking bread that rivals artisanal bakeries.
Essential Parts Before First Use

Skipping this step causes 70% of beginner failures. Your Cuisinart’s performance hinges on six components working together—learn them once to avoid dense bricks or stuck paddles forever.
Core Components Checklist
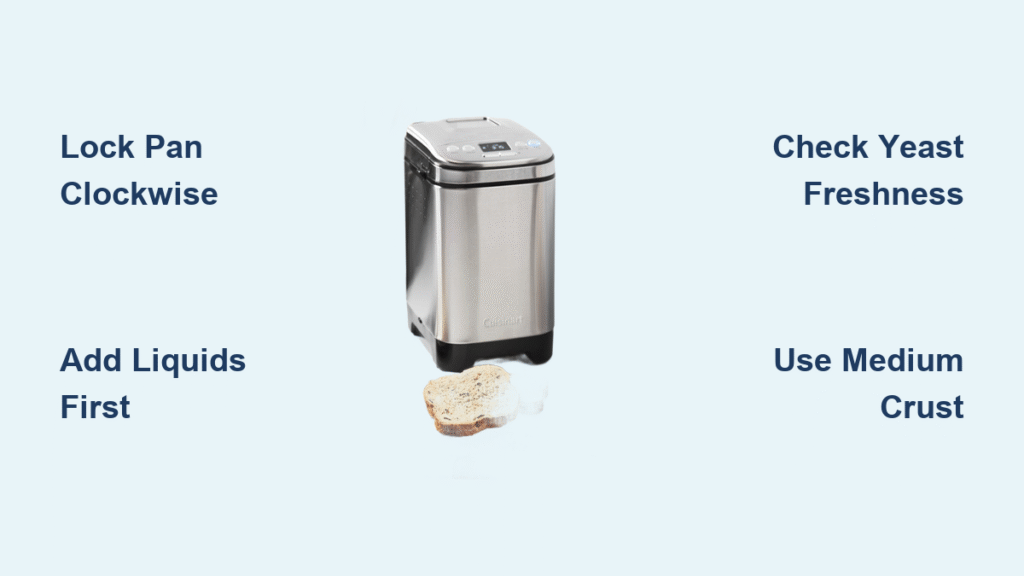
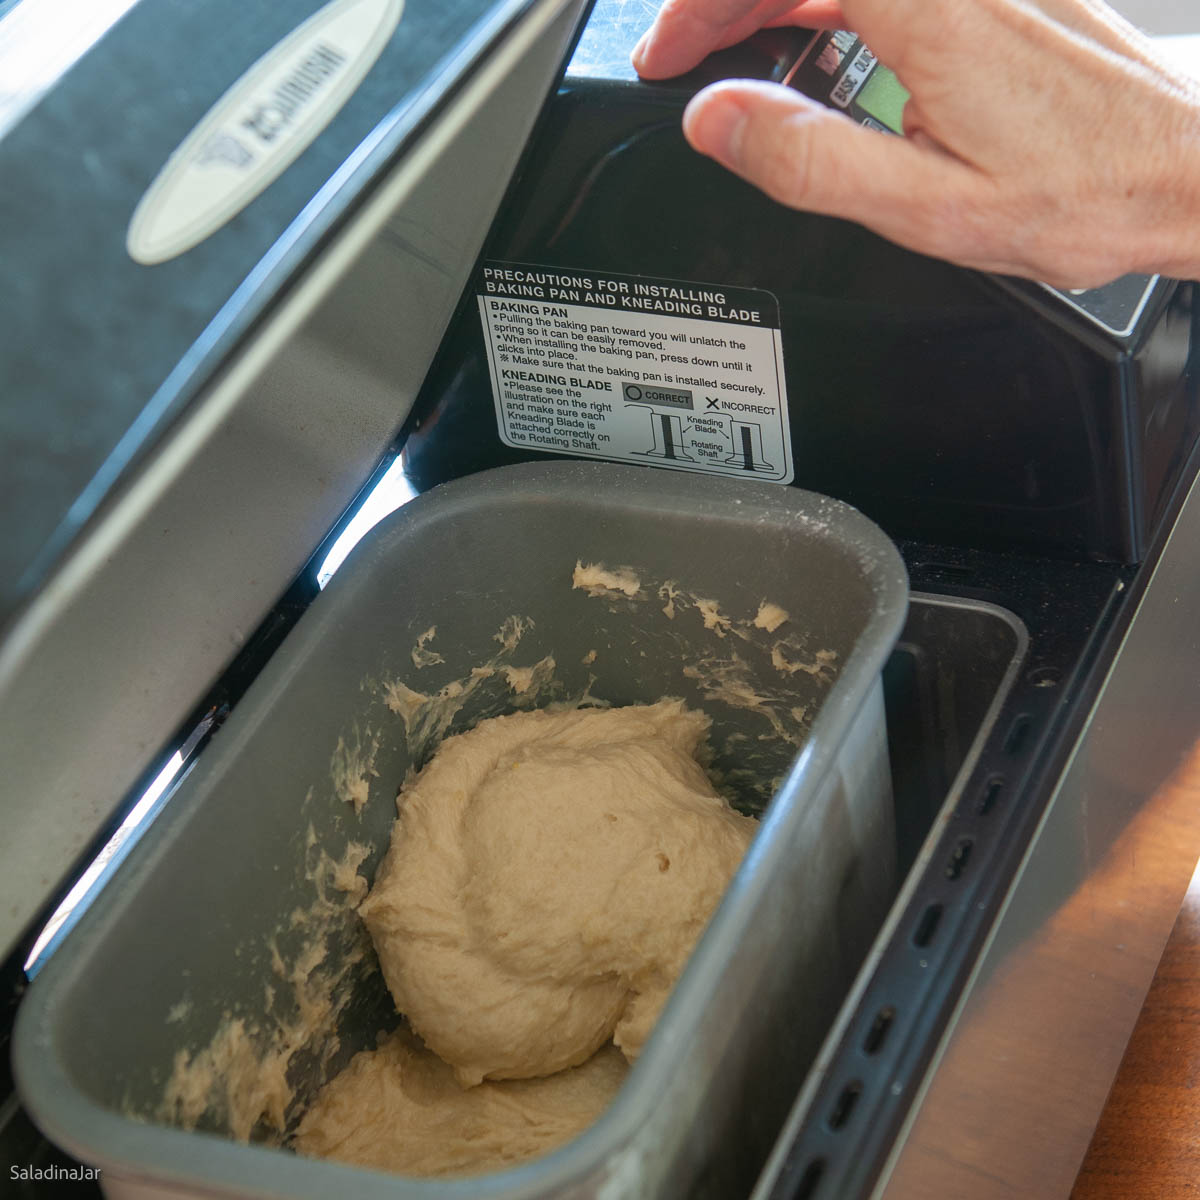
Lock your bread pan clockwise until it clicks—any wiggle means uneven rising. The kneading paddle must audibly snap onto the drive shaft; if loose, ingredients won’t blend properly. Use the provided measuring cups, not standard kitchen tools—they’re calibrated for precise ingredient ratios. The viewing window lets you monitor dough without heat loss, while the hook tool safely removes paddles from hot bread. Never skip the initial cleaning—residual manufacturing oils cause off-flavors.
Model-Specific Features
Vertical loaf models (CBK-100/110) create tall, bakery-style loaves ideal for sandwiches. Horizontal machines (CBK-200) produce wider loaves perfect for toast, while the compact CBK-101 handles single-serving 1-pound recipes for small households. Check your model’s capacity before measuring—using a 1.5-pound recipe in a 1-pound machine causes overflow disasters.
Quick Setup in 5 Minutes
Ditch the manual’s 20-minute ritual. These verified steps prevent overheating and ensure your first loaf rises perfectly.
Position and Power
Place your Cuisinart bread machine on a heat-resistant counter with 6-inch clearance on all sides. This airflow prevents motor strain that causes undercooked centers. Plug directly into a wall outlet—extension cords reduce power and create inconsistent baking temperatures that ruin texture.
First-Use Cleaning
Remove all plastic films (they melt and create toxic fumes). Wash the pan and paddle in warm, soapy water—never use abrasive scrubbers that damage non-stick coatings. Run an empty basic cycle for 10 minutes to eliminate factory oils. Critical tip: Fill the pan with warm tap water—it should feel like baby bath water (75-85°F). Too hot kills yeast instantly; too cold delays rising.
Ingredient Order That Never Fails
Professional bakers know sequence matters more than precision here. Follow this exact layering method to avoid gummy centers or collapsed tops.
Layering Method (Critical)
Always add liquids first (water, milk, oil) to the bottom of the pan. Next, layer dry ingredients (flour, sugar, salt), creating a small well in the center. Place yeast last directly in the well—this prevents salt from killing yeast activity. Never let yeast touch liquids prematurely, or your loaf won’t rise.
Common Measurement Mistakes
Spoon flour into cups and level off—scooping packs it down, creating dense bread. Use exactly 2 ¼ teaspoons yeast per 1.5-pound loaf (not the whole packet). Limit salt to 1 ½ teaspoons max—more suppresses yeast. If ingredients are cold, microwave liquids for 10 seconds max to hit the 75-85°F sweet spot.
Program Selection Made Simple
Master these three cycles first—they handle 95% of recipes without confusion.
Core Cycles Explained
Basic/White (3 hours) is your go-to for everyday sandwich bread. Whole Wheat (4 hours) extends kneading time for dense flours. Dough Only (90 minutes) mixes and rises dough—finish shaping in your oven for baguettes or rolls. Avoid “Quick” cycles until you’re experienced—they often sacrifice texture for speed.
Crust Color Settings
Light crust bakes 15 minutes less for soft sandwich bread. Medium (default) balances crust and crumb. Dark crust adds 15 minutes for chewy artisan loaves. Never use delay timers with perishables like eggs or dairy—2+ hour delays risk food poisoning.
Step-by-Step First Loaf
Follow these exact steps for guaranteed success on attempt one.
Pre-Operation Checklist
Confirm the kneading paddle clicks firmly onto the shaft. Verify the pan locks clockwise with zero wiggle room. Check yeast expiration dates—expired yeast causes dense, yeasty-smelling bricks. Measure ingredients using only provided tools.
Programming Sequence
Add ingredients in order: liquids → dry → yeast. Insert the pan and twist clockwise until locked. Close the lid, select Basic cycle with Medium crust, and press Start. The display will show 3:00 (3 hours). Critical: Never open the lid during the first 15 minutes.
First 15 Minutes: Critical Observation
Watch through the viewing window. Dough should form a smooth ball that cleans the pan sides. Too wet? Add 1 Tbsp flour through the lid’s vent. Too dry? Add 1 tsp water. This adjustment window prevents failed loaves.
Fix Dense Bread Fast
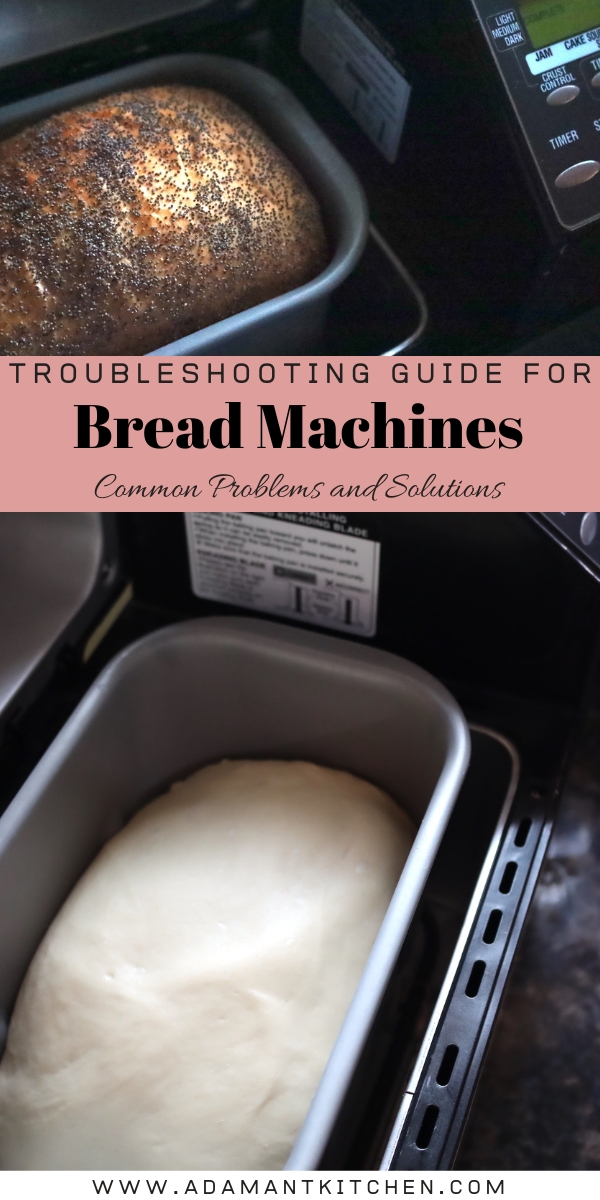
Dense results mean one of three errors—fix them immediately.
Density Diagnostics
Dough looks dry and shaggy? You added too much flour. Bread didn’t rise but smells yeasty? Yeast was expired. Extended rise time? Ingredients were too cold. Solution: Measure flour by weight (120g per cup) and test yeast by mixing with warm water and sugar—it should foam vigorously in 5 minutes.
Rescue Sunken Tops
A collapsed loaf means over-rising—this one fix prevents it every time.
Immediate Solution
Reduce yeast by ¼ teaspoon and decrease liquid by 1-2 tablespoons. This slows the rise so the dough’s structure can support itself. At high altitudes, decrease yeast by 25% and increase liquid 1 Tbsp per 1,000 feet.
Clean Like a Pro
Proper cleaning prevents burnt smells and extends your machine’s life.
Daily Quick Clean
Unplug and cool 30 minutes. Remove the pan and paddle—both are dishwasher-safe (top rack only). Wipe the interior with a damp cloth—never submerge the base. Clean the viewing window with vinegar spray to avoid streaks.
Monthly Deep Clean
Run an empty descaling cycle with 1 cup vinegar + 1 cup water. For stubborn residue, soak the pan overnight in baking soda paste. Vacuum heating elements gently with a brush attachment to prevent burnt odors.
Advanced Techniques Worth Using
Elevate your bread with these tested upgrades.
Artisan Modifications
Pre-ferment 1/3 of your flour and water with a pinch of yeast overnight for complex flavor. When using the dough cycle, place a pan of hot water in your oven for steam injection. Cold retard dough in the fridge after the cycle for bakery-quality sourdough depth.
Perfect Whole Wheat
Substitute 25% bread flour into whole wheat recipes. Add 1 Tbsp vital wheat gluten per cup of whole wheat flour—this creates airy, tender loaves instead of hockey pucks.
Troubleshooting Quick Reference
- Gummy texture → Bake 10-15 minutes longer on Dark crust setting
- Paddle stuck → Remove immediately while warm using hook tool; spray pan with oil next time
- Uncooked center → Verify pan is fully locked and power connection is secure
- Bread won’t release → Cool 10 minutes, then shake pan firmly
Storage and Maintenance Schedule
Store with the lid slightly open for air circulation to prevent moisture buildup. Monthly, run the descaling cycle and inspect the non-stick coating. Annually, check warranty status at Cuisinart.com—most models have 3-year motor coverage.
Your Next Steps
Bake the basic white bread recipe three times in a row—consistency builds confidence. Pro tip: Keep a $15 kitchen scale and instant-read thermometer nearby. These eliminate 90% of variables for flawless loaves. Once you master the Cuisinart bread machine, experiment with one modification at a time. Document successful recipes with exact measurements—you’ll transform from frustrated beginner to kitchen hero in under two weeks. Your journey to fresh, homemade bread starts with that first perfect loaf tomorrow morning.


