
That moment when you’re juggling multiple dishes and suddenly realize you’ve lost track of time—that’s when knowing how to use a kitchen timer becomes essential. A simple kitchen timer can prevent burnt sauces, overcooked proteins, and ruined meals, transforming your cooking from stressful guessing to precise execution. While many modern appliances have built-in timers, a dedicated kitchen timer offers reliability, louder alarms, and features specifically designed for culinary tasks. Whether you’re boiling eggs to perfection or managing a multi-course meal, mastering how to use a kitchen timer properly ensures consistent results every time. This guide reveals the techniques professional cooks rely on to maximize their timer’s potential and avoid common kitchen disasters.
Setting Your Digital Kitchen Timer in 3 Simple Steps
Properly setting your kitchen timer is the foundation of reliable cooking results. While models vary, the basic process remains consistent across most digital timers, and understanding these fundamentals prevents those frustrating moments when your timer doesn’t behave as expected.
Activating and Navigating Your Timer Interface
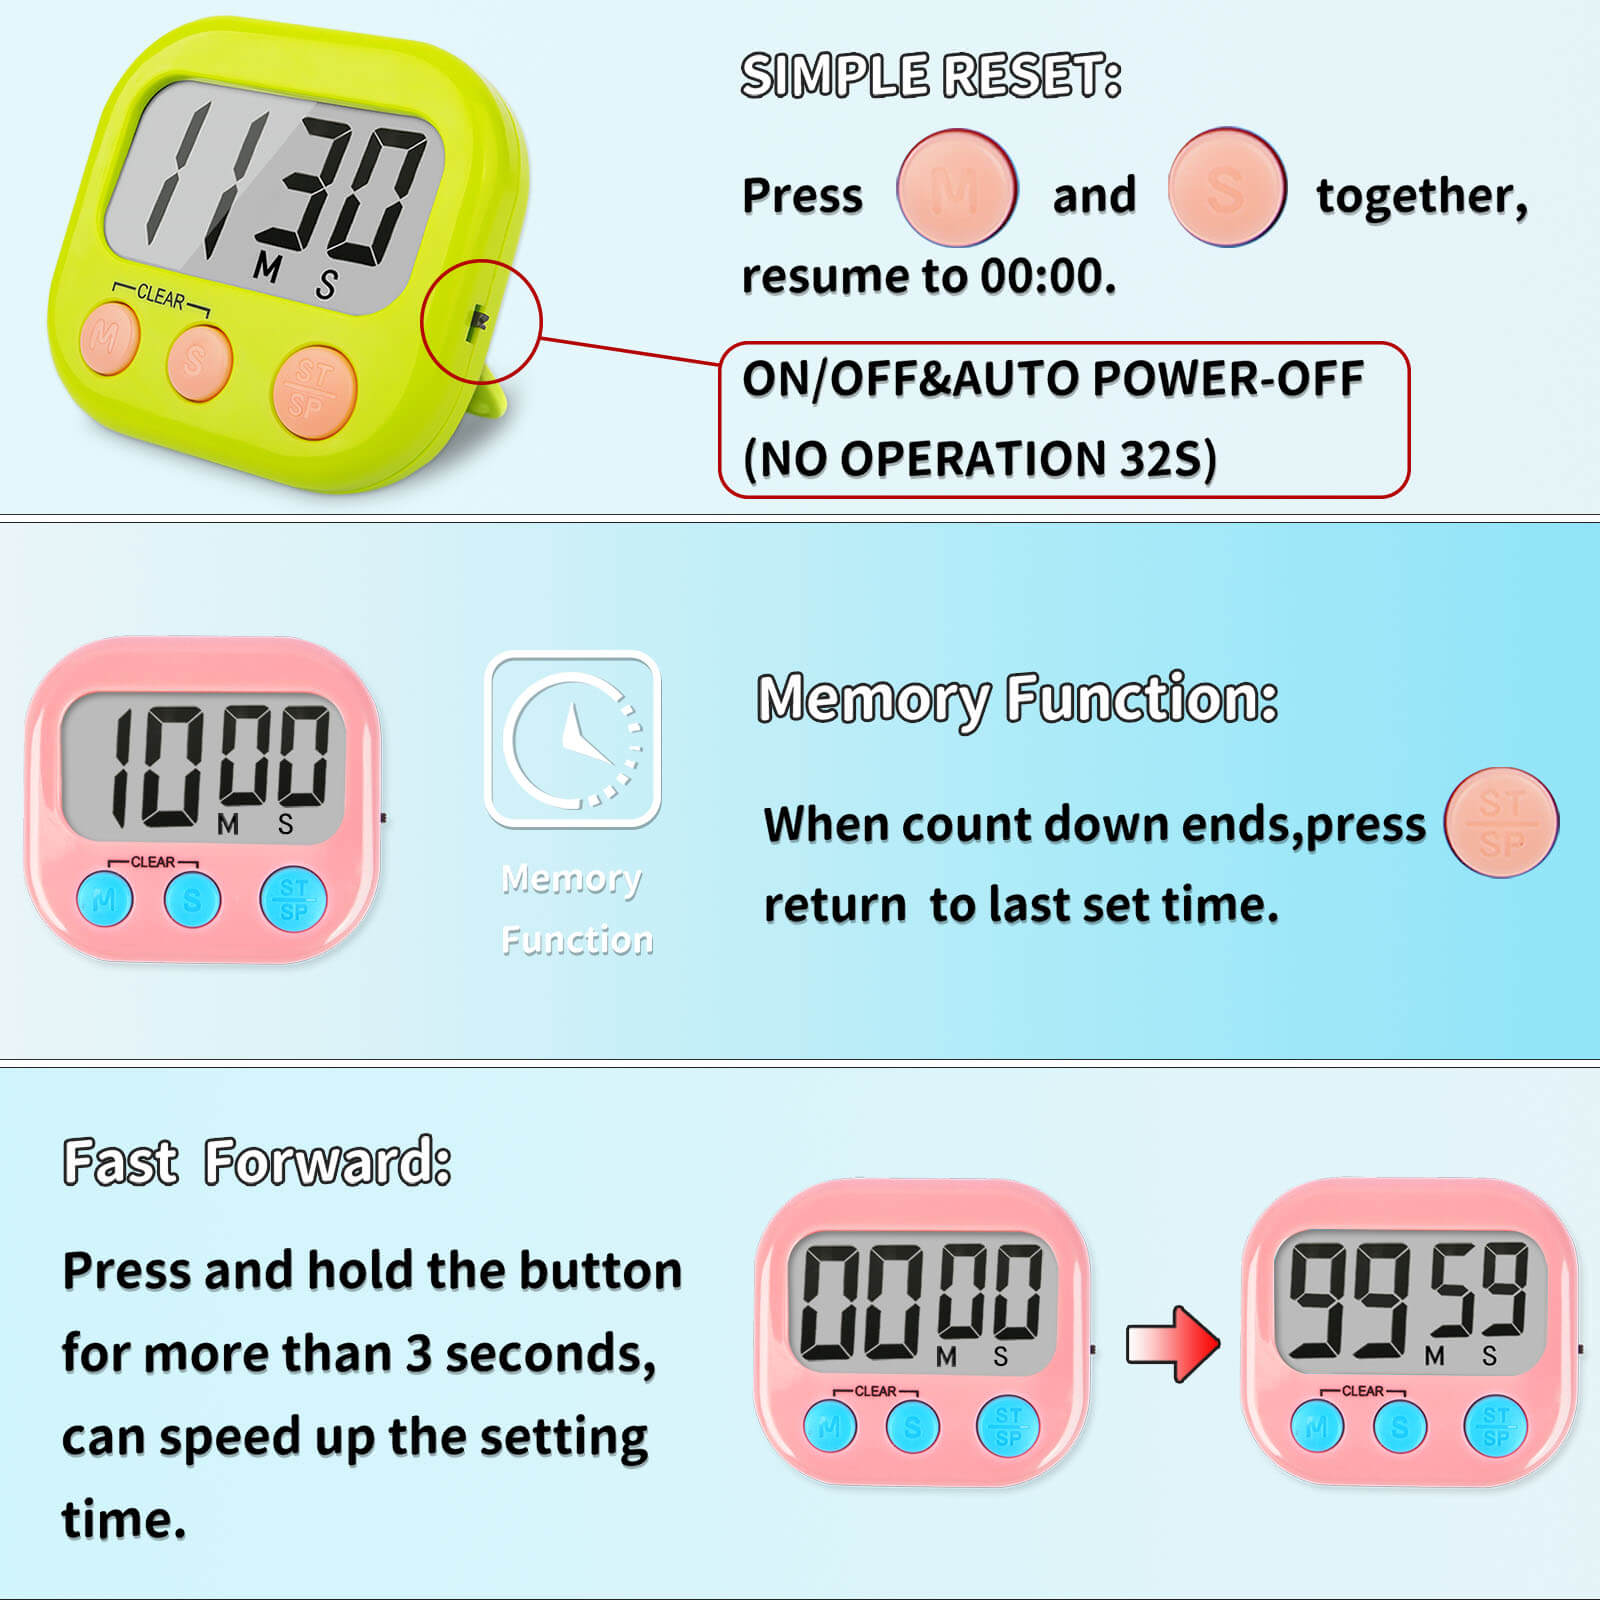
Before setting time, press any button to wake your timer from sleep mode—most conserve battery by powering down when inactive. The display should illuminate, showing either 00:00 or the current time if it has a clock function. Familiarize yourself with the button layout: most digital timers feature dedicated hour (H), minute (M), and second (S) buttons, plus start/stop and reset functions. Some advanced models use a single adjustment button that cycles through hours, minutes, and seconds. Pro tip: wipe your hands before handling the timer to prevent grease buildup on buttons, which can cause malfunctions over time.
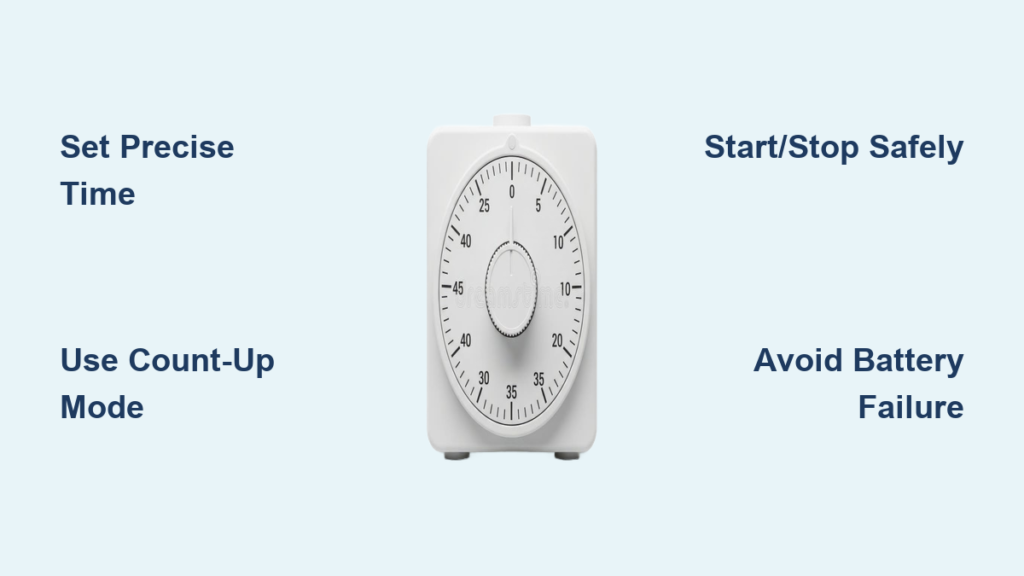
Entering Precise Cooking Durations
To set 15 minutes for rice, press the minute button 15 times or hold it until the display shows “15:00.” For more complex times like 1 hour and 25 minutes for a roast, first set the hour button to “1,” then the minute button to “25.” Many timers allow rapid entry by holding buttons—press and hold the minute button for 3 seconds to advance minutes quickly. Always verify your time setting before starting; it’s easy to accidentally set 15 minutes instead of 50 when you’re in a hurry. If your timer has a seconds function, use it for delicate tasks like soft-boiled eggs where 30 seconds makes the difference between perfect and ruined.
Starting, Pausing, and Resetting with Confidence
Press the start button once to begin your countdown—the display typically shows a blinking colon or countdown animation. If you need to check food midway, press stop/pause—the timer will freeze at the current time and resume when you press start again. When the countdown reaches zero, a loud alarm sounds; press any button to silence it. To reset for a new task, press the clear button (often marked with a circular arrow) rather than attempting to overwrite the current time. Some timers feature a “snooze” function that restarts the alarm after 1-2 minutes—ideal for tasks like checking if pasta needs another minute.
Unlocking Advanced Timer Features for Better Cooking
Most home cooks only use 20% of their timer’s capabilities. Understanding these advanced features transforms your timer from a simple countdown device into a versatile kitchen assistant that handles complex culinary tasks with ease.
Mastering Count-Up Mode for Elapsed Time Tracking
While countdown mode gets most attention, count-up (stopwatch) mode proves invaluable for tracking how long food has been resting, proofing, or marinating. To activate count-up, look for a “MODE” button and toggle until the display shows “00:00” without a countdown indicator. Press start to begin tracking elapsed time. This feature shines when monitoring bread dough rising—most recipes specify “let rise until doubled in size, about 1-2 hours,” but visual cues can be misleading. With count-up mode, you know exactly how long your dough has been resting, helping you identify ideal rising conditions in your specific kitchen environment.
Using Multiple Channels for Complex Meal Management
Advanced timers with 2-4 channels let you track multiple dishes simultaneously without constant resetting. Assign channel 1 to your main protein (e.g., “roast chicken”), channel 2 to starch (e.g., “mashed potatoes”), and channel 3 to vegetables. Set each timer independently, then start them in sequence as you begin each component. When alarms sound, you immediately know which dish requires attention. Pro chefs use a technique called “staggered timing”—setting the vegetable timer for 10 minutes, then the potatoes for 15, and finally the roast for 45, so all components finish simultaneously despite different cooking times.
Customizing Alarm Settings for Your Kitchen Environment
Kitchen noise levels vary dramatically, so understanding alarm customization prevents missed alerts. Most timers offer volume control—turn it to maximum when cooking with loud appliances like blenders or dishwashers running. Some models provide different alarm tones for each channel, letting you associate specific sounds with cooking tasks (e.g., high-pitched for eggs, low-pitched for roasts). For hearing-impaired cooks or noisy kitchens, look for timers with flashing LED displays that provide visual alerts alongside audio signals. Test your alarm’s audibility from different kitchen locations before relying on it during critical cooking moments.
7 Essential Cooking Tasks That Require Precise Timer Use
Knowing when to deploy your timer separates novice cooks from professionals. These specific applications deliver immediate improvements to your cooking results with minimal effort.
Perfecting Boiled Eggs with Second-by-Second Precision

Achieving your ideal boiled egg requires timing accuracy measured in seconds. For soft-boiled eggs with runny yolks, set your timer for exactly 6 minutes and 30 seconds from when water returns to a rolling boil after adding eggs. Medium-boiled eggs (creamy yolks) need 9 minutes, while hard-boiled eggs for salads require 12 minutes. Place your timer directly next to the stove—don’t rely on your phone, which might get buried under recipe notes. Pro tip: set a secondary timer for 1 minute before your main timer ends to prepare your ice bath, preventing carryover cooking.
Roasting Meats with Built-In Resting Alerts

Professional chefs know that resting meat after cooking is as crucial as the cooking time itself. Set your first timer for the calculated cooking duration (e.g., 15 minutes per pound for roasts), then immediately set a second timer for the resting period (10 minutes for steaks, 20-30 minutes for large roasts). This double-timing technique ensures you never skip the critical resting phase that allows juices to redistribute. For large roasts, set intermediate timers to remind you when to baste or check internal temperature—most meats benefit from basting every 20-30 minutes during cooking.
Managing Bread Proofing with Temperature Compensation
Yeast dough proofing times vary dramatically based on kitchen temperature—a warm kitchen might require 45 minutes for the first rise, while a cool kitchen needs 90 minutes. Instead of guessing, use your timer’s count-up mode to track exactly how long dough has rested, then correlate this with visual cues (doubled in size) to understand your kitchen’s ideal proofing conditions. For sourdough or other slow-fermented breads, set multiple timers: one for bulk fermentation (4-6 hours), one for bench rest (30 minutes), and one for final proof (2-4 hours). This systematic approach produces consistent results regardless of seasonal temperature changes.
Avoiding 3 Critical Timer Mistakes That Ruin Meals
Even experienced cooks fall victim to these common timer errors. Recognizing and correcting them will transform your cooking reliability.
The “False Start” Error and How to Prevent It
The most common timer mistake occurs when cooks press start without verifying the entered time, resulting in 5 minutes instead of 50. Always implement the “two-look rule”: check the display when you first set the time, then verify again just before pressing start. For critical tasks like tempering chocolate or making custard, verbalize the time aloud: “Three minutes, starting now.” This engages multiple senses and reduces mental errors. If your timer has a confirmation beep when starting, use it as your final verification point before walking away.
Alarm Ignoring and Its Domino Effect
Allowing timer alarms to sound without immediate response creates dangerous kitchen situations. That ignored 30-second pasta check often leads to overcooked noodles, which then causes you to rush other components, creating a chain reaction of mistakes. Train yourself to respond to alarms within 5 seconds—treat them like smoke alarms requiring immediate attention. If you frequently ignore alarms, choose a timer with an escalating alarm that grows louder the longer it sounds, or one that requires physical interaction to silence (like pressing a specific sequence).
Battery Negligence Before Critical Cooking
Discovering dead batteries during holiday cooking is preventable with proper maintenance. Test your timer’s battery weekly by setting a 1-minute timer—dim displays or slow countdowns indicate weakening power. Replace batteries every 6 months regardless of performance, ideally before major cooking seasons (Thanksgiving, Christmas). Keep spare batteries in your kitchen drawer stored in a small container with silica gel to prevent moisture damage. For timers with rechargeable batteries, plug them in after each use like your phone—don’t wait until they’re completely dead.
Mastering how to use a kitchen timer properly elevates your cooking from haphazard experimentation to precise culinary execution. By implementing these specific techniques—from accurate time entry to advanced multi-channel management—you’ll consistently achieve perfect results that impress family and guests alike. The small investment in learning these timer strategies pays immediate dividends in reduced kitchen stress and restaurant-quality meals. Start applying these methods today, and discover how this simple tool transforms your cooking confidence and capabilities—one perfectly timed dish at a time.


