
A dull knife transforms simple cooking tasks into frustrating battles. Instead of clean, precise cuts, you find yourself forcing the blade through ingredients, crushing delicate tomatoes and struggling through bread crusts. Beyond the inconvenience, dull knives actually pose serious safety risks—they require more pressure, which leads to slips and unpredictable cutting behavior. Learning how to use a kitchen knife sharpener properly transforms this chore into a two-minute maintenance task that keeps your blades performing at their best.
Regular sharpening does more than restore cutting ability. It extends the life of your knives significantly, saving you money on replacements while improving your overall cooking experience. A sharp knife gives you control, allowing for the precise cuts that elevate presentation and ensure even cooking. This guide covers every major type of sharpener, from traditional whetstones to modern electric models, giving you the skills to maintain any blade in your kitchen.
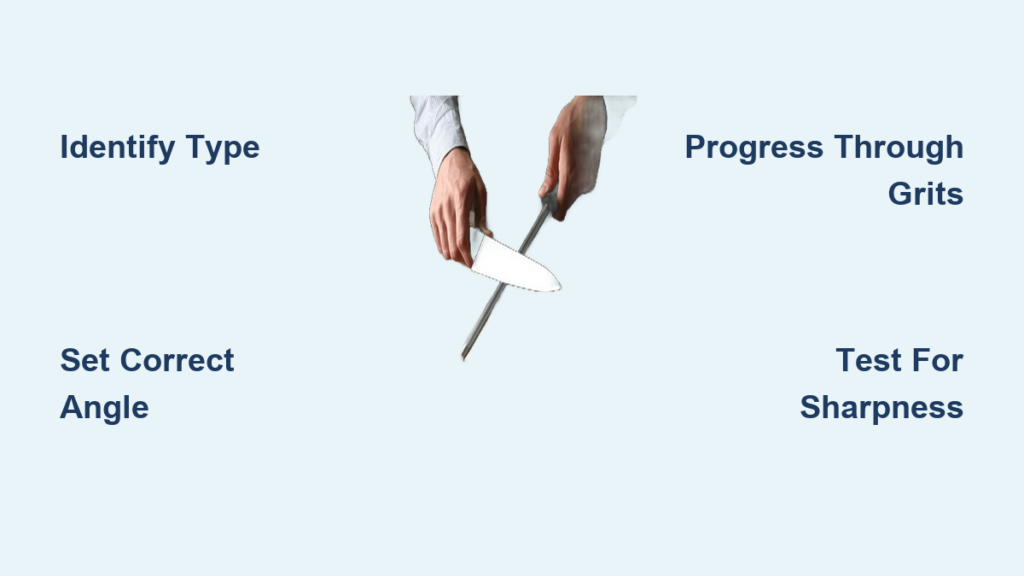
Identify Your Sharpener Type Before Starting
Before you begin sharpening, you must identify what type of sharpener you have—using the wrong technique for your specific sharpener can damage both your knives and the tool itself. Each type requires distinct handling and produces different results.
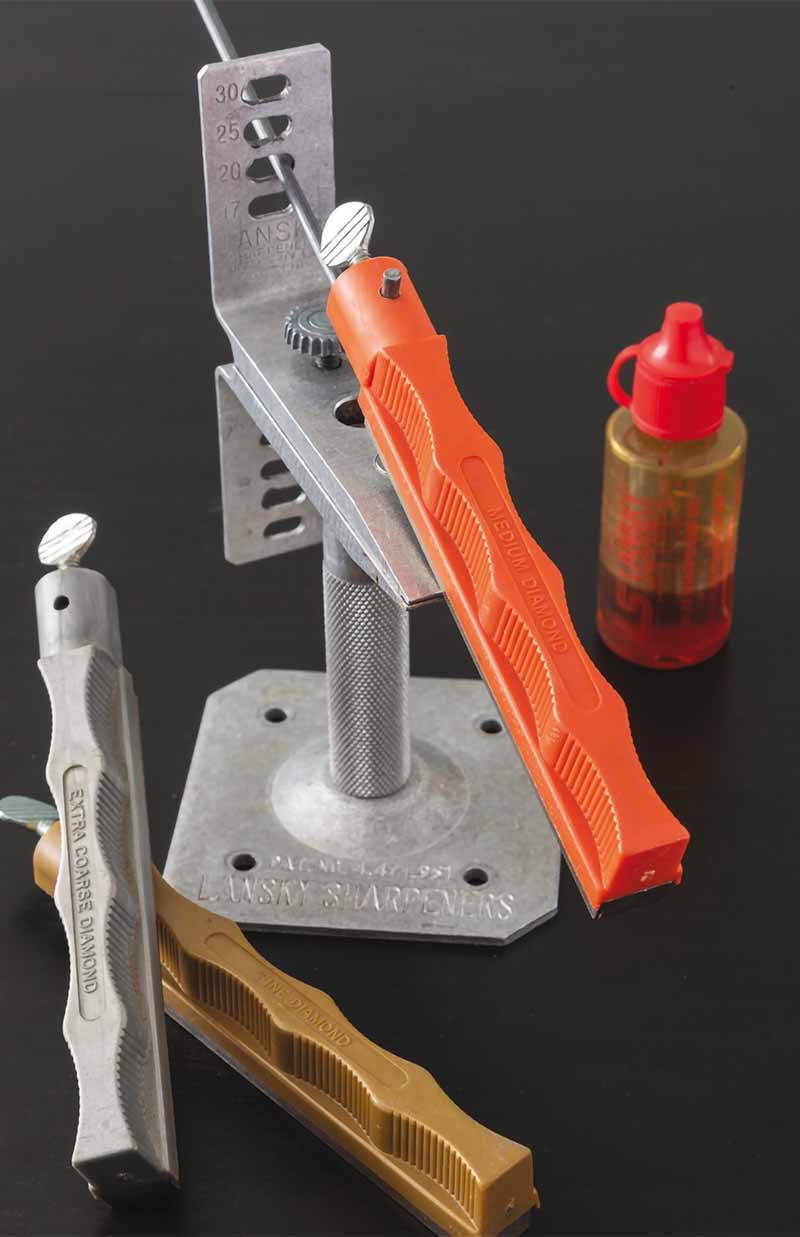
Whetstones: The Professional’s Choice
Whetstones—also called sharpening stones—represent the traditional choice favored by professionals and enthusiasts. These rectangular blocks come in various grit levels, from coarse 200-400 grit for repairing badly damaged blades to fine 3000-8000 grit for polishing razor-sharp edges. They require water or oil as lubricant and demand the most practice to master, but they offer unparalleled control and produce edges of exceptional quality. If you’re willing to invest time learning proper technique, whetstones deliver the best results.
Electric Sharpeners: Fast and Foolproof
Electric sharpeners provide convenience and speed for home cooks who want results without practice. These motorized units use grinding wheels to restore edges quickly, with most models featuring multiple stages: coarse for dull blades, medium for regular maintenance, and fine for finishing. The built-in angle guides eliminate guesswork, making electric sharpeners ideal for beginners. They do remove metal faster than other methods, which can shorten blade lifespan over many years, but they remain the most user-friendly option.
Pull-Through Sharpeners: Budget-Friendly Simplicity
Manual pull-through sharpeners occupy the middle ground between simplicity and quality. These V-shaped devices feature two or three slots with different grit levels—you simply pull the blade through each slot repeatedly. They cost significantly less than electric models, require no electricity, and produce acceptable results for most home kitchens. The trade-off comes in less precise angle control and faster wear on both the sharpener and your knives.
Prepare Your Knife and Sharpener Properly
Skipping preparation leads to inconsistent results and potential damage. Taking three minutes to get everything ready makes the difference between a sharp knife and a ruined edge.
Clean Your Knife Before Sharpening
Begin by cleaning your knife thoroughly with soap and warm water. Food residue, oils, and debris interfere with the sharpening process and can damage your tools. Dry the blade completely before proceeding, as moisture affects certain sharpeners and can cause rust on both blade and equipment. While cleaning, inspect the edge carefully for chips, nicks, or rolled sections that might require extra attention during sharpening.
Set Up Your Sharpener Correctly
For whetstones, soak in water for 10-15 minutes until they stop bubbling, or apply sharpening oil if your stone requires it. Place the stone on a stable surface with a non-slip mat underneath to prevent dangerous movement. Electric sharpeners should be positioned firmly on a flat surface—hold the base with one hand while sharpening with the other. Manual pull-through sharpeners also need stability, ideally on a cutting board with a damp towel beneath.
Choose the Right Slot for Your Knife’s Condition
For pull-through and electric sharpeners, match the slot to your knife’s condition. Coarse slots handle very dull or damaged blades, while fine slots work for regular maintenance on already-sharp knives. Using the wrong slot wastes time and may damage your blade—coarse on a sharp knife removes unnecessary metal, while fine on a dull blade fails to restore the edge properly.
Whetstone Sharpening: The Professional Technique
Whetstone sharpening produces the finest edges but requires the most skill to master. The critical element is maintaining a consistent angle throughout the sharpening motion, which takes practice to achieve reliably.
Set the Correct Angle for Your Knife Type
Most Western kitchen knives use a 20-degree edge angle, while Japanese knives typically employ a sharper 15-degree angle. A simple visual reference: two stacked quarters held against the blade spine approximate a 20-degree angle for Western knives. Hold the knife firmly in your dominant hand and position the edge against the stone at this angle, ensuring the entire edge makes contact with the stone’s surface.
Execute Proper Sharpening Strokes
Draw the blade across the stone in a sweeping arc motion from heel to tip, maintaining your established angle throughout the entire stroke. Apply moderate, consistent pressure—not so light that you accomplish nothing, not so hard that you remove metal too quickly or generate damaging heat. Each stroke should feel smooth and controlled. Perform 5-10 strokes on one side, then switch to the other side for an equal number of strokes. Alternate sides evenly to ensure symmetric sharpening.
Progress Through Grit Levels Correctly
As you work, you’ll notice a slight burr beginning to form along the opposite edge from where you’re sharpening. This thin lip of metal indicates you’re successfully reshaping the edge. Continue working each side until the burr becomes noticeable along the entire blade length, which typically takes 10-20 minutes for badly neglected knives. Then flip to the medium grit side and repeat, followed by the fine grit side with lighter pressure. Finish with 10-15 light passes on fine grit to achieve razor sharpness.
Electric Sharpener Success: Avoid These Common Errors

Electric sharpeners offer the fastest path to a sharp edge, but many users unknowingly damage their knives by using improper technique. Learning how to use a kitchen knife sharpener of this type correctly takes just minutes but makes all the difference.
Use the Correct Slot Sequence for Optimal Results
Most electric sharpeners feature two or three slots corresponding to different sharpening stages. Start with the coarse slot for dull knives (3-5 pulls per side), then move to medium (3-5 pulls), and finish with fine (2-3 light pulls). For knives that are merely dull rather than damaged, start with the medium slot and finish with fine. Never skip from coarse directly to fine—that leaves deep scratches that compromise edge quality.
Apply Proper Pressure to Prevent Damage
Critical mistake alert: Pressing down too hard is the #1 error with electric sharpeners. Let the motorized wheels do the work—excessive pressure accomplishes nothing and may generate excessive heat or remove too much metal. Pull the blade through each slot in one smooth motion with light downward pressure. If you hear screeching sounds or see sparks, you’re applying too much force.
Maintain Your Electric Sharpener Regularly
Electric sharpeners accumulate metal filings in their catching compartments. Empty this debris after every few sharpening sessions to prevent buildup that can damage your knives. The grinding wheels eventually wear out—replace them according to manufacturer recommendations, typically after 50-100 sharpening sessions. Continuing to use worn wheels produces poor results and may damage your knives.
Pull-Through Sharpener Mastery for Home Cooks
Manual pull-through sharpeners provide an affordable, portable option that still produces acceptable edges for home kitchens. Learning how to use a kitchen knife sharpener of this design effectively means understanding both its capabilities and its limitations.
Execute Proper Pulling Technique
Hold the sharpener firmly with one hand gripping the base, ensuring it won’t move during use. Position it on a non-slip surface for added stability. With your other hand, grip the knife handle and insert the blade into the appropriate slot—coarse for dull knives, fine for regular maintenance. Ensure the blade is fully inserted at the heel before beginning each pull.
Avoid Over-Sharpening Your Knives
For a genuinely dull knife, pull through the coarse slot 5-10 times per side, then follow with 3-5 passes through the fine slot to refine the edge. For regular maintenance on already-sharp knives, 3-5 pulls through the fine slot per side suffices. Critical warning: Avoid the temptation to continue pulling for “better results”—over-sharpening removes too much metal and weakens the blade, permanently reducing its lifespan.
Maintain Edges Between Sharpenings with Honing Rods
Honing rods serve a different purpose than true sharpeners, and understanding this distinction is crucial for proper knife maintenance. A honing rod realigns the microscopic edge of a blade that has bent slightly during use, keeping the knife performing optimally between full sharpening sessions.
Apply Correct Honing Technique
Hold the honing rod vertically with its tip resting firmly on a cutting board. Place the heel of your knife blade against the rod at approximately a 20-degree angle—the same angle used for sharpening Western knives. Draw the blade down and across the rod in a sweeping arc motion from heel to tip, using light pressure. Alternate sides with each stroke, performing 5-10 strokes per side. This process takes only a minute and should become part of your regular kitchen routine.
Avoid These Honing Mistakes
Several common mistakes reduce honing effectiveness and can damage your tools. Never push the blade sideways against the rod, as this can round the rod’s surface and fail to properly align the edge. Avoid excessive pressure, which can chip the delicate edge rather than simply realigning it. Never use a standard honing rod on ceramic knives or serrated blades, as these require specialized tools.
Match Sharpener to Knife Type for Perfect Results

Different knives have different edge geometries, and using the wrong sharpener can permanently damage valuable blades. Matching your approach to your specific knife type preserves both performance and blade life.
Western Chef’s Knives: 20-Degree Angle
Standard Western chef’s knives feature a 20-degree double-bevel edge and work well with virtually any sharpener type. Electric sharpeners with their automatic angle guides handle these knives excellently. Pull-through sharpeners produce acceptable results. Whetstones require attention to maintaining the 20-degree angle but reward the effort with exceptional edges.
Japanese Knives: 15-Degree Angle
Japanese knives typically use a sharper 15-degree angle and often feature harder steel. The thinner profile and harder metal require gentler treatment—aggressive sharpening removes too much metal and can permanently alter the blade’s geometry. Electric sharpeners designed for 20-degree edges may over-grind Japanese knives unless they include adjustable angle settings. Whetstones offer the best control, allowing careful maintenance of the original angle.
Test Your Work for True Sharpness
Understanding the signs of proper sharpening helps you recognize success and identify when additional work is needed. Testing your work ensures your efforts actually produced a sharp edge.
Check for Burr Formation
The primary indicator of progress is burr formation. As you sharpen, a thin lip of metal develops on the opposite side of the blade from where you’re working. To detect this burr, carefully run your fingertip from the spine toward the edge—you’ll feel a slight roughness or “catch” where the burr exists. Its presence confirms you’re successfully reshaping the edge.
Perform Practical Sharpness Tests
The paper test works well: hold a piece of printer paper in one hand and slice through it with the knife. A sharp knife cuts smoothly and effortlessly, producing clean slices without tearing. A dull knife struggles, requiring multiple passes or crushing the paper. The tomato test provides a practical kitchen evaluation—a sharp chef’s knife should slice through a ripe tomato with minimal pressure, the skin offering no resistance.
Avoid These 5 Common Sharpening Mistakes
Even experienced sharpeners occasionally make errors that compromise results or damage blades. Awareness of these pitfalls helps you achieve better outcomes and protect your investment in quality knives.
Mistake #1: Over-Sharpening Your Knives
Removing too much metal weakens the blade, shortens its useful life, and can alter its geometry permanently. Once you’ve achieved a sharp edge and formed a small burr, additional sharpening provides diminishing returns. Trust the process and resist the urge to continue “for better results.”
Mistake #2: Using Wrong Angle for Knife Type
Inconsistent angles create uneven edges with “hot spots” that dull quickly and cut unpredictably. A knife sharpened at varying angles across its length has sections that are too thick and sections too thin, compromising performance. Take time to establish your angle before beginning and maintain it throughout every stroke.
Mistake #3: Skipping Grit Levels
Jumping from coarse directly to fine leaves deep scratches that fine grits cannot remove efficiently. Progress through grits systematically: coarse to establish the edge, medium to refine it, and fine to polish and finish. This systematic approach creates progressively finer scratches that produce a smoother, sharper edge.
Keep Your Knives Sharp Longer with Proper Care
The effort you invest in sharpening pays off only if you maintain those results between sessions. Proper technique during use and storage extends edge life significantly.
Use the Right Cutting Surface
Glass, marble, and ceramic boards quickly dull knife edges. Wood and end-grain bamboo boards are much kinder to blades, allowing edges to last longer between sharpenings. If you must use a harder surface, accept that you’ll need to sharpen more frequently.
Store Knives Properly
Store knives on magnetic strips, in knife blocks, or in drawer slots with blade protectors. Never toss loose knives into drawers where edges contact other utensils. Sheaths protect edges during storage but add time to put on and remove.
Implement Regular Honing
Regular honing between sharpenings keeps edges aligned and functional. A quick pass with a honing rod before or after each use maintains performance and extends the interval between full sharpening sessions. This simple minute-long habit dramatically extends blade life.
With proper technique and consistent maintenance, your kitchen knives will provide years of reliable service. Learning how to use a kitchen knife sharpener properly transforms a mysterious chore into a simple maintenance task that any home cook can master. The investment in learning proper technique pays dividends every time you cook with a razor-sharp blade that makes preparation faster, safer, and more enjoyable.


