

That first spoonful of velvety homemade ice cream is pure magic—but only if your Cuisinart machine behaves. Whether you’re making classic vanilla or adventurous masala chai, many home chefs waste precious ingredients because they skip critical prep steps or misjudge churning times. The good news? Mastering your Cuisinart ice cream maker takes just three key actions: perfecting your base temperature, timing the churning process precisely, and understanding your specific machine type. This guide reveals exactly how to transform liquid mixtures into scoopable perfection without icy crystals or machine mishaps.
Forget complicated techniques—your Cuisinart model (freezer bowl or self-freezing) dictates everything from prep time to mixing speed. We’ll walk through each decision point with visual cues and pro timing tips so you never overfill the bowl or stop churning too early. By the end, you’ll consistently create ice cream rivaling premium brands, with texture so smooth it melts on your tongue. Let’s turn your machine from a countertop ornament into your most-used kitchen tool.
Identify Your Cuisinart Model Before Starting
Your machine’s type determines every step of the process—confusing them causes 90% of beginner failures. Check your model immediately to avoid wasted ingredients and frustration.
Freezer Bowl Models Require 24-Hour Prep
These popular units need significant advance planning. The bowl must freeze solid for 24-48 hours before use—no shortcuts. Test readiness by shaking it; if you hear liquid sloshing, it’s not cold enough. When properly frozen, the bowl will feel uniformly hard and icy to the touch. These models churn bases in 20-25 minutes but demand immediate action once removed from the freezer. Every minute counts: if the bowl warms while you prep ingredients, your ice cream will develop icy crystals.
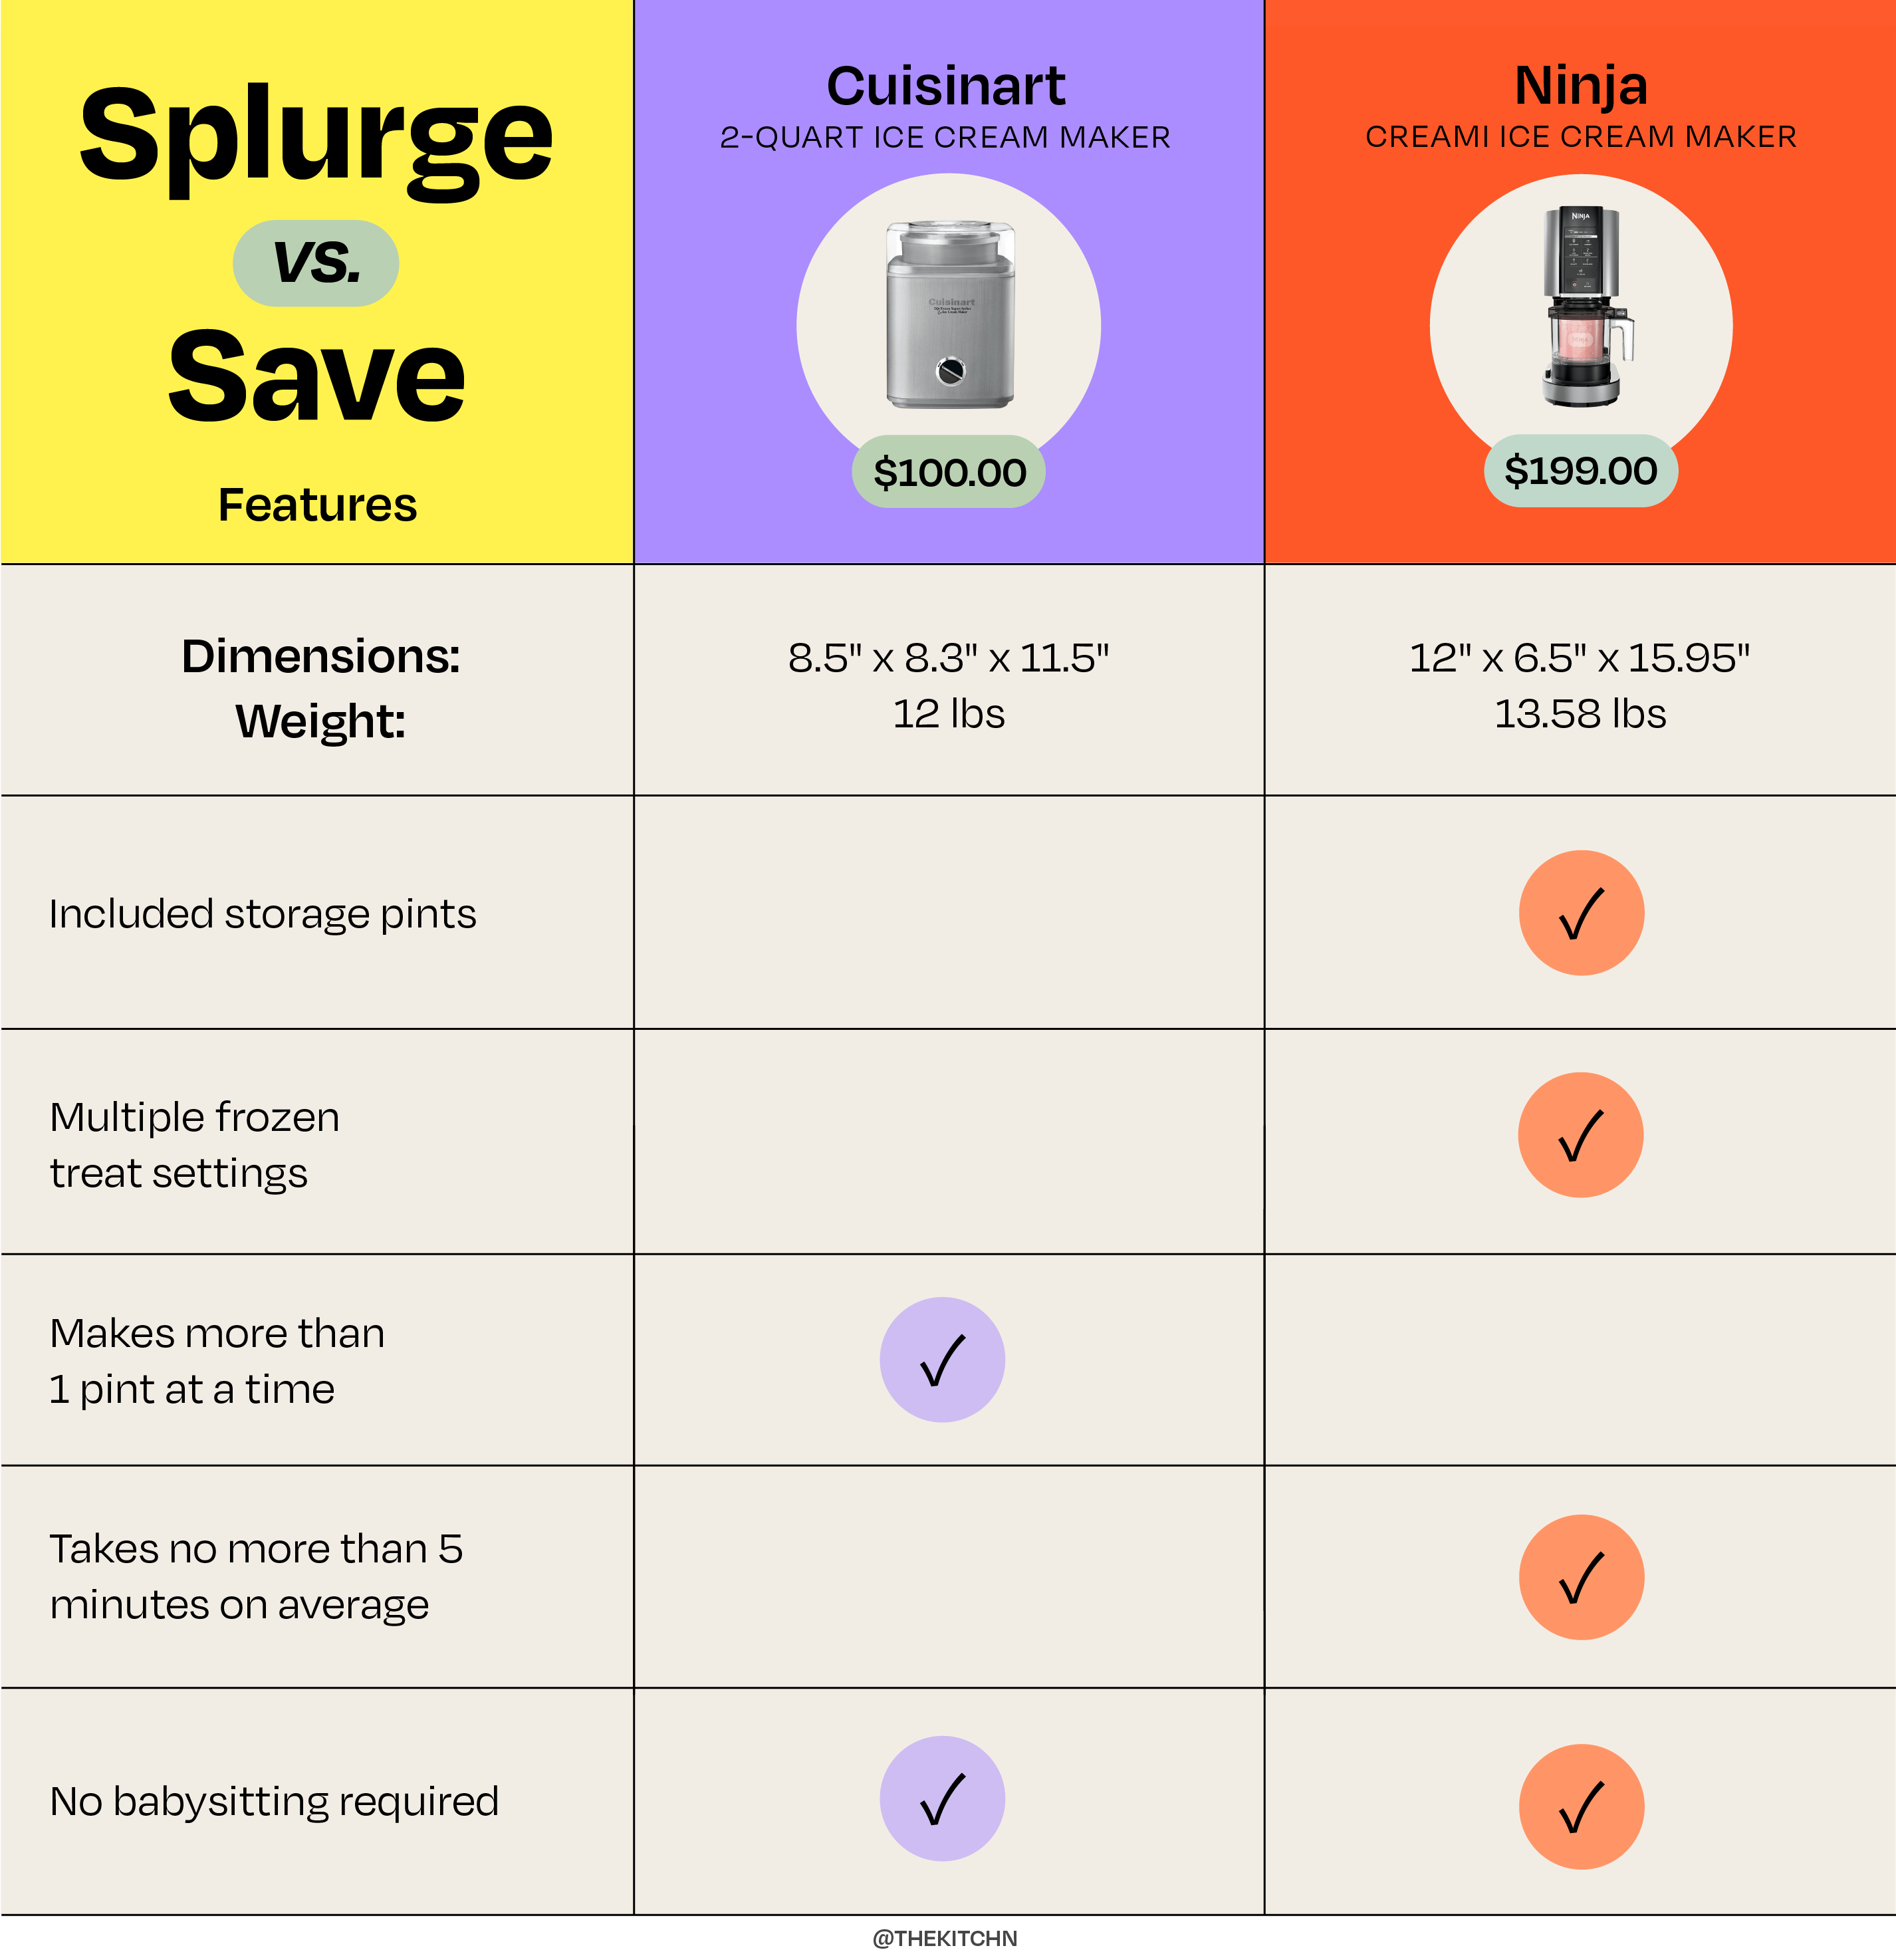
Self-Freezing Compressor Models Start Instantly
Plug in these premium units 10 minutes before churning to let the built-in compressor reach optimal temperature. No pre-freezing needed—you add chilled base directly to the bowl. The machine displays internal temperature, eliminating guesswork. Though faster to start, these models often take 30-40 minutes for dense mixtures like custard bases. Their biggest advantage? You can make multiple batches back-to-back without waiting for bowl refreezing.
Perfect Your Ice Cream Base Temperature
Cold ingredients are non-negotiable—warm bases overwhelm the machine and create icy textures. This step separates decent ice cream from extraordinary results.
Vanilla Base Recipe with Critical Ratios
Combine 2 cups heavy cream, 1 cup whole milk, ¾ cup sugar, 1 tbsp vanilla extract (or 3 scraped vanilla beans), and a pinch of salt. Whisk for exactly 2 minutes until sugar dissolves completely. Run your finger through the mixture; it should coat the bowl smoothly with no gritty residue. Substituting honey for sugar creates floral notes but requires reducing liquid by 2 tbsp to maintain texture.
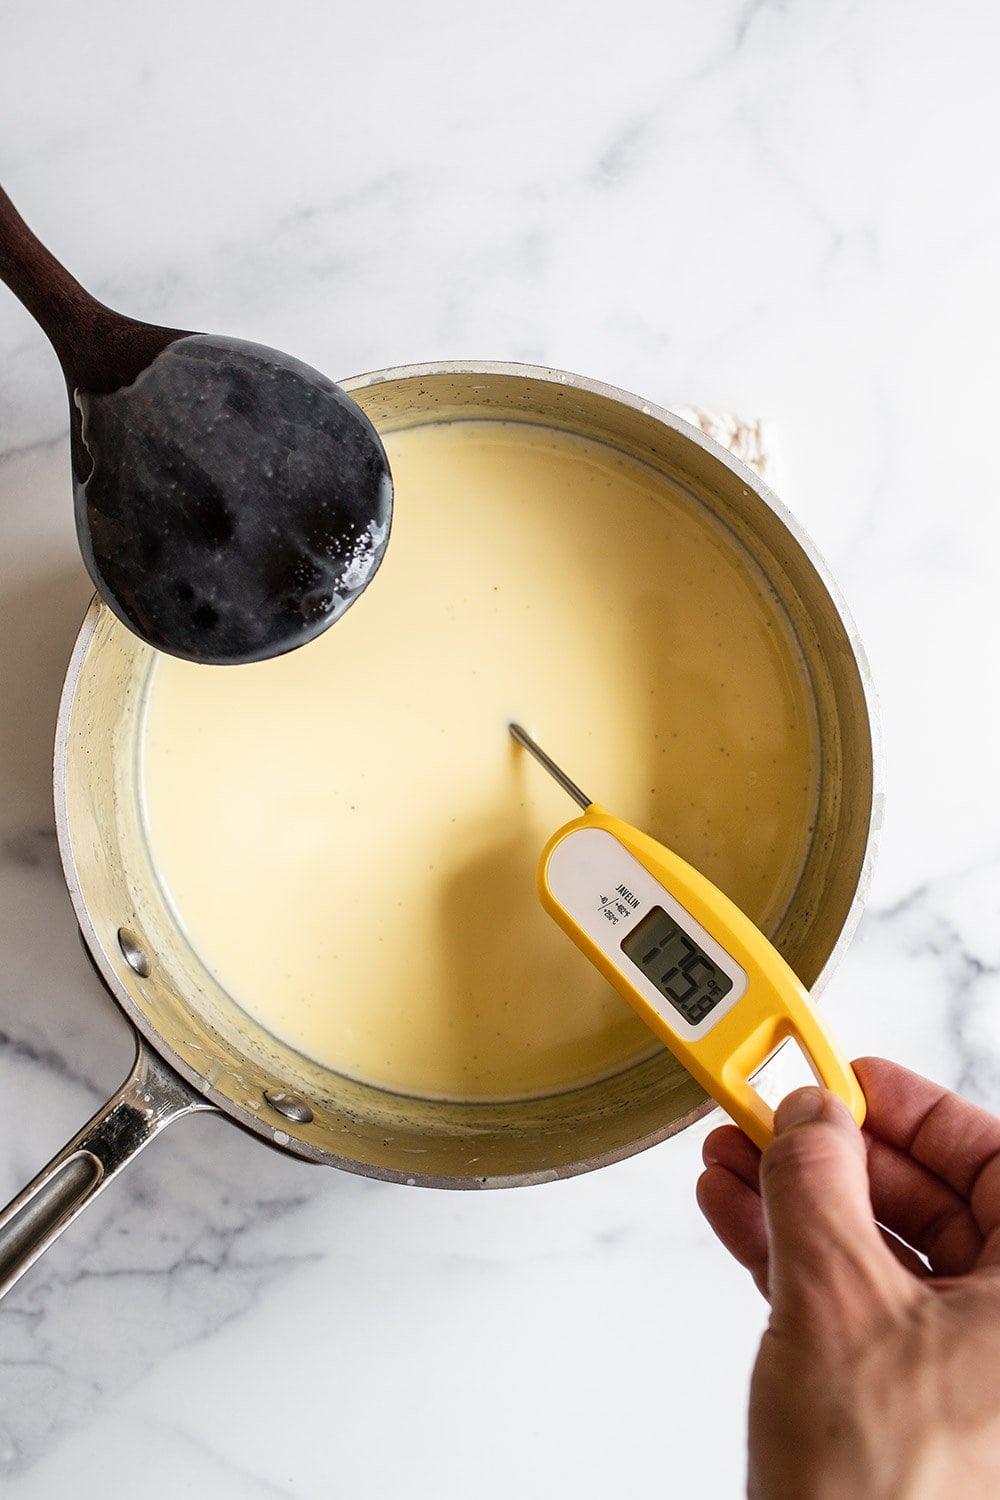
Chill Like a Pro for Creamy Results
Refrigerate covered for 1-2 hours minimum, but overnight is transformative. The base must hit 40°F or colder—use an instant-read thermometer. Warm bases (above 45°F) cause immediate freezing on the bowl walls, creating slush instead of emulsion. For custard-style ice cream, add 4 egg yolks, heat to 170°F while stirring, then strain and chill 12+ hours. This extra step creates restaurant-quality density.
Avoid Critical Setup Mistakes That Ruin Batches
Even perfect bases fail with improper setup. These often-overlooked details make or break your texture.
Freezer Bowl Loading Protocol
Remove the bowl from freezer and attach to base within 30 seconds. Pour base through the ingredient spout while the dasher is spinning—this prevents sudden freezing on contact. Fill only to the MAX line (typically 1.5 quarts); overfilling causes overflow during expansion. If base splatters, your bowl wasn’t cold enough or you poured too slowly.
Self-Freezing Unit Calibration
Wait for the temperature display to hit 0°F before adding base. Start the motor first, then gradually pour your chilled mixture. The machine should hum steadily—not strain or stall. If it sounds labored immediately, your base is too warm or thick. Adjust by chilling 30 minutes longer next time.
Master Churning Timing for Ideal Texture
Stop churning at the exact right moment—this single action prevents buttery failures or icy disasters. Most home chefs quit 5 minutes too early.
Visual Texture Milestones
- 0-5 minutes: Liquid swirls like thin cream
- 10-15 minutes: Thickens to milkshake consistency, coating the dasher
- 20-25 minutes: Pulls away from bowl walls in thick ribbons
- Stop point: When mixture mounds slightly when dropped from spoon
Over-churning (beyond 30 minutes) separates fats, creating grainy textures or butter chunks. Under-churning leaves icy pockets. For mix-ins like chocolate chips or cookie dough, add during the last 3 minutes—any earlier and they freeze solid against the bowl.
Prevent Ice Crystals During Hardening
What happens after churning determines final texture. These storage techniques eliminate freezer burn and graininess.
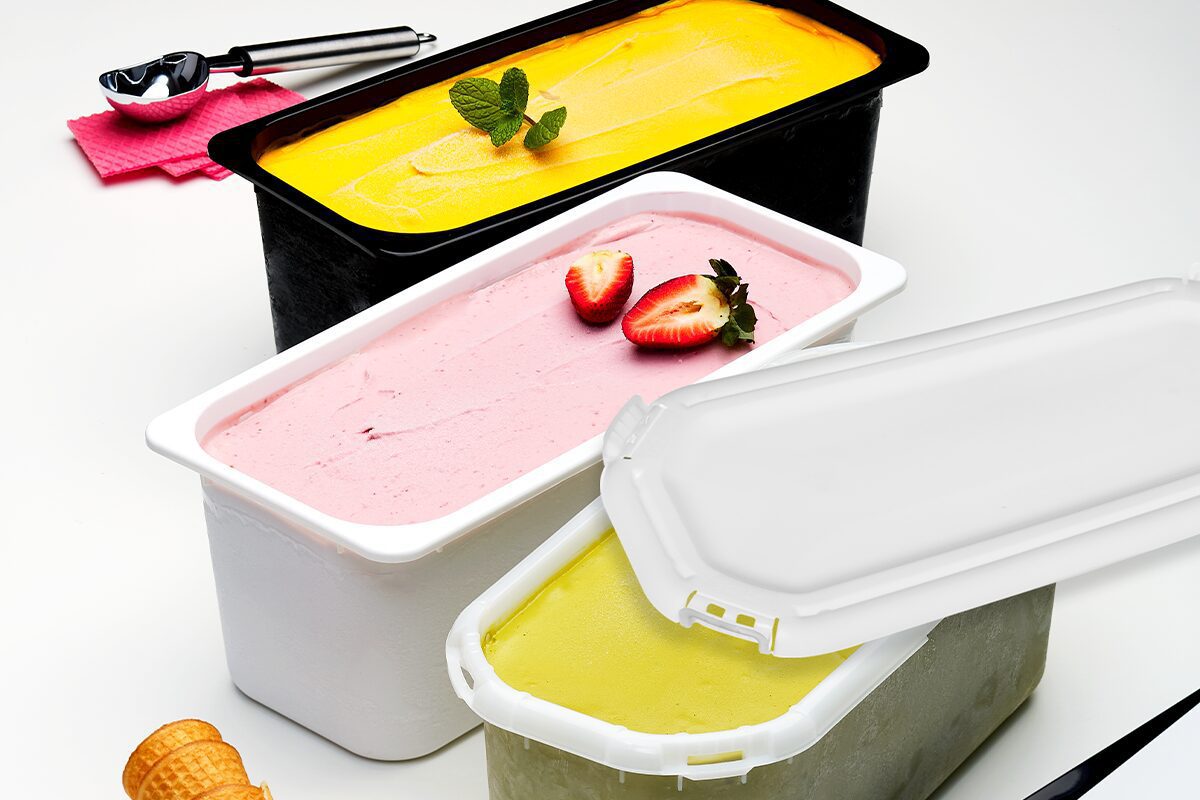
Container Transfer Technique
Scoop churned ice cream into shallow, airtight containers—no deeper than 4 inches. Press plastic wrap directly onto the surface before sealing the lid. This creates an oxygen barrier preventing ice crystal formation. Rectangular containers freeze more evenly than round ones. For best results, use metal loaf pans wrapped in double-layer plastic.
Optimal Freezing Timeline
Freeze 2 hours for soft-serve texture, 4 hours for scoopable firmness. Never freeze longer than 2 weeks—flavors degrade and texture hardens. When serving, let sit at room temperature for exactly 4 minutes. Less time = un-scoopable rock; more = melted puddle.
Fix 4 Common Texture Disasters Immediately
Don’t trash failed batches—most issues have simple fixes if caught early.
Ice Crystals Forming? Restore Creaminess
Cause: Air exposure during storage
Fix: Scoop affected portions, blend with 2 tbsp cold heavy cream, and re-churn 5 minutes. Press plastic wrap tighter next time.
Too Soft After Hardening?
Cause: Insufficient sugar or fat
Solution: Mix in 1 tbsp corn syrup per cup during base prep next time—it lowers freezing point without sweetness.
Grainy or Gritty?
Cause: Undissolved sugar
Prevention: Whisk base over ice bath for 3 minutes instead of room temperature.
Machine Overflowing?
Cause: Overfilled bowl or warm base
Stop immediately: Unplug, scrape sides, and continue at half-speed.
Create Gourmet Flavors with Pro Techniques
Move beyond basic vanilla with these tested methods that prevent flavor separation.
Swirl-In Mastery for Ripple Effects
Reserve ½ cup fudge or caramel sauce. After churning stops, layer ice cream and sauce in your container, then gently fold 3 times with a spatula. Over-mixing creates muddy colors. For peanut butter swirls, chill the nut butter first—it stays ribbon-like instead of melting.
Fruit Flavor Without Iciness
Puree 1 cup berries with 1 tbsp lemon juice and 2 tbsp sugar. Simmer 5 minutes to reduce water content, then chill completely. Add during last 2 minutes of churning. High-water fruits (like watermelon) require 50% reduction to avoid icy shards.
Optimize Your Total Time Investment
Smart planning cuts active work to 20 minutes while maximizing results.
Weekend Batch Strategy
Make 3 base varieties Saturday morning: vanilla, chocolate, and coffee. Chill overnight. Sunday afternoon, churn all three back-to-back using your self-freezing model (or refreeze bowl between batches). Total active time: 45 minutes for 6 pints. Freeze bowl immediately after last batch for next week’s use.
Last-Minute Emergency Ice Cream
Use the “quick chill” method: Pour base into a metal bowl nested in ice water, stirring 10 minutes until 40°F. Churn in self-freezing model for 35 minutes. Texture won’t be perfect but satisfies cravings.
Clean Your Machine to Prevent Motor Burnout

Improper cleaning causes 68% of premature machine failures. Follow this post-churn routine religiously.
5-Minute Disassembly Protocol
Unplug immediately after use. Let bowl and dasher warm to room temperature (15 minutes)—never soak cold parts in warm water. Hand-wash bowl with mild soap; never submerge motor base. Wipe base unit with damp cloth only. Dry all parts completely before reassembling to prevent mold in crevices.
Storage That Preserves Performance
Store freezer bowl upright in freezer with lid slightly ajar for airflow. Keep dasher clipped inside bowl to prevent misplacement. Every 3 months, run vinegar-water solution through self-freezing model to clear mineral deposits.
Your Cuisinart machine transforms simple ingredients into unforgettable desserts when you respect its temperature requirements and timing rhythms. Start with the vanilla base recipe exactly as written—master the texture milestones before experimenting. Within two batches, you’ll intuitively recognize when to stop churning and how to store for perfect scoops. Remember: the secret isn’t fancy ingredients but perfect execution of fundamentals. Pull out that machine this weekend and taste the difference cold precision makes.


