
Tired of staring at dated kitchen cupboards but dreading the cost and chaos of a full kitchen remodel? You’re not alone—nearly 70% of homeowners choose to update their existing cabinets rather than replace them entirely. The good news is that with the right approach, you can transform your kitchen’s appearance for a fraction of the cost of new cabinets. Whether you’re dealing with worn wood finishes, outdated laminate surfaces, or simply want a fresh style, this guide reveals professional techniques for updating kitchen cupboards that deliver stunning results without demolition. From simple weekend projects costing under $200 to more comprehensive transformations, you’ll discover methods that match your skill level, budget, and timeline while maximizing your home’s value.
Updating kitchen cupboards ranks among the most cost-effective kitchen improvements, with homeowners typically recouping 80-90% of their investment when selling. Unlike full cabinet replacement that can take weeks and cost $10,000 or more, strategic updates breathe new life into your space with minimal disruption. This guide walks you through proven approaches—from painting techniques that last for years to smart hardware swaps that create instant visual impact—so you can achieve a custom look without custom prices. By the end, you’ll know exactly how to update kitchen cupboards to match your aesthetic while enhancing functionality and durability.
Planning Your Kitchen Cupboard Update Strategy
Careful planning prevents costly mistakes and ensures your updated cupboards deliver both beauty and function for years. This initial phase determines your project’s success more than any single technique you’ll use later.
Evaluate Cabinet Condition and Construction Type
Your cupboards’ material and current condition dictate which update methods will work best. Solid wood cabinets with minimal damage accept paint beautifully and can be refinished multiple times. Inspect for warping, water damage, or delamination—especially around sink bases where moisture accumulates. Check door alignment; sagging doors indicate failing hinges that need replacement before updating. For laminate or thermofoil cabinets, test paint adhesion by applying masking tape to an inconspicuous area; if the finish peels when removed, painting may not be viable without special primers.
Pro Tip: Run your hand along cabinet edges—smooth transitions indicate solid construction while visible seams suggest particleboard with thin veneer that requires extra care during updates.
Create a Realistic Budget with Contingency
Budgeting accurately prevents mid-project paralysis when unexpected issues arise. Painting typically costs $150-$400 for DIY supplies versus $1,500-$4,000 for professional service. Hardware replacement ranges from $50 for basic knobs to $500+ for premium pulls. Full refacing averages $3,000-$8,000 but avoids structural changes to your kitchen layout. Always include a 15-20% contingency for hidden damage discovered during preparation—like water-stained cabinet boxes or rotted toe kicks that need repair before finishing.
Painting Kitchen Cupboards for Long-Lasting Results
Painting remains the most popular method for updating kitchen cupboards because it dramatically changes appearance while being cost-effective. However, 60% of DIY paint jobs fail within two years due to improper preparation—here’s how to avoid that fate.
Essential Supplies for Professional-Quality Finish
Skip the hardware store’s “multi-surface” paints and invest in cabinet-specific products. You’ll need:
– High-adhesion bonding primer (water-based for most surfaces)
– Cabinet-grade acrylic enamel paint
– 120, 180, and 220-grit sandpaper
– Tack cloths for dust removal
– Quality 2.5″ angled sash brush and foam roller
– Cabinet door hanging hardware for drying
Critical Note: Avoid standard wall paint—it lacks the hardness needed for cabinet surfaces that endure daily use and cleaning.
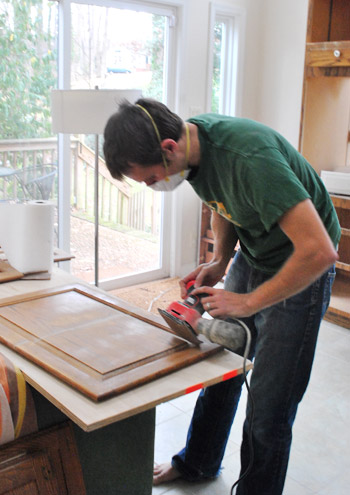
Surface Preparation That Prevents Peeling
Proper prep accounts for 80% of painting success. Remove all doors and hardware, labeling each piece’s location. Clean thoroughly with TSP substitute to remove grease (especially near stove areas). Sand all surfaces with 120-grit paper to remove gloss, then 180-grit for smoothness. Wipe away all dust with tack cloths—any remaining particles will show through paint. Apply primer with a brush on edges and roller on flat surfaces, allowing full drying time before light sanding with 220-grit paper. This step creates the perfect surface for paint adhesion.
Replacing Hardware for Maximum Visual Impact
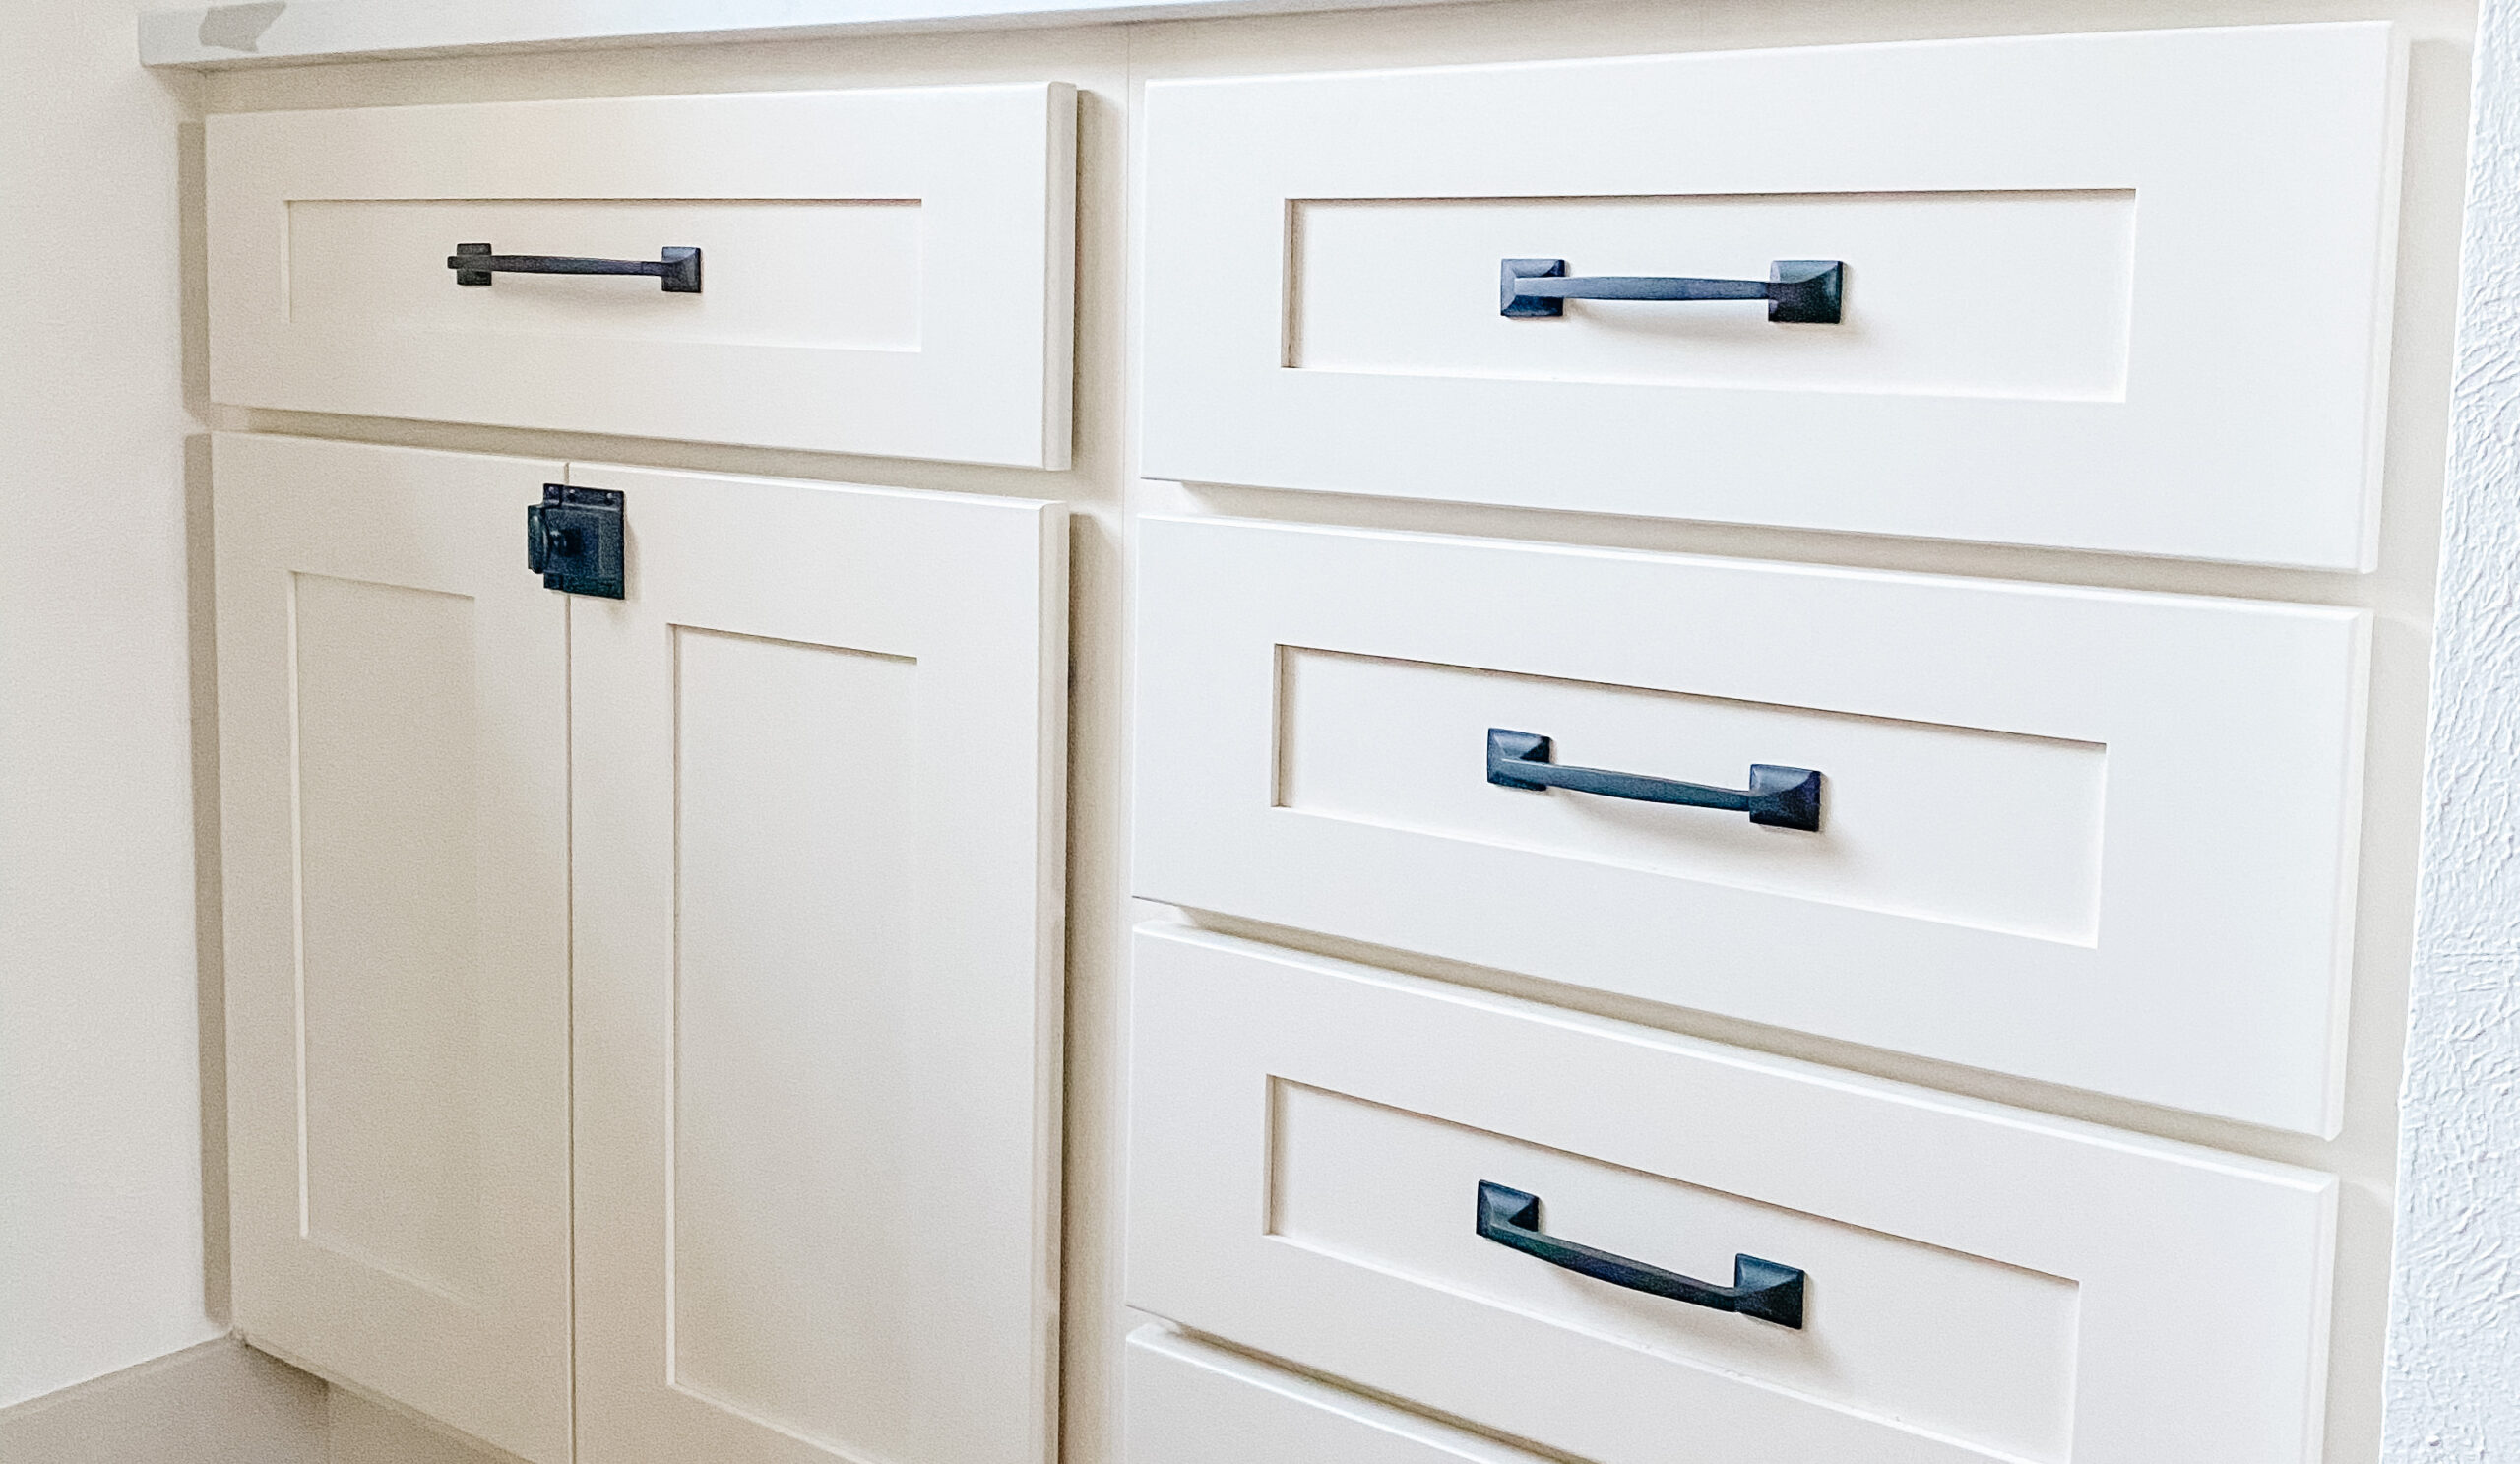
Swapping cabinet hardware delivers instant style transformation with minimal effort—perfect for renters or those testing new design directions before committing to larger projects.
Selecting Hardware That Complements Your Style
Choose hardware that aligns with your kitchen’s architectural era. Traditional kitchens suit cup pulls or bin pulls in oil-rubbed bronze, while contemporary spaces benefit from sleek bar pulls in matte black. Measure existing holes before purchasing—if changing hole patterns, use a template for precision drilling. For consistent spacing, measure from cabinet edges rather than existing holes. Drawer pulls should span one-third to one-half the drawer width for visual balance.
Expert Tip: Test hardware samples in your kitchen at different times of day—lighting dramatically affects how finishes appear.
Professional Installation Technique
Drill pilot holes slightly smaller than screw diameters to prevent wood splitting. Apply wood filler to oversized holes, let dry completely, then re-drill. When attaching new hardware, tighten screws gradually in a star pattern to avoid crooked mounting. For glass cabinet doors, use cup-style knobs that distribute pressure evenly to prevent cracking.
Refacing Cupboards for Near-Complete Transformation
Cabinet refacing replaces doors and drawer fronts while applying matching veneer to existing frames—delivering 90% of the look of new cabinets for half the cost.
Understanding Refacing Versus Replacement
Professional refacing involves removing doors, applying new veneer to exposed cabinet box edges, and installing new doors and drawer fronts. DIY refacing kits include adhesive-backed veneer strips and pre-finished doors but require precise measuring. Unlike full replacement, refacing preserves your cabinet layout and avoids plumbing/electrical adjustments. Most homeowners complete refacing in 3-5 days versus 2-4 weeks for full replacement.
Material Selection for Longevity
Choose door styles that complement your kitchen’s architecture—Shaker doors work universally while flat panels create modern appeal. Solid wood doors offer refinishing potential but cost more; thermofoil provides durability for high-moisture areas. Match veneer material to your new doors—wood veneer accepts staining while laminate offers easier cleaning. Budget for soft-close hinges during refacing—they prevent door slamming and extend cabinet life.
Essential Preparation Steps for Any Update Method
These universal preparation steps prevent 90% of common update failures regardless of your chosen method.
Deep Cleaning That Ensures Adhesion
Kitchen cupboards accumulate invisible grease that repels paint and adhesives. Mix 1/4 cup TSP substitute with 1 gallon warm water, scrub all surfaces with a non-scratch pad, then rinse with clean water. Pay special attention to upper cabinets near cooking surfaces where grease rises. Allow 24 hours drying time before proceeding—rushing this step causes adhesion failure.
Repairing Damage Before It Worsens
Fill scratches with matching wood putty, allowing full drying before sanding smooth. Repair lifted veneer by injecting wood glue with a syringe, then clamp with wax paper between surfaces. Replace damaged hinges with soft-close versions—they prevent future alignment issues. Address water damage at its source before updating to prevent recurrence.
Avoiding Costly Cabinet Update Mistakes
Learn from others’ errors to ensure your updated cupboards last for years rather than months.
Skipping Critical Drying Times
Paint that feels dry may still be curing beneath the surface. Rushing reassembly causes fingerprint marks and poor durability. Allow 24 hours between coats and 72 hours before reinstalling hardware. In humid climates, extend drying times by 50%. Test cure by gently pressing a fingernail—if it leaves an impression, wait longer.
Using Inappropriate Cleaning Methods Post-Update
Harsh cleaners strip finishes on newly updated cupboards. For painted cabinets, use only pH-neutral cleaners diluted in water. Avoid abrasive sponges—they create microscopic scratches that collect dirt. For refaced cabinets, wipe spills immediately with a damp microfiber cloth to prevent moisture damage.
Maintaining Your Updated Cupboards
Preserve your investment with these simple maintenance habits that extend the life of updated cupboards.
Daily Cleaning Routine That Protects Finishes
Wipe cabinet exteriors weekly with a soft cloth dampened with water and mild dish soap. Dry immediately with a clean towel to prevent water spots. For stubborn fingerprints, use a 50/50 vinegar-water solution that won’t damage finishes. Never spray cleaners directly on cabinets—apply to cloth first to avoid overspray on hardware.
Seasonal Maintenance Checklist
Twice yearly, tighten all hardware screws before they become stripped. Lubricate hinges with silicone spray (never WD-40, which attracts dust). Check for moisture damage under sinks and near dishwashers. Address minor scratches immediately with touch-up markers matching your finish to prevent moisture penetration.
Updating kitchen cupboards delivers remarkable transformation with minimal investment when approached strategically. By following these professional techniques—thorough preparation, appropriate material selection, and patient execution—you’ll achieve results that look custom-installed rather than DIY. Remember that the most successful cupboard updates address both aesthetics and functionality, creating a kitchen you’ll love using every day. Whether you choose a simple hardware swap or comprehensive refacing, proper maintenance ensures your updated cupboards remain beautiful for years. Start small with one cabinet as a test area, then proceed with confidence knowing you’ve mastered the professional secrets of how to update kitchen cupboards effectively. Your dream kitchen is closer than you think—it might just require updating what’s already there.


