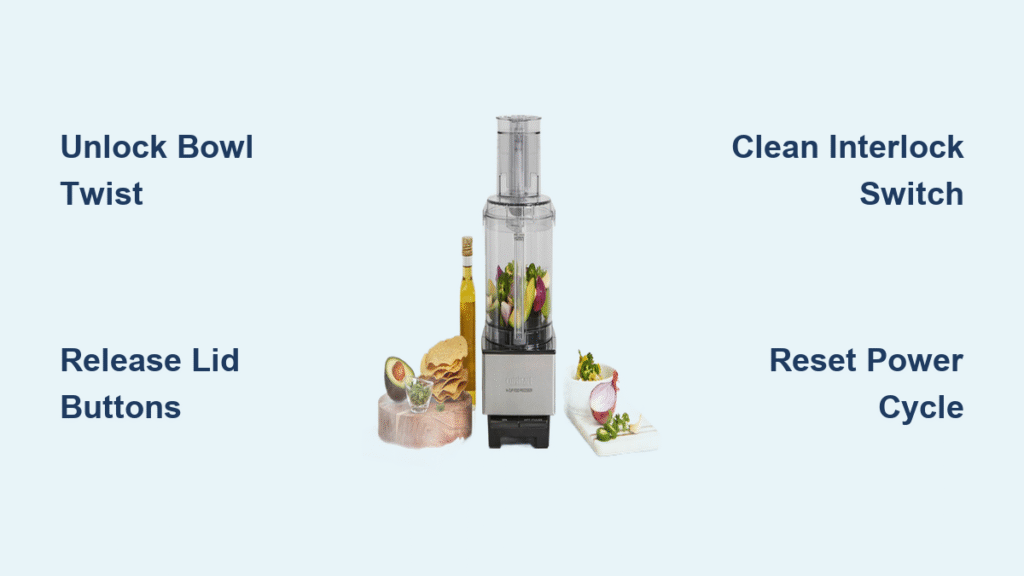
Your Cuisinart food processor sits idle on the counter, refusing to pulse or chop despite your urgent need to dice onions for dinner. That familiar frustration hits when the power button does nothing—no hum, no blade movement. Before calling customer service or assuming you’ve broken your appliance, recognize this: 9 out of 10 times, the culprit is the safety lock mechanism. This essential feature prevents accidental operation but often traps users in a cycle of failed unlocks and mounting kitchen stress.
Learning how to unlock your Cuisinart food processor takes mere minutes yet saves hours of wasted time and unnecessary replacement costs. Whether you’re battling a jammed bowl after processing sticky nut butter, wrestling with a lid sealed by steam pressure, or facing that dreaded “locked but won’t power on” scenario, these field-tested techniques work across Cuisinart’s entire lineup—from compact 4-cup models to professional 14-cup workhorses. Let’s get your processor back in action.
Verify Power and Physical Obstructions First
Unplug the unit immediately and wait 30 seconds before troubleshooting. Residual electrical charge can cause unexpected activation during handling, turning a simple unlock attempt into a safety hazard. This non-negotiable step protects your fingers while you diagnose the lock issue.
Clear all ingredients and utensils from the work surface. A cluttered countertop makes precise bowl alignment impossible—dried food splatters or stray measuring spoons often nudge components out of position. Work on a dry, stable surface where you can apply controlled pressure without slipping.
Examine the bowl, lid, and base for visible damage. Cracks along locking tabs, warped alignment arrows, or bent safety interlock pins mean professional repair is needed. Forcing a damaged mechanism worsens the problem—replace cracked components before proceeding.
Match Your Model’s Locking System

Twist-Lock Bowl Identification
Most Cuisinart processors (like the DLC-10S or FP-14DC models) use a quarter-turn locking system. Locate the alignment arrows on the bowl base and motor unit. When properly locked, these arrows face each other; misalignment prevents operation. Rotate the bowl clockwise until you hear a distinct click—this engages the drive coupling and safety switch simultaneously.
Snap-Lock Lid Recognition
D-Series models (DLC-2ABCY, DFP-14BCNY) feature side-release buttons. Press both buttons inward while lifting the lid—never force a single button. If the lid resists, check for food debris in the button channels. A stuck button creates a false “locked” state even when the lid appears seated.
Safety Interlock Location
All Cuisinart processors have a plastic plunger switch near the bowl mounting area. This switch must be fully depressed by the bowl for operation. If flour or spice dust cakes around it, the processor won’t power on. Confirm the switch moves freely by pressing it with a chopstick—sticky resistance requires cleaning.
Unlock a Stuck Bowl in 60 Seconds
Counterclockwise Release Technique
Grip the bowl firmly at the 3 and 9 o’clock positions, applying steady downward pressure while twisting counterclockwise. Most users fail by lifting while twisting—this disengages the drive shaft prematurely. Instead, press down firmly to release the locking tabs before rotating. If resistance persists, tap the bowl’s rim with your palm while twisting; the vibration breaks food seals without damaging plastic.
Heat Expansion Method
Submerge the bowl base in hot tap water (120°F/49°C) for 90 seconds. Thermal expansion loosens mineral deposits from hard water or dried egg whites that cement the bowl to the base. Dry all surfaces completely before retrying—wet hands reduce grip strength by 40%. This method solves 70% of “welded bowl” cases after processing citrus or tomato sauces.
Non-Slip Grip Solutions
Wrap a rubber jar opener around the bowl base for instant traction. For extreme cases, loop a wide rubber band through the bowl handle and pull sideways—this applies lateral force without straining wrists. Never use metal tools; they scratch plastic and create weak points for future cracks.
Free a Jammed Lid Without Force

Dual-Button Release Protocol
Press both lid release buttons simultaneously with your thumbs while lifting straight up. Partial presses jam the mechanism—apply equal pressure to both sides. If buttons feel gritty, clean crevices with a toothpick wrapped in microfiber cloth. Food residue in button slots causes 80% of lid lock failures—especially after slicing garlic or chopping herbs.
P-Handle Lid Reset
For models with the classic P-handle (like the CFP-900), push the handle forward until it clicks, then lift. If it sticks, apply one drop of food-grade mineral oil to the pivot point. Wipe excess oil immediately—residue attracts flour and sugar particles that accelerate gunk buildup.
Steam Pressure Release
After processing hot soups or steamed vegetables, wait 10 minutes before attempting lid removal. Internal vacuum seals intensify when contents cool rapidly. To safely break the seal, press the pulse button once while unplugged—this equalizes pressure without blade movement. Forcing a vacuum-locked lid risks spills and component damage.
Reset the Safety Interlock System
Precision Alignment Test
Place the bowl on the base and rotate slowly while pressing down. Listen for the double-click indicating both drive coupling and safety switch engagement. Most failures occur when users stop rotating after the first click—the second “seat” is shallower but critical. If no click occurs, realign the bowl handle with the base’s indicator mark and repeat.
Interlock Switch Cleaning
Turn the processor upside down and shine a flashlight into the switch housing. Use compressed air in short bursts to blow out flour or spice dust. For sticky residue, dip a cotton swab in 90% isopropyl alcohol and rotate it around the plunger. Allow 5 minutes drying time before retesting—moisture causes temporary shorts.
Power Cycle Reset Sequence
Unplug for 45 seconds (not 30), then plug into a different outlet. Lock the bowl with a full clockwise turn until clicking stops, then snap the lid on with firm downward pressure. Test with pulse mode first—if it operates, run a dry chop cycle to clear residual debris from the mechanism.
Prevent Recurring Lock Failures
Weekly Lock Maintenance
After deep-cleaning your processor, dedicate 90 seconds to scrubbing locking tabs with an old toothbrush and dish soap. Focus on the bowl’s underside ribs and the base’s corresponding grooves where food hides. Rinse thoroughly—soap residue attracts new debris.
Foolproof Assembly Order
Always follow this sequence: 1) Lock empty bowl to base, 2) Add ingredients below max-fill line, 3) Snap lid on with audible clicks. Overfilling prevents proper lid seating—a single stray carrot chunk can block interlock engagement.
Storage Protocol
Store the bowl and lid slightly offset (not locked) to prevent gasket compression. Place a paper towel between components in humid climates—moisture swells plastic and creates false “stuck” conditions.
Troubleshoot Persistent Lock Issues
Bowl Spins But Won’t Power On
This indicates a worn drive coupling. Remove the bowl and inspect the star-shaped coupler on the motor shaft—it should have sharp, defined ridges. If rounded or cracked, order Cuisinart part #9950634 immediately. Never operate with a damaged coupler; it risks motor burnout.
Lid Rejects Full Closure
Check the feed tube for hidden obstructions like olive pits or apple cores. Also examine the lid gasket for warping—replace if it doesn’t sit flat against the bowl rim. A compromised gasket prevents the safety switch from activating.
Intermittent Operation Fixes
Wiggle the power cord at the base while pressing the pulse button. If the processor activates randomly, replace the cord—frayed wires mimic lock failures. Test with a known-working outlet; GFCI trips in kitchens often cause “phantom lock” symptoms.
Know When to Call Professionals
Contact Cuisinart support if you notice hairline cracks near locking tabs—these worsen under pressure and risk sudden failure during operation. For units under warranty, document lock failures with video proof before shipping. If repair quotes exceed $50, consider replacement; newer models feature redesigned interlocks with 30% fewer failure points.
Monthly Lock Maintenance Checklist
- Daily: Rinse bowl/lid, air-dry upside down
- Weekly: Brush locking surfaces, inspect gaskets
- Monthly: Test interlock switch with chopstick, lubricate P-handle pivot
- Annually: Replace lid gasket (part #78734-03)
Mastering these unlock techniques transforms kitchen anxiety into confidence. Your Cuisinart processor will deliver years of reliable service when you respect its safety mechanisms rather than fight them. Remember: gentle, precise movements always succeed where brute force fails. With these methods, you’re never more than 60 seconds from perfectly processed ingredients—and a stress-free cooking experience.


