
Struggling with deep kitchen cabinets where pots, pans, and utensils vanish into the back corners? Transforming your existing kitchen cabinets into functional drawers solves this frustrating storage problem without requiring a full kitchen remodel. Converting cabinets to drawers maximizes every inch of space, brings items within easy reach, and gives your kitchen a modern, high-end look—all for a fraction of cabinet replacement costs. This practical guide shows exactly how to turn kitchen cabinets into drawers using proven techniques that deliver professional results. Whether you’re tackling a single problematic cabinet or planning a full kitchen upgrade, you’ll learn the precise measurements, hardware selections, and installation methods that make drawer conversions successful.
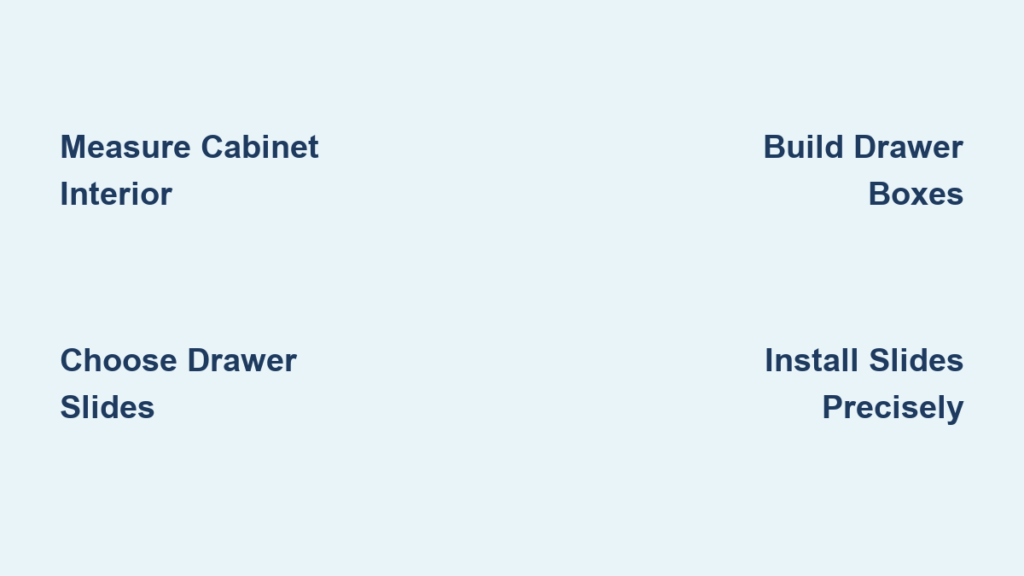
Measure Your Cabinet Interior Accurately
Before purchasing any materials, precise cabinet measurements determine whether your conversion will function smoothly or become a frustrating project. Start by removing all shelves and hardware from the cabinet you’re converting, then take three critical measurements at different points to account for any irregularities in older cabinetry.
Record the cabinet width at the front edge, middle section, and back wall—many cabinets taper slightly toward the rear, which affects drawer sizing. For standard base cabinets, expect widths between 12-36 inches, but verify your specific dimensions. Measure the interior depth from the cabinet back to the front edge where the door was attached, typically 22-24 inches for base cabinets. Finally, measure the height from the cabinet bottom to the underside of the countertop or upper cabinet, subtracting 1 inch for slide clearance.
Use these measurements to calculate your drawer box dimensions: subtract 1 inch from the narrowest cabinet width measurement (½ inch clearance on each side), 1½ inches from the depth (¾ inch clearance front and back), and 1 inch from the height (½ inch clearance top and bottom). For example, a cabinet measuring 23½ inches wide at its narrowest point requires a 22½ inch wide drawer box. Mark these dimensions clearly on your materials before cutting to avoid costly mistakes.
Select the Right Drawer Slides for Smooth Operation
Choosing appropriate drawer slides makes the difference between drawers that glide effortlessly for years versus those that bind, squeak, or fail prematurely. Three main slide types work for cabinet conversions, each with specific advantages depending on your cabinet construction and usage needs.
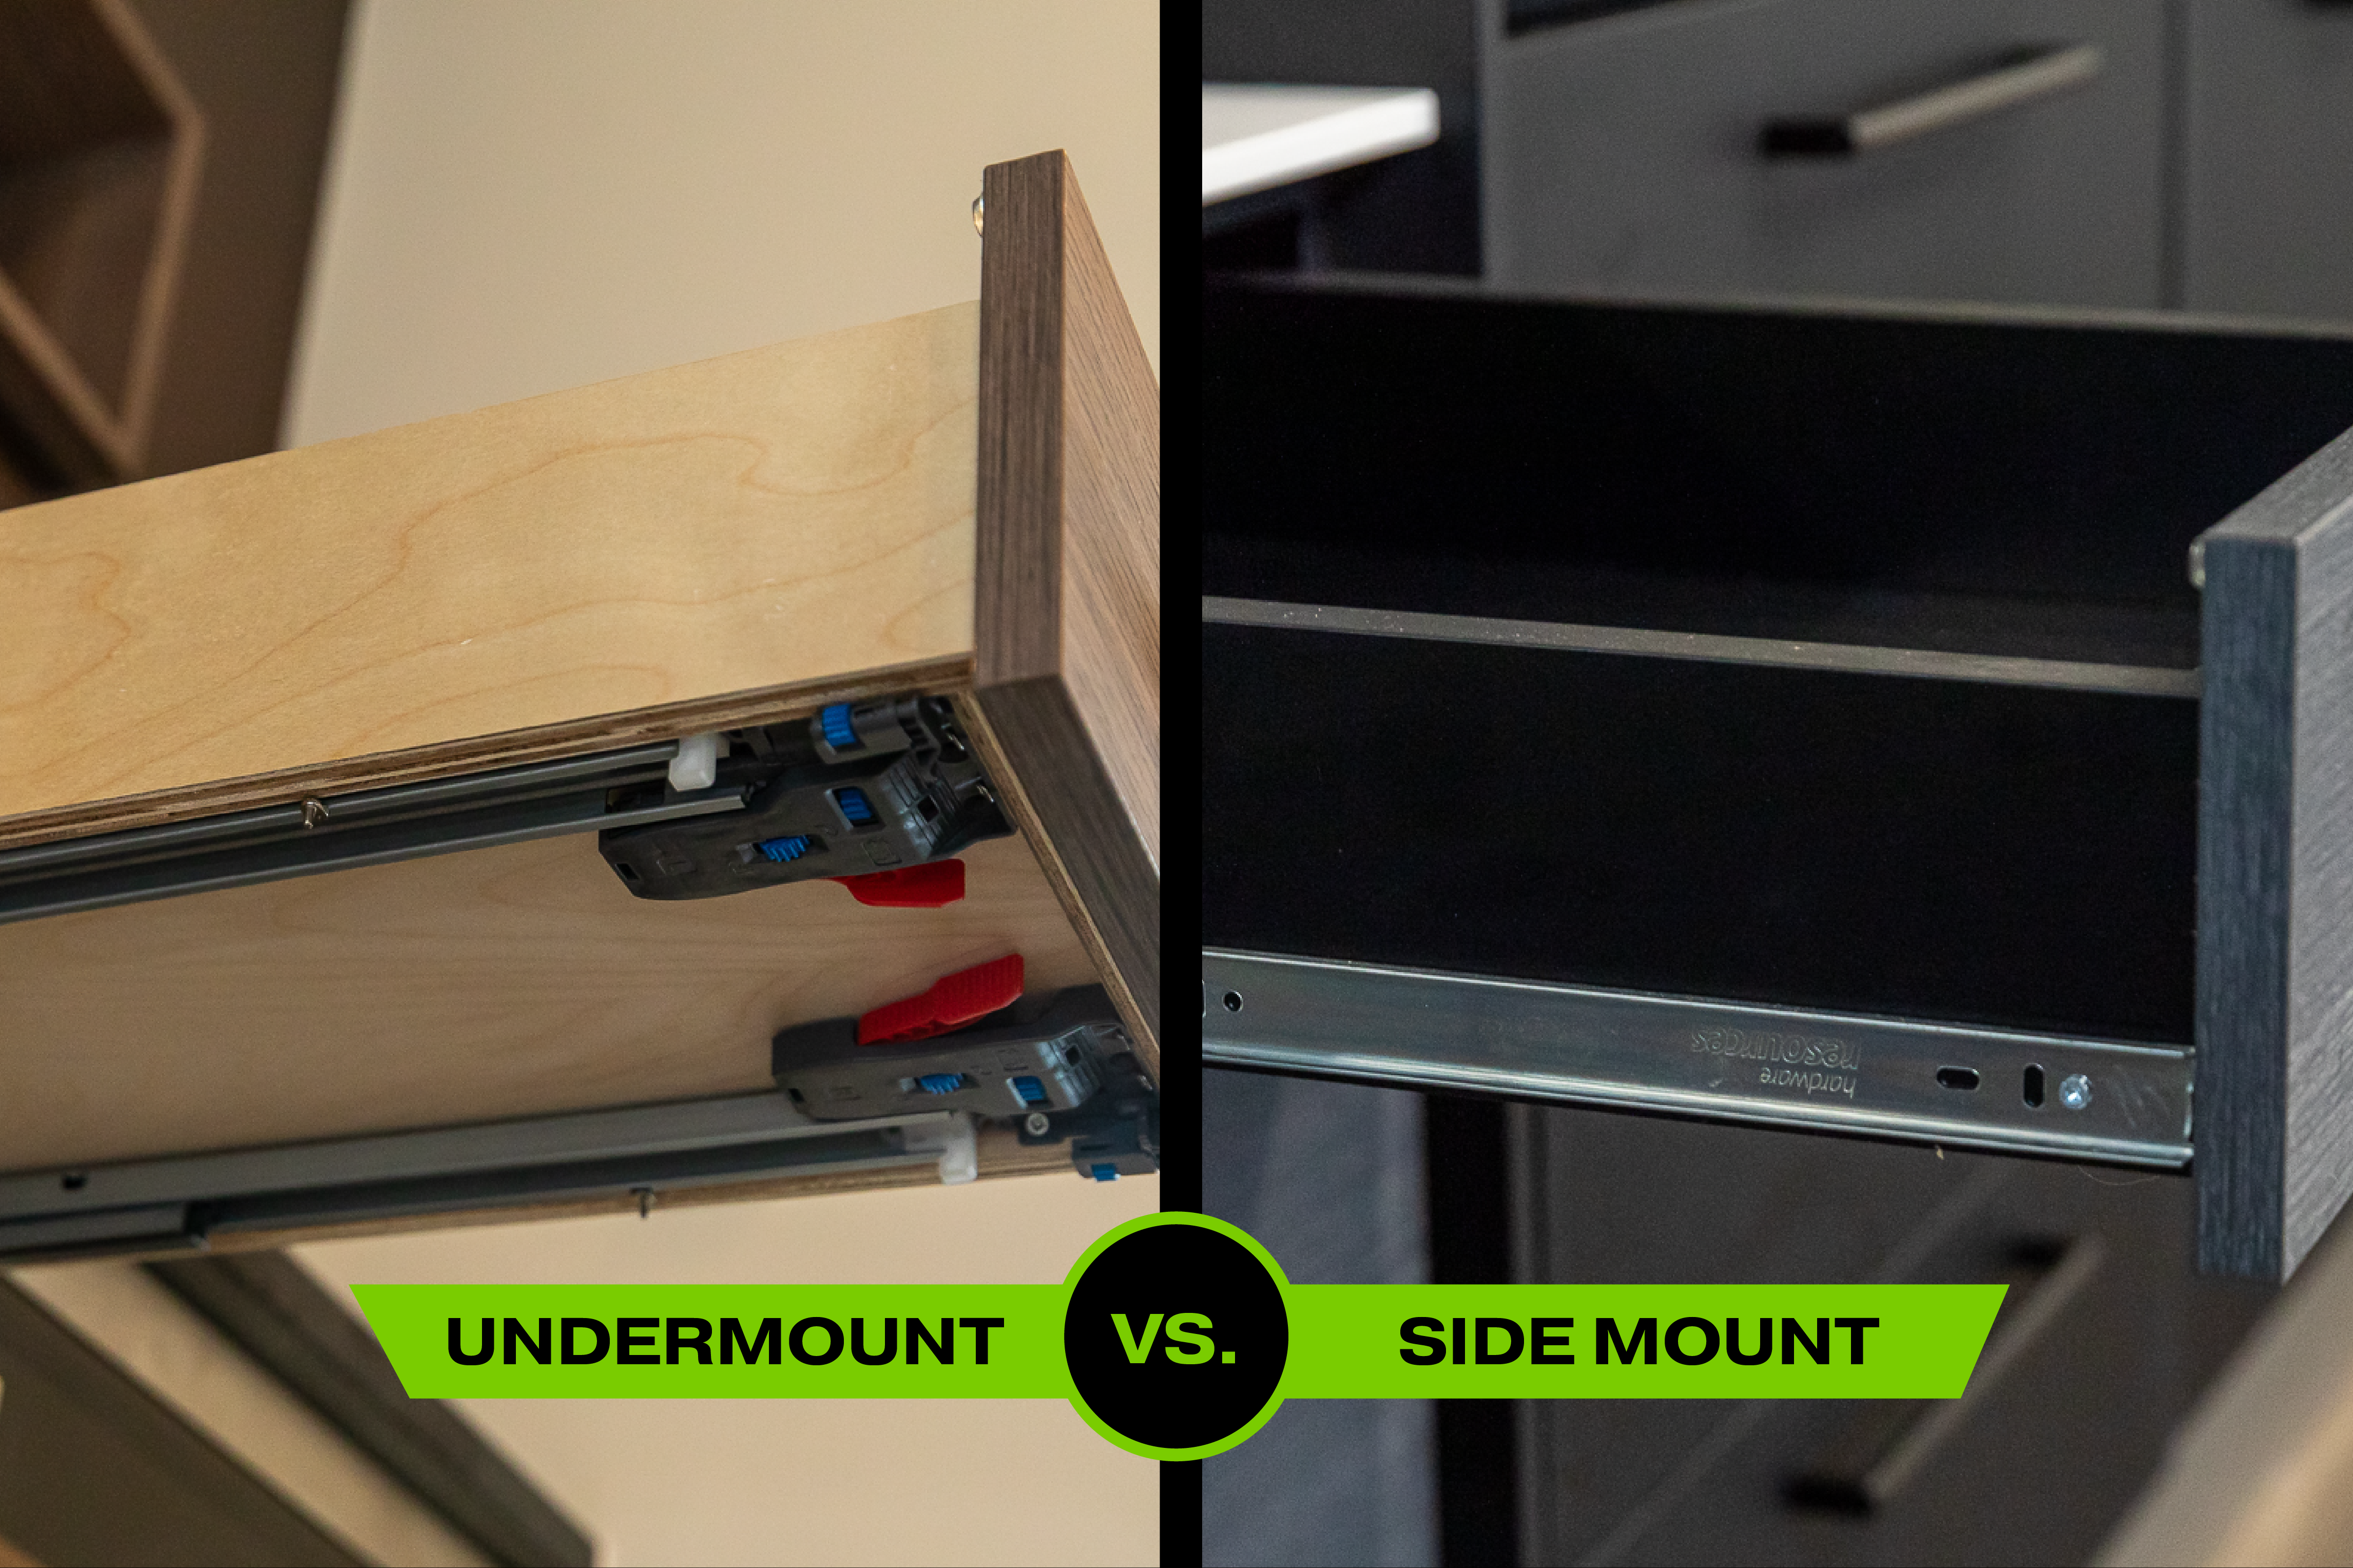
Side-mount slides attach to the cabinet sides and drawer box sides, offering the most economical option at $10-$25 per pair. These work best for cabinets with solid sides that can securely hold screws, but require precise leveling during installation to prevent binding. Full-extension side-mount slides allow complete drawer access and cost $20-$40 per pair—worth the upgrade for deep base cabinets where items would otherwise hide in the back.
Under-mount slides mount beneath the drawer box, creating a cleaner aesthetic with no visible hardware. These cost $25-$60 per pair and require more precise installation but operate more smoothly with heavier loads. Soft-close mechanisms add $5-$15 per pair but prevent slamming and reduce wear, making them essential for frequently used drawers like those storing pots and pans.
Avoid cheap ball-bearing slides under $10 that often fail within months. Instead, invest in reputable brands like Blum, Hettich, or Accuride that offer lifetime warranties. For base cabinets storing heavy cookware, select slides rated for at least 100 pounds of weight capacity—twice what you expect to store—to ensure smooth operation over time.
Build Sturdy Drawer Boxes That Last
Constructing drawer boxes from quality materials ensures your converted drawers withstand daily use without sagging, warping, or failing at the joints. While pre-made drawer boxes offer convenience, custom-built boxes maximize your cabinet space and allow incorporating specialized storage features.
Cut drawer components from ½-inch or ⅝-inch Baltic birch plywood—avoid particle board that swells when exposed to moisture. Your basic drawer requires four pieces: two sides, a front, and a back. For a 22½-inch wide cabinet interior, cut side panels to 5½ inches tall (accounting for slide thickness) and 21 inches deep (allowing ¾ inch clearance front and back). The front and back panels should measure 22½ inches wide by 5½ inches tall.
Assemble your drawer box using pocket hole joinery for invisible, strong connections. Clamp pieces together, drill pocket holes into the inside faces of the front and back panels, apply wood glue to all joints, then secure with 1¼-inch pocket hole screws. Reinforce the bottom by cutting a ¼-inch plywood panel to fit inside the box frame, then attach it with glue and ¾-inch brad nails. Sand all surfaces smooth before finishing.
Avoid Common Drawer Construction Mistakes
Many DIYers make critical errors that compromise drawer function. Never use butt joints secured only with glue—a single heavy load can separate the joints. Always allow proper clearance: too little space causes binding, while too much creates wobble. Don’t skip sanding corners—rough edges catch clothing and cause splinters. Most importantly, verify squareness before the glue dries: measure diagonally from corner to corner—both measurements should be identical.
Install Drawer Slides with Precision

Mounting drawer slides correctly determines whether your converted drawers operate smoothly or become frustrating to use. This step requires patience—rushing slide installation creates alignment issues that cause binding, uneven operation, and premature wear.
Start by marking slide positions on both cabinet sides using a level and tape measure. For side-mount slides, position the cabinet portion ½ inch above the cabinet bottom and maintain consistent height across both sides. Pre-drill pilot holes slightly smaller than your screws to prevent splitting, especially in particle board cabinets. Attach the cabinet portion first, ensuring both sides are perfectly level before securing completely.
Test the alignment by temporarily connecting the drawer portion to the cabinet portion. Slide the mechanism through its full range of motion, checking for smooth operation. If binding occurs, loosen the screws slightly and adjust the slide position before retesting. Only after confirming perfect operation should you attach the drawer portion permanently to your drawer box.
Fix Slide Alignment Issues Before They Become Permanent
If your drawer binds at the front, the slides are likely too high; if it binds at the back, they’re too low. Minor adjustments of 1/16 inch often resolve these issues. For under-mount slides, follow the manufacturer’s specific instructions—they typically require mounting the drawer portion first, then adjusting the cabinet portion for perfect alignment. Never force a drawer that doesn’t slide smoothly; diagnosing and fixing alignment issues now prevents frustration later.
Attach Drawer Fronts for Professional Results
Your drawer fronts complete the visual transformation, connecting functional drawer boxes to your kitchen’s aesthetic. Whether repurposing existing cabinet doors or installing new fronts, proper mounting creates the seamless look of custom cabinetry.
To reuse existing doors, measure your drawer box front dimensions and trim doors to size using a circular saw with a fine-tooth blade. Sand edges smooth and refinish to match. For consistent hardware placement, mark pull positions 2-3 inches from the top and bottom edges, drilling pilot holes before installing hardware.
Install fronts using a temporary method first: apply painter’s tape along the drawer box sides, then attach the front with double-sided tape. Slide the drawer into the cabinet and check reveals—the gaps around the drawer front. Adjust until reveals are even on all sides (typically 1/8 inch), then remove, apply wood glue to the mating surface, and permanently attach with screws driven through the drawer box front.
Organize Your New Drawers Strategically
Maximize your converted drawers’ functionality with smart organization that matches how you actually use your kitchen. Strategic organization prevents the chaos of mixed items and makes everything instantly accessible.
Install adjustable dividers to create dedicated zones: utensil trays with slots for different tools, lid organizers that keep pot covers with matching vessels, and vertical plate holders that protect dishes while maximizing space. For deep drawers storing baking sheets and cutting boards, use angled dividers that allow one-handed access without rummaging.
Consider your cooking habits when designing layouts. Frequent cooks need prominent space for everyday pots and pans, while baking enthusiasts benefit from dedicated rolling pin and cookie sheet storage. Store heavier items in lower drawers and fragile items in upper drawers to optimize weight distribution and accessibility.
Maintain Your Converted Drawers Long-Term
Proper maintenance keeps your converted drawers operating smoothly for years. Every six months, apply silicone-based lubricant to slide mechanisms—never petroleum-based products that attract dirt. Clean drawer interiors regularly to prevent crumb buildup and address spills immediately to avoid staining.
Tighten any loose hardware before minor issues become major problems. Check drawer box joints annually for separation, especially in high-moisture areas like near dishwashers. Soft-close mechanisms may need adjustment if they fail to engage properly—most feature small adjustment screws accessible when the drawer is fully open.
Frequently Asked Conversion Questions
How much does converting cabinets to drawers cost?
Budget conversions cost $50-100 per cabinet using economy slides and basic materials, while premium conversions with soft-close under-mount slides run $150-300 per cabinet. Most homeowners spend 25-40% of what new cabinetry would cost.
Can I convert upper cabinets to drawers?
Yes, but upper cabinets typically require shallower drawer boxes (3-5 inches deep) due to limited interior depth. Verify your cabinet construction can support the weight—upper cabinets often have less robust construction than base cabinets.
How difficult is this project for beginners?
With basic carpentry skills and patience for precise measurements, most homeowners can successfully convert 1-2 cabinets over a weekend. The most challenging aspects are accurate measurement and level slide installation—take your time with these steps for best results.
Converting your kitchen cabinets to drawers transforms frustrating storage into a functional system that enhances daily cooking and cleanup. By following these precise steps for measurement, slide selection, drawer construction, and installation, you’ll create custom storage that works harder than your original cabinets. Start with your most problematic cabinet to build confidence, then expand the conversion throughout your kitchen as your skills develop. The time investment pays off daily with everything you need instantly accessible—no more digging through dark cabinet corners for that missing spatula.


