

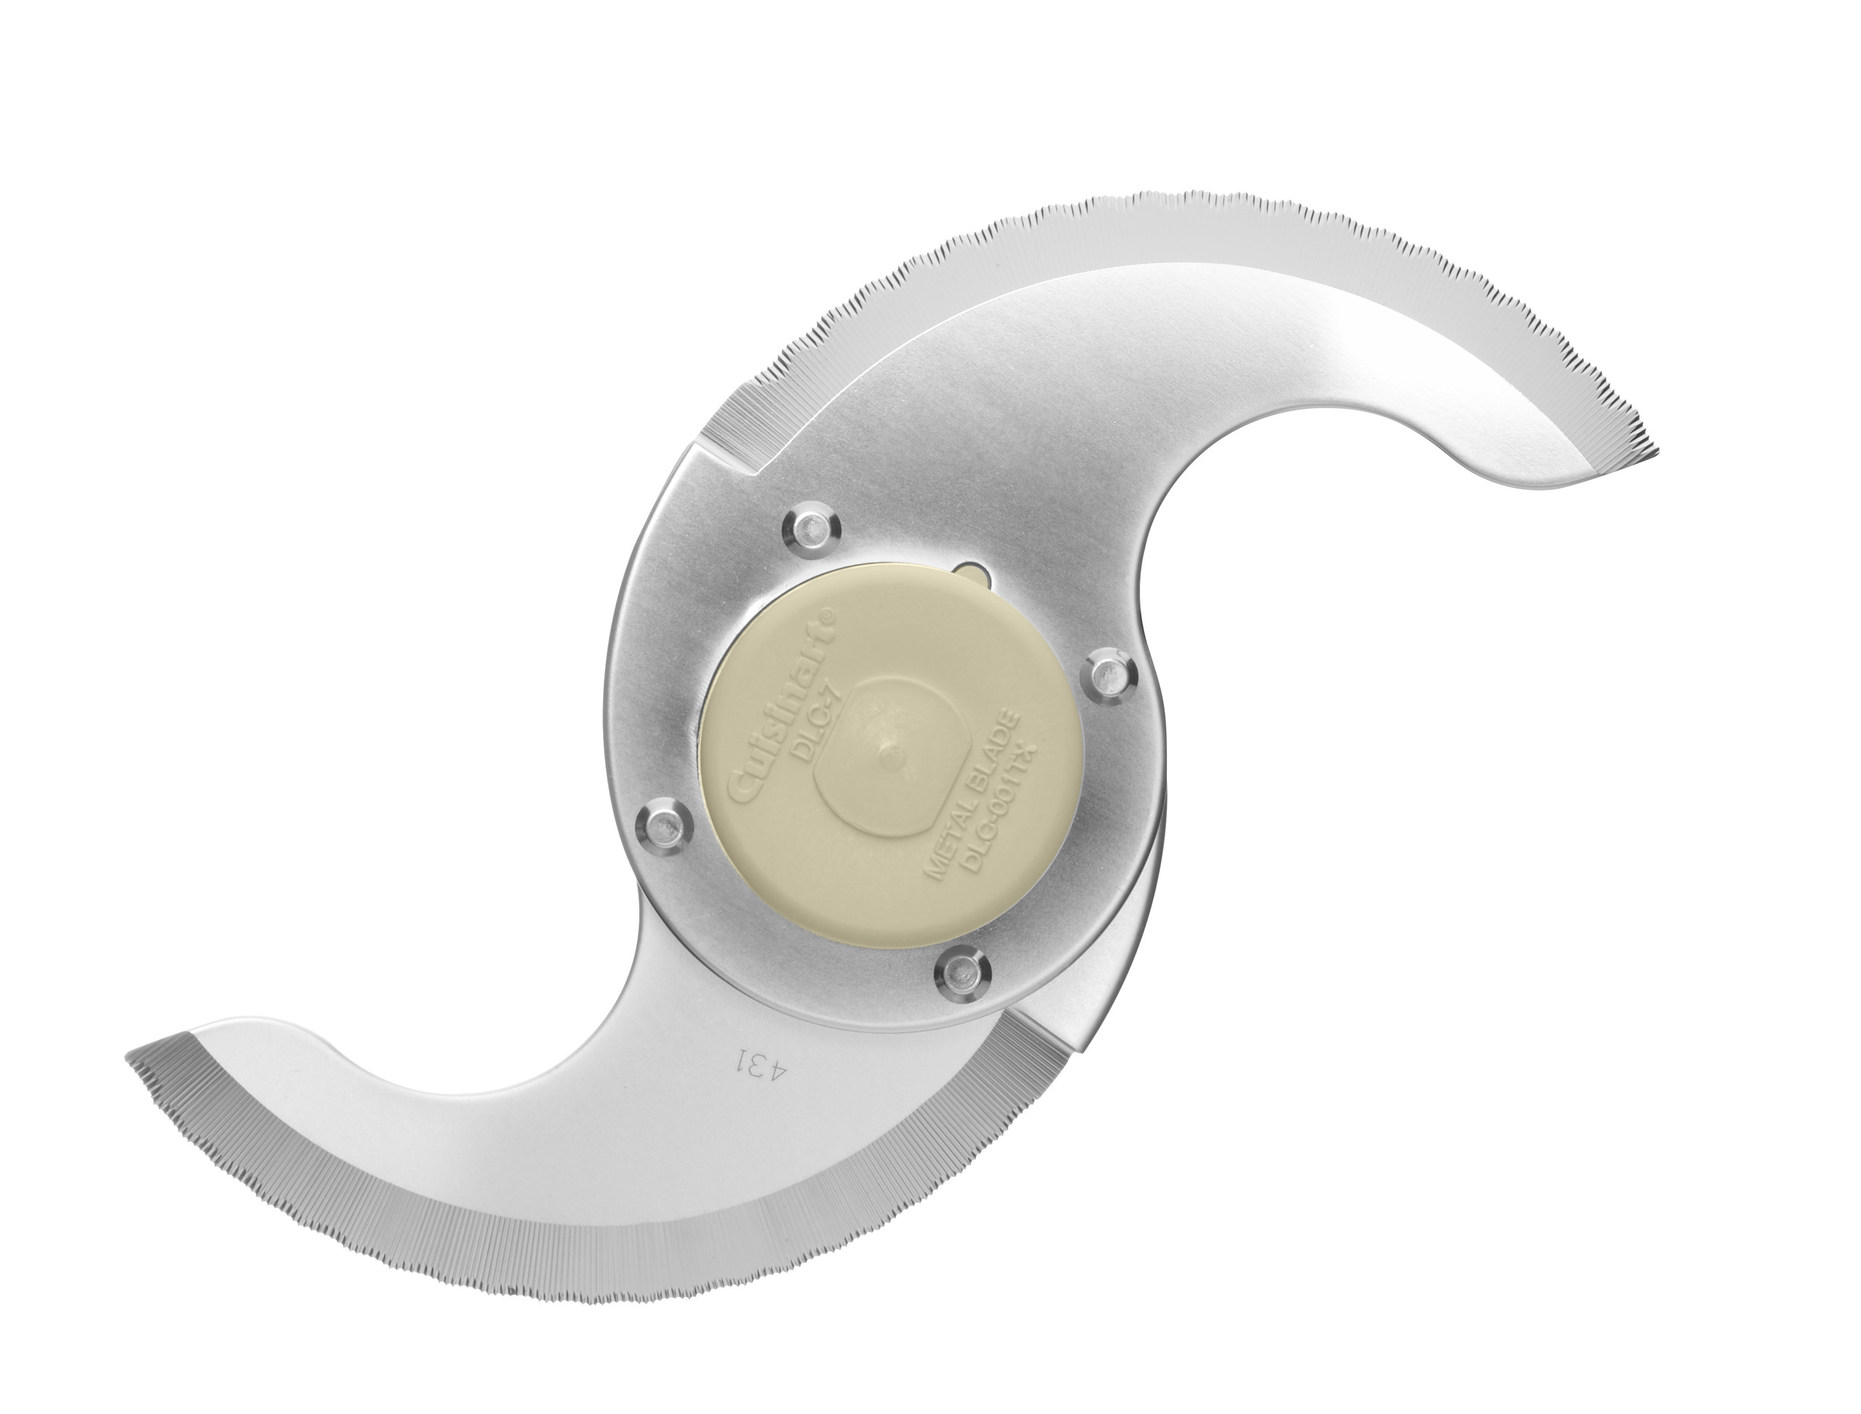
Your Cuisinart food processor blades are gathering dust in a dangerous pile because nothing fits those 2.6-inch metal rods protruding from the discs. Tossing them in a drawer risks dulling their razor-sharp edges and slicing your fingers. That flimsy Styrofoam block from the box? It’s already disintegrating into white crumbs across your countertop. You need a storage solution that protects both your safety and your investment—not another generic container that ignores the unique shape of DLC-series blades.
This guide delivers battle-tested methods to store Cuisinart blades safely, using household items or DIY projects. You’ll learn to build custom cardboard guards in 10 minutes, adapt 3D-printed caddies for vertical stacking, and repurpose kitchen containers to keep blades organized and accessible. Implement these fixes today, and stop wasting time digging through drawers for the right shredding disc mid-recipe.
Stop Using Cuisinart’s Crumbling Styrofoam Block
Cuisinart’s included foam block fails within months because it can’t handle daily use. The 150 mm discs with 65 mm metal rods force you to store them vertically, but the foam’s shallow slots let blades wobble and collide. When the foam disintegrates—which it always does—you’re left with plastic beads contaminating your kitchen and exposed blades that dull against each other.
Generic storage containers make the problem worse. Standard kitchen bins lack the 90 mm minimum depth needed for the disc plus rod, forcing you to lay blades flat. This allows metal-to-metal contact that blunts the cutting teeth and warps thin discs over time. Worse, unprotected shredding blades snag towels or skin when you reach blindly into drawers.
Build Cardboard Guards That Fit Perfectly
Cut Exact 170 mm × 90 mm Sleeves From Shipping Boxes
Grab double-wall corrugated cardboard from delivery boxes or craft stores. Cut rectangles measuring 170 mm wide by 90 mm tall—this size covers the full disc diameter while accommodating the rod. Avoid single-wall cardboard; it tears when blades slide in. Use a utility knife and metal ruler for clean edges, scoring first to prevent fraying.
Fold Into a Three-Sided Protective Channel
Score the cardboard at 60 mm and 110 mm from one edge, then fold into a U-shape channel. Slide the blade teeth-first into the sleeve, punching a small slot at the back for the metal rod to protrude. Wrap the outer seam with fiber-reinforced tape to resist nicks from repeated use. This takes 5 minutes per guard and costs nothing.
Label Guards for Instant Identification
Mark each sleeve clearly with permanent marker: “Fine Shred,” “Medium Slice,” or “Dough Blade.” Add colored vinyl electrical tape to rod ends—red for shred, yellow for slice, blue for dough. This prevents grabbing the wrong disc when you’re rushing dinner prep, saving critical seconds during cooking chaos.
Upgrade to a 3D-Printed Modular Caddy
Print the Exact 180 mm × 180 mm × 70 mm Tray
Download the Creative Commons SolidWorks model (BY-NC-SA 4.0 license) for a caddy designed specifically for Cuisinart’s dimensions. It holds multiple 150 mm discs and steel blades in a footprint that fits Prusa Mini print beds. Use PLA or PETG filament, but expect 20+ hours print time. Remove cylindrical supports from mounting holes carefully with needle-nose pliers—they’re fragile.
Modify Height for Dough Blades Before Printing
The standard slot depth (70 mm) won’t fit the 85 mm tall FP-749TX dough blade. Adjust the equation-driven height parameter to 90 mm minimum in your slicer software before printing. Create a separate compartment if you own both standard and dough blades—don’t force-fit the taller blade, as it damages the caddy.
Stack Trays Vertically to Save Drawer Space
Snap multiple trays together into a tower that grows with your accessory collection. Each 180 mm square tray clicks securely into the one below, preventing tipping when you grab a blade. Store the tower vertically in narrow cabinet spaces, not wide drawers—you’ll reclaim 60% more room than horizontal storage.
Repurpose Household Items for Instant Storage
Convert Knife Blocks Into Blade Holders
Remove two dividers from an adjustable bamboo knife block to create 150 mm-wide slots. Slide discs vertically like chef knives with rods pointing up. The wood protects cutting edges from damage, and the open top lets you see blades instantly. Avoid overfilling—leave 10 mm between discs to prevent contact.
Use Art Supply Bins for Clear Visibility
Grab a clear plastic marker container with 3-inch vertical slots (sold at craft stores for $5). The transparent walls let you identify blades at a glance, while narrow slots prevent rattling. For taller dough blades, place a folded silicone mat at the bin’s base to lift discs and accommodate the rod.
Roll Blades in Silicone Baking Mats
Wrap stacked blades in a silicone baking mat, securing the roll with rubber bands. The grippy texture cushions edges, and the flexible design adapts to any blade quantity. Store horizontally in shallow drawers—you’ll hear no clattering when opening cabinets.
Prevent Rust and Damage With Smart Habits
Dry Blades Thoroughly Before Storing
NEVER put damp blades away. Micro-rust forms on cutting edges within hours in humid air, ruining precision. Hand-dry with a microfiber cloth immediately after washing, sliding the fabric between shredding teeth and around the rod base. This takes 30 seconds but extends blade life by years.
Isolate Blades Even Inside Caddies
Metal-to-metal contact dulls teeth faster than daily use. Always use cardboard sleeves or fabric pockets inside your chosen storage system. The $2 cost of zip-top bags (slip one over each blade) prevents costly replacements—Cuisinart discs cost $15–$25 each.
Store Vertically to Maintain Blade Integrity
Horizontal stacking warps discs under cabinet weight, causing uneven slicing. Vertical storage—not flat—keeps blades straight and accessible. If using a roll-up method, stand it upright in a bin rather than laying it flat. Check alignment monthly by holding blades against a light; warping shows as light gaps.
Inspect Guards Every 6 Months for Wear
Cardboard sleeves fray at fold lines; fabric bags tear at stress points. Damaged guards create false security—sharp edges poke through, risking cuts. Replace frayed sleeves immediately. For fabric rolls, machine-wash monthly to remove flour residue that accelerates wear.
Maximize Efficiency With Pro Organization
Nest Mini-Prep Blades Inside Larger Discs
Slide Cuisinart Mini-Prep blades (110 mm) into the center hole of full-size discs. Wrap the smaller blade in a paper towel first to prevent metal contact and rattling. This frees 40% more drawer space while keeping specialty blades paired with their primary disc.
Create a Lid Inventory List
Tape a simple checklist inside your storage container showing all blades you own. Note “Fine Shred,” “Dough,” etc., with checkboxes. Update it when loaning blades to friends or packing for vacations—never lose track of expensive accessories again.
Reserve 20% Empty Space for New Blades
Cuisinart releases specialty discs like julienne cutters annually. Design your system with extra room: leave one slot empty in caddies, or size cardboard sleeves for future additions. Retrofitting storage mid-recipe causes frustration—build flexibility upfront.
Your Cuisinart blades represent a $100+ investment in kitchen efficiency. Proper storage prevents costly replacements and protects your fingers from preventable injuries. Start tonight with cardboard sleeves made from delivery boxes—then upgrade to a 3D-printed tower as your collection grows. Within 20 minutes, you’ll transform chaotic drawer clutter into a streamlined system where every blade is visible, protected, and ready for action. No more digging, no more bloodshed, just perfect slices and shreds on demand.


