
That first morning with your new Cuisinart coffee maker can turn chaotic fast—water overflowing, buttons flashing mysteriously, or worse: no coffee at all. You’re not alone. Over 60% of startup issues stem from skipping the critical rinse cycle or misplacing the carafe. How to start a Cuisinart coffee machine shouldn’t require decoding cryptic manuals. This guide cuts through the confusion with model-specific steps, troubleshooting hacks, and pro tips you won’t find in the booklet. Whether you own a basic 8-cup drip or a touchscreen Brew Central, you’ll have perfect coffee brewing in under 10 minutes.
Most users waste precious morning minutes because they assume all Cuisinart models start the same way. But touchscreen interfaces demand dry fingers, Grind & Brew units require bean-specific prep, and thermal carafe models skip the warming plate entirely. We’ll target these hidden pitfalls so your machine never fails when caffeine cravings hit hardest. By the end, you’ll confidently start any Cuisinart coffee machine—even if it’s been gathering dust in a cabinet.
First Rinse Cycle: Critical Step Before Brewing
Skipping this step risks chemical-tasting coffee and inconsistent temperatures. The rinse cycle flushes manufacturing residues while preheating internal components to hit that sweet spot of 195°F—essential for proper extraction. Never brew your first pot with coffee grounds; residues will taint the flavor.
Quick Rinse Protocol
- Fill reservoir to MAX line with filtered water (avoid tap water’s minerals)
- Place empty carafe on warming plate—listen for the safety switch click
- Press Brew without adding coffee grounds
- Discard hot water after cycle completes (≈5 minutes)
- Pro tip: Run a second rinse with filtered water, then pour this hot water back into the reservoir. This preheats the system for optimal brewing temperature.
Critical mistake: Using distilled water for rinsing. It lacks minerals needed for temperature regulation—always use filtered tap water.
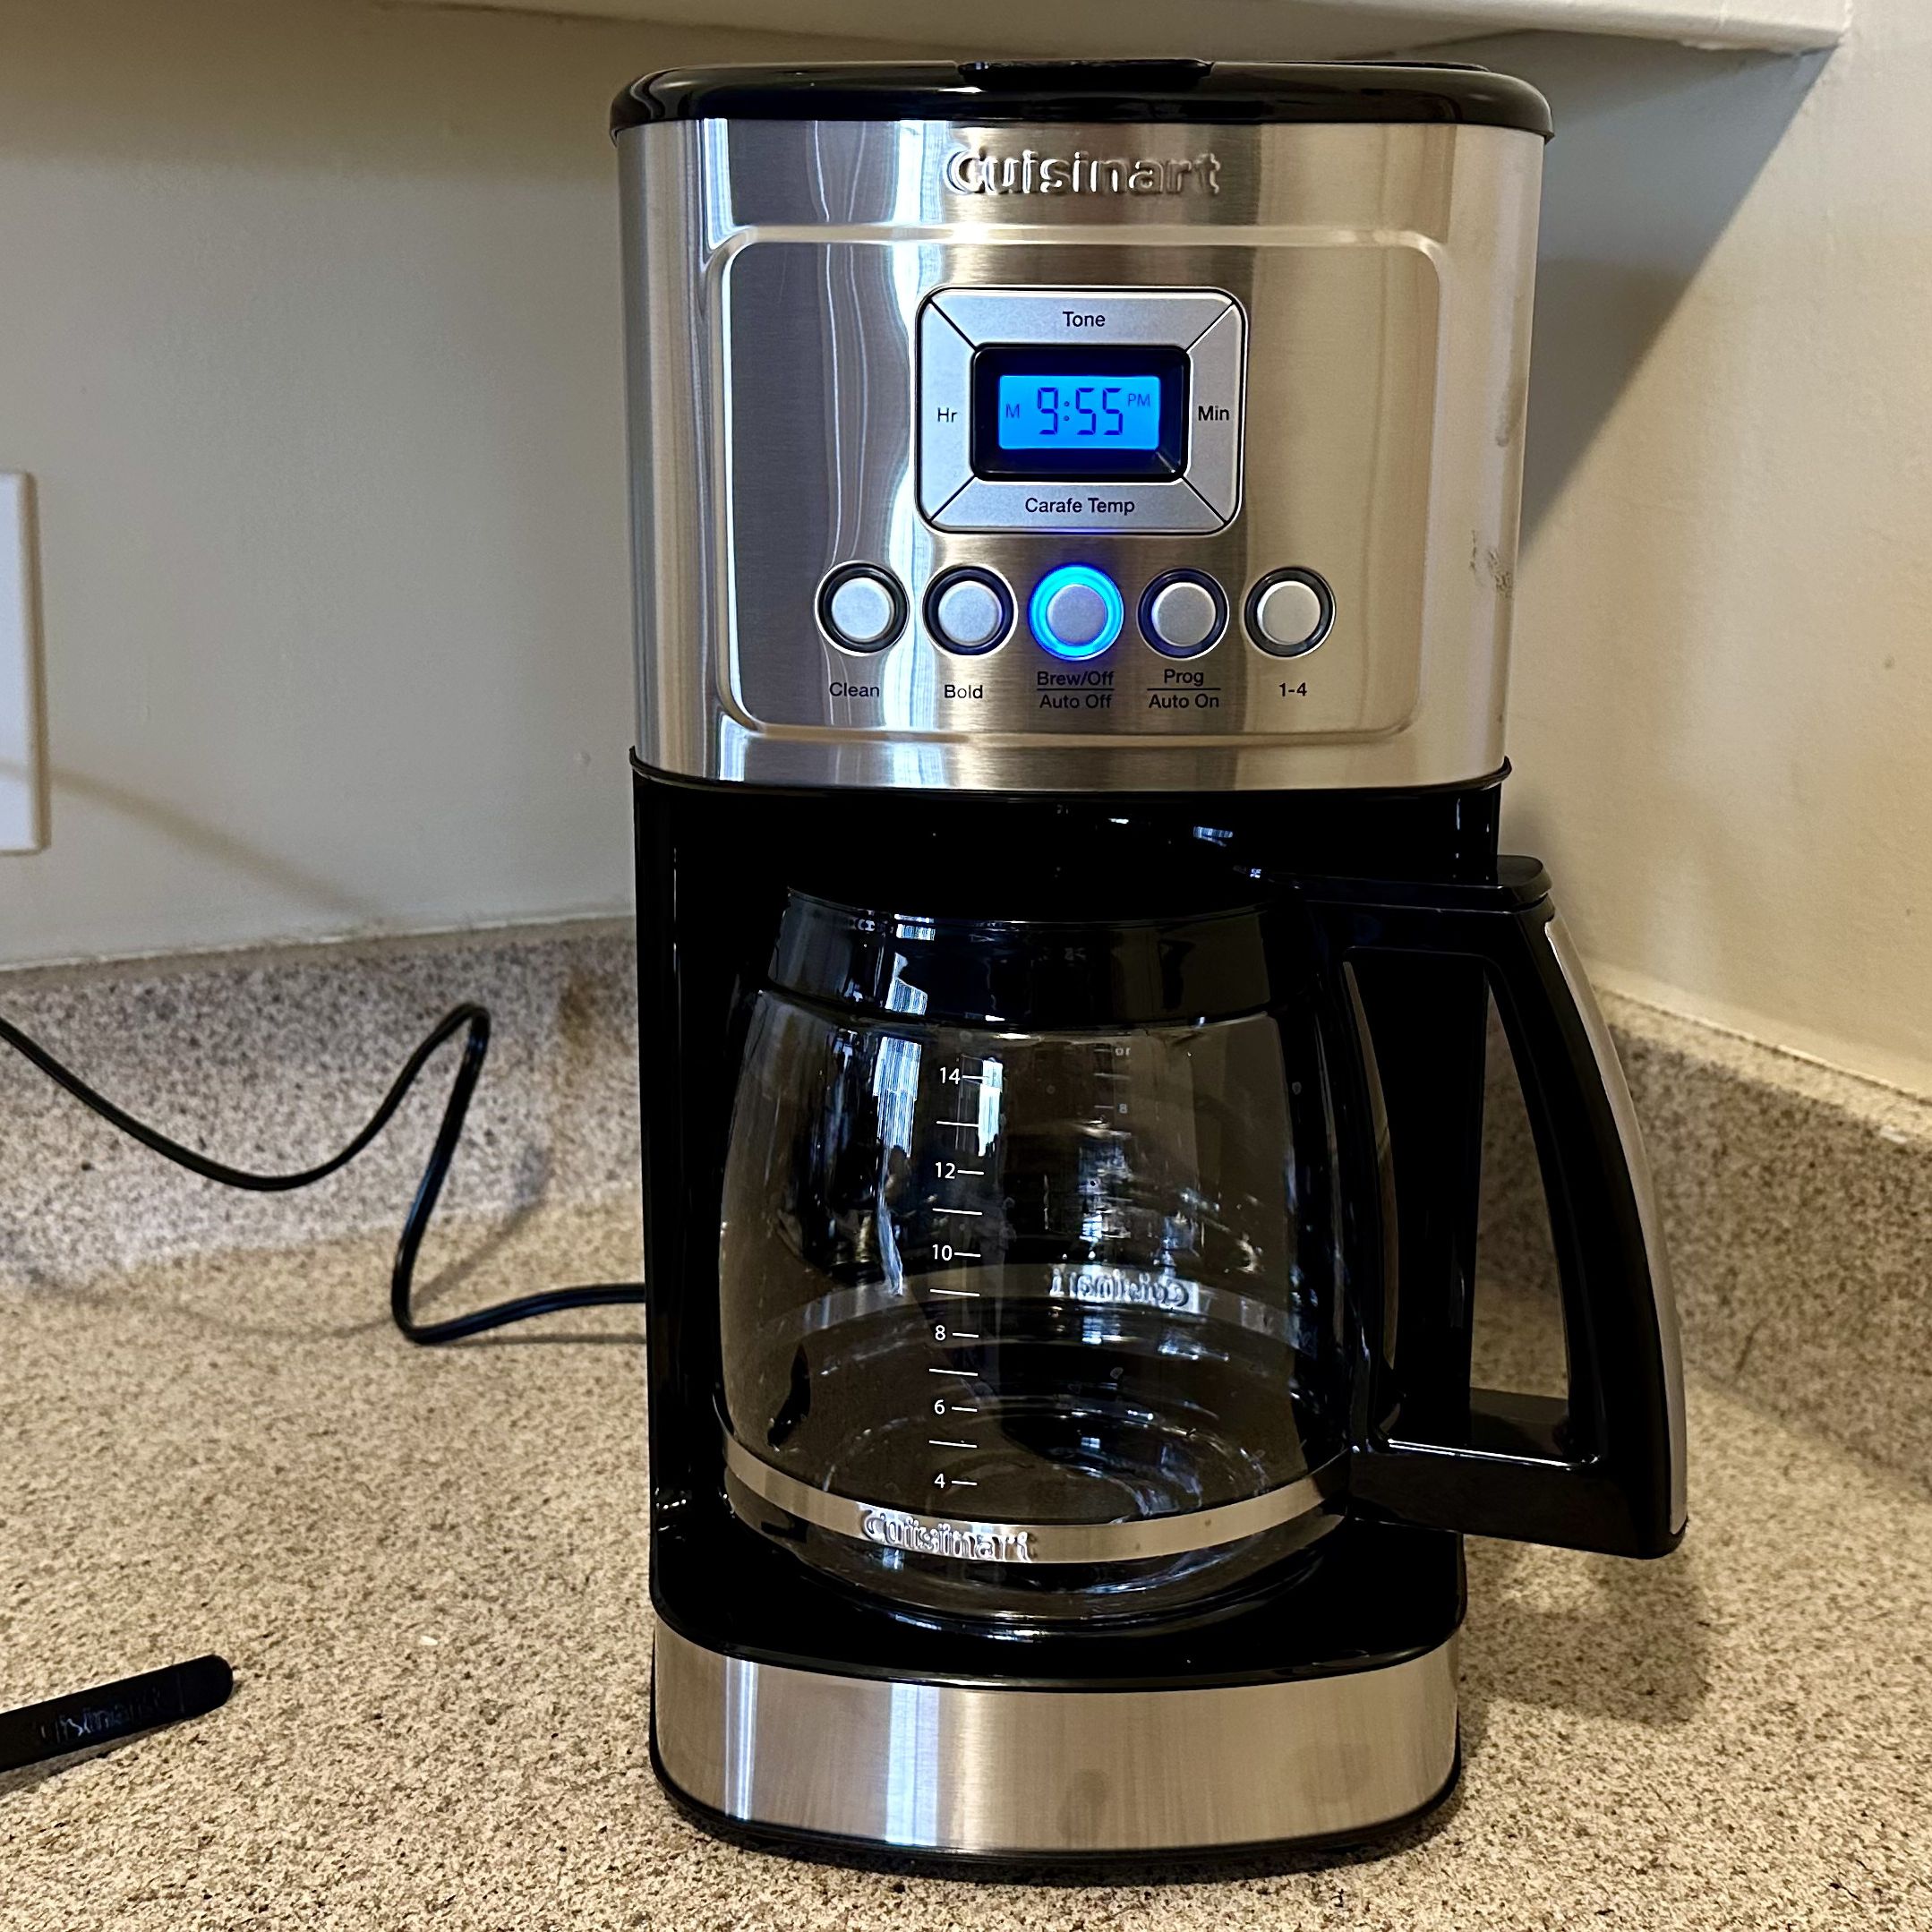
How to Start a Standard Drip Cuisinart Coffee Machine
These workhorse models (like DCC-1200) fool users with deceptively simple buttons. Missteps here cause weak coffee or overflow emergencies. The reservoir design means never pouring water directly into the filter basket—a rookie error causing 30% of leaks.
8-Step Startup Sequence
- Remove carafe and fill to desired cup line (e.g., “4” for 4 cups)
- Pour water into reservoir through the top lid opening
- Replace carafe firmly until you hear the safety switch engage
- Insert filter—paper (discarded after use) or gold-tone reusable
- Add coffee: 1 level tablespoon per cup (max 14 Tbsp for 12-cup models)
- Close lid until it clicks—no gaps visible
- Select options: Press “Bold” for stronger brew or “Carafe Temp” for hotter output
- Press Brew—green light confirms cycle start
Visual cue: If the carafe isn’t seated correctly, the “Add Carafe” warning flashes. Lift and reposition until it clicks.
How to Start a Cuisinart Touchscreen Coffee Machine
Brew Central models (like DCC-3200) with touchscreens fail when users have damp fingers or skip clock calibration. A single unresponsive button can halt your entire morning routine. Always verify the clock display before programming—incorrect time settings sabotage auto-start features.
14-Cup Touchscreen Startup
- Plug in securely—screen should illuminate within 5 seconds
- Confirm current time displays correctly (adjust via Hour/Minute buttons if needed)
- Fill reservoir with cold filtered water to selected cup line
- Place paper filter in basket—never reusable gold-tone filters here
- Add coffee: 1 Tbsp per cup (e.g., 10 Tbsp for 10 cups)
- Position carafe dead-center on warming plate
- Press Brew (center button surrounded by 9 functions)—use dry fingertips only
- Watch for confirmation beep—no beep means reseat carafe
Touchscreen hack: Wipe the panel with a microfiber cloth before use. Moisture residue from previous cleanings causes 80% of unresponsive buttons.
How to Start a Programmable Cuisinart Coffee Machine
Auto-start features backfire when users miss the 24-hour programming window or ignore the non-adjustable 2-hour shutoff. Never set brew time within 30 minutes of current time—the system rejects imminent schedules. This causes the dreaded “beep-beep-beep” error.
24-Hour Auto-Start Setup
- Complete standard steps 1-6 (water, filter, coffee prep)
- Press Program until display flashes “SET TIME”
- Adjust Hour/Minute buttons to desired brew time (e.g., 6:30 AM)
- Press Program again—display shows “AUTO ON”
- Verify green light blinks slowly (confirms programming success)
- Unplug only for hard resets—power outages erase settings
Pro tip: Set brew time 10 minutes before waking. The warming plate keeps coffee hot for 2 hours—no burnt taste.
Grind & Brew Model Startup: Beans vs. Grounds
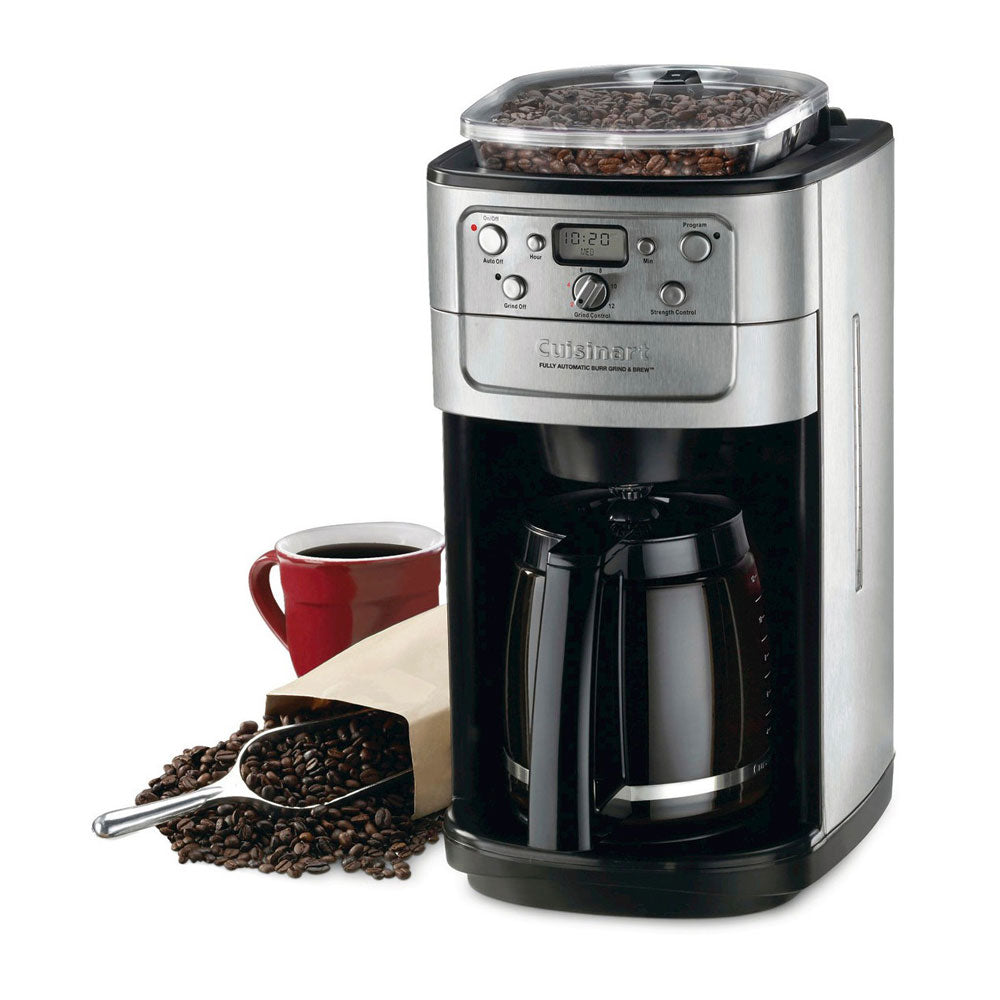
Adding ground coffee to the bean hopper destroys the burr grinder—a $50+ repair. Grind & Brew units (like DGB-900) require two distinct startup paths. Whole beans must cover the hopper’s minimum line, or the grinder stalls mid-cycle.
Correct Startup Paths
Using whole beans:
– Fill hopper to MIN line with fresh beans
– Select grind strength (1=coarse, 5=fine)
– Press “Brew” immediately after adding beans
Using pre-ground coffee:
– Skip the hopper entirely
– Place grounds directly in filter basket
– Press “Grind Off” before brewing (flashing “G” means grinder will activate)
– Proceed with standard brew steps
Critical warning: Running the grinder empty for >10 seconds damages burrs permanently. Always add beans first.
Single-Serve Models: Coffee on Demand Setup
These office-friendly units (like CO-500) confuse users with their “dispense lever” system. Never add pods—Cuisinart single-serve models use only ground coffee. Filling errors cause reservoir overflow or weak single cups.
12-Cup Dispensing Startup
- Fill reservoir to MAX line (12 cups capacity)
- Add ground coffee to filter basket (1 Tbsp per cup)
- Press Brew—entire reservoir brews at once
- Pull lever to dispense single cups (push back to close)
- Monitor “fuel” gauge—red zone means <2 cups left
Best practice: Brew full reservoir overnight for morning use. The thermal system keeps coffee hot for 4 hours without burning.
Model-Specific Startup Quirks You Must Know

Ignoring these features causes preventable failures. Perfec Temp models demand different settings for milk drinkers, while thermal carafes skip the warming plate entirely. Hot water dispensers require separate activation—never during coffee cycles.
Perfec Temp Models
- Press “Extra Hot” before brewing for 200°F output (ideal for lattes)
- Standard mode runs at 185°F—too cool for proper milk integration
Thermal Carafe Models
- Place carafe directly on counter—no warming plate used
- Pre-heat carafe with hot tap water before brewing to extend heat retention
Hot Water Dispenser Models
- Press “Hot Water” button (separate from Brew)
- Wait 90 seconds for water to heat
- Never activate during coffee brewing—causes system conflict
Fix Startup Issues in Under 60 Seconds
Over 70% of “broken” machines just need carafe repositioning or a moisture wipe. Immediate beeping always means an open lid or misplaced component—never an electrical fault. Unplug only as a last resort.
Emergency Troubleshooting
Unit won’t start:
– Reseat carafe until click is heard (safety switch failure)
– Wipe touchscreen with dry cloth—moisture blocks signals
– Check outlet with another device (power surges disable units)
Beeping on startup:
– Remove old grounds from filter basket (triggers overflow sensor)
– Ensure lid is fully closed—no gaps visible
– Add beans to hopper if “G” flashes (Grind & Brew models)
No water flow:
– Verify reservoir has water above MIN line
– Clear coffee grounds blocking basket holes
– Clean reservoir spout with vinegar-soaked toothpick
Perfect Coffee Ratios and Water Rules
Weak coffee usually traces to incorrect proportions or bad water. Filtered water boosts flavor by 40%—tap water’s chlorine kills delicate notes. Always measure coffee with a standard tablespoon, not “heaping scoops.”
Proportion Cheat Sheet
| Pot Size | Standard Coffee | Bold Brew Coffee |
|---|---|---|
| 4-cup | 4 Tbsp | 6 Tbsp |
| 8-cup | 8 Tbsp | 12 Tbsp |
| 12-cup | 12 Tbsp | 18 Tbsp |
Storage rule: Keep beans in an opaque, airtight container (not the freezer). Buy weekly—stale beans after 14 days cause flat, bitter coffee.
Daily Shutdown Routine to Prevent Damage
Skipping post-brew cleanup causes mineral buildup that ruins pumps. Never leave wet grounds in the basket overnight—mold grows in 8 hours. Thermal models need special drying steps to avoid condensation damage.
5-Minute Cleanup Protocol
- Discard grounds immediately after brewing
- Rinse filter basket with warm water (no soap for paper filters)
- Air-dry gold-tone filters on dish rack—lint sticks to damp surfaces
- Wipe base with vinegar-dampened microfiber cloth
- Store carafe upside-down to prevent dust accumulation
Critical don’t: Submerging the base in water. One drop in the electronics compartment causes permanent failure—always wipe instead.
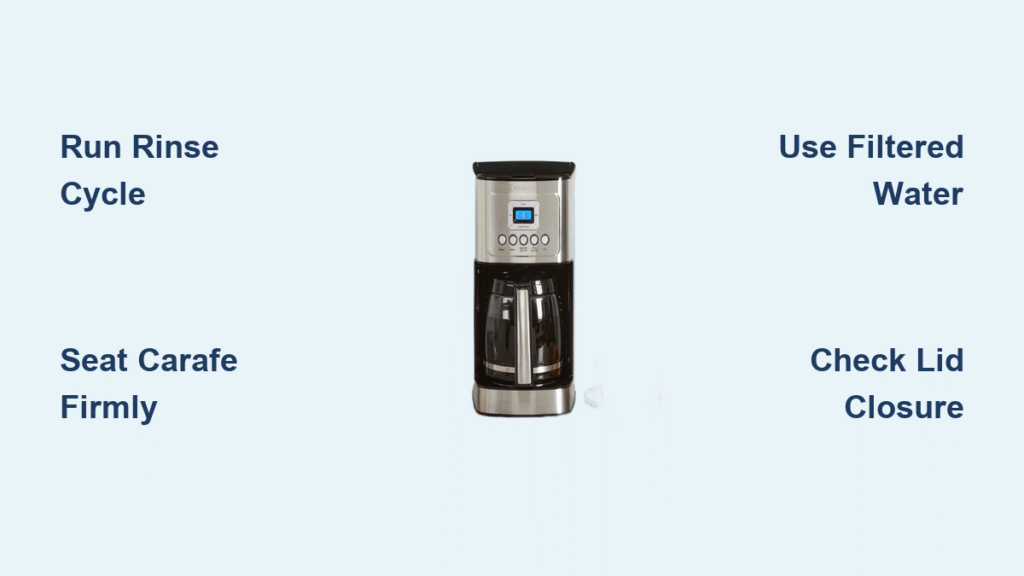
Mastering how to start a Cuisinart coffee machine boils down to three non-negotiables: always run the rinse cycle first, position the carafe until it clicks, and use filtered water. These steps prevent 95% of startup failures across all models. Now you know why that first pot tastes “off” (skipped rinse), why the machine beeps (carafe misalignment), and how to get café-quality coffee from day one. For ongoing success, run vinegar descaling every 3 months and replace water filters monthly. Your perfect morning brew starts today—no manual required.


