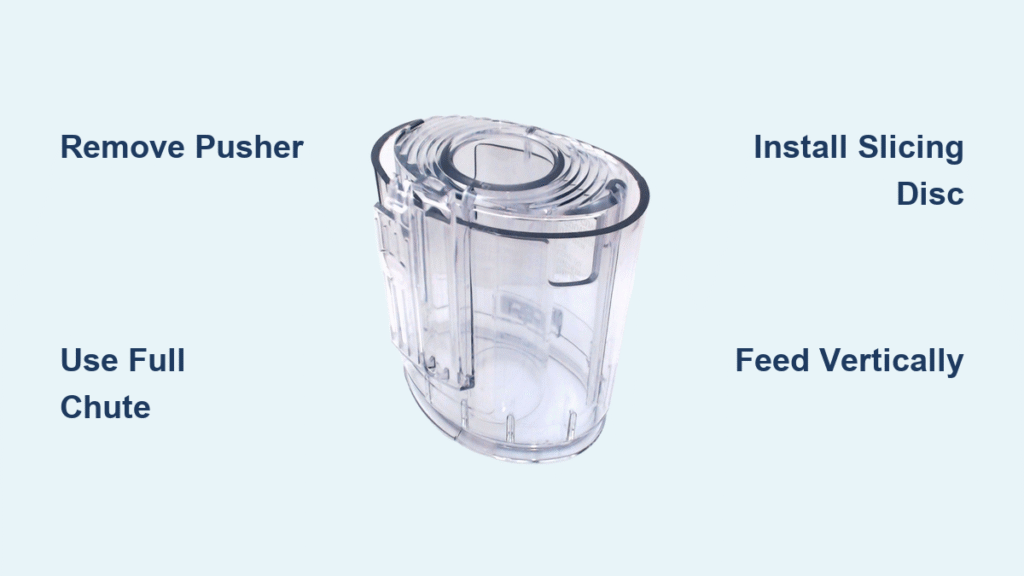
Your vintage Cuisinart DLC-018BTX can produce restaurant-quality potato slices if you know how to bypass the restrictive round tube pusher. Many owners of this 40-year-old workhorse mistakenly believe they’re limited to thin cucumber-sized cuts, unaware that a simple adjustment unlocks thicker, uniform slices ideal for gratins, roasting, or scalloped potatoes.
This guide reveals the exact technique for slicing potatoes with Cuisinart food processor models from the 1970s-80s, including the critical pusher removal method that exposes the full feed chute width. You’ll learn how to achieve consistent 1/4-inch slices without pre-cutting your potatoes and maintain your vintage machine for decades more of reliable service.
Remove Round Tube Pusher Without Damage
Twist and Lift Technique for Stuck Pushers
Your DLC-018BTX’s round tube pusher isn’t permanently attached—it locks into place through friction and alignment tabs that have likely stiffened over decades of use. Grip the pusher firmly with both hands and apply steady upward pressure while twisting counterclockwise approximately 15 degrees. You’ll feel the hidden plastic tabs disengage from the main housing with a subtle “click.”
Critical warning: Never yank straight up—this common mistake breaks the delicate alignment tabs designed to hold the pusher secure during operation. If resistance feels excessive, stop immediately and try the alternative method below.
Slide Release Method for Stubborn Mechanisms
Some DLC-018BTX models feature a side-mounted release mechanism often obscured by food residue. Examine the pusher base closely under bright light for a small tab or slider on either side. Slide this tab toward the “unlock” position (typically marked with an arrow) while simultaneously lifting the pusher assembly. This technique works even when years of potato starch and oil have cemented the mechanism in place.
Pro tip: For particularly stubborn pushers, apply food-grade mineral oil around the base and let it sit for 10 minutes before attempting removal. This vintage processor was designed for disassembly—forcing it will cause unnecessary damage to irreplaceable parts.
Access Full Feed Chute Capacity

Identify Maximum Chute Dimensions
With the pusher successfully removed, your processor reveals its true feed chute width—typically 3.5 inches across on DLC-018BTX models manufactured before 1985. This opening accommodates whole medium potatoes (2.5-3 inches in diameter) without pre-cutting, saving significant preparation time.
Visual cue: Look for the circular ridge inside the chute that marks the maximum safe diameter. Items larger than this ridge will jam against the chute walls and potentially damage your vintage motor.
Verify Blade Position Before Processing
Before loading potatoes, look down through the empty chute to confirm the slicing disc sits perfectly level on the motor shaft. The blade should click firmly into place with no visible wobble when gently rotated by hand. An improperly seated blade creates uneven slices and poses serious safety risks with your 40-year-old machine.
Troubleshooting point: If the blade won’t seat completely, remove it and check for food particles trapped in the motor shaft. A cotton swab works perfectly for cleaning this critical connection point on vintage Cuisinart models.
Install Slicing Disc for Optimal Potato Performance
Correct Blade Assembly Sequence
- Remove the bowl lid by pressing both release buttons simultaneously
- Locate the metal slicing disc—it’s the flat circular blade with sharp radial edges
- Slide the disc onto the motor shaft until you hear the distinctive double “click”
- Test stability by rotating the disc clockwise—no movement means proper installation
Your DLC-018BTX uses a simple gravity-lock system where the blade’s center hole matches the motor shaft’s square shape. This creates a secure connection when fully seated, essential for consistent potato slicing.
Select Proper Thickness Setting
The slicing disc features two distinct cutting surfaces: the smooth side produces thin 1/8-inch slices ideal for potato chips, while the raised rim side creates thicker 1/4-inch slices perfect for gratins. Flip the disc over to switch between thickness options—potato recipes typically require the thick-slice side facing upward.
Visual identification: The thick-slice side has a raised circular ridge approximately 1/4 inch from the outer edge. When installed correctly, this ridge should be visible above the blade surface.
Achieve Restaurant-Quality Potato Slices

Potato Selection and Prep Essentials
Choose firm, medium potatoes (russets or Yukon Golds) without major blemishes or sprouting eyes. Wash thoroughly but keep skins intact—the skin provides structural integrity during processing and prevents uneven slicing. Potatoes between 2.5-3 inches in diameter work best with your DLC-018BTX’s feed chute.
Time-saving tip: Process potatoes immediately after washing while they’re still damp—this creates natural lubrication that helps them slide smoothly through the chute.
Proper Feeding Technique for Uniform Results
Hold potatoes vertically with the narrow end pointing downward. This orientation allows gravity to assist the slicing action while ensuring consistent thickness across each slice. Apply steady, gentle pressure—your vintage Cuisinart’s 450-watt motor has ample power, and forcing creates wedge-shaped slices that cook unevenly.
Critical mistake to avoid: Never angle potatoes while feeding. This common error produces slices that are thick on one end and paper-thin on the other, ruining your dish’s texture and cooking time.
Troubleshooting Uneven Cuts
Check blade sharpness by examining the cutting edge under bright light. Dull spots appear as shiny, rounded areas rather than crisp edges. Original DLC-018BTX blades remain sharp for decades but may need professional sharpening after 40 years of use.
Verify bowl alignment by ensuring the work bowl sits flush against the motor base with no gaps visible. A tilted bowl creates angled slices and potential safety issues with your vintage processor.
Maintain Your Vintage Processor for Reliable Slicing
Deep Clean Sticky Pusher Mechanisms
Forty years of kitchen use builds residue inside the pusher assembly. Soak the pusher in hot, soapy water for 15 minutes, then scrub with a soft-bristled brush around the locking tabs. Rinse thoroughly and dry completely before reassembly—any moisture left in the mechanism causes sticking.
Lubrication protocol: Apply one drop of food-grade mineral oil to the slide mechanism monthly. This prevents future sticking and ensures smooth operation of your irreplaceable vintage parts.
Prevent Future Jamming Issues
After each use, rinse the pusher immediately to prevent food particles from hardening around the locking tabs. Starch from potatoes crystallizes quickly and becomes difficult to remove once dried.
Monthly maintenance: Disassemble the entire pusher system every 30 days for thorough cleaning. This prevents the gradual buildup that makes removal difficult on your 40-year-old Cuisinart.
Safety Guidelines for Large Vegetable Processing
Size Limitations for Potato Slicing
Never process items larger than 3.5 inches diameter—even with the pusher removed, the chute has physical limitations. Oversized potatoes can bind against the chute walls and create dangerous kickback situations with your vintage motor.
Cut extremely large potatoes in half lengthwise before processing. This creates flat, stable surfaces that feed smoothly through the chute and prevents uneven pressure on the slicing blade.
Proper Hand Positioning
Keep fingers at least 2 inches above the chute opening when feeding potatoes. Use the palm of your hand or the food pusher (never metal utensils) to guide vegetables through the processor.
Emergency stop practice: Your DLC-018BTX features an automatic shutoff when the lid is lifted. Familiarize yourself with quick lid removal to stop the motor instantly if jamming occurs—a critical safety measure for vintage appliances.
Maximize Your DLC-018BTX’s Slicing Potential
Leverage Consistent Vintage Motor Power
The DLC-018BTX’s robust 450-watt motor delivers steady slicing power even after four decades. Unlike modern processors with variable speed settings, your vintage model operates at optimal RPM specifically calibrated for consistent slicing results—simply load and process without speed adjustments.
Batch processing tip: Process 3-4 medium potatoes in succession without stopping. The motor’s thermal design handles continuous operation better than frequent start-stop cycles, preserving your vintage machine’s longevity.
Maintain Original Performance Characteristics
Check rubber feet underneath the motor base monthly—worn feet cause vibration that affects slice consistency. Replacement feet are available through vintage appliance specialists and take only minutes to install.
Storage protocol: Keep your processor assembled but loosely covered to prevent dust accumulation without stressing the plastic components. Never store the pusher inserted in the feed tube, as this puts constant pressure on the locking mechanism.
Your 40-year-old Cuisinart DLC-018BTX remains a precision slicing tool when properly maintained. By mastering the pusher removal technique and understanding your machine’s unique capabilities, you’ll create restaurant-quality potato slices that showcase why vintage Cuisinart processors remain kitchen treasures decades after purchase. When slicing potatoes with Cuisinart food processor models from this era, remember that gentle handling and proper maintenance unlock their full potential for consistent, professional results. Always approach vintage appliance operation with respect for their age while appreciating the engineering that has made them last decades longer than modern counterparts.


