
Your Cuisinart ceramic knife glides through tomatoes like butter—until it doesn’t. One moment you’re effortlessly slicing heirloom tomatoes, the next you’re sawing through fruit like a dull butter knife. Ceramic blades stay sharp 10x longer than steel, but when they finally dull, how to sharpen a Cuisinart knife becomes a high-stakes operation. One aggressive stroke with the wrong tool can turn your $50 precision blade into a $50 paperweight. This isn’t steel—it’s brittle zirconia that demands surgical precision. Skip the guesswork: I’ll show you exactly how to restore that factory edge while avoiding the three most common mistakes that destroy ceramic blades.
Why Your Steel Knife Sharpener Ruins Ceramic Blades
Cuisinart ceramic knives contain zirconium oxide—a material harder than steel but 10x more brittle. Traditional sharpeners designed for steel knives grind away metal through abrasion, but ceramic fractures under that pressure. Steel pull-through sharpeners create microscopic stress points along the edge, causing invisible chips that accelerate dulling. Whetstones? Even “fine” 1000-grit stones remove too much material, warping the delicate 15-degree bevel. Electric sharpeners blast the edge with inconsistent force, often snapping the tip clean off.
Critical damage you can’t see:
– Micro-fractures from coarse abrasives spread like spiderwebs
– Bevel deformation from incorrect angles creates uneven pressure
– Edge rolling from excessive force requires professional repair
Essential Ceramic-Specific Tools Checklist

Must-have items:
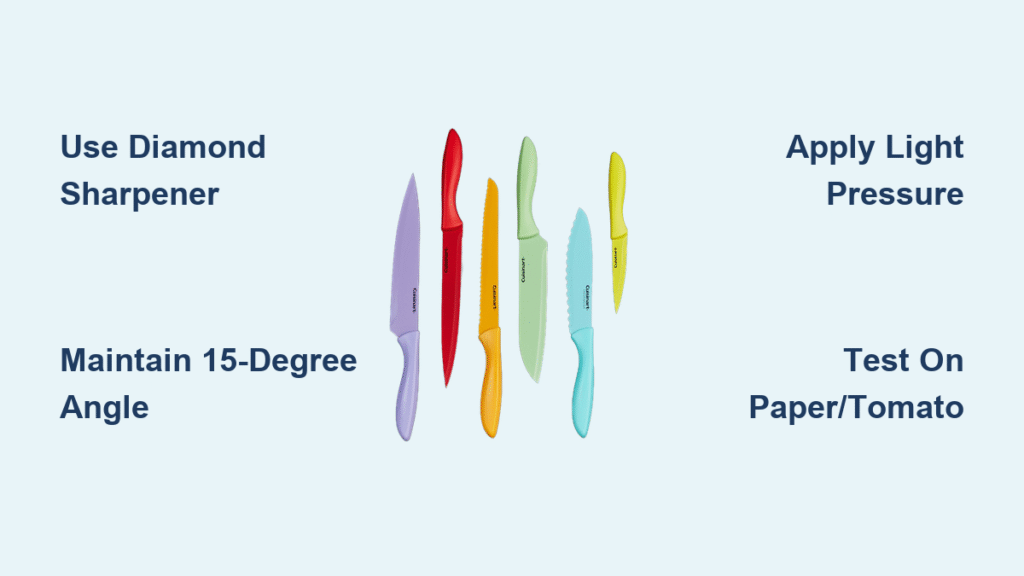
– Diamond-coated ceramic sharpener (e.g., DMT Dia-Sharp or Cuisinart’s own model)
– Non-slip mat (silicone baking mats work perfectly)
– Lint-free microfiber cloth
– Test tomato or printer paper
Tools that guarantee damage:
– ❌ Steel pull-through sharpeners (even “ceramic-safe” claims are risky)
– ❌ Whetstones (all grit levels)
– ❌ Honing rods (ceramic can’t be “honed” like steel)
– ❌ Electric sharpeners (vibration cracks brittle blades)
Pro Tip: Test your sharpener first on a cheap ceramic paring knife. If it leaves visible scratches or a rough edge, discard it immediately.
Perfect the 15-Degree Angle in 4 Steps
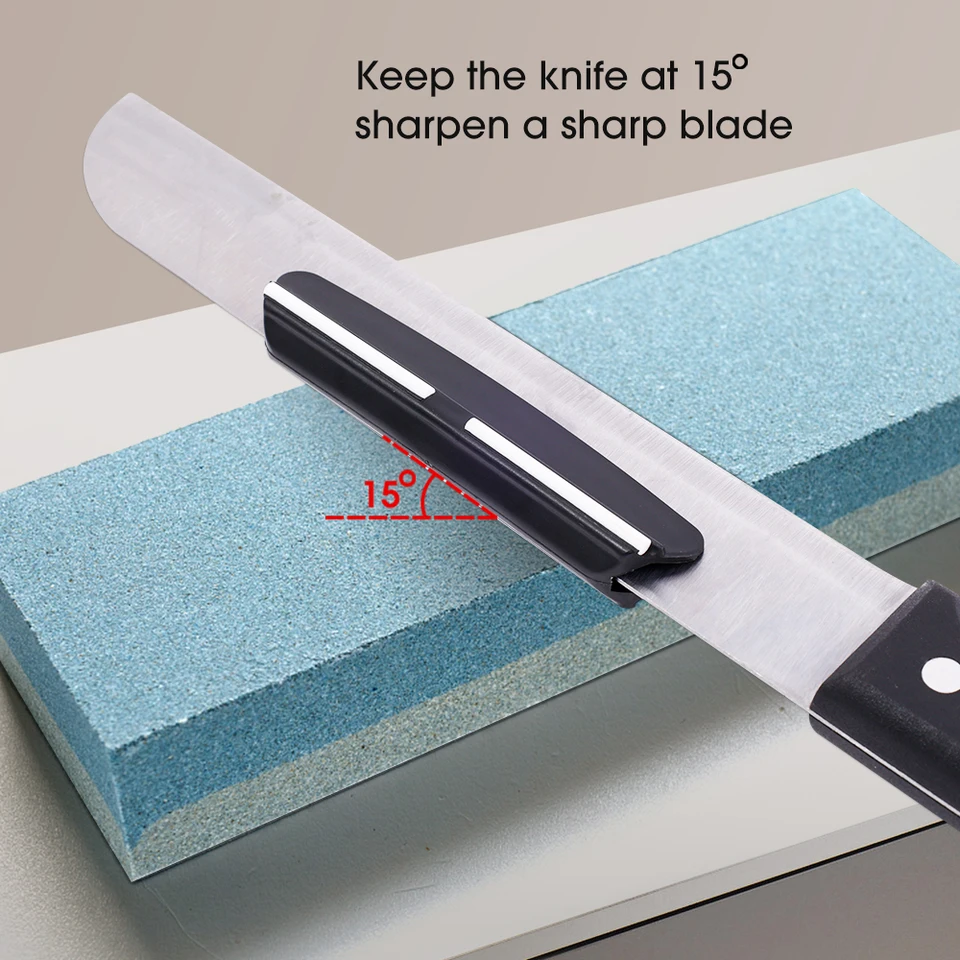
Cuisinart’s ceramic knives use a precise 15-degree bevel per side—sharper than steel knives but vulnerable to angle mistakes. Here’s how to nail it:
- Establish 90 degrees: Hold the knife vertically, blade perpendicular to your counter
- Halve to 45 degrees: Tilt until the edge forms an “X” with its reflection
- Halve again to 22.5 degrees: Reduce the angle by half visually
- Fine-tune to 15 degrees: Lower the spine slightly until the edge barely kisses the sharpener
Visual confirmation: The blade should “float” 1-2mm above the sharpener’s surface. If you see light reflecting off the edge, you’re too high. If metal contacts the stone, you’re too low.
Execute 6-Step Sharpening Without Chips
Warning: Never push the knife away from you—ceramic fractures under forward pressure. Always pull toward your body.
Step 1: Secure Your Setup
Place the sharpener on your non-slip mat. Rest your knife’s heel on the sharpener’s base, tip elevated. Grip the handle firmly with your dominant hand while anchoring the spine near the heel with thumb and forefinger of your free hand.
Step 2: Apply Feather-Light Pressure
Press down with less force than holding a pencil. Your thumb should barely dim the skin on your opposite hand when mimicking pressure. Excessive force creates heat that cracks zirconia.
Step 3: Draw Toward You in One Fluid Motion
Starting at the heel, gently pull the knife toward you along the sharpening surface. Keep the entire edge in contact—no lifting the tip prematurely. Complete the stroke when the tip clears the sharpener.
Step 4: Count Your Passes
Perform 5-7 passes per side maximum. More than 10 passes removes critical material. Alternate sides after every 2-3 strokes to maintain symmetry.
Step 5: Watch for Warning Signs
Stop immediately if you hear:
– A high-pitched screech (indicates angle collapse)
– Crunching sounds (micro-chipping occurring)
– Sudden resistance (edge catching on abrasive)
Step 6: Refine with Stropping Motion
For the final 2 passes per side, reduce pressure to almost nothing. Glide the blade across the sharpener like stropping a straight razor—this polishes the edge without material removal.
Test Sharpness Without Damaging Your Knife
Paper test protocol:
1. Hold standard printer paper vertically by one edge
2. Position knife at 45-degree angle to paper
3. Slice downward with zero pressure
Success indicator: Paper separates cleanly without tearing or requiring downward force
Tomato test protocol:
1. Place tomato on wood cutting board (never glass!)
2. Rest blade gently on skin without pressing
3. Draw knife toward you in one motion
Success indicator: Blade penetrates skin with minimal hand pressure, leaving smooth cuts without squashing
Never test on hard surfaces—even testing on a ceramic plate can chip the edge.
Prevent Post-Sharpening Damage During Cleanup
Wipe the blade with a damp microfiber cloth using straight strokes from spine to edge—never side-to-side. Residual ceramic dust creates microscopic scratches during storage. Dry immediately with a separate lint-free cloth to prevent water spots that temporarily reduce sharpness.
Critical storage rule: Never store in drawers. Even contact with stainless steel utensils causes edge nicks. Use:
– A dedicated in-drawer knife tray with individual slots
– A wall-mounted magnetic strip (blade suspended freely)
– The original plastic sheath for travel
Troubleshooting 3 Common Sharpening Failures

Problem: Knife chips during sharpening
Cause: Excessive pressure or angle inconsistency
Fix: Stop immediately. For chips under 1mm, realign the edge with 2 ultra-light passes. Larger chips require professional repair—do not continue sharpening.
Problem: Uneven slicing after sharpening
Cause: Inconsistent angle or uneven passes per side
Fix: Reset your stance. Place a business card under the spine to maintain 15 degrees. Do 3 passes on the duller side, then alternate 1:1 until balanced.
Problem: Blade feels “rough” after sharpening
Cause: Using a sharpener with coarse grit (above 600)
Fix: Polish with a ceramic-specific strop or ultra-fine diamond paste. Never use steel honing rods—they accelerate wear.
When to Call a Professional Sharpener
Seek professional help if you see:
– Chips longer than the width of a grain of rice
– Visible cracks running toward the spine
– Complete edge rolling (the tip bends sideways)
Quality ceramic specialists use diamond wheels spinning at 50 RPM (vs. 200+ in consumer electric sharpeners) to minimize heat stress. Expect $15-25 per knife—still cheaper than replacing a $40-80 Cuisinart blade.
Extend Your Knife’s Life Between Sharpenings
Ceramic knives typically need sharpening only once every 6-18 months with proper care. Maximize time between sessions by:
– Cutting surface rules: Only use wood or soft plastic boards (never glass, marble, or bamboo)
– Food restrictions: Avoid frozen foods, bones, or twisting motions (e.g., prying open clamshells)
– Cleaning protocol: Hand-wash immediately after use with mild soap; never soak or use abrasive sponges
– Drying ritual: Towel-dry within 30 seconds to prevent mineral deposits from hard water
Pro Tip: Store your knife in its sheath before washing other dishes. One accidental contact with a metal spoon in the sink can create an edge chip.
Final Sharpening Reality Check
Your Cuisinart ceramic knife announces dullness gradually—it won’t suddenly become useless like steel blades. If it still slices paper cleanly but struggles with tomatoes, try 2-3 light passes before declaring it “dull.” Remember: ceramic sharpening is about realigning the edge, not removing material. The moment you feel resistance during sharpening, you’ve crossed into damaging territory. With this precise technique, your knife will deliver surgical cuts for years—proving that sometimes, the gentlest touch creates the sharpest edge. Keep your diamond sharpener within arm’s reach, but reach for it only when absolutely necessary. That restraint transforms a fragile ceramic blade into your most enduring kitchen ally.


