
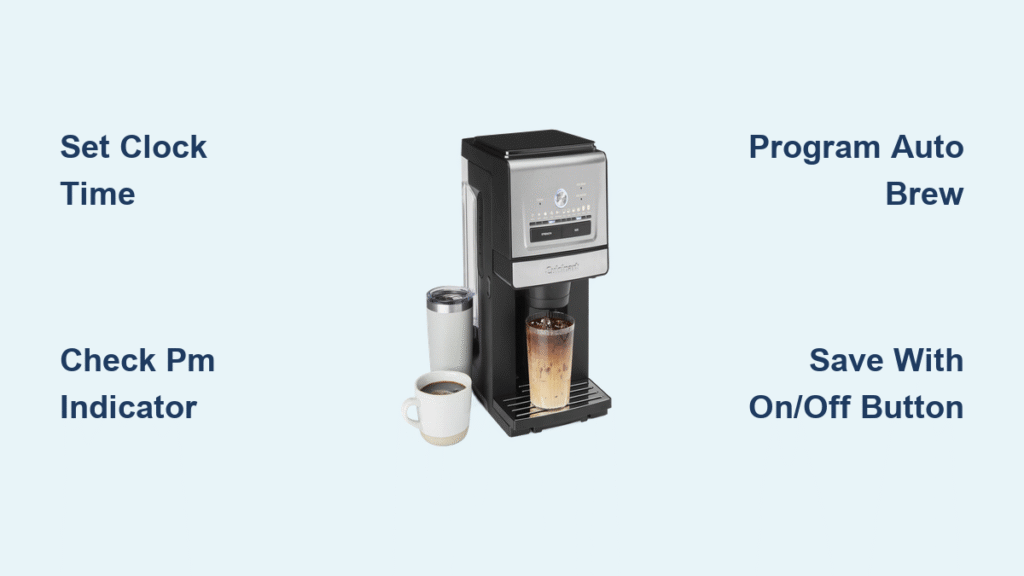
That blinking “12:00” on your Cuisinart coffee maker isn’t just annoying—it’s blocking your morning coffee ritual. When the clock resets after a power flicker or when you first unbox your machine, you’re stuck without programmable brewing until you set time on Cuisinart coffee maker correctly. Don’t worry—this universal fix works for most 1100BK models and knob-based units. You’ll have your clock locked in and auto-brew scheduled before your first cup finishes brewing. Whether you’re battling daylight saving time changes or troubleshooting a reset after a storm, this guide delivers the exact steps to conquer that blinking display.
Most Cuisinart owners waste time pressing random buttons when the clock resets, but the solution takes under a minute once you know the sequence. I’ve seen countless users miss their morning brew because they didn’t spot the tiny PM indicator or left the function knob in the wrong position. By the end of this guide, you’ll not only set the time flawlessly but also program tomorrow’s coffee while avoiding the top three mistakes that cause failed auto-starts. Let’s turn that frustrating blink into your perfect wake-up call.
Locate Function Knob on 1100BK Model
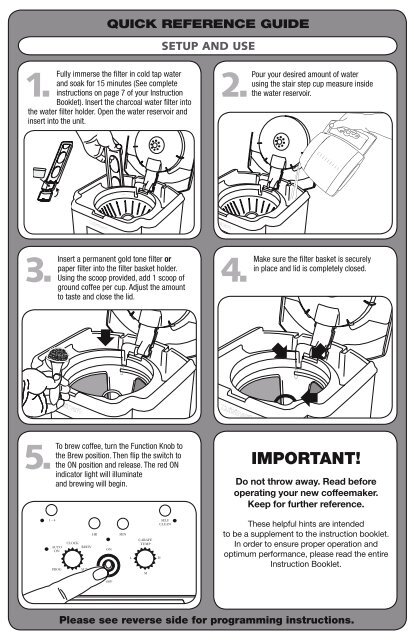
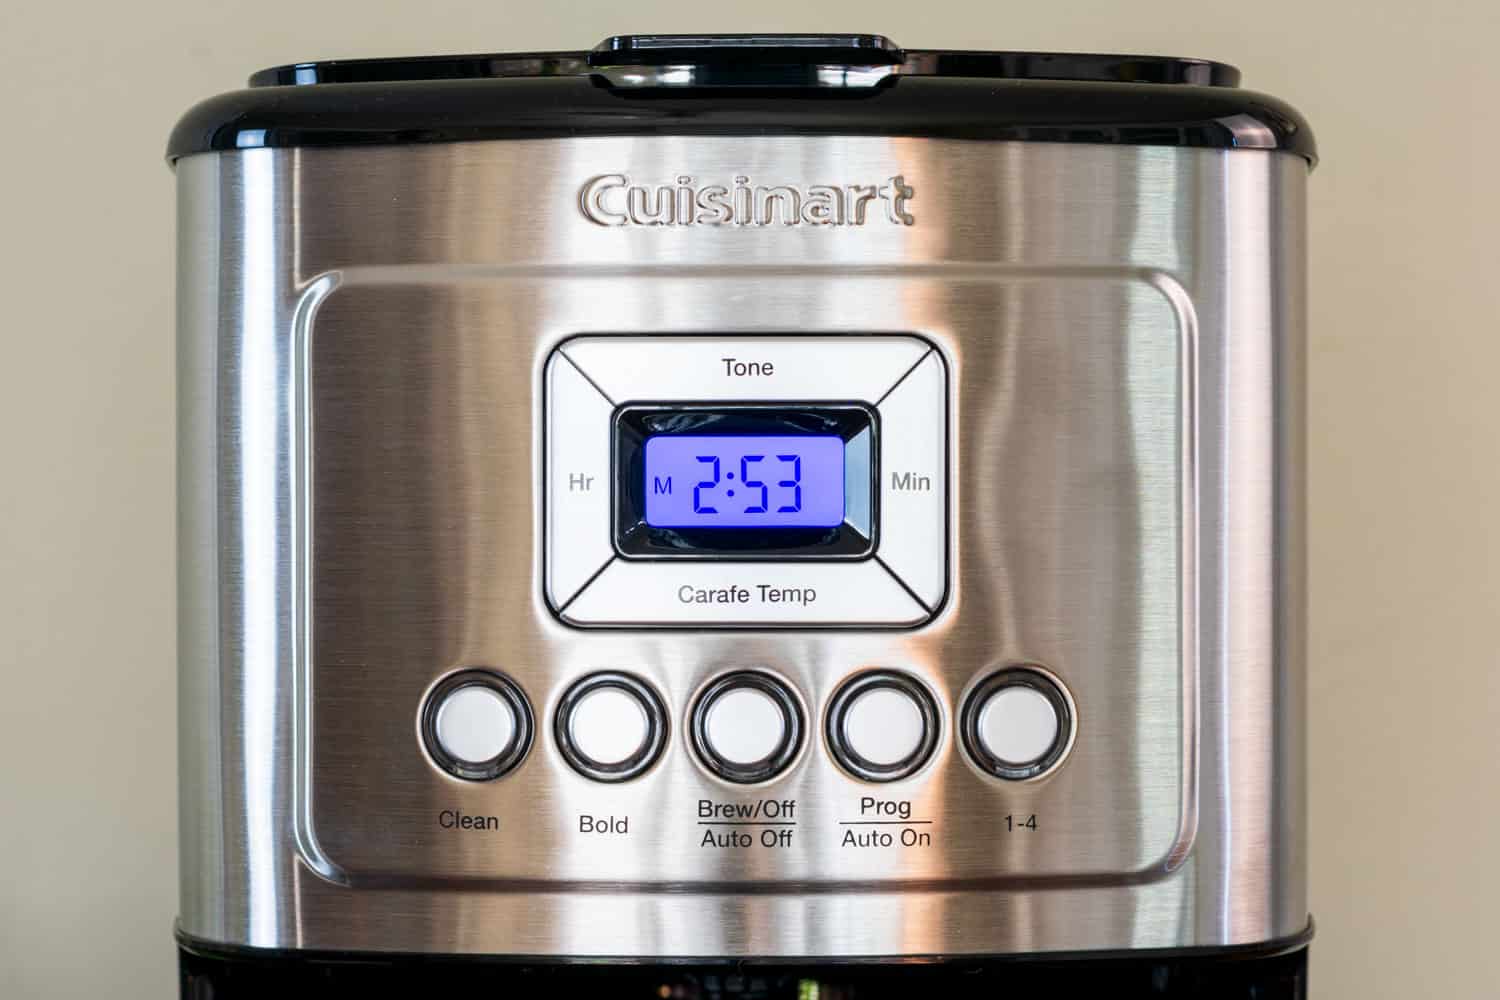
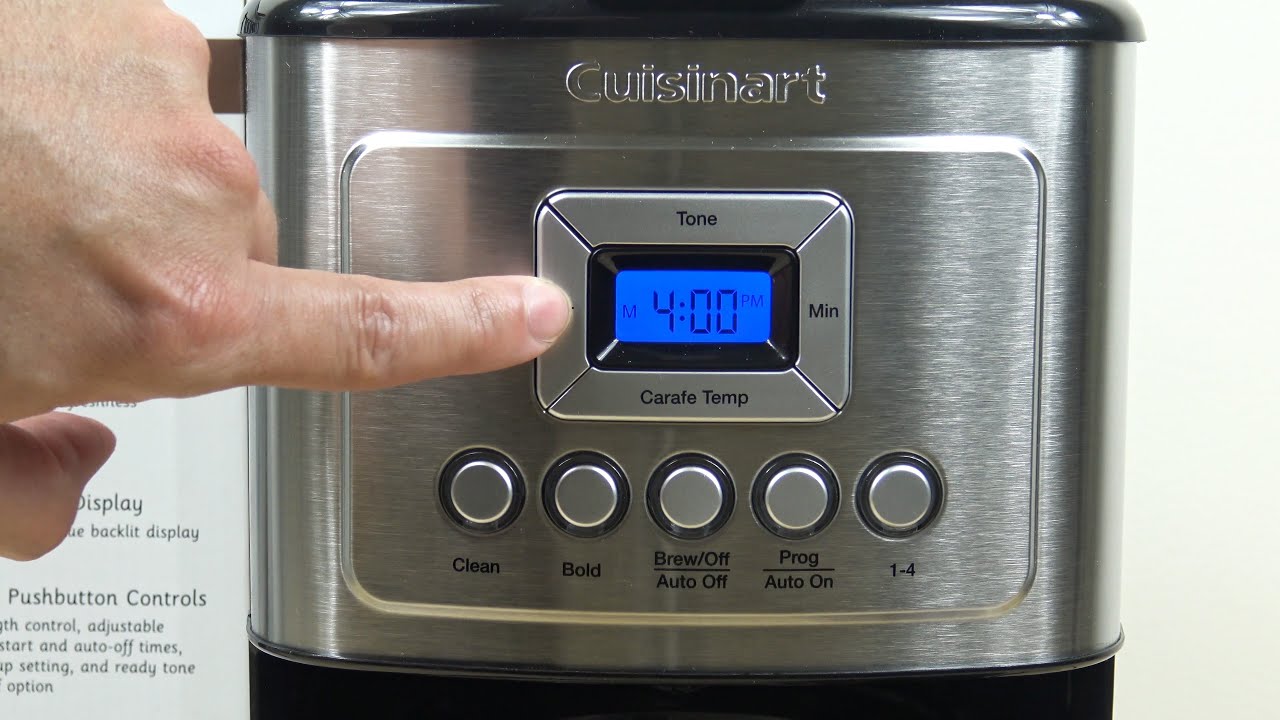
Your Cuisinart 1100BK’s function knob is the control hub for all programming—it’s impossible to set time on Cuisinart coffee maker without it. This prominent dial sits center-front on the control panel, usually labeled with settings like “Brew,” “Prog,” and “Clock Set.” Don’t confuse it with the smaller hour/minute buttons below the display. Rotating this knob clockwise cycles through modes, while the buttons adjust values within each mode. If your display shows “12:00” blinking rapidly, you’re already in clock setup mode—no knob adjustment needed yet.
Identify Critical Control Panel Features
Spot the PM LED indicator immediately left of the display—this tiny light determines whether your time registers as AM or PM. Many users set 7:00 correctly but miss that the PM light is on, brewing coffee at 7 PM instead of 7 AM. The hour (“Hr”) and minute (“Min”) buttons sit directly below the digital screen, often in silver or black. Press firmly but briefly—these aren’t touch-sensitive. The on/off button doubles as your “save” command; it’s usually red and located at the bottom right. If your knob feels stiff, rotate it slowly with your thumb—forcing it can damage internal gears.
Set Current Time Without Errors
Complete Clock Configuration Sequence
Step 1: Rotate the function knob to “Clock Set” position (display starts blinking)
Step 2: Press “Hr” button repeatedly until correct hour appears—watch the PM LED
Step 3: Press “Min” button to set minutes (each press advances by 1 minute)
Step 4: Press on/off button once to save settings
Critical timing note: If you don’t press save within 10 seconds, the display stops blinking and reverts to default time. The blinking stops only when time is successfully saved—if it keeps flashing, repeat from Step 2. For AM/PM correction: When setting hours, press “Hr” past 12:00—this toggles the PM LED off for morning times. Example: Setting 7:30 AM requires pressing “Hr” until “7” appears with PM light off.
Pro Tip: Set time 2 minutes ahead of actual time to compensate for brewing duration. If you want coffee ready at 7:00 AM, program the clock for 6:58 AM since brewing takes ~2 minutes.
Program Auto-Brew Timer Correctly
Schedule Tomorrow’s Coffee in 4 Steps
Step 1: Rotate function knob to “Prog” (display shows current time blinking)
Step 2: Press “Hr” and “Min” buttons to set brew start time (e.g., 6:45 AM)
Step 3: Confirm AM/PM by checking PM LED—must be OFF for morning brews
Step 4: Rotate knob to “Auto On” position (display shows “AUTO ON” indicator)
Never skip the PM LED check—this causes 80% of auto-brew failures. If programming 8:00 AM, the PM light must be extinguished. The “Auto On” position is crucial: if the knob sits between “Prog” and “Auto On,” your machine won’t activate. After setting, the display should show your programmed time with “AUTO ON” text visible. Leave the unit plugged in and powered on overnight—unplugging cancels programming.
Verify Timer Activation Success
Look for two confirmation signals after rotating to “Auto On”:
1. The display shows your programmed time (e.g., “6:45”) without blinking
2. The words “AUTO ON” appear below the time digits
Troubleshooting check: If “AUTO ON” doesn’t display, rotate the knob clockwise 5° further—many users stop short of the true “Auto On” position. Press the “Brew” button accidentally? This exits programming mode—restart from Step 1. Test your setup by programming a brew for 15 minutes ahead—this confirms functionality without waiting overnight.
Button-Only Method for Non-Knob Models
Set Time on Touch-Control Cuisinart Units
Models like the DCC-3200 skip the function knob entirely. Hold the “Hour” button for 3 seconds until the hour digits blink rapidly. Release, then press “Hour” repeatedly to set the correct hour. Press “Minute” to adjust minutes—each press advances by 1 minute. Crucially, the PM indicator is a small “P” on screen—if setting 7:00 AM, ensure no “P” appears.
Programming auto-brew differs significantly:
1. Press “Program” once (display shows “Prog” briefly)
2. Set brew time using “Hour”/”Minute” buttons
3. Press “Program” again to confirm—display flashes “Prog” 3 times
4. Check for steady “Auto” symbol—if blinking, reprogram
Warning: Button-only models reset completely during power outages—unlike knob models that may retain settings. Always verify time after storms.
Fix Common Time-Setting Failures
Resolve Blank Display Issues
First, rule out power problems: Plug a lamp into the same outlet—if it works, check your Cuisinart’s cord connection at the machine’s base. A loose cord causes 90% of “dead” displays. Inspect the power cord for kinks near the plug—if damaged, replace immediately (safety hazard). If the outlet works but display stays dark, press and hold “On/Off” for 10 seconds to force reboot. Never insert metal objects into control panel slots—this voids warranty.
Prevent Clock Resets After Power Outages
Cuisinart coffee makers lack battery backup, so any power interruption clears the clock. The only permanent solution? Plug into a battery-backed UPS (uninterruptible power supply). For frequent outages, program a 5-minute buffer: if you want coffee at 7:00 AM, set timer for 7:05 AM since resetting takes ~5 minutes. After outages, always reset both clock AND auto-brew—many users set time but forget to reactivate “Auto On” mode.
Diagnose Failed Auto-Brew Starts
Three culprits cause 95% of auto-brew failures:
1. Water reservoir empty (safety feature blocks brewing)
2. PM LED mismatch (e.g., set 7:00 with PM light on = 7:00 PM brew)
3. Function knob not fully in “Auto On” (feels “stuck” between positions)
Emergency fix: If coffee didn’t brew, immediately rotate knob to “Brew” position—this forces manual start. Then check reservoir level and PM indicator before reprogramming. Never add water mid-brew cycle—this risks electrical damage.
Essential Safety Protocols for Overnight Brewing
Pre-Bed Setup Checklist
Fill reservoir to MAX line—using cold filtered water prevents limescale buildup. Place empty carafe on warming plate—starting without it damages the heating element. Add exact coffee grounds (2 tbsp per cup) to avoid overflow. Double-check time display with your phone: if it shows “6:30” with PM light off, you’re set for 6:30 AM. Position away from walls—allow 6 inches clearance for ventilation. Unplug immediately if you smell burning—this indicates electrical fault.
Maintain Power Stability
Use a dedicated outlet—avoid power strips that cause voltage drops. Check cord temperature before bed; warmth is normal, but heat indicates overload. During storms, unplug completely—surge protectors can’t prevent all damage. If programming fails repeatedly, test with another outlet—faulty home wiring often mimics coffee maker defects.
Quick Reference Time-Setting Cheat Sheet
- Clock setting: Knob to “Clock Set” → Hr/Min buttons → On/Off to save
- Auto-brew activation: Must see “AUTO ON” text after programming
- PM indicator: Light OFF for AM, ON for PM—verify this first when troubleshooting
- Power outage fix: Full reset required (clock + auto-brew)
- Non-knob models: Hold Hour 3 sec → Program button sequence
Mastering how to set time on Cuisinart coffee maker transforms your morning from chaotic to effortless. That blinking 12:00 isn’t a flaw—it’s your cue to take control of your coffee destiny. Now that your clock is accurate and auto-brew is locked in, you’ll never face a cold carafe again. Keep this guide bookmarked for daylight saving shifts or after summer storms—your future self will thank you when that perfect cup hits the carafe exactly at 6:45 AM. For deeper maintenance, explore descaling procedures to keep your time settings running smoothly for years.


