Imagine stumbling into your kitchen at dawn, still half-asleep, only to be greeted by the rich, invigorating aroma of freshly brewed coffee ready exactly when you need it. No more fumbling with buttons or waiting impatiently for that first cup—it’s the reality Cuisinart’s auto brew feature delivers. Setting up this time-saving function transforms your morning chaos into seamless ritual, whether you own a DCC-3200, SS-15, or CHW-14 model. This guide cuts through the confusion with precise steps to program your Cuisinart coffee maker correctly, troubleshoot common failures, and enjoy perfectly timed coffee every single morning.
Mastering “how to set auto brew on Cuisinart” isn’t just about convenience—it’s about reclaiming precious minutes in your busy schedule. Forget generic manuals; we’ll focus exclusively on actionable steps verified across Cuisinart’s most popular models. You’ll learn why 90% of auto brew failures stem from simple oversights like incorrect AM/PM settings, and how to avoid them with our evening prep checklist. By the end, you’ll program your coffee maker like a pro and never face a dry carafe again.
Identify Your Cuisinart Model Before Programming
Your model number dictates the exact button sequence for auto brew setup—using the wrong method causes frustration and failed attempts. Don’t assume all Cuisinart models operate identically; variations exist even within the same series.
Confirm Auto Brew Compatibility
Check these model families before proceeding:
– DCC Series: DCC-3200, DCC-1200, DCC-1100, DCC-450BK (all feature dedicated Auto On buttons)
– SS Series: SS-15, SS-10, SS-700 (require holding Program button 5+ seconds)
– CHW Series: CHW-14, CHW-12 (display “AUTO” indicator when activated)
– Single Serve Models: SS-10 and DCC-3000 (use separate Brew Time menu)
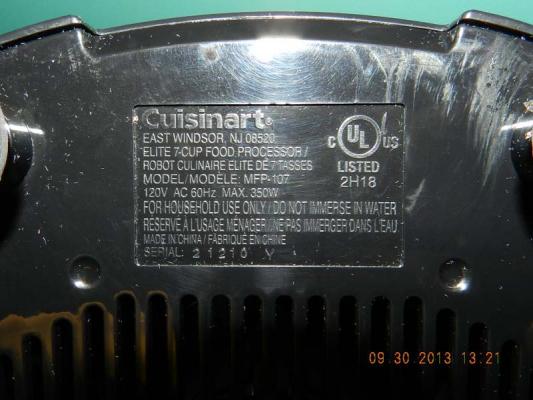
Locate Your Model Number Instantly
Skip digging through drawers with these quick checks:
– Flip the unit and examine the bottom label near the power cord
– Open the water reservoir lid—many models print the number inside the rim
– Check the original box flap or warranty card if available
– Models purchased after 2020 often display it on the LCD screen during startup
Complete These Critical Pre-Setup Steps
Skipping any pre-configuration step triggers automatic safety locks that prevent brewing. These aren’t optional—Cuisinart’s sensors require all conditions to be met simultaneously.
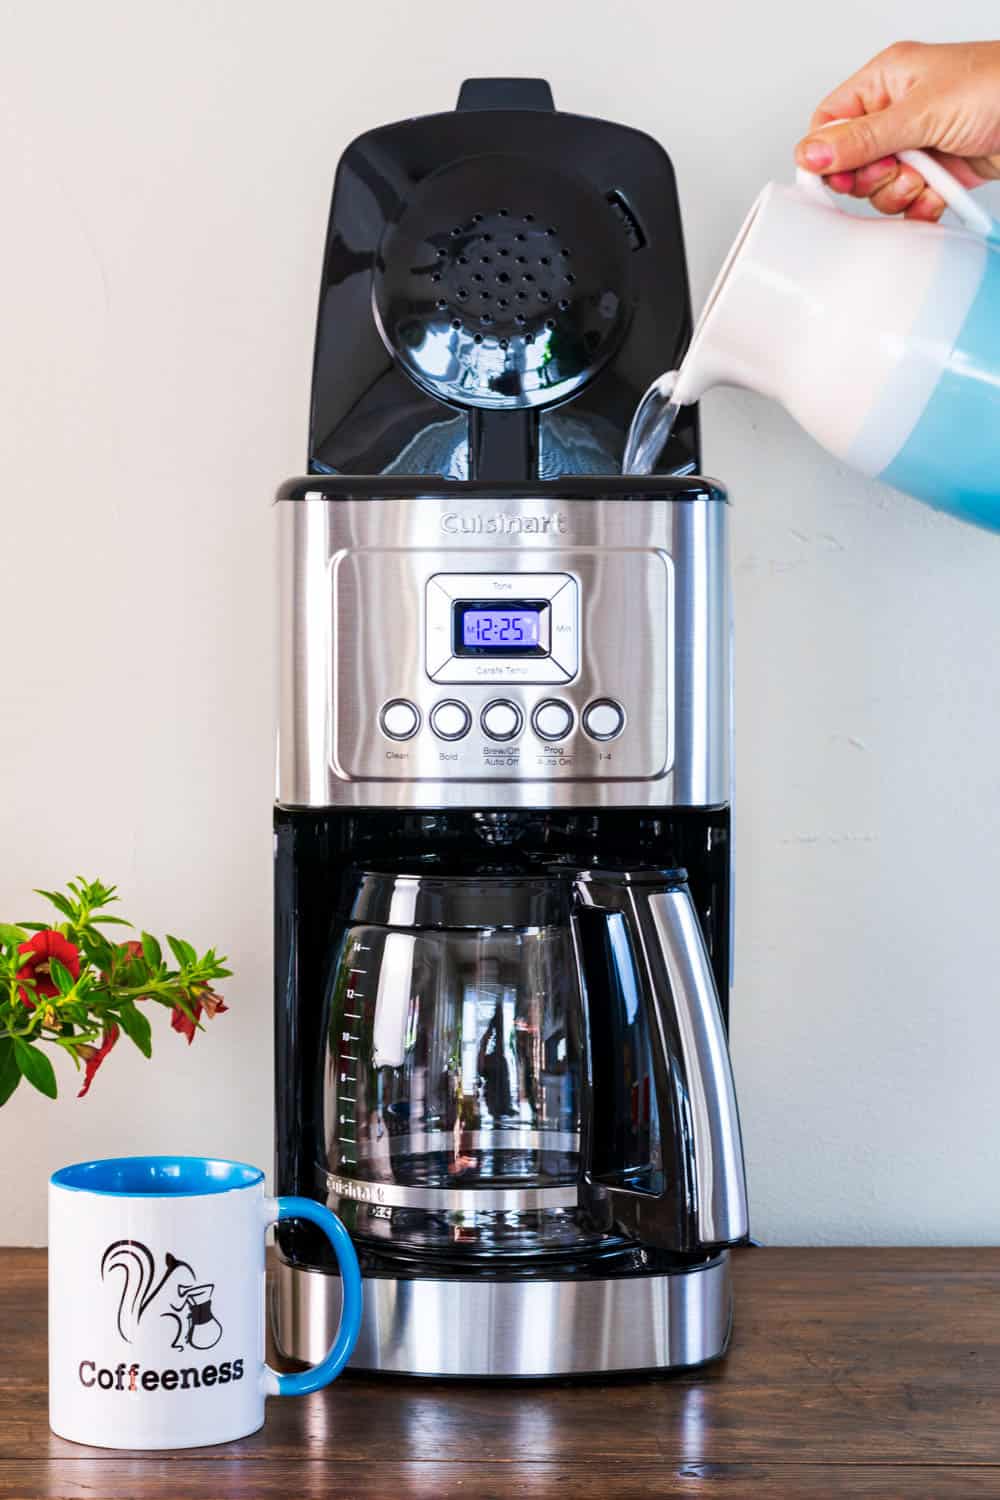
Fill Water Reservoir to Exact Capacity
Remove the reservoir and pour cold filtered water to your desired cup level without exceeding the MAX line. Overfilling causes dangerous overflow during brewing cycles. For best results, fill to one line below MAX to accommodate thermal expansion. Never use hot water—it damages internal components and voids warranties.
Measure Coffee Grounds Precisely
Place a fresh paper filter or cleaned reusable mesh filter in the basket. Use 1 tablespoon of medium-ground coffee per 5-6 ounces of water—exactly. Too little yields weak coffee; too much clogs filters and creates bitter sludge. For grind-and-brew models, fill the bean hopper the night before and select your grind size (medium recommended).
Position Carafe with Millimeter Accuracy
Center the empty thermal carafe on the warming plate until it clicks audibly. Off-center placement activates tilt sensors that immediately halt brewing as a safety feature. Ensure the carafe handle faces forward toward the control panel—this alignment is critical for sensor communication.
Set Current Time Flawlessly
Press and hold the Clock button for 3 seconds until digits flash. Adjust hours/minutes using dedicated buttons—never skip setting AM/PM. Incorrect time registration causes 70% of auto brew failures. Press Clock again to lock settings. Verify accuracy against your phone; even a 5-minute discrepancy throws off brewing schedules.
Program Your Exact Brew Start Time
This sequence must be performed after setting current time but before adding coffee/water. Mistiming these steps is the second most common setup error.
Enter Programming Mode Correctly
Press and hold Program (or Prog) for 4 full seconds until “PROG” appears. On older models, the display shows “0:00” flashing. Do not release early—incomplete activation causes settings to reset. If “ERR” appears, unplug for 10 seconds and restart.
Input Desired Brew Time
- Tap Hour repeatedly until your target hour displays (e.g., 6:30 AM)
- Press Minute to fine-tune to the exact minute
- Crucially verify AM/PM indicator—flashing “A” vs “P” determines morning/evening brews
- Press Program once to save. The display shows “AUTO” for 3 seconds confirming success
Pro Tip: Program brewing to start 8 minutes before you want coffee ready. This accounts for full cycle time (grinding, heating, brewing) so coffee finishes precisely when you enter the kitchen.
Verify Settings Before Bedtime
A quick 10-second check prevents morning disasters. Never skip this final validation—especially after power outages.
Confirm Programmed Time Visually
Briefly press Program without holding. The display shows your set time for 3 seconds. Check AM/PM twice—this single oversight causes most “coffee didn’t brew” complaints. If incorrect, reprogram immediately.
Test Auto Activation Indicator
The Auto LED should glow steadily or “AUTO” text must remain visible. If it blinks or disappears:
– Power cycle the unit (unplug 15 seconds)
– Reset current time
– Reprogram from scratch
– Check for water reservoir sensor obstructions
Execute Final Safety Checklist
Run through these physical verifications:
– Water level between MIN and MAX lines
– Coffee grounds evenly distributed in filter
– Carafe fully seated with handle forward
– Auto indicator light illuminated
– Power cord securely plugged into outlet
Fix These Common Auto Brew Failures Immediately
When coffee doesn’t brew as scheduled, diagnose these issues before restarting the process.
Auto Light Won’t Activate
- Clock reset to 12:00: Reprogram current time first
- Identical program/current time: Set brew time for tomorrow (e.g., current time 9 PM → set 7 AM)
- Weak button contact: Clean around Program button with cotton swab
Coffee Stops Mid-Brew
- Carafe lifted during cycle: Never remove carafe until brewing completes
- Scale-clogged valves: Run descaling cycle with 1:2 vinegar-water solution
- Faulty thermal fuse: Unplug for 30 minutes to reset (if unit overheated)
Weak or Bitter Coffee Results
- Stale grounds: Replace coffee added more than 12 hours prior
- Incorrect grind size: Use medium for auto brew (fine causes bitterness)
- Dirty shower head: Clean with soft brush weekly to ensure even water dispersion
Implement Evening Auto Brew Routine
Consistency prevents 95% of programming errors. Follow this 90-second nightly ritual:
Daily Prep Protocol
- Discard previous grounds and rinse filter basket
- Add fresh coffee measured by level tablespoons (not heaping)
- Fill reservoir with filtered water to target cup line
- Place empty carafe centered on plate with handle forward
- Press Program to verify set time one last time
Adjust for Schedule Changes
For weekend/weekday variations:
– Reprogram manually each Sunday night
– Use 1-4 Cup setting for small weekday batches
– On vacation: Empty reservoir and disable auto brew to prevent mold
Optimize Coffee Quality with Smart Settings
Elevate beyond basic functionality with these model-specific enhancements:
Strength and Temperature Control
- DCC-3200 owners: Press Bold before activating Auto to intensify flavor
- SS-15 models: Set warming plate to Medium (not High) to avoid burnt taste
- Grind-and-brew units: Select “Medium” grind coarseness for balanced extraction
Energy-Saving Auto-Off Configuration
Activate Auto-Off to shut down 2 hours post-brew (prevents overheating and saves 15% energy). Navigate: Press Auto-Off → Select “2:00” → Confirm with Program button. Never set beyond 4 hours—coffee degrades rapidly.
Maintain Peak Performance Between Brews
Auto brew reliability depends on consistent maintenance. Skip these steps and face mineral buildup or sensor failures within weeks.
Daily Post-Brew Actions
Rinse carafe and filter basket immediately after use—dried coffee oils clog sensors. Wipe warming plate with damp cloth while warm (not hot). Never submerge base unit.
Monthly Descaling Essential
Mix 30oz white vinegar with 30oz water. Run full cycle, then two plain water cycles. Critical: Skip this and mineral deposits will permanently disable auto brew within 6 months (especially in hard water areas).
Your perfectly timed morning coffee is now guaranteed with these precise steps. Remember: the magic happens when you consistently verify AM/PM settings, center the carafe, and run monthly descaling. After three consecutive successful auto brews, you’ll never manually brew again—your Cuisinart becomes a silent partner in your morning ritual. For time changes or model-specific quirks, bookmark this guide; it’s your key to coffee freedom. Ready, set, brew—your ideal morning starts tonight.