
That frustrating moment when pancakes weld themselves to your griddle surface isn’t a manufacturing flaw—it’s a clear sign your Cuisinart griddle needs proper seasoning. Without this essential process, you’re battling sticky food, uneven heating, and premature rust that shortens your appliance’s lifespan. Seasoning creates a natural non-stick barrier through polymerized oil that improves with every use, transforming your cooking experience from frustrating to flawless. Whether you’ve just unboxed your new Cuisinart or noticed performance declining, mastering how to season Cuisinart griddle surfaces correctly is the single most impactful maintenance task you can perform. This guide delivers the exact steps professionals use to build a resilient, restaurant-quality finish that makes cleanup effortless and enhances every meal you cook.
Essential Supplies for Cuisinart Griddle Seasoning

Skip generic “what you’ll need” lists—your seasoning success depends entirely on selecting the right oil and tools. Flaxseed oil creates the hardest, most durable foundation by forming a rock-solid polymerized layer when heated properly. Canola oil offers the best balance for most home cooks with its high smoke point (400°F) and affordability, while vegetable oil serves well for routine maintenance touch-ups. Crucially avoid olive oil—its low smoke point causes premature breakdown—and never use butter, which carbonizes instantly at griddle temperatures.
Gather these non-negotiable tools before starting: heat-resistant gloves (regular oven mitts won’t withstand prolonged high heat), lint-free microfiber cloths or paper towels (standard towels leave fibers), a plastic scraper (metal damages seasoning), and mild dish soap only for the initial factory coating removal. Smart cooks keep dedicated seasoning supplies separate from regular cooking tools to prevent cross-contamination from food residues that compromise the bonding process.
Remove Factory Coating Before Seasoning
Complete Initial Cleaning Protocol
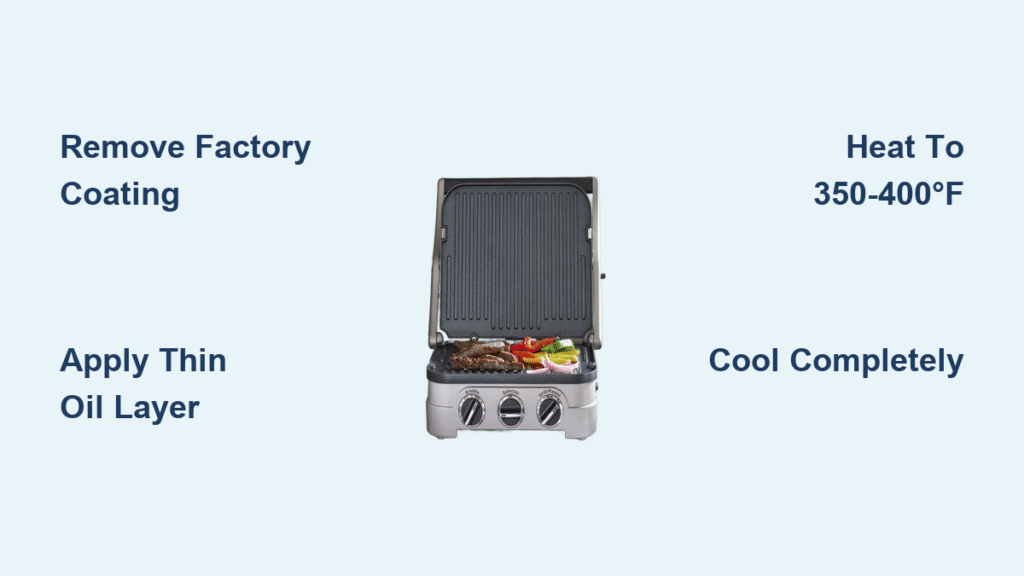
New Cuisinart griddles arrive coated in a protective wax that repels oil and prevents proper seasoning adhesion. Wash the entire surface—including sides and grease tray—with warm water and mild dish soap using a non-abrasive sponge. Rinse repeatedly until water sheets evenly across the surface; beading or pooling indicates residual wax. For stubborn spots, gently rub with baking soda paste before re-rinsing. This step is non-negotiable—skipping it guarantees seasoning failure.
Eliminate Hidden Moisture
Pat dry immediately with clean towels, then place the griddle on medium heat (300°F) for 3 minutes. Watch for steam escaping from seams and corners—this hidden moisture creates microscopic barriers that prevent oil bonding. Cool completely before proceeding; any dampness causes bubbling and uneven seasoning. Your griddle should feel completely dry to the touch with a uniform matte gray appearance—shiny spots mean residual oil or moisture.
Apply First Seasoning Layer Correctly
Precise Temperature Control
Heat your griddle to 350-400°F (medium-high setting). Validate temperature by sprinkling water droplets—they should dance and vanish within 2 seconds. Below 350°F, oil won’t polymerize; above 400°F, it burns before bonding. Use an infrared thermometer for accuracy—built-in dials often run 50°F low. Maintain this exact range throughout the process; fluctuations cause sticky or patchy results.
Micro-Thin Oil Application Technique
Pour 1 teaspoon of oil in the center while wearing heat-resistant gloves. Using tongs to hold folded paper towels, spread oil in overlapping circular motions covering every surface—including corners, grease grooves, and bottom edges. Critical step: Wipe aggressively until the surface looks completely dry with no visible oil sheen. Pooling creates sticky spots; your paper towel should come away clean after the final pass.
Polymerization Burn-Off Phase
Sustain 350-400°F for 60 minutes with kitchen ventilation running—expect significant smoke as oil transforms into a hard, plastic-like coating. After 60 minutes, turn off heat but do not move the griddle. Let it cool completely inside to prevent thermal shock. A successful first layer appears uniformly dark bronze with zero tackiness when cool.
Build Durable Seasoning Layers
.jpg?sw=1200&sh=1200&sm=fit)
Strategic Layer Timing
Apply the second layer only when the griddle cools to 150°F (warm but safe to touch briefly). For layers three through five, wait until completely cold. New griddles need 3-5 layers; re-seasoning requires just 2-3. Rushing applications traps moisture between layers, causing eventual flaking.
Progressive Oil Reduction
Each layer should use less oil than the last. By the third application, apply just enough oil to create a faint metallic sheen—visible only at a 45-degree angle. Over-oiling is the #1 cause of sticky surfaces. If your fourth layer feels tacky, skip to the troubleshooting section immediately.
Quality Verification Checkpoints
After cooling, inspect each layer for these success indicators: deepening color from bronze to near-black, glass-smooth texture under fingertips, and zero oil transfer when wiping with a clean paper towel. Uneven spots need spot-reapplication using the same oil type—mixing oils creates weak bonds.
Avoid Critical Seasoning Mistakes
Excess Oil Disaster Fix
That sticky, gummy residue means you applied too much oil. Don’t panic—heat the griddle to 450°F for 30 minutes to burn off excess, then scrape gently with a plastic tool. Reapply a micro-thin layer while warm. Prevention is key: always wipe until the surface looks bone-dry after oiling.
Low-Temperature Bonding Failure
If seasoning rubs off easily, your griddle never reached 350°F. Polymerization requires sustained high heat—use an external thermometer. Recycle the failed layer by heating to 400°F for 45 minutes, then restart the process with verified temperatures.
Corner and Edge Neglect
Missing the grease trough or side edges creates rust entry points. During application, tilt the griddle slightly to coat vertical surfaces, and use folded paper towels wrapped around a spatula for hard-to-reach areas. These zones need extra attention—they wear fastest.
Maintain Your Seasoned Griddle Daily
First Cooking Session Protocol
For your initial 2-3 uses after seasoning, cook high-fat foods like bacon or burgers. The rendered fats naturally reinforce the seasoning layer better than any manual application. Avoid acidic foods (tomatoes, citrus) for the first 10 uses—they degrade new seasoning.
Daily Care Routine
Scrape cooled food debris while the griddle is still warm (150°F) using plastic tools only. Wipe with a barely damp cloth—never soap—then apply a whisper-thin oil layer before storage. This nightly ritual takes 90 seconds but extends seasoning life exponentially.
Re-Seasoning Warning Signs
Schedule immediate re-seasoning when you notice food sticking despite proper preheating, rust specks appearing, metallic flavors in food, or a dull, patchy surface. Ignoring these signs leads to irreversible damage within weeks.
Fix Common Seasoning Problems
Sticky Surface Emergency Fix
Heat to 450°F for 30 minutes to carbonize excess oil, then gently scrape with plastic tool. Cool slightly and apply a micro-thin oil layer using the “wipe until dry” technique. Test with a paper towel—if it sticks, repeat the burn-off process.
Flaking Seasoning Repair
Remove loose flakes with plastic scraper, clean thoroughly with vinegar-water solution, then spot-season affected areas. Apply 2-3 thin layers focusing only on damaged zones—full re-seasoning isn’t needed for localized flaking.
Uneven Color Patterns
Don’t panic if your seasoning develops mottled dark/light patches initially. This is normal during the break-in period. Continue cooking fatty foods for 10-15 sessions—heat distribution evens out naturally as the polymerized layer matures.
Long-Term Seasoning Preservation
Monthly Maintenance Refresh
Once monthly, perform this 10-minute ritual: Heat to 350°F, apply oil with paper towel held in tongs, maintain heat for 15 minutes, then cool completely. This prevents seasoning degradation from atmospheric moisture and extends time between full re-seasoning.
Optimal Storage Practices
Store in a dry location with a light oil coating and breathable cotton cover—never plastic, which traps moisture and promotes rust. For seasonal storage, place silica gel packets inside the grease tray to absorb ambient humidity.
Seasoning Lifespan Expectations
With proper care, your Cuisinart griddle’s seasoning improves for 2-3 years before needing complete re-seasoning. Commercial units may require annual refreshes, but home models often last 5+ years with consistent maintenance. The true test? When pancakes slide effortlessly without oil, you’ve achieved seasoning perfection.
A properly seasoned Cuisinart griddle transforms from a frustrating appliance into your most reliable cooking surface. That deep black patina isn’t just cosmetic—it’s a testament to countless perfectly seared steaks and golden-brown pancakes. Remember: seasoning isn’t a one-time task but a continuous relationship with your griddle. By dedicating just 15 minutes monthly to maintenance, you’ll enjoy non-stick performance that rivals professional equipment. Start tonight—your future self will thank you when tomorrow’s breakfast slides off effortlessly.


