That sinking feeling when your waffle tears apart as you lift the lid? It’s the #1 complaint among Cuisinart waffle maker owners – and the fix is simpler than you think. Properly seasoning your Cuisinart transforms sticky disasters into golden, intact waffles with effortless release. Whether you just unpacked a new machine or revived a vintage find, this guide reveals the exact seasoning process to create a bulletproof non-stick surface. Follow these steps to stop wrestling with waffles and start enjoying restaurant-quality results from your very first batch.
Seasoning isn’t just for cast iron anymore. Your Cuisinart’s cooking plates develop microscopic imperfections over time that trap batter like quicksand. By building a polymerized oil layer through controlled heating, you fill these gaps with a natural non-stick coating that improves with every use. Skip this crucial step, and you’ll battle stuck waffles, uneven browning, and premature wear. Do it right, and you’ll extend your appliance’s life while cutting cleanup time in half. Let’s make your next brunch flawless.
Why Proper Seasoning Prevents Waffle Disasters
Without seasoning, your Cuisinart’s plates are like a cracked sidewalk – batter seeps into microscopic pits and hardens like concrete. The polymerized oil layer you create fills these voids, forming a seamless barrier that repels batter. This isn’t just about convenience; unseasoned plates force you to over-grease batter, creating soggy waffles with burnt edges. Most users report immediate improvements: waffles release cleanly within 30 seconds of cooking, cleanup takes seconds instead of minutes, and your machine heats more evenly. The best part? This coating gets more effective with regular use, turning your appliance into a waffle-making powerhouse.
Essential Oils and Tools for Foolproof Seasoning

Best Oils for Cuisinart Seasoning:
– Vegetable oil – High smoke point (400°F+) and neutral flavor
– Canola oil – Budget-friendly with consistent polymerization
– Refined avocado oil – Premium choice for heavy users (smoke point 520°F)
– Coconut oil – Creates durable coating (expect faint coconut aroma initially)
Never Use These:
– Olive oil (smokes at 375°F, turns rancid when polymerized)
– Butter (burns instantly, creates sticky residue)
– Non-stick cooking sprays (contain lecithin that gums up plates)
Required Gear:
– Heat-resistant gloves (plates reach 400°F+)
– Lint-free microfiber cloths or paper towels
– Small bowl for oil (prevents spills)
– Pastry brush (optional but ensures even coverage)
Perfect Initial Seasoning for New Machines
Eliminate Factory Residues First
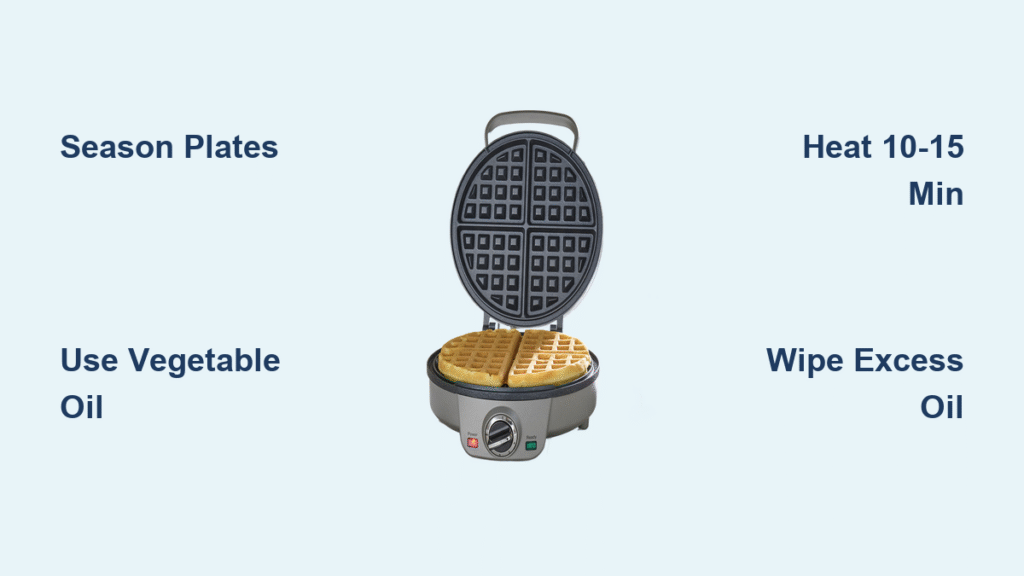
Unplug your Cuisinart and ensure it’s completely cool. Peel off every sticker and protective film – check hinge areas where manufacturers hide them. Wipe both plates with a barely damp cloth to remove machining oils and dust particles. Critical step: Dry thoroughly with paper towels until no moisture remains. Even tiny water droplets cause oil to spatter violently during heating.
Apply Oil with Precision
Pour 1 tbsp oil into a bowl. Dip a paper towel, then squeeze until just damp (dripping oil causes smoking). Working in circular motions, coat every groove and edge of both plates. Look for a subtle sheen – if you see shiny patches, wipe immediately. Pay extra attention to plate edges where batter accumulates. For optimal results, apply oil while plates are at room temperature to prevent premature polymerization.
Execute the Heat Cycle Correctly
Close the lid and set to medium-high (375-400°F). Heat for exactly 10-15 minutes – this allows oil to polymerize without burning. You’ll see light smoke forming; this indicates proper curing. Critical timing:
– Minutes 0-5: Preheating phase
– Minutes 5-15: Active polymerization
– After 15: Turn off and cool for 30+ minutes
Never open the lid during heating – steam disrupts the coating process.
Verify Seasoning Success
After full cooling, wipe plates gently with a fresh paper towel. Success looks like:
✓ Uniform darkened surface (not patchy)
✓ Smooth, non-sticky texture when touched
✓ Light sheen without oily residue
If plates feel tacky or show bare spots, repeat the process once more.
Reviving Old Cuisinart Waffle Makers

Recognize When Re-Seasoning Is Urgent
Your machine needs immediate attention if:
– Waffles consistently split during removal
– Plates show visible wear spots or discoloration
– Batter sticks despite proper preheating
– It’s been over 6 months since last seasoning
Ignoring these signs leads to permanent damage – scorched batter etches into unprotected metal.
Deep Clean Without Damaging Plates
Start with a cool, unplugged unit. Remove loose debris with a dry paper towel. For stubborn residue:
1. Dampen a cloth with warm water (no soap!)
2. Gently rub problem areas in circular motions
3. Immediately dry with a second cloth
Never use abrasive pads or submerge in water – this strips existing seasoning.
Rebuild Non-Stick Layers Effectively
Apply oil as in initial seasoning, then heat for 10-15 minutes at medium-high. For heavily worn units, run 2-3 consecutive cycles with 30-minute cooling breaks between. Focus extra oil on worn areas during the final cycle – these spots absorb more coating material. Test with a single waffle: it should release cleanly within 30 seconds of cooking completion.
Prevent Sticking Between Seasonings
Daily Care That Preserves Your Coating
After cooking:
1. Unplug and let cool 3-4 minutes (plates still warm but not hot)
2. Wipe with damp cloth – never cold water on hot plates
3. Store with lid slightly ajar to prevent moisture buildup
Destroy your seasoning by:
– Using metal utensils (scratches the coating)
– Spraying cooking oil directly on plates
– Dishwasher cleaning (high heat degrades polymer)
– Storing while damp (causes rust spots)
Monthly Maintenance Shortcut
Heat the empty waffle maker for 2 minutes, then wipe plates with an oil-dampened paper towel. Test performance with a “mini waffle” using 1 tbsp batter – it should slide out instantly. This 5-minute ritual extends time between full re-seasoning by 40%.
Fix Seasoning Problems Immediately
Stop Excessive Smoking in Seconds
If smoke fills your kitchen:
1. Immediately turn off and unplug
2. Ventilate the area (open windows, run fan)
3. Wipe excess oil with dry paper towels
4. Next time, use less oil or switch to avocado oil
Persistent smoking means your oil’s smoke point is too low – upgrade to refined avocado oil.
Correct Uneven Coating
Patchy results stem from inconsistent oil application. After cooling:
1. Identify lighter areas (they’ll feel rougher)
2. Apply extra oil only to those spots
3. Run another 10-minute cycle at medium heat
This targeted approach saves time versus full re-seasoning.
Solve Persistent Sticking
When waffles still tear:
– Check batter thickness (should coat spoon but drip slowly)
– Preheat 5 full minutes before first batch
– Wait for steam to reduce before opening lid
– If plates are visibly damaged, contact Cuisinart support – seasoning can’t fix physical wear
Model-Specific Temperature Guide
:max_bytes(150000):strip_icc()/Web_1500-AllBrands_Cuisinart4-SliceBelgianWaffleMaker_004_DB-aff606cc101f4cd6a99c670bdf6e9d37.jpg)
Cuisinart Round Classic:
– Use medium setting (375°F) – high setting (425°F) burns oil
Cuisinart Double Belgian:
– Set to 4-5 (medium-high) for even heating
– Season removable plates separately if applicable
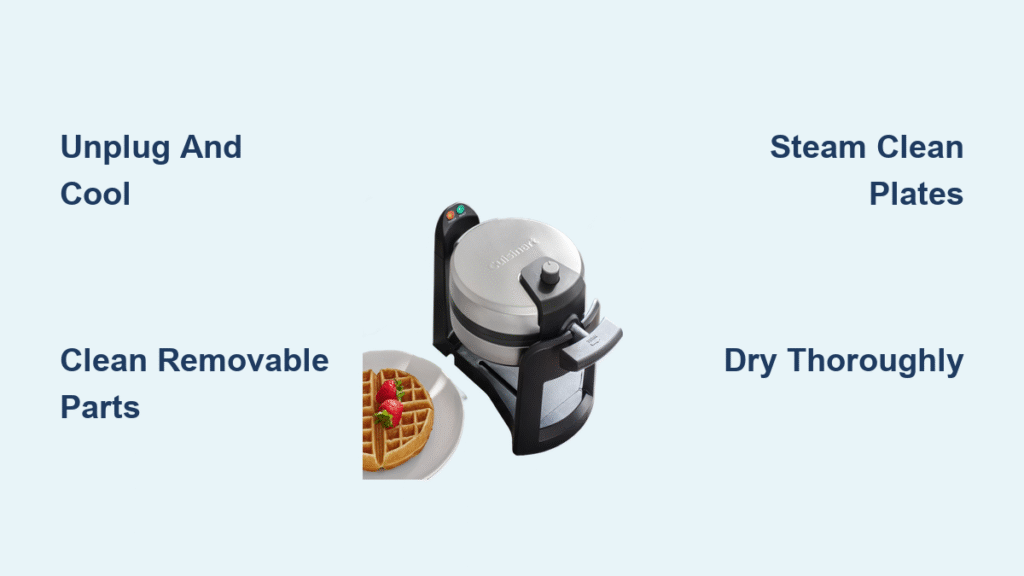
Cuisinart Vertical Models:
– Rotate unit 180° halfway through heating cycle
– Medium setting provides optimal polymerization
Maximize Your Seasoning Investment
Create Your Personal Seasoning Calendar
- Daily users: Re-season every 6 months (mark your calendar)
- Weekly users: Annual re-seasoning suffices
- Occasional users: Only re-season when waffles stick
Track performance in your phone notes – you’ll spot declining non-stick ability weeks before failure.
Storage Secrets for Longevity
Always store your Cuisinart completely cool and dry. Wrap plates in a clean kitchen towel or keep in original box to block dust. Store upright in a humidity-controlled cabinet – never under the sink or near stove vents. Never stack items on top; even light pressure can warp plates over time. Proper storage doubles your seasoning’s effective life.
Your perfectly seasoned Cuisinart now delivers waffles that slide out intact with barely a nudge. That first effortless flip isn’t luck – it’s science working for you. By following these precise steps, you’ve transformed an ordinary appliance into a brunch hero. Remember the monthly oil wipe-down, and you’ll enjoy flawless waffles for years. When your next batch glides out golden and whole, you’ll know your seasoning succeeded – and your weekend breakfast just got infinitely better.

