
When your kitchen renovation leaves you staring at perfectly good cabinets destined for the landfill, you’re missing a golden opportunity. Learning how to repurpose kitchen cabinets transforms what would be waste into valuable, custom furniture for your entire home. The average kitchen remodel costs over $25,000, yet those existing cabinets could become stunning bathroom vanities, functional laundry stations, or elegant built-in bookcases without breaking the bank. This approach not only saves money but reduces waste and creates furniture that perfectly matches your home’s unique dimensions and style—something mass-produced alternatives can’t replicate.
Whether you’re replacing outdated cabinets or undertaking a full kitchen overhaul, this guide provides proven methods for giving your kitchen cabinets a second life. These projects require moderate DIY skills and basic tools, but the results deliver character-rich furniture that adds both function and personality to your living spaces. With proper planning and execution, you’ll transform what was once destined for disposal into pieces that serve your household for years to come.
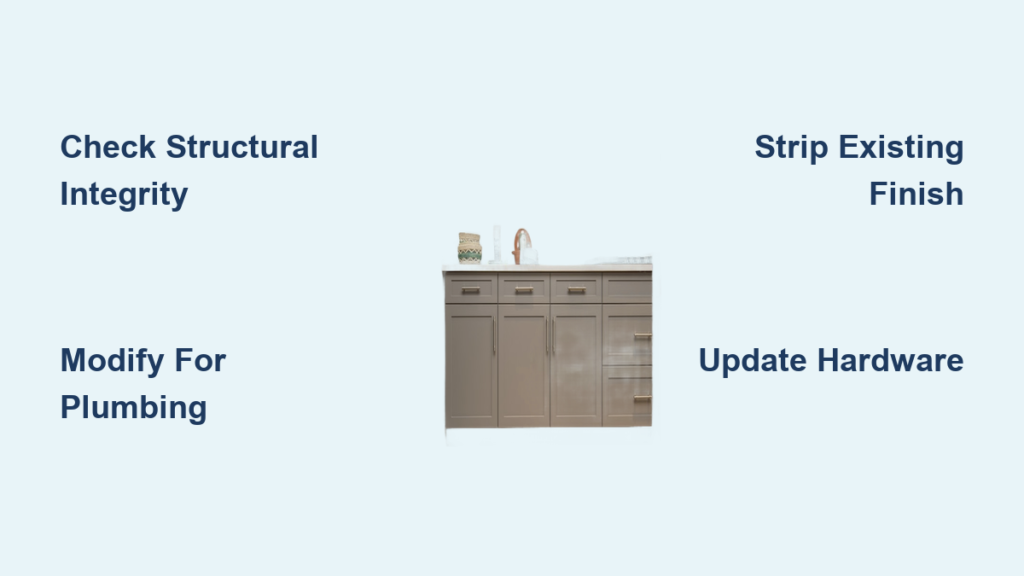
Check Cabinet Structural Integrity Before Repurposing
Before investing time and materials, determine if your cabinets can withstand the repurposing process. Not all kitchen cabinets deserve a second life, and identifying structural weaknesses early prevents wasted effort.
Identify Water Damage and Pest Infestation
Examine each cabinet thoroughly for signs of moisture damage, particularly under sinks and near dishwashers where leaks commonly occur. Press firmly on shelves and side panels—any softness, sponginess, or visible warping indicates compromised integrity. Look for tiny holes or sawdust piles that signal termite or carpenter ant activity. Cabinets with significant frame damage or swollen particleboard cores typically aren’t worth salvaging, but you can still harvest solid wood doors and drawer fronts for smaller projects like floating shelves or decorative wall panels.
Evaluate Construction Quality and Materials
Determine what materials your cabinets are made from, as this affects their repurposing potential. Solid wood cabinets, especially those from homes built before the 2000s, offer the best opportunity for transformation. Hardwoods like oak, maple, and cherry accept finishes beautifully and withstand decades of additional use. Medium-density fiberboard (MDF) and particleboard cabinets work for some projects but require careful handling since they lack the strength of solid wood. Check joinery methods—cabinets with dovetails, biscuits, or sturdy screw connections indicate craftsmanship worth preserving, while stapled or nailed joints suggest units that may not survive disassembly.
Document Precise Measurements for Future Planning
Record exact dimensions for height, width, and depth of each cabinet component before disassembling. Note the location of existing hardware holes since filling and redrilling can weaken the wood structure. Photograph hinges, latches, and any unique features that might inform your new design. These measurements prove invaluable when planning how to repurpose kitchen cabinets for specific spaces in your home, ensuring your transformed pieces fit perfectly in their new locations without costly modifications later.
Transform Base Cabinets into Bathroom Vanities
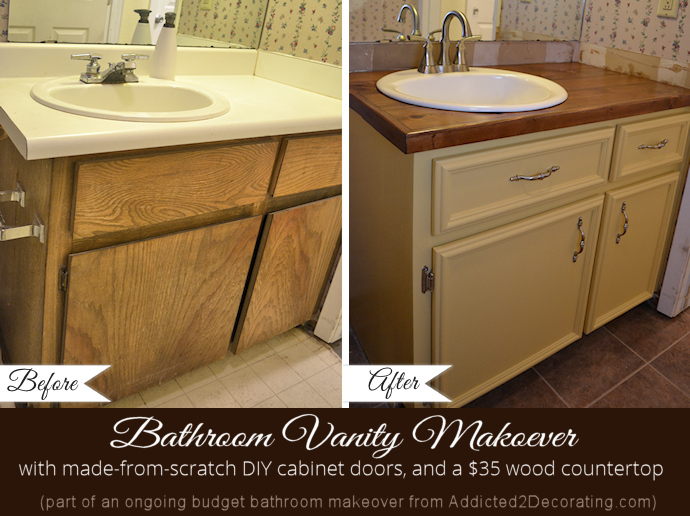
One of the most successful repurposing projects converts kitchen base cabinets into custom bathroom vanities that cost a fraction of retail alternatives while matching your home’s existing aesthetic.
Match Cabinet Height to Bathroom Requirements
Standard kitchen base cabinets stand 34.5 inches tall, which works well for adult bathroom vanities. For children’s bathrooms or ADA-compliant installations, look for shorter cabinets or modify standard ones by removing legs and mounting on a lower base. Measure your bathroom space carefully, accounting for plumbing positioning and desired countertop thickness. The existing cabinet drawers or doors provide convenient storage for toiletries and towels, maintaining the kitchen’s coordinated design aesthetic throughout your home.
Modify Back Panels for Plumbing Access
Kitchen cabinets lack the necessary cutouts for bathroom plumbing, so you’ll need to create them. Position the cabinet in its intended location and trace plumbing pipe locations on the back panel. Use a jigsaw to carefully cut openings large enough for pipes with some clearance for movement. Sand edges smooth to prevent snagging pipes during installation. This modification transforms how to repurpose kitchen cabinets from simple storage units into fully functional bathroom fixtures that accommodate modern plumbing requirements.
Prepare Repurposed Cabinets for Professional Results
Proper preparation determines whether your finished piece looks professionally crafted or amateurish. Invest adequate time in this phase to ensure your repurposed cabinets deliver lasting satisfaction.
Deep Clean to Remove Kitchen Grease and Residue
Years of kitchen use leave behind grease that interferes with paint adhesion. Remove all doors and drawer fronts, then clean every surface with a strong degreaser like trisodium phosphate (TSP) or Krud Kutter. Focus on areas around handles and cooking zones where grease accumulates most. Rinse thoroughly with clean water and allow components to dry completely—trapped moisture causes bubbling and peeling beneath new finishes. For stubborn residue, apply warm water with dish soap, scrub with a nylon brush, and repeat until surfaces feel clean to the touch.
Strip Existing Finishes Completely
Successful repainting or restaining requires complete removal of existing finishes. For painted cabinets, use chemical stripper following manufacturer instructions, or sand with 120-grit sandpaper working with the wood grain. Oil-based paints typically require strippers, while latex paints may respond to sanding alone. For cabinets you plan to restain, remove the existing finish completely using progressively finer sandpaper (start 80-grit, finish 120-150-grit). The goal is bare, even wood with no glossy areas remaining—any residual finish will prevent new stain from penetrating evenly.
Update Hardware for Custom Furniture Appeal
Hardware transforms repurposed kitchen cabinets from “old cabinets” into “custom furniture.” Thoughtful selections elevate your finished piece significantly and complete the how to repurpose kitchen cabinets process.
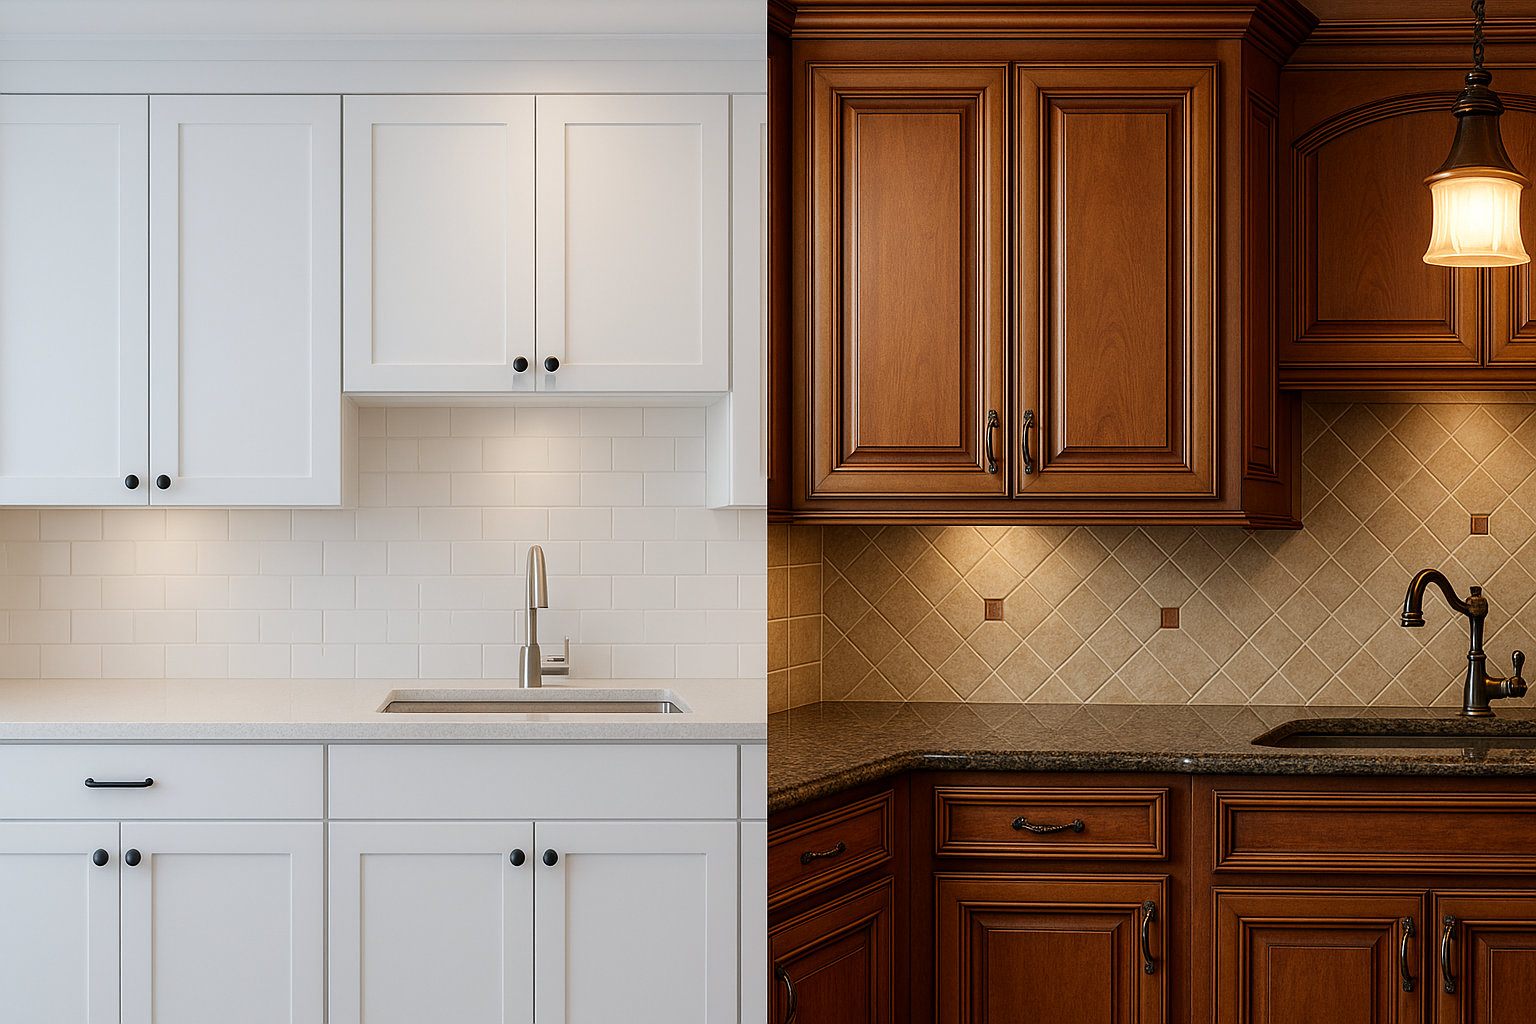
Select Hardware That Matches Your Home’s Style
Coordinate hardware style with your home’s existing aesthetic and the piece’s new function. Contemporary spaces benefit from sleek, geometric pulls in brushed nickel or matte black. Traditional homes suit oil-rubbed bronze or brass hardware with ornate details. Farmhouse styles embrace large cup pulls and bin handles. Consider proportional sizing—oversized hardware on small drawer fronts looks awkward, while undersized hardware on large doors strains hands during daily use. Quality hardware makes your repurposed cabinet look intentionally designed rather than hastily converted.
Install Hardware with Professional Precision
Proper hardware placement creates professional results that enhance your repurposed cabinet’s appearance. Measure and mark positions carefully before drilling, using templates for multiple pieces to ensure consistency. Pre-drill pilot holes to prevent wood splitting, especially important for particleboard or MDF cabinets. Install screws from the back side of doors and drawers for a clean front appearance, or use through-bolts for heavy-duty hardware on frequently used pieces. Precise installation makes your repurposed cabinet look like it was manufactured with that specific hardware in mind.
Modify Structure for New Functional Requirements
Successful repurposing often requires structural changes beyond cosmetic updates. Approach modifications carefully to maintain integrity and safety while adapting how to repurpose kitchen cabinets for new rooms.
Convert Upper Cabinets to Open Shelving
Remove doors entirely to create open shelving perfect for displaying decorative items or storing frequently used kitchenware. Paint or stain the interior surfaces visible through the opening for a cohesive look, or line the back panel with beadboard, contact paper, or painted wallpaper for visual interest. Add decorative shelf brackets for both support and style. Install adjustable shelf standards if your cabinets didn’t include them originally, allowing future flexibility in shelf positioning as your storage needs evolve.
Add Functional Features for Specific Rooms
Enhance repurposed cabinets with features suited to their new purposes. Install pull-out trash bins in base cabinets converted to kitchen islands or utility areas. Add pull-down rods inside upper cabinets for hanging glassware or cleaning tools. Mount file rails in deep drawers for home office organization. Insert dividers in drawers for utensil organization in craft room conversions. Research organizational accessories from cabinet hardware retailers—the same products used in new cabinet installations work perfectly in repurposed pieces, maximizing functionality in their new roles.
Final Assembly and Home Integration
With preparation, finishing, and modifications complete, assembling your repurposed piece requires careful attention to stability and safety to ensure long-term satisfaction.
Securely Mount or Position Your Repurposed Cabinet
Freestanding pieces need solid, level positioning. Add furniture coasters or casters rated for the piece’s weight to facilitate movement. Build wooden bases for pieces lacking legs, ensuring contact with solid flooring rather than carpet alone. Attach anti-tip brackets to walls for tall pieces like bookcases and pantries, preventing dangerous tip-overs. Verify stability by gently pushing on surfaces—any wobble requires correction before use to ensure your repurposed cabinet functions safely in its new location.
Style and Accessorize Your New Furniture Piece
Complete your repurposed cabinet with accessories that enhance both function and aesthetics. Add decorative corbels beneath countertop overhangs for visual interest. Install toe-kick inserts or panels to match your piece’s style. Add under-cabinet lighting for workspaces or ambient effects. Style open shelving with a balanced arrangement of functional items and decorative accents. Incorporate plants, artwork, or personal items that reflect your personality and integrate the piece naturally into its surroundings, transforming it from a repurposed cabinet into an intentional design element.
Repurposing kitchen cabinets represents an opportunity to create custom furniture while reducing waste and saving money. By carefully assessing your cabinets’ condition, preparing them properly, and thoughtfully adapting them for new functions, you’ll transform what was once destined for disposal into valuable pieces that serve your household for years to come. Start with a smaller project to build confidence, then tackle larger conversions as you develop skills and discover the possibilities inherent in quality kitchen cabinet construction. With the right approach to how to repurpose kitchen cabinets, you’ll create functional, beautiful furniture that enhances your entire home while keeping usable materials out of landfills.


