
Your undermount kitchen sink has served you well, but now it’s showing signs of wear, damage, or simply doesn’t match your upgraded kitchen aesthetic. Unlike top-mount alternatives that sit on your counter surface, undermount sinks create that coveted seamless transition from counter to basin—making countertop cleanup a breeze but complicating replacement. When your sink develops cracks, leaks, or you’re ready for an upgrade, knowing exactly how to replace undermount kitchen sink properly prevents water damage and ensures years of trouble-free use.
Replacing an undermount sink isn’t just swapping one fixture for another; it requires careful disassembly of your existing setup, precise countertop preparation, and methodical reinstallation to maintain that watertight seal between sink and counter. This guide delivers the specific techniques professionals use to avoid common pitfalls like sealant failures, misaligned mounting, and plumbing leaks that could turn your dream renovation into a costly disaster.
Gather Specialized Tools Before Starting Sink Removal

Collecting the right equipment before beginning prevents frustrating mid-project delays and protects your expensive countertop from accidental damage. You’ll need specialized tools beyond standard household items to safely remove and reinstall an undermount sink without compromising your countertop integrity.
Essential removal tools include a sharp utility knife for slicing through hardened silicone sealant, an oscillating multi-tool with a scraper blade for stubborn adhesive bonds, and a set of cabinet-safe pry bars that won’t scratch your cabinet interiors. Don’t forget adjustable pliers rated for plumbing connections and a high-quality shop vacuum to capture debris falling through the sink opening during removal.
Critical installation supplies consist of premium silicone sealant specifically formulated for kitchen wet environments (not bathroom-grade), stainless steel mounting clips compatible with your sink model, and a sealant gun that delivers consistent bead pressure. Include plumber’s putty for drain assembly installation and Teflon tape for threaded connections—these small items prevent major leaks if overlooked.
For countertops requiring special care, gather appropriate edge cleaners: isopropyl alcohol for stone surfaces or mineral spirits for laminate edges. Having these materials staged before starting ensures you won’t rush critical steps while hunting for supplies mid-project.
Execute Safe Water Shutoff and Plumbing Disconnection
Properly isolating your water supply and disconnecting plumbing components prevents accidental flooding that could ruin cabinetry and flooring beneath your sink. Begin by locating both hot and cold shutoff valves under the sink—these often become stiff with age and may require penetrating oil if they won’t turn easily.
Turn valves clockwise until fully closed, then open faucet handles to release system pressure and drain residual water. Place a large bucket beneath supply line connections and use adjustable pliers to disconnect lines, expecting some water to spill out. For stubborn connections, wrap a cloth around fittings to protect chrome finishes while applying gentle pressure.
How to Disconnect P-Trap Without Creating a Mess
Position your bucket directly beneath the P-trap before loosening slip nuts. Start with the horizontal pipe connection, then remove the vertical tailpiece. If pipes resist separation, gently twist connections while applying downward pressure—never force them, as PVC can crack unexpectedly. Lay out all components in their original configuration for easier reassembly later.
What to Do With Your Garbage Disposal
If your sink connects to a garbage disposal, disconnect the dishwasher hose (if present) using pliers on the hose clamp. Remove the disposal’s mounting assembly by rotating the mounting ring counterclockwise with a special wrench or screwdriver through the mounting holes. Have a helper support the disposal’s weight as you lower it from the sink flange.
Break Seal and Remove Old Sink Without Countertop Damage
Undermount sinks bond to countertops through both mechanical clips and a continuous silicone seal that creates a waterproof barrier. Cutting this seal requires precision to avoid chipping your countertop edge or scratching the sink basin during removal.
Start by removing all mounting clips accessible from inside the cabinet using a screwdriver. These clips typically attach to the underside of your countertop and clamp onto the sink’s upper flange. Note their positioning for reference during new sink installation—most require placement every 4-6 inches around the perimeter.
Cutting Through Hardened Silicone Sealant
Insert a sharp utility knife blade at a 45-degree angle into the seam between sink and countertop. Make multiple shallow passes rather than one deep cut to prevent slipping and damaging surfaces. For older installations where silicone has hardened like plastic, switch to an oscillating tool with a narrow scraper blade at lowest speed setting.
Work systematically around the entire perimeter, checking frequently that you’re only cutting the sealant bead and not the countertop material. When you’ve completed the full circle, gently insert plastic pry bars at strategic points to create separation without leverage that could crack stone or laminate edges.
Prepare Countertop Edge for New Sink Installation
With the old sink removed, you have a critical opportunity to inspect and prepare your countertop edge for optimal adhesion with the new sink. Examine the entire perimeter for chips, cracks, or weakened areas—especially important for laminate countertops where moisture may have penetrated previous seal failures.
Remove all silicone residue using a plastic putty knife to avoid scratching surfaces. For stubborn remnants, apply a small amount of mineral spirits to a cloth and gently rub the area—never pour directly onto countertops. Finish by wiping the entire edge with isopropyl alcohol to eliminate oils and ensure maximum adhesion for new sealant.
Verify Structural Integrity of Countertop Edge
Press firmly along the entire countertop edge to check for soft spots or movement that would compromise sink support. Laminate countertops should have solid particleboard backing without delamination. Stone countertops generally maintain structural integrity but may have hairline cracks needing attention before proceeding.
Measure the sink opening against your new sink’s specifications, checking for squareness and consistent dimensions. Address any discrepancies now by adding shims or reinforcement strips—never attempt to force a sink into an opening that doesn’t match its dimensions.
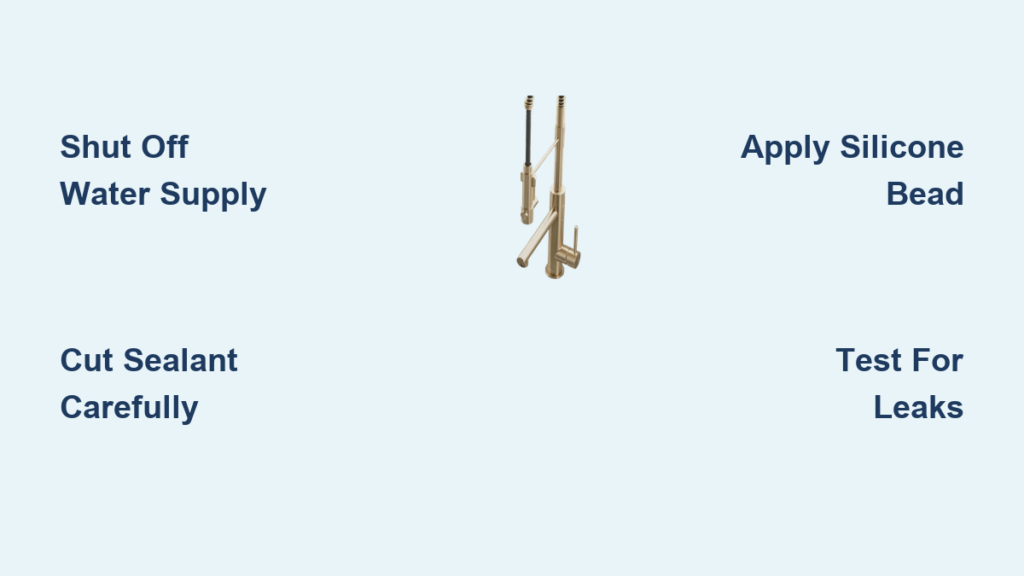
Mount New Sink With Proper Sealant Application Technique

Achieving a watertight seal requires precise silicone application and careful mounting pressure distribution. Begin by dry-fitting your new sink to verify proper alignment and clearance—there should be approximately 1/8 inch of space between sink flange and countertop edge all around.
Applying the Perfect Silicone Bead
Load high-quality kitchen-grade silicone into your sealant gun and cut the nozzle at a 45-degree angle for optimal flow. Apply a continuous bead along the entire sink mounting flange, maintaining consistent pressure and speed for uniform thickness. The ideal bead should measure approximately 1/4 inch in diameter—thick enough to compress fully but not so thick that excessive squeeze-out occurs.
Securing Mounting Clips Without Over-Tightening
Have a helper hold the sink in position while you install mounting clips from inside the cabinet. Start with corner clips, then work toward the center of each side. Tighten each clip just enough to pull the sink snugly against the countertop—over-tightening can crack porcelain sinks or distort stainless steel rims.
Apply even downward pressure around the sink perimeter with your palms to ensure complete contact between sealant and both surfaces. Immediately wipe away excess sealant that squeezes out using a damp finger or cloth, working before the silicone skins over. Allow the recommended 24-48 hour curing period before connecting plumbing.
Reconnect Plumbing and Conduct Leak Testing Protocol
After sealant cures, reconnect plumbing components in reverse order of disassembly while implementing professional leak-prevention techniques. Start with drain assembly installation, applying plumber’s putty beneath the flange before tightening the retaining nut from below.
Connect P-trap components with proper slope (1/4 inch per foot toward wall connection) and hand-tighten all slip nuts before final quarter-turn with pliers. When attaching supply lines, wrap Teflon tape clockwise around male threads three to four times—excessive tape can cause improper seating and leaks.
Comprehensive Leak Testing Procedure
Turn on water supply valves slowly while monitoring all connection points. Run both hot and cold water for five minutes, checking beneath sink for drips. Fill sink completely and release water to test drain performance and connections. Check for leaks again after 15 minutes of continuous use—many failures appear only after thermal expansion occurs.
Prevent Future Problems With Proper Maintenance Routine
Protect your investment with simple maintenance steps that extend sink life and prevent costly water damage. Inspect the sink-to-countertop seam monthly for the first year, then quarterly thereafter, reapplying sealant at first sign of separation.
Clean drains weekly with baking soda and vinegar solution to prevent buildup, and avoid pouring grease down the disposal. For stainless steel sinks, clean in direction of grain pattern and occasionally apply food-grade mineral oil to maintain luster. Composite sinks benefit from regular wiping with mild soap solution and immediate drying to prevent water spots.
When replacing an undermount kitchen sink, patience with sealant application and plumbing connections pays dividends in leak prevention and long-term performance. By following these precise techniques, you’ll achieve professional results that enhance both kitchen functionality and visual appeal for years to come—without the surprise water damage that plagues rushed installations.


