
A flickering kitchen light or outdated fixture can make cooking feel like a chore rather than a pleasure. Replacing your kitchen light fixture ranks among the most satisfying DIY home improvements—you’ll instantly refresh your space while potentially cutting lighting costs by up to 75% with modern LED options. Many homeowners avoid this project thinking electrical work requires professional help, but with proper precautions, you can safely replace your kitchen light fixture in about 90 minutes and save $150-$300 compared to hiring an electrician.
This guide delivers exactly what you need to know—no fluff, no jargon—just clear, step-by-step instructions from experienced DIYers who’ve done this dozens of times. You’ll learn critical safety steps most tutorials skip, how to avoid costly mistakes that create fire hazards, and professional tricks for making wire connections that last decades. Whether you’re upgrading builder-grade lighting to a statement pendant or simply replacing a burned-out fixture, you’ll complete this project confidently.
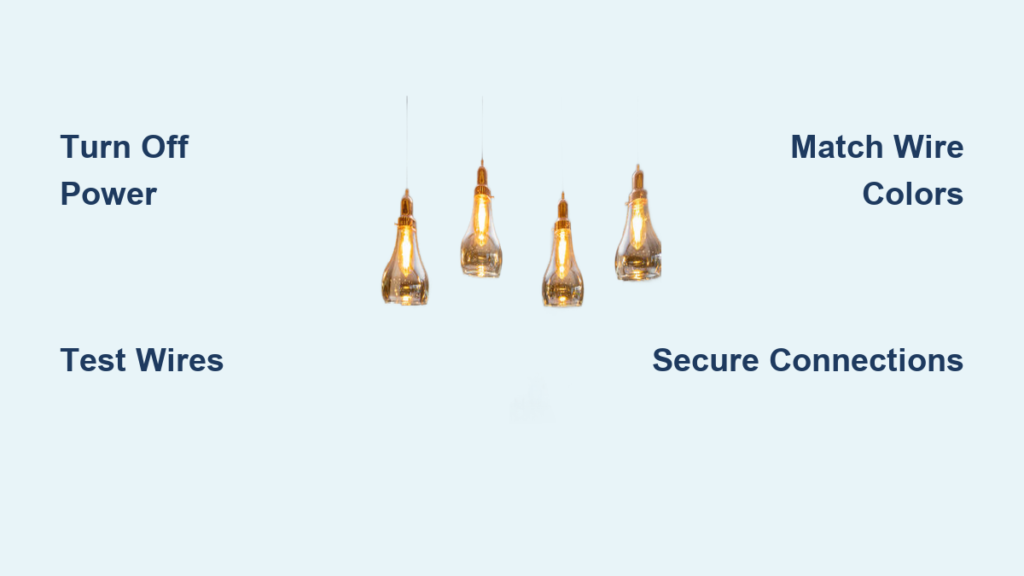
Confirm Power Is Completely Off Before Touching Wires

Many DIYers make the fatal mistake of assuming flipping the wall switch kills power to the fixture. This dangerous misconception leads to serious electrical shocks every year. Your first and most critical step requires verifying power is off at the source—not just at the switch.
Head directly to your electrical panel and locate the circuit breaker controlling your kitchen lights. Most kitchens use a dedicated 15-amp or 20-amp breaker—check your panel’s labeling or test breakers by flipping them off one by one while someone watches the light. Once identified, flip the breaker fully to the “OFF” position and secure it with electrical tape to prevent accidental reactivation. Return to your kitchen and attempt to turn on the light multiple times—no response confirms the switch is disabled, but this isn’t enough.
Grab your non-contact voltage tester (available for $8-$15 at any hardware store) and hold it against the fixture’s wires inside the junction box. A working tester will beep and flash when near live voltage. Test each wire individually—black, white, and ground—before proceeding. If your tester indicates any voltage, return to the panel and verify you turned off the correct breaker. Never skip this verification step, as mislabeled panels are shockingly common in older homes.
Assemble These 7 Essential Tools Before Starting
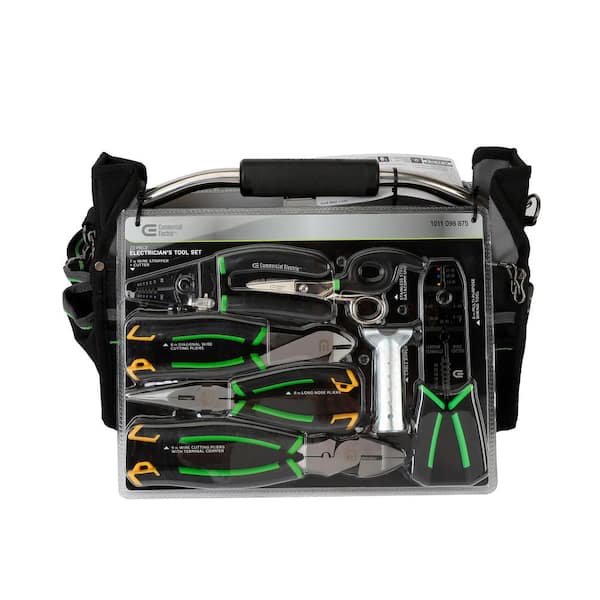
Gathering all necessary tools prevents dangerous mid-project ladder descents that compromise safety. For most kitchen fixture replacements, you need:
- Non-contact voltage tester ($10)
- Insulated screwdrivers (Phillips #2 and flathead 1/4″)
- Wire strippers with gauge markings
- Needle-nose pliers with insulated handles
- 6-foot ladder with stabilizer arms
- Electrical wire nuts (yellow for 14-12 AWG wires)
- Safety glasses with side shields
Skip the common mistake of using household pliers or scissors for wire stripping—specialized tools create clean connections that prevent arcing. Verify your wire nuts match your wire gauge; mismatched connectors cause loose connections that generate dangerous heat. If replacing a heavy fixture (over 10 pounds), add a ceiling brace kit to your shopping list—standard junction boxes only support 50 pounds, but many remodelers install lightweight plastic boxes that can’t handle even modest chandeliers.
Remove Your Old Fixture Without Damaging Ceiling
Start by removing bulbs and glass covers—most twist counterclockwise or release with spring clips. Set these fragile components aside on a soft towel. Locate the mounting screws holding the fixture base to the ceiling; these typically hide under decorative caps that pry off with a flathead screwdriver. As you remove the final screw, support the fixture’s weight with your free hand—many DIYers drop heavy fixtures when they unexpectedly detach.
Inside the junction box, you’ll see three wires: black (hot), white (neutral), and bare copper (ground). Before disconnecting anything, take a photo with your phone showing how wires connect—this reference prevents dangerous reversed connections later. Twist wire nuts counterclockwise to release connections, or loosen terminal screws if your fixture uses those. Gently separate the wires, then lower the old fixture completely. If the mounting bracket doesn’t match your new fixture, remove it by unscrewing from the junction box—but never remove the junction box itself.
Prepare Wires for Secure New Fixture Connections
Inspect your junction box for critical safety issues before proceeding. Shake the box gently—any movement indicates improper mounting to a ceiling joist, which could cause your new fixture to fall. Check wire condition: frayed insulation, blackened copper, or brittle wire nuts require professional repair before continuing.
Strip 3/4 inch of insulation from each wire end using your wire strippers—this exposes clean copper for optimal connections. If your house wires appear corroded, cut back 1 inch and restrip. For the ground connection, ensure the bare copper wire wraps clockwise around the green grounding screw in the junction box before attaching your fixture’s ground wire. Never connect fixture wires directly to the box without this intermediate connection—it violates electrical code and creates shock hazards.
Connect Wires Using Professional-Grade Techniques

Match wire colors precisely: black to black, white to white, ground to ground. Here’s where most DIYers make critical errors that cause flickering or fire hazards. Hold stripped wire ends parallel, not twisted together, and screw on a wire nut until tight—you should feel resistance. Gently tug each wire; if it pulls free, remake the connection. Never leave bare copper exposed below the wire nut—this causes short circuits.
For heavy fixtures, add mechanical support by wrapping connections with electrical tape before securing with wire nuts. Tuck wires neatly into the junction box, ensuring no wires pinch when mounting the new fixture. Connect the ground wire first—it provides critical safety protection if other connections fail. As you position your new fixture, verify wires aren’t twisted; this creates stress points that lead to future failures.
Test Your Installation With These Diagnostic Steps
After mounting your fixture but before installing bulbs, perform these safety checks. First, verify no wires protrude from the junction box—that’s a fire hazard. Ensure wire nuts sit flush with no copper visible. Once confident, restore power at the breaker and flip the switch.
If the light doesn’t illuminate, don’t panic—this usually indicates simple connection issues. Turn power off again and check:
– Bulb is properly seated (many flicker when loose)
– Black and white wires aren’t reversed
– Wire nuts are fully tightened
– Ground connection is secure
For dim or flickering lights, check for partial connections where only some strands make contact. LED fixtures sometimes require compatible dimmer switches—check your fixture manual for specific requirements. If problems persist after checking these common issues, consult an electrician rather than repeatedly testing live connections.
Avoid These 3 Costly Installation Mistakes
Even careful DIYers fall victim to these preventable errors that compromise safety and functionality:
-
Skipping ground connections: Your fixture may work without grounding, but this creates serious shock risks during malfunctions. Always connect ground wires to both the fixture and junction box.
-
Overloading junction boxes: Crowding too many wires into small boxes causes overheating. If your box feels tight, use “pigtail” connections—join house wires first, then connect to fixture wires.
-
Using incorrect wire nuts: Too-small connectors won’t grip properly; too-large ones leave exposed copper. Match wire nuts to your specific wire gauge—most kitchen circuits use 14-gauge wire requiring yellow wire nuts.
Maintain Your New Fixture For Lasting Performance
Proper maintenance extends your fixture’s life and preserves lighting quality. Clean glass components monthly with vinegar-water solution (1:3 ratio) to prevent grease buildup that reduces light output by up to 30%. Avoid abrasive cleaners that scratch finishes—microfiber cloths with distilled water work best for delicate surfaces.
Check connections annually by removing the fixture canopy and verifying wire nuts haven’t loosened from thermal expansion. Tighten mounting screws if your fixture shows movement. Replace bulbs before complete failure—LEDs gradually dim over time, and waiting for total burnout stresses the driver electronics. For pendant lights, adjust hanging height seasonally; lower them 2-3 inches during winter for more task lighting when daylight decreases.
Your kitchen now features professional-quality lighting that enhances both functionality and aesthetics. By following these precise steps, you’ve not only upgraded your space but also gained valuable electrical knowledge for future projects. The next time a light fixture needs attention, you’ll approach it with confidence rather than hesitation. Stand back, flip the switch, and enjoy the brighter, more inviting kitchen you created with your own hands—proof that with proper guidance, even seemingly complex electrical work becomes manageable DIY territory.


