
A malfunctioning diverter valve in your kitchen sink transforms a simple task like washing dishes into a frustrating experience. When your pull-out spray hose fails to switch between stream and spray modes, or water leaks from the connection point, the culprit is often the diverter valve. Unlike bathroom fixtures, kitchen sink diverters control water flow between the main spout and the spray nozzle. The good news is that replacing this component is a straightforward DIY project that takes less than an hour with basic tools. This guide provides step-by-step instructions specifically for kitchen sink spray hose diverter valves, helping you restore full functionality without professional plumbing assistance.
Most homeowners don’t realize their kitchen sink contains a diverter valve until it fails. This small but critical component sits inside the spray hose assembly and redirects water flow when you press the spray button. When it wears out from mineral buildup or mechanical failure, your spray function becomes unreliable or stops working entirely. Before you call a plumber or replace the entire faucet, learn how to diagnose and replace your kitchen sink’s diverter valve—the solution is often simpler than you think.
Identifying Diverter Valve Problems in Kitchen Sinks
Kitchen sink diverter valves fail in specific ways that distinguish them from other faucet issues. Recognizing these symptoms prevents unnecessary repairs and ensures you address the actual problem.
Spray Button Doesn’t Activate Spray Mode is the most common indicator of diverter valve failure. When you press the spray button on your pull-out hose handle but water continues flowing only from the main spout, the diverter isn’t redirecting water to the spray nozzle. This happens when internal components become stuck due to mineral deposits or mechanical wear.
Water Leaks from Spray Head Connection while using the regular stream mode signals a compromised seal. A properly functioning diverter valve should maintain a watertight seal between the spray hose and faucet body. If you notice dripping around the connection point when not using the spray function, the valve’s internal seals have likely degraded.
Weak Spray Pressure even when the spray function activates suggests partial blockage in the diverter mechanism. Mineral deposits or debris can restrict water flow through the valve, reducing spray effectiveness while leaving the main stream unaffected.
Spray Mode Stays Active Permanently occurs when the diverter valve fails to return to its default position. Instead of switching back to regular flow when you release the button, water continues spraying from the hose. This typically indicates a broken spring mechanism inside the diverter assembly.
Essential Tools for Kitchen Sink Diverter Replacement
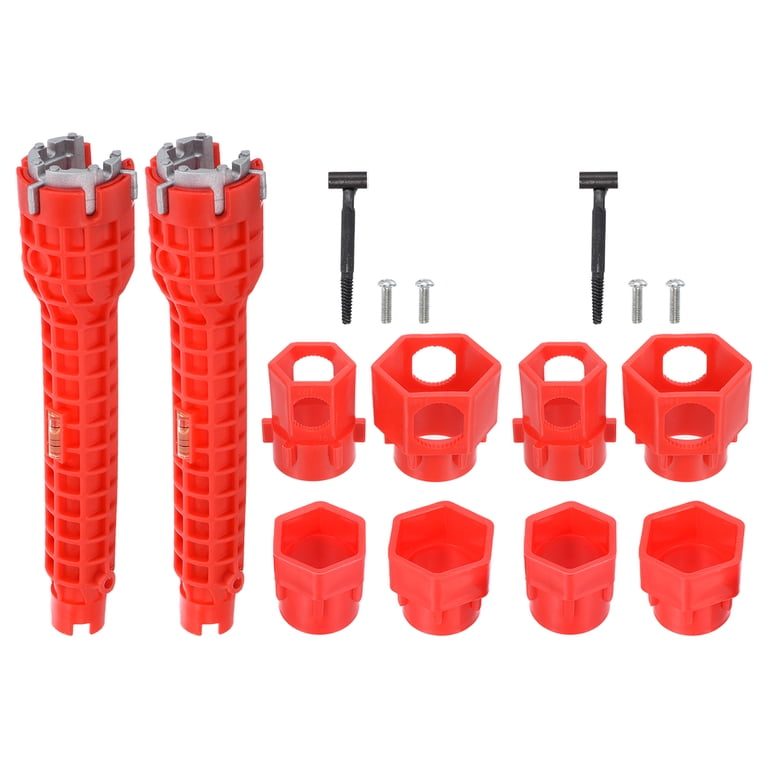
Gathering the right tools before starting prevents mid-project delays and protects your sink’s finish during the repair process.
Needle-Nose Pliers provide precise grip for removing small retaining clips and manipulating internal components. Choose pliers with smooth jaws to avoid scratching chrome or stainless steel surfaces.
Replacement Diverter Valve Kit must match your specific faucet model. Kitchen sink diverters vary significantly between brands—Moen, Delta, Kohler, and other manufacturers use proprietary designs. Take the old valve to your hardware store or note your faucet’s model number before purchasing.
Small Container catches small parts like springs and rubber seals that easily get lost during disassembly. A shallow dish with compartments helps organize components in the order you remove them.
White Vinegar dissolves mineral deposits on reusable parts. Soak components for 30 minutes before reassembly to prevent future buildup and ensure smooth operation.
Towels and Bucket protect your countertop and catch residual water during disassembly. Place towels beneath your work area to prevent scratches and have a small bucket ready for any water that drains from the lines.
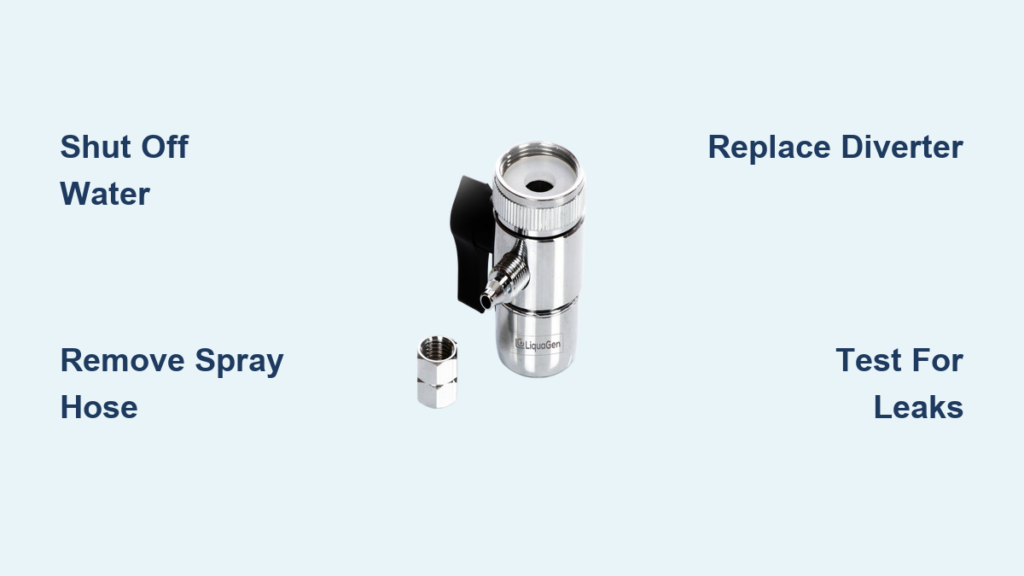
Shut Off Water Supply Properly
Skipping this critical step risks flooding your kitchen—always isolate the water before working on any plumbing fixture.
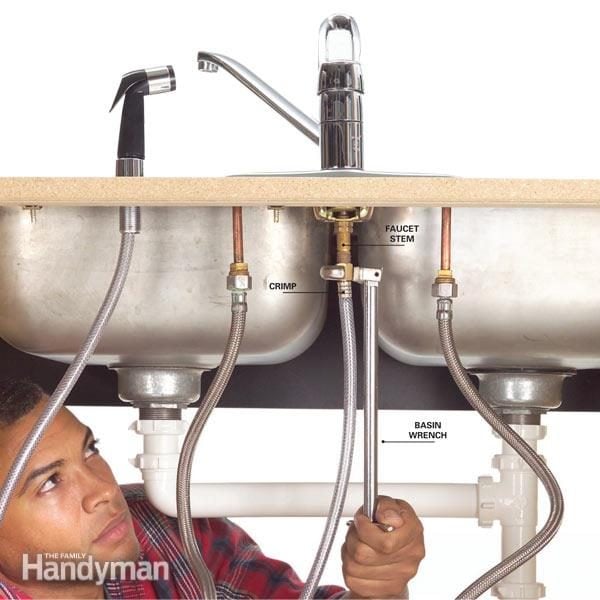
Locate the shut-off valves beneath your sink cabinet, typically two oval-shaped valves connected to the hot and cold supply lines. Turn both valves clockwise until they stop moving—remember “righty tighty” applies to plumbing valves just like screws.
After closing the valves, turn on both hot and cold water at the faucet to relieve pressure in the lines. Keep the faucet running until water stops flowing, which ensures no residual pressure remains in the system. Place a towel in the sink basin to muffle the sound as the last drops drain out.
If your kitchen lacks individual shut-off valves—a more common issue in older homes—you’ll need to shut off water at your home’s main supply. Complete the repair efficiently to minimize disruption to other household water use.
Remove Spray Hose Assembly
Accessing the diverter valve requires detaching the spray hose from the faucet body. The process varies slightly by manufacturer but follows similar principles.
Disconnect the Spray Hose by locating the quick-connect fitting where the hose attaches to the faucet base. Most modern faucets use a push-button connector—press the release collar while pulling the hose straight out. Some older models require loosening a retaining nut with adjustable pliers.
Remove the Spray Head by unscrewing it from the end of the hose. Most spray heads twist off counterclockwise, though some use a locking mechanism that requires pressing a button while unscrewing. Place the spray head in your small container to keep track of any internal screens or filters.
Extract the Diverter Button Assembly from the spray handle. This typically involves removing a small setscrew with a hex key or gently prying out a retaining clip with needle-nose pliers. Set aside all small parts in the order you remove them.
Inspect the Hose Interior for significant wear or damage before proceeding. Cracks, kinks, or corrosion in the hose itself may require full hose replacement rather than just the diverter valve.
Replace the Diverter Valve Mechanism
With the spray assembly removed, you can now access and replace the faulty diverter valve.
Locate the Diverter Housing inside the spray handle assembly. This cylindrical component contains the valve mechanism and typically sits just behind the spray button. Some models require removing a retaining ring or screw to access it.
Remove the Old Diverter by gently pulling it straight out of its housing. It may resist due to mineral buildup—tap the handle lightly on a towel-covered surface to loosen stubborn components. Note the orientation of springs and seals as you remove them.
Clean the Housing Thoroughly using a soft brush and white vinegar solution. Remove all mineral deposits and debris from the valve chamber to ensure the new diverter operates smoothly. Rinse with clean water and dry completely before installing the replacement.
Install the New Diverter by aligning it with the housing channel and pressing it firmly into place. Ensure all seals and springs are correctly positioned according to the manufacturer’s diagram—reversing these components causes immediate failure.
Reassemble the Button Mechanism by replacing the retaining clip or screw that holds the diverter in place. Test the button action before reinstalling the entire assembly—it should move smoothly with clear resistance and return to position when released.
Reinstall Spray Hose Components
Proper reassembly ensures reliable operation and prevents future leaks at connection points.
Reattach the Spray Head by screwing it back onto the hose end clockwise until snug. Avoid over-tightening, which can crack plastic components or damage threads. Check that any internal screens or filters are properly seated before securing.
Connect the Hose to Faucet Body by aligning the quick-connect fitting and pushing firmly until you hear a click. For nut-style connections, hand-tighten first, then give a quarter-turn with pliers—excessive force can crack the fitting.
Test Without Water First by operating the spray button multiple times to ensure smooth action. The mechanism should engage positively with consistent resistance and return reliably to the stream position.
Check for Proper Alignment by extending the hose fully and ensuring it retracts smoothly without binding. Misaligned components create unnecessary stress on the diverter mechanism and shorten its lifespan.
Test Operation and Check for Leaks
Final testing confirms your repair succeeded and identifies issues before they cause water damage.
Gradually Restore Water Supply by slowly opening the shut-off valves counterclockwise. Watch for leaks at all connection points as pressure builds in the system.
Test Stream Mode First with the spray button not engaged. Water should flow only from the main spout with no dripping from the spray head connection. Any leakage indicates improper seating of the hose or diverter components.
Activate Spray Mode by pressing the button on the spray handle. Water should immediately switch to spray pattern with full pressure. Release the button to confirm it returns to stream mode reliably.
Check Full Range of Motion by extending the hose to its maximum length and operating the spray function at various positions. The diverter should work consistently regardless of hose position.
Preventative Maintenance for Long-Lasting Performance
Regular care extends the life of your new diverter valve and prevents premature failure.
Flush the System Monthly by running hot water through both stream and spray modes for one minute. This clears mineral deposits before they accumulate enough to affect performance.
Clean Spray Nozzles Quarterly by removing the spray head and soaking it in vinegar overnight. Use a soft brush to remove any remaining deposits before reassembly.
Lubricate Moving Parts Annually with plumber’s grease specifically formulated for potable water systems. A small amount on the diverter button mechanism prevents sticking and reduces wear.
Replace Cartridges Proactively every 3-5 years, even if they appear functional. Preventative replacement avoids sudden failures during meal preparation or cleanup.
Replacing your kitchen sink’s diverter valve restores the convenience of your spray function and eliminates annoying leaks. By following these specific steps for kitchen sink applications—not bathroom fixtures—you’ll complete the repair correctly the first time. The entire process takes less than an hour with basic tools, saving you the cost of professional service while giving you confidence in handling future faucet maintenance. With proper care, your new diverter valve should provide reliable performance for years before needing replacement.


