
That persistent drip from your kitchen faucet isn’t just annoying—it’s wasting up to 3,000 gallons of water annually if you have an older model. Replacing a kitchen faucet with two handles gives you precise temperature control while upgrading your kitchen’s appearance and efficiency. Most homeowners complete this project in 60-90 minutes with basic tools, saving $150-$350 compared to hiring a plumber. Whether your current faucet leaks, shows corrosion, or simply clashes with your updated kitchen design, this guide shows you exactly how to replace a kitchen faucet with two handles successfully, even if you’ve never touched a plumbing tool before.
Two-handle faucets—also called centerset or widespread models—offer distinct advantages over single-handle designs. The separate hot and cold handles allow you to memorize exact positions for your preferred water temperatures, eliminating the guesswork required with single-handle faucets. With proper preparation and the right tools, you’ll transform your kitchen workspace while gaining the satisfaction of a professional-quality installation completed with your own hands.
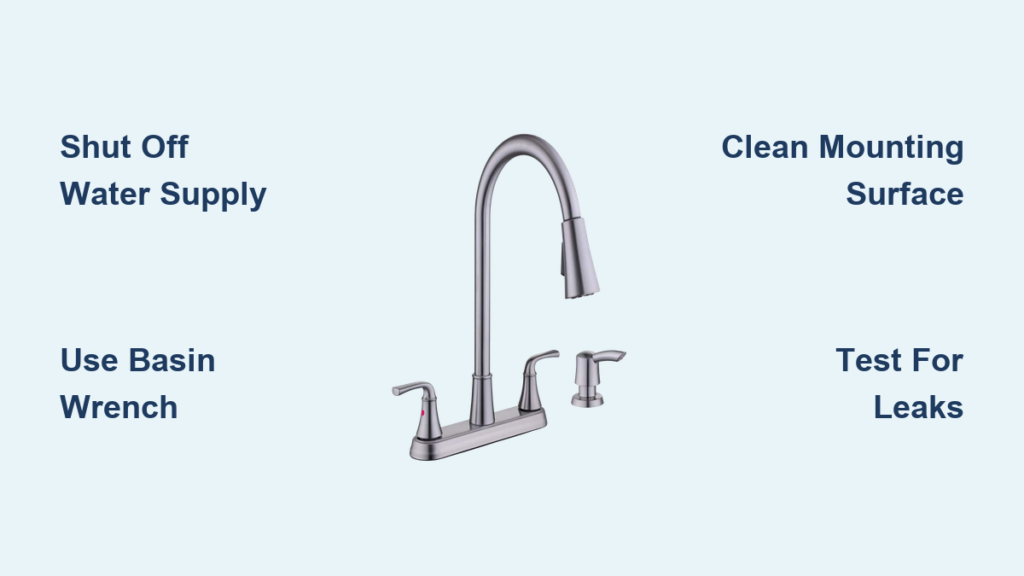
Gather Your Basin Wrench and Essential Tools First
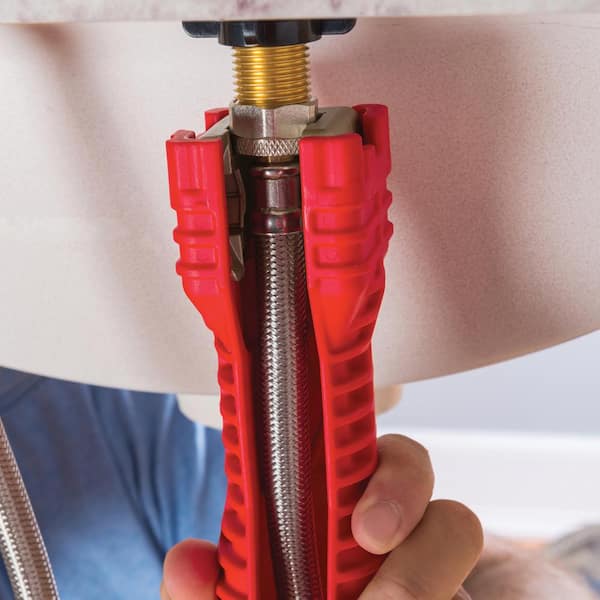
The single tool you absolutely cannot skip when replacing a kitchen faucet with two handles is a basin wrench—a specialized tool designed to reach mounting nuts in the tight space beneath your sink. Standard wrenches simply can’t access these fasteners effectively. Choose a model with a flexible head that accommodates different angles, and consider a telescoping version that extends to reach difficult positions. Without this specialized tool, you’ll likely strip fasteners or damage your sink during installation.
Beyond the basin wrench, assemble these critical items before starting:
– Adjustable pliers for supply line connections
– Phillips and flathead screwdrivers for mounting screws
– Quality flashlight or headlamp for visibility under the sink
– Bucket and old towels to catch residual water
– Putty knife for removing old plumber’s putty
– Thread seal tape (PTFE tape) for watertight connections
Don’t rely on the supply lines included with your new faucet—purchase braided stainless steel lines ($15-$40) for superior durability. If your shutoff valves are older than five years or show signs of corrosion, add replacement valves to your shopping list. Having all tools and materials ready prevents frustrating mid-project trips to the hardware store.
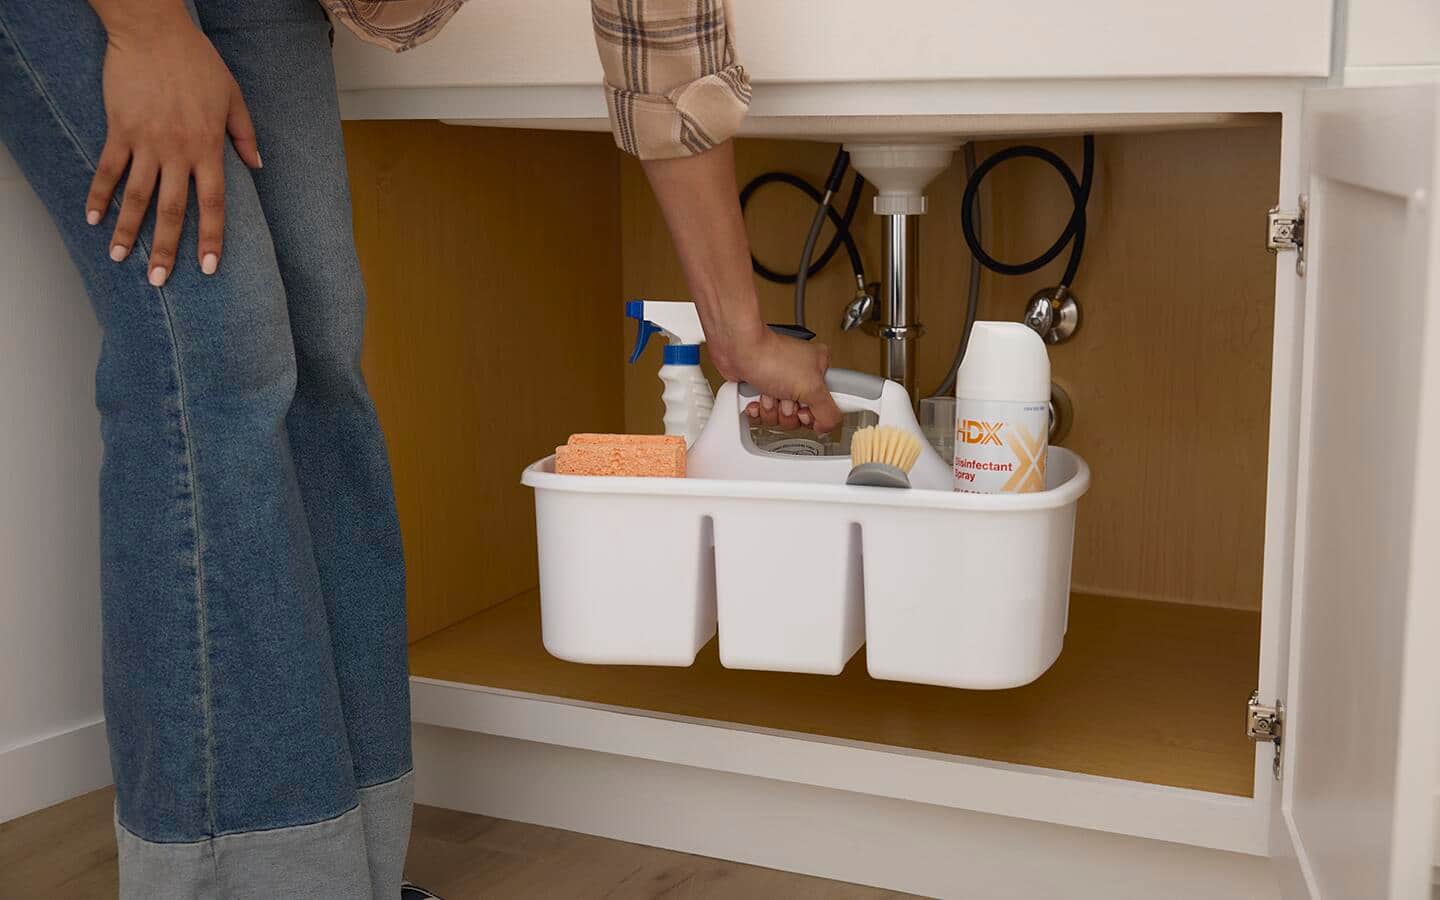
Shut Off Water Supply Before Removing Old Faucet
Locate your shutoff valves beneath the sink—typically positioned on the wall or cabinet floor directly below the faucet. Turn both valves clockwise until they stop completely, closing both hot and cold water supplies. Open both faucet handles to relieve pressure and allow remaining water to drain from the lines, keeping them open throughout installation. Test that water is truly off by attempting to turn on the faucet—any flow means your valves need replacement before proceeding.
If valves won’t turn easily, apply penetrating oil and wait 10 minutes before trying again. Never force old valves as this can break them and flood your cabinet. For valves that remain stuck, you’ll need to shut off water at your home’s main supply before continuing. This extra step takes minutes but prevents major water damage during your faucet replacement project.
Remove Your Existing Two-Handle Faucet Properly
Place your bucket beneath the supply line connections before disconnecting them with adjustable pliers. Turn compression nuts counterclockwise while supporting the valve to prevent twisting. Allow lines to drain completely into your bucket before setting them aside. If your faucet has a sprayer hose, disconnect it by pressing the quick-connect fitting and pulling the hose free.
Locate the mounting nuts securing the faucet to the sink beneath the basin. Insert your basin wrench and turn nuts counterclockwise to loosen them. Work patiently—these nuts may have been in place for years and could require significant force to break free. If a nut won’t budge, apply penetrating oil and wait before trying again. With all mounting nuts removed, lift the old faucet straight up from the sink.
Clean Mounting Surface Thoroughly
Use your putty knife to remove old plumber’s putty, mineral deposits, and debris from the sink surface. A clean mounting area ensures proper sealing and prevents leaks around your new faucet base. Wipe the area with a damp cloth and allow it to dry completely before installing your replacement. Skipping this step is one of the most common mistakes DIYers make when trying to replace a kitchen faucet with two handles.
Select the Right Two-Handle Replacement Model
Centerset faucets (most common) fit sinks with three pre-drilled holes on 4-inch centers—the distance between outer holes. These feature handles and spout mounted on a single base plate, costing $50-$200. Widespread models require three holes with 6-16 inch spacing between outer components, offering more installation flexibility but costing $100-$500+. Bridge faucets feature handles connected by a visible horizontal pipe, creating vintage appeal for farmhouse kitchens.
Measure your current faucet’s configuration before purchasing replacement. Verify the number of mounting holes and distance between outer holes if widespread. Check that your new faucet provides adequate clearance—typically 6-8 inches above the sink deck—and confirm spout height and reach will accommodate your largest pots. Proper selection prevents costly returns and installation complications.
Mount Your New Two-Handle Faucet Correctly
Review manufacturer instructions before installation—most two-handle faucets arrive partially assembled. If your model requires plumber’s putty, roll a thin bead and apply it to the underside of the faucet base. Feed supply line connections through mounting holes, being careful not to cross-thread them. Lower the faucet into position, aligning the base with mounting holes.
From beneath the sink, slide mounting washers onto each faucet shank, followed by any mounting plate. Thread mounting nuts onto shanks and hand-tighten first. Use your basin wrench to secure nuts firmly but avoid overtightening, which can crack the sink surface. Ensure the faucet is level before final tightening. If your model includes a sprayer, connect the hose to the quick-connect fitting beneath the spout.
Connect Water Supply Lines Without Leaks
Connect the hot water line (typically marked with red) to the right shutoff valve when facing the sink, and cold to the left. Wrap thread seal tape clockwise around valve threads three to four times before connecting supply lines. Hand-tighten connections first, then use pliers for an additional half to three-quarters turn—overtightening damages washers and causes leaks.
Open shutoff valves slowly by turning counterclockwise until fully open. Test both handles through full range of motion and run water for several minutes to flush debris from supply lines. Dry all connections with a towel, then check again after five minutes for any slow leaks. A small drip now becomes a major leak later, so verify every connection is secure and dry.
Test for Leaks and Proper Operation
Operate both handles through several temperature cycles, confirming consistent hot, cold, and mixed temperatures. Test the sprayer if included, checking for proper water flow and ensuring the hose doesn’t kink when extended. Signs your installation succeeded include smooth handle operation without binding, no leaks at any connection points, and consistent water temperature control.
If leaks appear, shut off water immediately and tighten affected connections slightly. Persistent leaks may require disassembly, washer replacement, or reapplying thread seal tape. Never ignore even minor leaks—they worsen quickly and can cause significant cabinet and floor damage.
Maintain Your New Two-Handle Faucet Long-Term
Clean your new faucet daily with a soft cloth dampened with mild dish soap, followed by drying with a lint-free cloth to prevent water spots. In hard water areas, treat mineral deposits weekly with equal parts white vinegar and water. Avoid abrasive cleaners that damage finishes over time.
Replace aerators monthly by unscrewing them from the spout, disassembling, and rinsing components under running water. Signs your cartridge needs replacement (every 10-20 years) include handles that become difficult to turn, develop wobble, or fail to shut off completely. Dripping from the spout when handles are closed also indicates cartridge problems.
Avoid These Common Two-Handle Faucet Replacement Mistakes
Working in poor lighting leads to stripped fasteners—use a quality headlamp for hands-free illumination. Skipping shutoff valve inspection often causes unexpected leaks when old valves can’t handle reconnection stress. Using cheap vinyl supply lines invites future leaks—always choose braided stainless steel.
Forgetting to open faucet handles after shutting off water traps pressure in lines, making disconnection messy. Failing to clean the mounting surface thoroughly leaves debris that prevents proper sealing. Overtightening mounting nuts cracks sink surfaces, while undertightening allows wobbling and potential leaks—find the firm-but-not-excessive balance.
Replacing a kitchen faucet with two handles transforms your kitchen’s functionality and appearance while saving significant money over professional installation. With proper preparation, the right tools, and careful attention to each step, you’ll enjoy precise temperature control and classic styling for years to come. Should you encounter difficulties beyond your comfort level, professional assistance remains available—but tackling this project yourself builds valuable skills for future home improvements.


