

Vinyl wrapped cabinet doors offer a sleek, modern look with excellent durability against kitchen moisture and daily wear. But when that smooth surface starts peeling at the edges or bubbling unexpectedly, your kitchen’s appearance takes an immediate hit. These common issues typically stem from moisture exposure, heat damage from appliances, or simple aging of the adhesive bond between vinyl and substrate. The good news is you don’t need to replace entire cabinet doors to fix these problems—most vinyl repairs can be handled with basic tools and materials from your local hardware store. By learning how to properly assess damage and apply the right repair technique, you’ll restore your kitchen’s appearance while saving hundreds compared to full door replacement.
When vinyl begins separating from the underlying MDF or particleboard, many homeowners mistakenly think replacement is their only option. Understanding how vinyl-wrapped cabinets are constructed reveals why targeted repairs work so effectively. The vinyl layer is actually heat-fused to the substrate during manufacturing, creating what should be a permanent bond. When this bond fails, it’s usually localized rather than affecting the entire door. Spot repairs address these specific problem areas without disturbing the undamaged portions of your cabinet doors. Whether you’re dealing with a small corner peel or a larger bubble, the right approach can make the damage virtually disappear.
Diagnose Your Vinyl Damage Accurately

Before gathering tools, precisely identify what’s causing your cabinet door issues—this determines which repair method will deliver lasting results.
Determine Damage Type and Severity
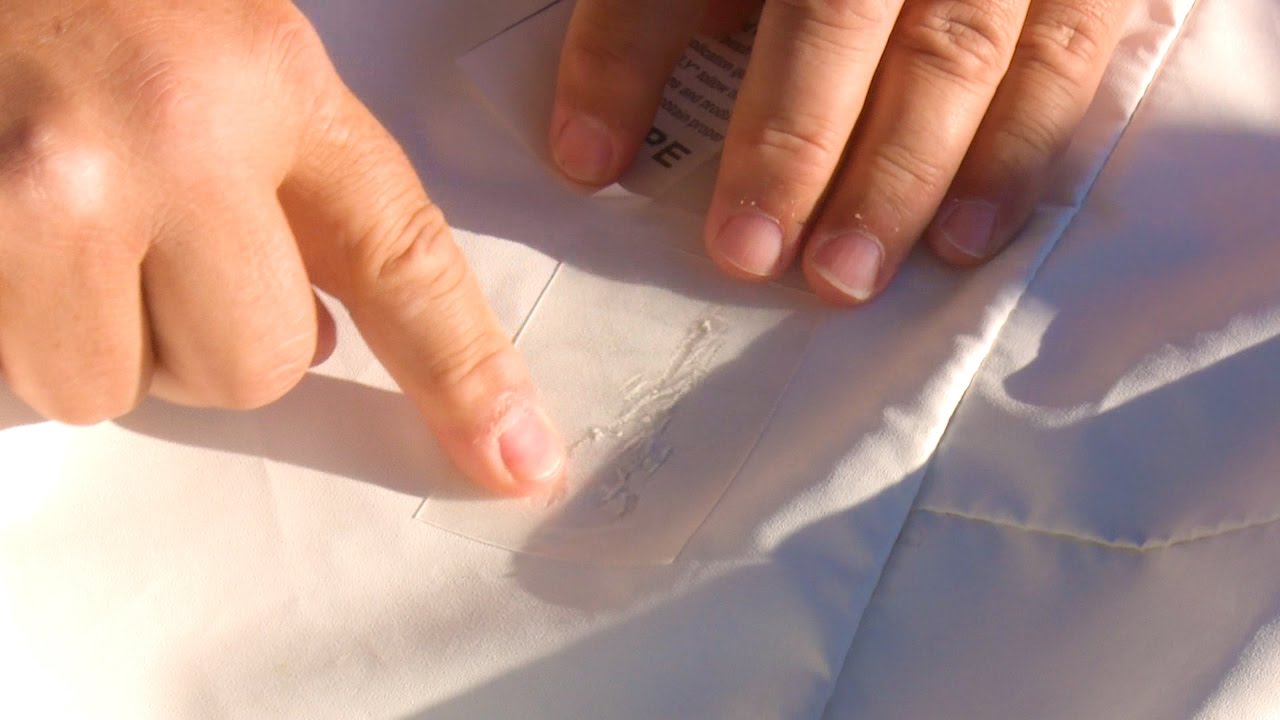
Peeling edges typically begin at vulnerable spots like corners or the bottom rail where moisture collects. Run your finger along these areas to feel for lifting edges that might not be immediately visible. Bubbling often appears as raised sections that feel spongy when pressed, signaling trapped moisture or air beneath the vinyl. Small tears usually result from accidental impacts with cookware or utensils, while delamination involves larger areas where the vinyl has completely separated from the substrate. Examine each door in natural light to spot subtle damage that might be missed under artificial lighting.
Evaluate Substrate Condition
Press gently around damaged areas to detect soft spots in the underlying material—this indicates moisture has penetrated past the vinyl layer. If the MDF feels spongy or shows visible swelling, you’ll need to address this before repairing the vinyl surface. Use a flashlight at a low angle to check for gaps between vinyl and substrate along edges. When substrate damage exists, repairs require additional steps like applying wood hardener before re-bonding the vinyl, otherwise your repair will fail prematurely.
Prioritize Repairs by Urgency
Address peeling edges immediately to prevent moisture from seeping under the vinyl and damaging the substrate. Bubbles in high-moisture areas near sinks or dishwashers should be fixed before those in upper cabinets. Tears larger than an inch need prompt attention to prevent further tearing from daily use. Delamination on cabinet fronts is more urgent than damage on the sides or top of doors, as these areas impact your kitchen’s visual appeal most significantly.
Gather Essential Repair Materials

Having the right supplies on hand prevents mid-project interruptions that can compromise your repair results.
Select Appropriate Adhesives
Contact cement creates the strongest bond for vinyl repairs but requires precise application—allow it to become tacky before joining surfaces. For small edge repairs, wood glue in a precision applicator tube offers better control. Spray adhesive works well for larger areas but requires careful masking to avoid overspray on undamaged surfaces. Always test adhesives on a hidden area first to ensure they won’t discolor your specific vinyl finish.
Prepare Proper Tools
A heat gun (or hair dryer on high heat) softens vinyl for repositioning without scorching the surface. Keep it moving constantly and maintain a 6-inch distance from the vinyl. Plastic putty knives or old credit cards prevent scratching during smoothing operations. Fine-grit sandpaper (220 or higher) prepares surfaces without leaving visible marks. Utility knives with fresh blades ensure clean cuts for patching, while small paintbrushes apply adhesives evenly to both surfaces.
Organize Your Workspace
Protect countertops with newspaper or drop cloths before starting repairs. Keep a damp cloth nearby to immediately wipe adhesive squeeze-out before it dries. Store all tools within easy reach so you don’t have to move while adhesive is setting. Work in a well-ventilated area, especially when using contact cement, and wear nitrile gloves to keep oils from your hands off repair surfaces.
Repair Peeling Vinyl Edges Effectively
Peeling edges are the most common vinyl cabinet door problem and often the easiest to fix with the right technique.
Reattach Small Peeling Sections
For peeling less than two inches, clean the exposed area with a vinegar-water solution and let dry completely. Apply contact cement beneath the lifted vinyl using a toothpick for precision. Press the vinyl firmly in place, working from center to edges to push out air pockets. Place a heavy book over the repair for at least an hour while the bond sets. For kitchen cabinet doors that experience frequent use, reinforce the repair with a thin bead of clear silicone along the edge after the adhesive cures.
Handle Larger Peeling Areas
When peeling extends beyond a few inches, carefully lift the vinyl using heat from a hair dryer to soften the adhesive. Apply contact cement to both the substrate and vinyl back, waiting until it becomes tacky before repositioning. Press the vinyl back into place starting from one end, using a plastic scraper to eliminate bubbles as you go. Work slowly to ensure complete adhesion, and place weights along the edge for 24 hours while the bond fully cures.
Fix Bubbles and Delamination Properly
Bubbles and delamination require different techniques based on their cause and severity.
Flatten Small Surface Bubbles
For bubbles without tears, clean the area thoroughly and dry completely. Poke a tiny hole in the bubble’s center with a pin, then press out trapped air from the edges toward the puncture. Inject minimal contact cement through the hole using a syringe, then press the vinyl flat and cover with wax paper and a heavy book for 24 hours. This method works best on flat surfaces—avoid attempting it on highly textured or patterned vinyl.
Address Extensive Delamination
For larger separated areas, lift the vinyl gradually using heat, applying contact cement to both surfaces. Reposition carefully, working from one edge to the other to prevent new air pockets. Use a J-roller or credit card to press out remaining air bubbles, starting from the center and moving outward. Allow 48 hours for full curing before normal use, as premature handling can weaken the bond.
Patch Tears and Small Holes Successfully
Tears require careful patching to blend with your existing finish.
Create Seamless Patches
Cut patch material slightly larger than the tear from a hidden area of the same cabinet or matching vinyl. Position it over the damage, secure with tape, then cut through both layers along the tear’s edge. Remove damaged vinyl, apply adhesive, and press the patch into place. Smooth edges with a plastic scraper and allow proper curing time before blending colors with touch-up markers.
Protect Your Repairs Long-Term
Sealing and maintenance prevent recurring issues.
Apply Protective Sealants
After repairs cure, apply clear polyurethane with a matte finish to match your cabinets. Use thin coats with light sanding between applications for seamless results. Pay special attention to sealing edges where moisture typically enters, especially on lower cabinets near sinks.
Establish Maintenance Habits
Wipe vinyl surfaces weekly with a mild soap solution and dry immediately—never let water pool along edges. Avoid harsh cleaners that degrade vinyl over time. Check for early signs of peeling during routine cleaning and address small issues immediately before they become major repairs. Install soft-close mechanisms to reduce stress on vinyl edges from slamming doors.
Final Note: Most vinyl cabinet door repairs take just a few hours and cost under $30 in materials, making them far more economical than full replacement. The key to invisible repairs lies in proper surface preparation, selecting the right adhesive for your specific damage type, and allowing adequate curing time before normal use. For doors with extensive substrate damage or multiple large problem areas, professional re-facing might prove more cost-effective than DIY repair. When starting your first repair, practice on a less visible cabinet door to build confidence with the techniques before tackling prominent areas. With proper maintenance, your repaired vinyl cabinet doors will maintain their like-new appearance for years to come.


