
Peeling, bubbling vinyl wrap transforms once-modern kitchen cabinets into eyesores that drag down your entire space. That affordable “quick fix” makeover from years ago has likely yellowed, chipped, or simply become dated—but removing it doesn’t have to mean replacing all your cabinets. Knowing how to remove vinyl wrap from kitchen cabinets properly saves hundreds of dollars while preserving your existing cabinet structure. This guide reveals the exact process for stripping vinyl wrap safely, eliminating stubborn adhesive residue, and preparing your cabinets for a beautiful refresh—whether you’re painting, staining, or refinishing.
Many homeowners make the critical mistake of attacking vinyl wrap with metal scrapers and chemical solvents right away, only to discover gouged cabinet surfaces and adhesive that bonds tighter when mishandled. Without proper heat application and technique, you’ll spend hours fighting stubborn residue instead of making progress. Understanding the right sequence—heat, peel, clean, assess—prevents irreversible damage to cabinet surfaces that could cost you thousands in replacements. By following this systematic approach, you’ll transform tired, wrapped cabinets into a flawless canvas ready for your kitchen’s next chapter.
Essential Tools for Successful Vinyl Wrap Removal
Skipping proper tool preparation guarantees frustration and surface damage during vinyl wrap removal. Plastic scrapers instead of metal tools prevent accidental gouging of cabinet surfaces during the delicate peeling process. A quality heat source—either a hair dryer for smaller jobs or a heat gun for larger kitchens—softens adhesive without scorching cabinet materials when used correctly.
Gather plastic putty knives with flexible blades that conform to cabinet contours without scratching. Have multiple sizes available: wider blades for flat surfaces and narrow tools for edges and corners. Keep old credit cards or gift cards nearby for lifting stubborn vinyl edges without damaging surfaces. Microfiber cloths outperform paper towels by trapping adhesive particles instead of redistributing them across cabinet surfaces. Citrus-based adhesive removers break down stubborn residue without harsh fumes, while warm soapy water provides an eco-friendly alternative for lighter residue.
Protect Your Kitchen Workspace Before Starting
Clear countertops completely and cover them with canvas drop cloths rather than plastic sheeting, which traps moisture and creates slipping hazards when adhesive residue falls. Apply painter’s tape along cabinet edges where they meet walls to prevent accidental scratches during vigorous scraping motions. Remove cabinet hardware completely—handles, knobs, and hinges—to avoid damaging them during the removal process and to access hidden adhesive areas.
Place cardboard over countertops near your work area to catch falling adhesive chunks that could otherwise bond permanently to your counter surface. Ensure maximum lighting by turning on all kitchen lights and adding portable work lamps to illuminate shadowed areas where residue hides. Open windows and activate exhaust fans before applying any adhesive removers, even citrus-based formulas, to maintain proper ventilation throughout your workspace.
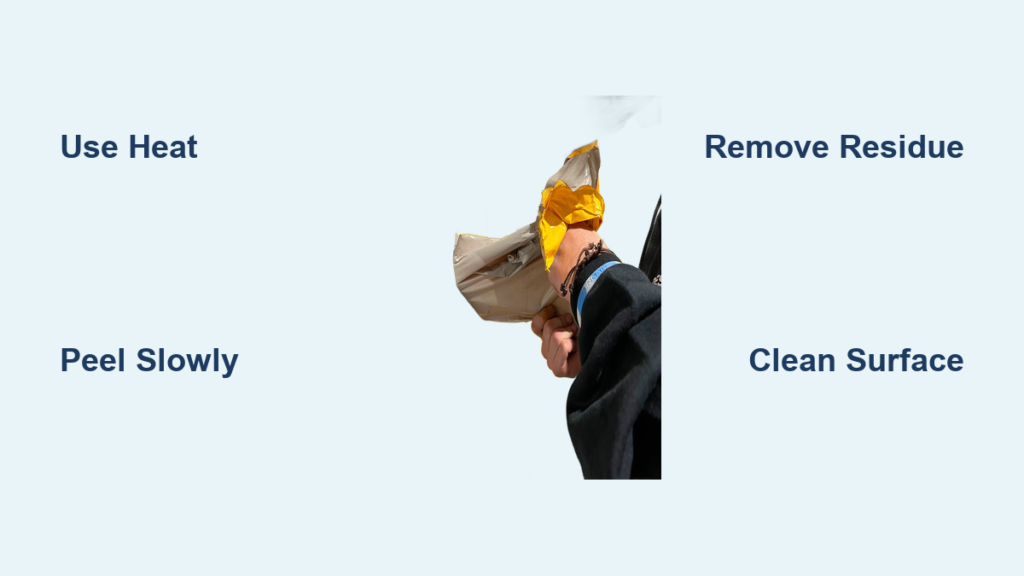
Heat Application Techniques That Prevent Vinyl Damage
Begin heat application on the least visible cabinet door or drawer to perfect your technique before working on prominent surfaces. Set heat tools to medium temperature (approximately 200-250°F) and maintain a consistent 3-4 inch distance from the vinyl surface while moving in slow circular patterns. Heat sections no larger than 6×6 inches at a time to prevent the vinyl from cooling before you can peel it.
Test adhesion after 15-20 seconds of heating by gently lifting a corner with your fingernail—if it resists, apply additional heat rather than forcing it. Peel in the direction of any wood grain pattern beneath the vinyl, even if you can’t see it, to minimize resistance. Maintain a consistent 45-degree peeling angle while applying continuous heat just ahead of your peeling line to prevent premature cooling and re-adhesion.
Never allow the heat source to remain stationary for more than 5 seconds in one spot, which can warp cabinet materials or cause vinyl to melt rather than release. For cabinets with multiple layers of vinyl wrap (common in DIY redo attempts), increase heat time slightly between layers but decrease peeling speed to prevent tearing through to the underlying layer.
Eliminate Adhesive Residue Without Damaging Cabinet Surfaces

After removing all visible vinyl, tackle remaining adhesive residue with targeted application rather than flooding entire surfaces. Apply citrus-based remover with a microfiber cloth in small circular motions, focusing on one 4×4 inch section at a time. Allow the remover to dwell for the full manufacturer-recommended time (typically 3-5 minutes) to penetrate dried adhesive without evaporating.
Use the edge of a plastic scraper at a 30-degree angle to lift residue rather than scraping directly downward, which increases pressure on the cabinet surface. Replace microfiber cloths frequently as they become saturated with adhesive to prevent redistributing residue across clean areas. For stubborn spots, reapply remover and cover with plastic wrap for 15 minutes to create a steam effect that loosens particularly tenacious adhesive.
Avoid the temptation to increase pressure when residue resists removal—excessive force removes cabinet finish along with adhesive. Instead, reapply heat to the stubborn area before attempting removal again, as warmth significantly reduces adhesive strength. Check your progress frequently by running a clean finger over the surface; true cleanliness feels completely smooth with no tackiness.
Post-Removal Surface Assessment and Repair Protocol

Wipe all cabinet surfaces with warm, soapy water after adhesive removal to eliminate any chemical residue from removers before proceeding. Dry surfaces immediately with clean microfiber towels to prevent moisture absorption that could cause swelling in particleboard cabinets. Conduct your surface inspection under bright LED lighting, examining surfaces from multiple angles to catch subtle adhesive remnants that disappear under normal lighting.
Address minor scratches with 220-grit sandpaper using feathering strokes that blend sanded areas with surrounding surfaces. For deeper gouges where the cabinet substrate is exposed, apply a matching wood filler and allow proper drying time before light sanding. Test any fillers or primers on hidden areas first to ensure compatibility with your cabinet material and intended finish.
Discoloration from long-term vinyl coverage often appears as lighter patches where the wrap protected wood from UV exposure. Plan your finishing approach accordingly—paint will cover these variations while clear finishes may require additional staining to achieve uniform color. Document problem areas with photos before proceeding to your finishing stage for reference during repair.
Strategic Planning for Your Cabinet Transformation

Create a detailed finishing timeline that accounts for proper drying times between preparation steps and your final finish application. Particleboard and MDF cabinets require different primers than solid wood—select products specifically formulated for your cabinet substrate to ensure long-term adhesion. Schedule hardware replacement for after your final finish has cured completely to avoid damaging fresh paint or stain during installation.
Consider upgrading to soft-close hinges while your cabinets are empty, as this relatively inexpensive addition significantly improves cabinet functionality and longevity. Plan your finishing order strategically—start with cabinet boxes before doors and drawers, as this workflow minimizes handling of freshly finished pieces. Allow twice the manufacturer’s recommended drying time between coats in kitchen environments where humidity affects curing.
Maintain Momentum Through Multiple Work Sessions
Divide your kitchen into quadrants and complete each section completely before moving to the next area to maintain consistent technique and results. Take detailed progress photos after each major phase (vinyl removal, adhesive cleanup, surface prep) to identify technique improvements for subsequent sections. Schedule short breaks every 45 minutes to prevent fatigue-related mistakes during the physically demanding scraping process.
Store partially completed cabinet doors vertically on wall-mounted racks rather than stacking them horizontally, which risks surface damage. Keep all tools and supplies organized in labeled containers by work phase to streamline transitions between removal, cleaning, and preparation stages. Document your adhesive removal effectiveness with different techniques to refine your approach as you gain experience through the project.
Successfully removing vinyl wrap from kitchen cabinets requires methodical execution rather than brute force. By mastering heat application techniques, selecting appropriate tools, and following the precise sequence outlined here, you’ll transform problematic wrapped cabinets into a flawless foundation for your kitchen’s next evolution. The time invested in proper removal pays exponential dividends in the quality and longevity of your final finish—whether you choose paint, stain, or natural wood restoration. With your cabinets now restored to their original state, you’re positioned to implement any design vision without the constraints of problematic vinyl wrap holding you back.


