
That annoying drip from your kitchen faucet has finally pushed you over the edge—you’re ready for a replacement. While calling a plumber might cost $150-$300 for this straightforward job, removing your single-handle kitchen faucet yourself takes just 30-60 minutes with basic tools. The key to success lies in understanding your specific mounting system and working methodically to avoid damaging your sink or countertop. Most homeowners can tackle this project confidently when they know exactly what to expect beneath the sink.
Single-handle faucets secure to sinks through two primary mounting systems: threaded studs with mounting nuts or a mounting plate held by screws. Deck-mounted models (the most common type) install directly on your sink deck or countertop, while wall-mounted versions attach to the wall behind your sink. Before grabbing your wrench, identify your faucet’s mounting configuration—this knowledge prevents frustration and potential damage during removal. Proper preparation transforms what seems like a complex plumbing task into a manageable DIY project that saves you money and builds valuable home maintenance skills.
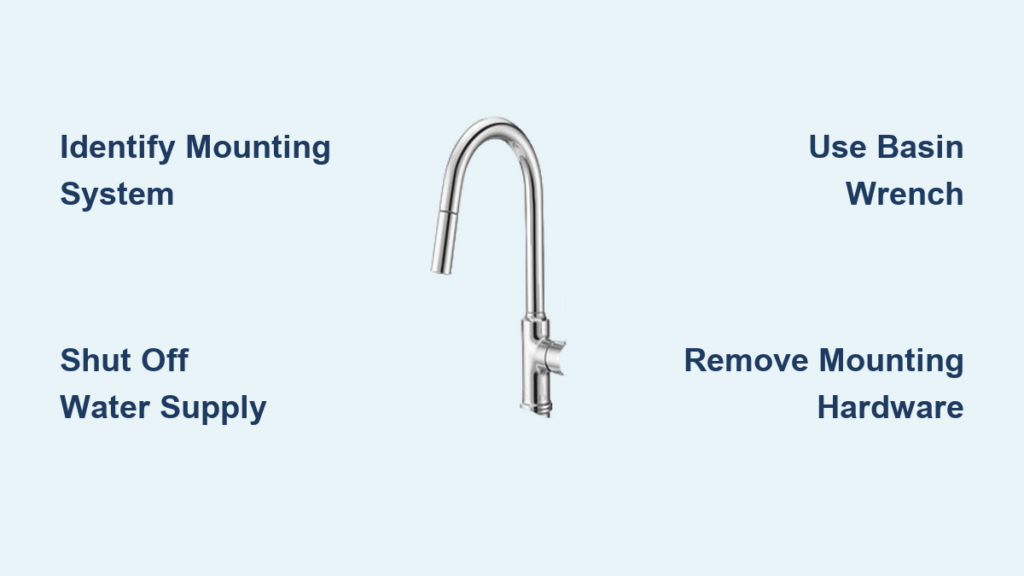
Identify Your Faucet Mounting System First

Before touching any tools, determine exactly how your faucet secures to the sink. Threaded stud systems feature two metal rods extending through the sink deck with large nuts underneath that clamp the faucet in place. These installations often include rubber or metal washers between the sink surface and the mounting nuts. Mounting plate systems, common on newer faucets, use a single metal plate spanning beneath the faucet base with screws securing it to the sink or countertop. Some models combine both approaches—studs with a central mounting plate.
How to Spot a Threaded Stud Installation
Look for two protruding threaded rods visible beneath your sink when you remove the cabinet access panel. These studs typically measure 1/2 inch in diameter with visible threads along their length. The mounting nuts securing your faucet will be positioned directly beneath these studs. If you see brass or chrome-colored threaded components rather than a flat mounting plate, you’re working with a stud system. These installations often include plastic or rubber gaskets between the sink surface and the faucet base to create a watertight seal.
Recognizing Mounting Plate Configurations
Mounting plate systems feature a single metal or plastic plate spanning across the underside of the faucet base. Locate the securing screws—usually one on each side of the plate, though some designs use a central screw. These plates often have molded channels or cutouts that match the faucet’s base shape. If you see only screw heads without visible threaded rods, you’re dealing with a plate system. Some modern faucets use quick-release mounting mechanisms that require pressing a tab or turning a special collar to release the faucet from its base.
Gather Essential Tools Before Starting

Your success depends on having the right tools within arm’s reach before you begin. A basin wrench—specifically designed for tight spaces under sinks—is essential for reaching stubborn mounting nuts. Keep both adjustable and fixed-size wrenches available for different connection sizes, as supply line nuts often require 7/16-inch or 1/2-inch wrenches. Needle-nose pliers provide precise grip for small components and retaining clips, while a flashlight or headlamp illuminates shadowed areas beneath your sink.
Must-Have Specialty Tools for Problem-Free Removal
Don’t attempt this project without penetrating oil like PB Blaster—years of moisture exposure often fuse metal components together. A utility knife with extra blades helps cut through hardened plumber’s putty or silicone sealant around the faucet base. Keep replacement supply lines on hand in case yours break during removal, as corroded connections frequently fail when disturbed. For push-fit connections (common on newer faucets), purchase the correct release tool for your specific brand—these specialized tools prevent damage to the supply line fittings.
Prepare the Work Area Properly
Shut off both hot and cold water supply valves completely by turning them clockwise until they stop. If your sink lacks individual shutoff valves (common in older homes), locate your main water valve—usually near your water meter or where pipes enter your home—and turn it off. Test that water is truly off by opening the faucet handle; residual water will drain out, but no new water should flow. Place a towel in the sink basin to protect it from falling tools and prevent small parts from disappearing down the drain.
Critical Pre-Removal Safety Checks
Clear all items from beneath your sink, including cleaning supplies and trash bins, to create ample working space. Position a bucket directly under the supply line connections to catch residual water—expect 2-3 ounces to drain out when you disconnect the lines. Take multiple photos of your current plumbing configuration with your smartphone; these visual references prove invaluable when installing your new faucet. Apply plumber’s tape to the jaws of your wrenches to prevent scratching chrome or stainless steel components during the removal process.
Disconnect Water Supply Lines Safely
Position your bucket beneath the connection points before loosening any fittings. Grip the supply line nut firmly with your wrench while stabilizing the shutoff valve body with your free hand—this prevents twisting stress on the valve assembly. Turn connections counterclockwise to loosen, but apply steady, gradual pressure rather than sudden force. If connections resist, tap the wrench handle gently with a rubber mallet to break corrosion bonds without damaging the fittings.
Handling Different Connection Types
Compression fittings require loosening both the supply line nut and the shutoff valve nut when connections prove stubborn. For quick-connect fittings, locate the release collar—typically a colored plastic ring surrounding the connection point. Press this collar inward while pulling the supply line straight out; never twist or bend the line during removal. If you encounter corroded connections that won’t budge, apply penetrating oil liberally and wait 15 minutes before attempting removal again. Keep replacement supply lines nearby in case old lines break during disconnection.
Remove the Faucet Mounting Hardware Correctly
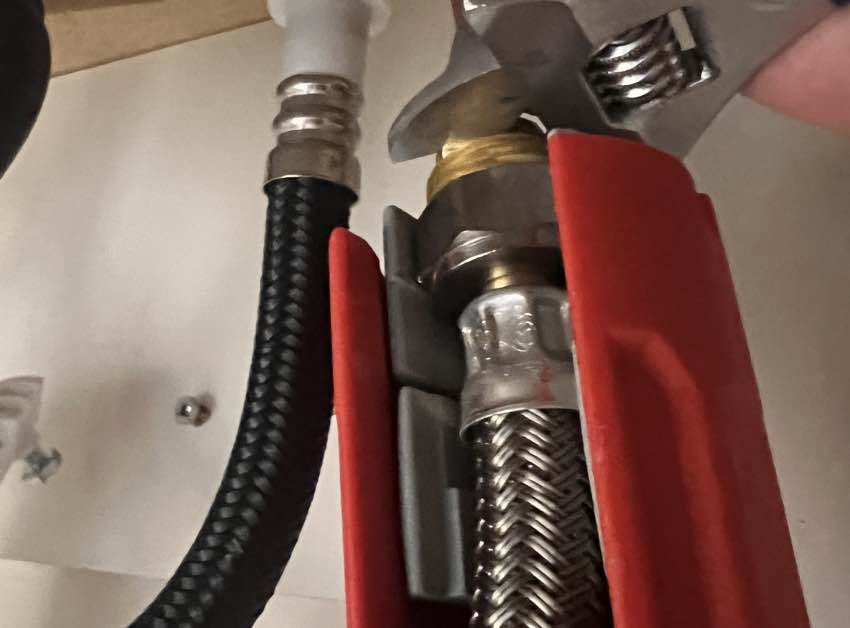
For threaded stud systems, position your basin wrench on the mounting nut and turn counterclockwise. Work slowly to avoid stripping the nut—applying steady pressure in short bursts often proves more effective than constant force. If nuts resist movement, apply penetrating oil directly to the stud/nut interface and wait 10 minutes before trying again. Some installations include retaining clips that must be removed before the mounting nuts can turn freely—inspect carefully before applying excessive force.
Mounting Plate Removal Techniques
Locate all mounting screws securing the plate to the sink deck—some installations hide screws beneath decorative caps that require prying off with a flathead screwdriver. Use the correct screwdriver size to prevent stripping screw heads; a stripped screw complicates removal significantly. For plates secured with a central screw, remove this first before addressing side screws to maintain even pressure release. If screws resist turning, apply penetrating oil to the screw heads and let it work for several minutes before attempting removal again.
Detach the Faucet and Clean Mounting Surface
Gently rock the faucet base from side to side to break the seal created by plumber’s putty or silicone. Lift straight upward—never twist or pry—once the seal breaks to avoid cracking the sink surface. If the faucet resists removal, insert a putty knife between the faucet base and sink deck to cut through remaining sealant. Work slowly around the entire perimeter, applying minimal pressure to prevent scratching visible surfaces.
Complete Mounting Surface Preparation
Scrape away old plumber’s putty residue using a plastic putty knife to avoid scratching the sink surface. For stubborn silicone sealant, use a razor blade scraper held at a 45-degree angle, working in small sections to avoid gouging the sink. Apply mineral spirits to a clean rag and wipe the mounting area thoroughly to remove any remaining residue. Inspect the mounting surface for cracks or damage that might compromise your new faucet’s seal before proceeding with installation.
Address Common Removal Challenges
When mounting nuts become rounded or stripped, use a nut extractor tool designed to grip damaged fasteners. Position locking pliers perpendicular to the nut’s axis for maximum gripping power, applying steady pressure while turning counterclockwise. For severely corroded connections, apply heat with a hair dryer to expand the metal slightly—this often breaks the corrosion bond without risking damage from excessive force.
Emergency Solutions for Seized Components
If supply line connections refuse to release, wrap the fitting with a rubber glove for improved grip before attempting removal again. When all else fails, use a tubing cutter to remove the supply line, though this requires replacing both the line and potentially the shutoff valve. For faucets stuck due to hardened sealant, apply a specialized putty solvent and let it work for 20 minutes before attempting removal—never force a stuck faucet as this risks cracking porcelain sinks or damaging countertops.
Maintain and Prevent Future Issues
Apply a thin, continuous bead of plumber’s silicone sealant around the new faucet base before installation—this creates a watertight barrier that prevents future leaks. Replace old shutoff valves during installation if they show signs of corrosion or stiffness; modern quarter-turn valves offer superior reliability. Choose braided stainless steel supply lines over cheaper alternatives—they resist kinking, corrosion, and bursting under pressure.
Long-Term Faucet Care Strategies
Check under-sink connections monthly for moisture or mineral deposits that indicate developing leaks. Clean aerators every three months by unscrewing the tip and soaking components in vinegar to dissolve mineral buildup. Avoid abrasive cleaners that degrade faucet finishes—use mild dish soap and a soft cloth for routine cleaning. When future replacement becomes necessary, document your installation process with photos to simplify the next removal project.
Removing your single-handle kitchen faucet successfully comes down to proper preparation, the right tools, and understanding your specific mounting system. By methodically working through each step—identifying your faucet type, disconnecting water lines safely, removing mounting hardware correctly, and cleaning the installation surface—you’ll complete this project efficiently without professional help. The time investment of 30-60 minutes pays dividends in both cost savings and increased home maintenance confidence. When you approach the project with patience and the right knowledge, what seemed like a complex plumbing task becomes a satisfying DIY accomplishment that prepares you for future home improvement projects.


