
Curry’s vibrant yellow-orange hue transforms meals into culinary delights but can quickly become a nightmare when it spills across your kitchen countertops. That turmeric-rich sauce doesn’t just disappear with a quick wipe—it penetrates surfaces, leaving stubborn stains that seem impossible to remove. If you’ve ever stared in frustration at a yellowed granite countertop or discolored laminate surface after a curry mishap, you’re not alone. The good news is that with the right approach, you can restore your kitchen surfaces to their original condition. This guide delivers proven methods specifically designed for tackling curry’s persistent pigments on various countertop materials. You’ll learn time-sensitive techniques that work whether the spill happened minutes ago or weeks ago, plus discover why certain cleaning solutions outperform others against turmeric’s tenacious hold.
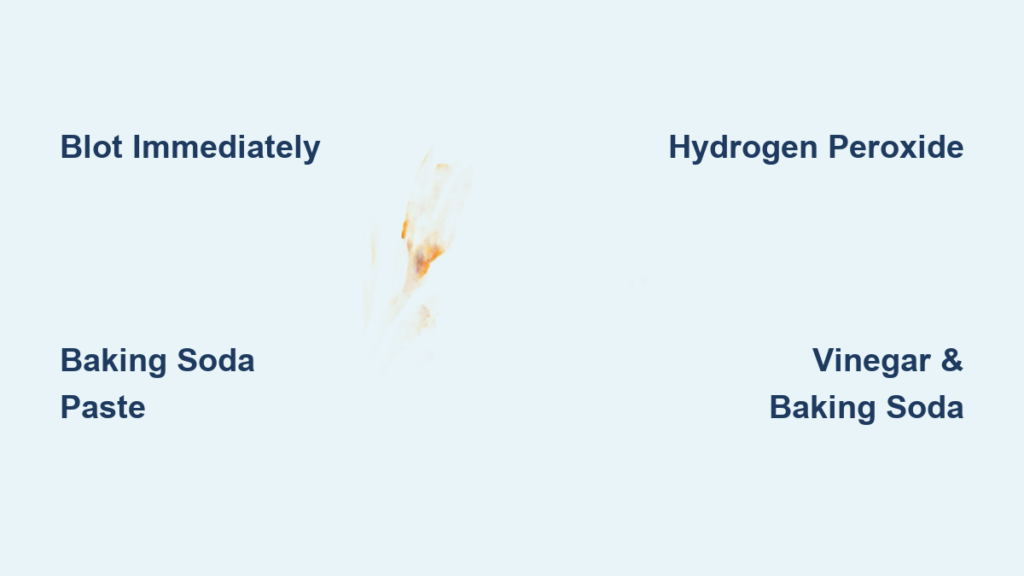
Immediate Action Steps for Fresh Curry Spills
Blotting Instead of Wiping: The Critical First Move
When curry hits your countertop, your immediate reaction determines whether you’ll face a minor cleanup or a major restoration project. Never rub or wipe fresh spills—this grinds pigments deeper into porous surfaces. Instead, grab a clean, absorbent cloth and gently press down to soak up excess liquid without spreading the stain. Work from the outer edges toward the center to prevent expansion. For large spills, use paper towels underneath your cloth to maximize absorption. This simple technique removes up to 70% of the stain before it sets, making subsequent cleaning significantly easier. Stop when the cloth no longer picks up color, typically after 2-3 press-and-lift cycles.
Creating an Emergency Cleaning Paste for Initial Treatment
While commercial cleaners have their place, an immediate homemade paste works wonders on fresh curry spills. Mix one tablespoon of baking soda with just enough water to form a thick, spreadable paste. Apply this directly to the stained area using a soft cloth, covering the entire spot with a 1/8-inch layer. Let it sit for exactly 5 minutes—any longer risks drying and complicating removal. The mild abrasiveness lifts surface pigments while the alkaline properties neutralize acidic components in curry. Gently rub in small circles with a non-scratch sponge, then wipe clean with a damp cloth. This method prevents the yellow-orange compounds from binding permanently to your countertop.
Deep Cleaning Techniques for Set-In Curry Stains
Hydrogen Peroxide Treatment for Non-Porous Surfaces
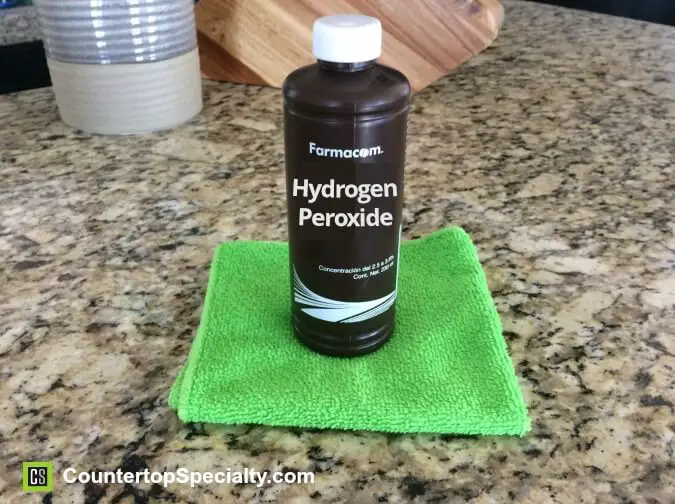
When curry stains have dried and set (typically after 30+ minutes), hydrogen peroxide becomes your most effective weapon against turmeric pigments. This oxygen-based cleaner breaks down the chromophores responsible for curry’s intense color without bleaching your countertop. For granite, quartz, or solid surface countertops, saturate a cotton ball with 3% hydrogen peroxide and place it directly on the stain. Cover with plastic wrap to prevent evaporation and let it work for 30 minutes. Check periodically—when the yellow begins fading to pale yellow, remove the cotton ball and gently scrub with a soft brush. Repeat if necessary, but never exceed two applications on the same spot to prevent surface damage.
Why Hydrogen Peroxide Outperforms Bleach on Countertops
Many homeowners reach for chlorine bleach when facing stubborn stains, but this creates dangerous chemical reactions with curry ingredients and can permanently damage stone surfaces. Hydrogen peroxide’s safer chemistry specifically targets organic pigments like curcumin without compromising sealants or discoloring grout lines. Unlike bleach which merely masks color, peroxide’s oxidative action actually breaks molecular bonds in the stain. Always choose drugstore-grade 3% concentration—higher strengths risk surface etching. Test on an inconspicuous area first, especially for natural stone countertops requiring special care.
Vinegar and Baking Soda Combination for Porous Materials
Laminate, wood, and unsealed tile require gentler approaches that won’t damage surface finishes. The vinegar-baking soda reaction creates effervescence that lifts pigments from microscopic pores without harsh scrubbing. First, dampen the stain with white vinegar using a spray bottle, then immediately sprinkle baking soda to create a bubbling paste. Let this mixture work for 15 minutes—long enough for the reaction to penetrate but not so long that it dries out. Gently scrub with a soft-bristled toothbrush using circular motions, focusing on the stain’s edges where pigments concentrate. Wipe clean with a vinegar-dampened cloth to neutralize any residue. This method safely removes surface-level staining without stripping protective coatings.
Surface-Specific Stain Removal Protocols
Granite and Marble Countertop Restoration
Natural stone requires special handling since acidic cleaners can etch surfaces. Begin by creating a poultice using baking soda and hydrogen peroxide mixed to toothpaste consistency. Apply a 1/4-inch layer over the stain, then cover with plastic wrap secured by painter’s tape. Let it draw out pigments for 24 hours before removing. For stubborn stains, repeat with a clay-based poultice (kaolin clay mixed with hydrogen peroxide) which pulls deeper-set pigments without damaging stone sealants. Always finish by reapplying stone sealer to the treated area—curry spills often compromise existing protection, leaving surfaces vulnerable to future staining.
Identifying When Professional Restoration Is Necessary
If after three poultice treatments the stain remains visible, especially on light-colored stone, professional intervention becomes necessary. Deep-set curry stains sometimes require specialized oxalic acid treatments that DIYers shouldn’t attempt due to safety risks. Contact a stone restoration specialist if you notice any of these warning signs: the stain appears wetter than surrounding areas, creates a visible depression in the surface, or changes color when viewed from different angles. Early professional treatment prevents permanent discoloration that would otherwise require costly resurfacing.
Laminate and Solid Surface Countertop Solutions
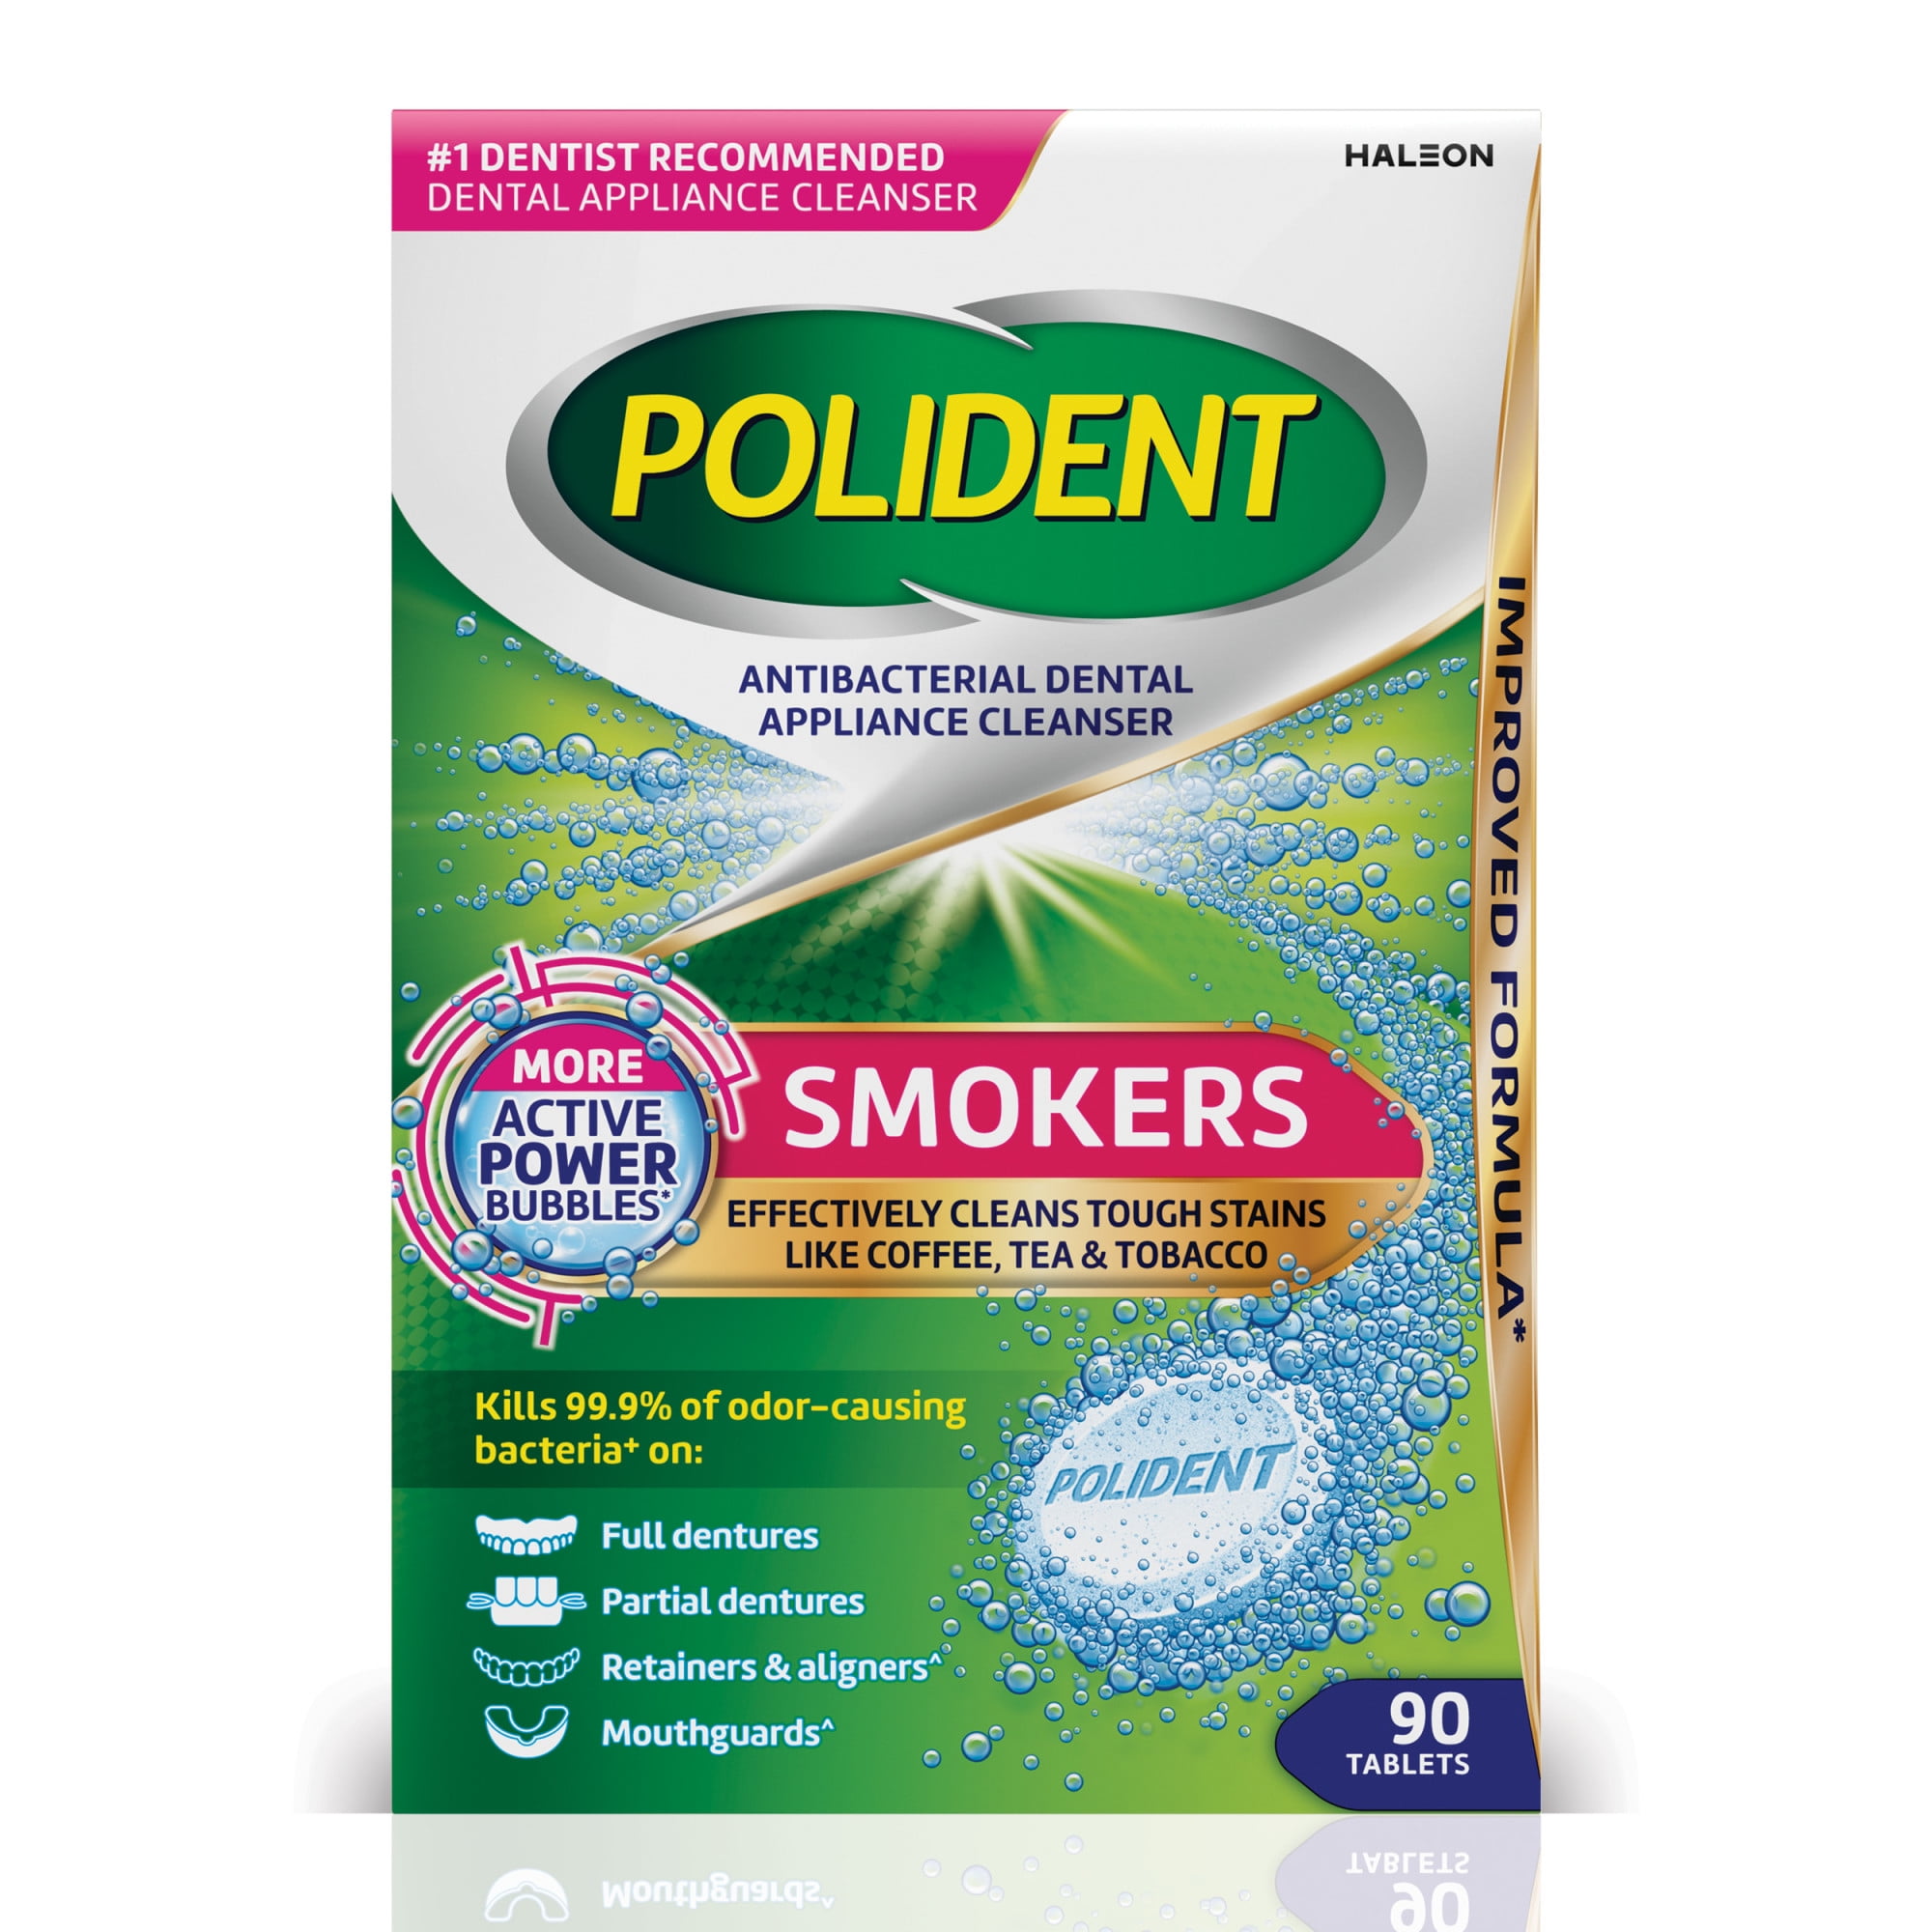
For non-porous surfaces like Formica or Corian, create a thick paste using denture cleaner tablets dissolved in minimal water. The peroxides and enzymes in denture cleaners specifically target organic stains while being gentle on synthetic materials. Apply the paste to the stain, cover with plastic wrap, and let it work for 2 hours. The effervescence lifts pigments without scratching surfaces. For severe discoloration, mix equal parts baking soda and non-gel toothpaste for gentle abrasion that won’t damage the laminate finish. Always test cleaning solutions on an inconspicuous edge first, especially for older laminate that may have degraded protective layers.
Preventing Future Curry Staining Disasters
Creating an Instant Stain Barrier for Curry Cooking
Prevention beats remediation when working with turmeric-rich dishes. Before cooking curry, lay down a barrier of parchment paper along your countertop workspace—never use newspaper as ink can transfer. Keep a dedicated “curry cloth” nearby: a white microfiber towel dampened with vinegar solution (1 part vinegar to 3 parts water) for immediate spill response. Store this in a labeled container so family members know its specific purpose. This simple preparation reduces stain penetration by creating a removable protective layer and ensuring immediate response capability.
Establishing a Post-Cooking Deep Cleaning Routine
After preparing curry dishes, perform a thorough surface cleaning even if no visible spills occurred. Turmeric aerosolizes during cooking, leaving invisible residue that oxidizes into stains over time. Mix 2 cups warm water with 1/4 cup hydrogen peroxide and 1 tablespoon dish soap in a spray bottle. Wipe all nearby surfaces including backsplashes, stovetop edges, and cabinet fronts. Pay special attention to grout lines and seams where pigments accumulate. This 5-minute ritual prevents the gradual yellowing that makes surfaces look permanently stained after repeated exposure.
When to Call Professionals for Irreversible Staining
Some curry stains penetrate beyond DIY remediation capabilities, particularly on porous surfaces exposed to prolonged contact. If your countertop shows any of these characteristics after multiple cleaning attempts, professional restoration becomes necessary: the stain appears darker when wet, creates a visible texture change, or has seeped into grout lines beyond surface cleaning. Natural stone with deep-set stains may require professional honing and re-polishing—a process that removes a microscopic layer of surface material. While more expensive than DIY methods, professional restoration preserves your countertop’s value and appearance far better than living with permanent discoloration.
Final Tip: Always maintain a “curry emergency kit” near your cooking area containing hydrogen peroxide, baking soda, white vinegar, and microfiber cloths. This ensures immediate response capability when spills occur, dramatically improving your chances of complete stain removal. Remember that timing is critical—addressing curry spills within the first 5 minutes prevents 90% of permanent staining issues. With these targeted methods for your specific countertop material, you can enjoy flavorful curries without fearing the aftermath on your kitchen surfaces.


