

Water pooling under your kitchen sink cabinet? That musty smell creeping into your kitchen? You’re likely dealing with failed caulk—the silent destroyer of countertops and cabinets. When sealant cracks or peels around your sink basin, moisture seeps into seams, warping wood and breeding mold. Recaulking your kitchen sink isn’t just cosmetic; it’s critical damage control. Most homeowners can tackle this $15 repair in under an hour using basic tools. Skip this fix, and you’ll face thousands in cabinet replacements. In this guide, you’ll learn exactly how to strip old caulk, prep surfaces like a pro, and apply a waterproof seal that lasts years—not months.
Why Your Kitchen Sink Caulk Failed Last Time
Cracks Appearing Within Months? Here’s Why
Most DIY recaulking fails because of rushed prep. Caulk bonds to clean, dry surfaces only. If you applied new sealant over old residue, grease, or moisture, it peeled within weeks. Silicone needs 24 hours to cure fully—running water too soon breaks the seal. Using latex caulk near sinks is another mistake; it swells and cracks with constant moisture exposure.
The Mold You Can’t See Under Countertops
Water trapped under failed caulk doesn’t just stain cabinets—it rots subflooring. A single 1/16-inch gap lets 10 gallons of water seep into cabinetry monthly. That hidden moisture breeds toxic black mold behind walls, which won’t show until structural damage occurs. Recaulking immediately stops this invasion at the source.
Essential Safety Gear Before You Start
Must-Have Gear to Avoid Injury
Working near plumbing means hidden risks. Always wear:
– Nitrile gloves (chemical-resistant for solvents)
– Safety glasses (caulk shreds fly during removal)
– Knee pads (crawling under sinks strains joints)
– Dust mask (mold spores release when scraping old caulk)
Turn off water supply valves under the sink first. Test by running faucets—no flow means you’re safe to work. Skip this, and a bumped pipe fitting could flood your kitchen in seconds.
Removing Old Caulk Without Damaging Countertops

Cutting Through Stubborn Sealant Safely
Never yank old caulk with pliers—it rips laminate edges. Instead:
1. Slice the caulk bead lengthwise with a utility knife (blade angled at 45°)
2. Hook a caulk removal tool under the cut edge (or use dental floss for tight corners)
3. Pull slowly downward toward the drain—never sideways—to avoid gouging surfaces
For silicone caulk, apply acetone solvent with a cotton swab. Wait 5 minutes until it turns gummy, then scrape. Warning: Acetone melts some laminates—test in an inconspicuous spot first.
Hidden Residue That Ruins New Caulk
Old caulk leaves invisible oils that repel new sealant. Wipe the seam with isopropyl alcohol on a microfiber cloth. You’ll see oily streaks transfer to the cloth. Repeat until the cloth stays clean. Skip this step, and your new caulk will peel in weeks.
Preparing the Seam for Perfect Adhesion
Drying the Area Like a Professional
Moisture under new caulk causes instant failure. After cleaning:
1. Stuff paper towels into the seam to absorb trapped water
2. Wait 15 minutes, then replace towels
3. Use a hairdryer on low heat 6 inches from the seam for 2 minutes
Pro tip: Hold a mirror under the sink to check dryness in shadowed corners. If paper towels stay dry after 10 minutes, you’re ready.
Backer Rod for Wide Gaps Over 1/8 Inch
If the gap between sink and countertop exceeds 1/8 inch, caulk will crack as it cures. Fix this:
– Cut foam backer rod 1/16 inch wider than the gap
– Press it 1/4 inch deep into the seam with a chopstick
– Never fill the entire gap—caulk needs space to compress
This creates a flexible foundation that moves with temperature shifts, preventing cracks.
Choosing the Right Caulk for Kitchen Sinks
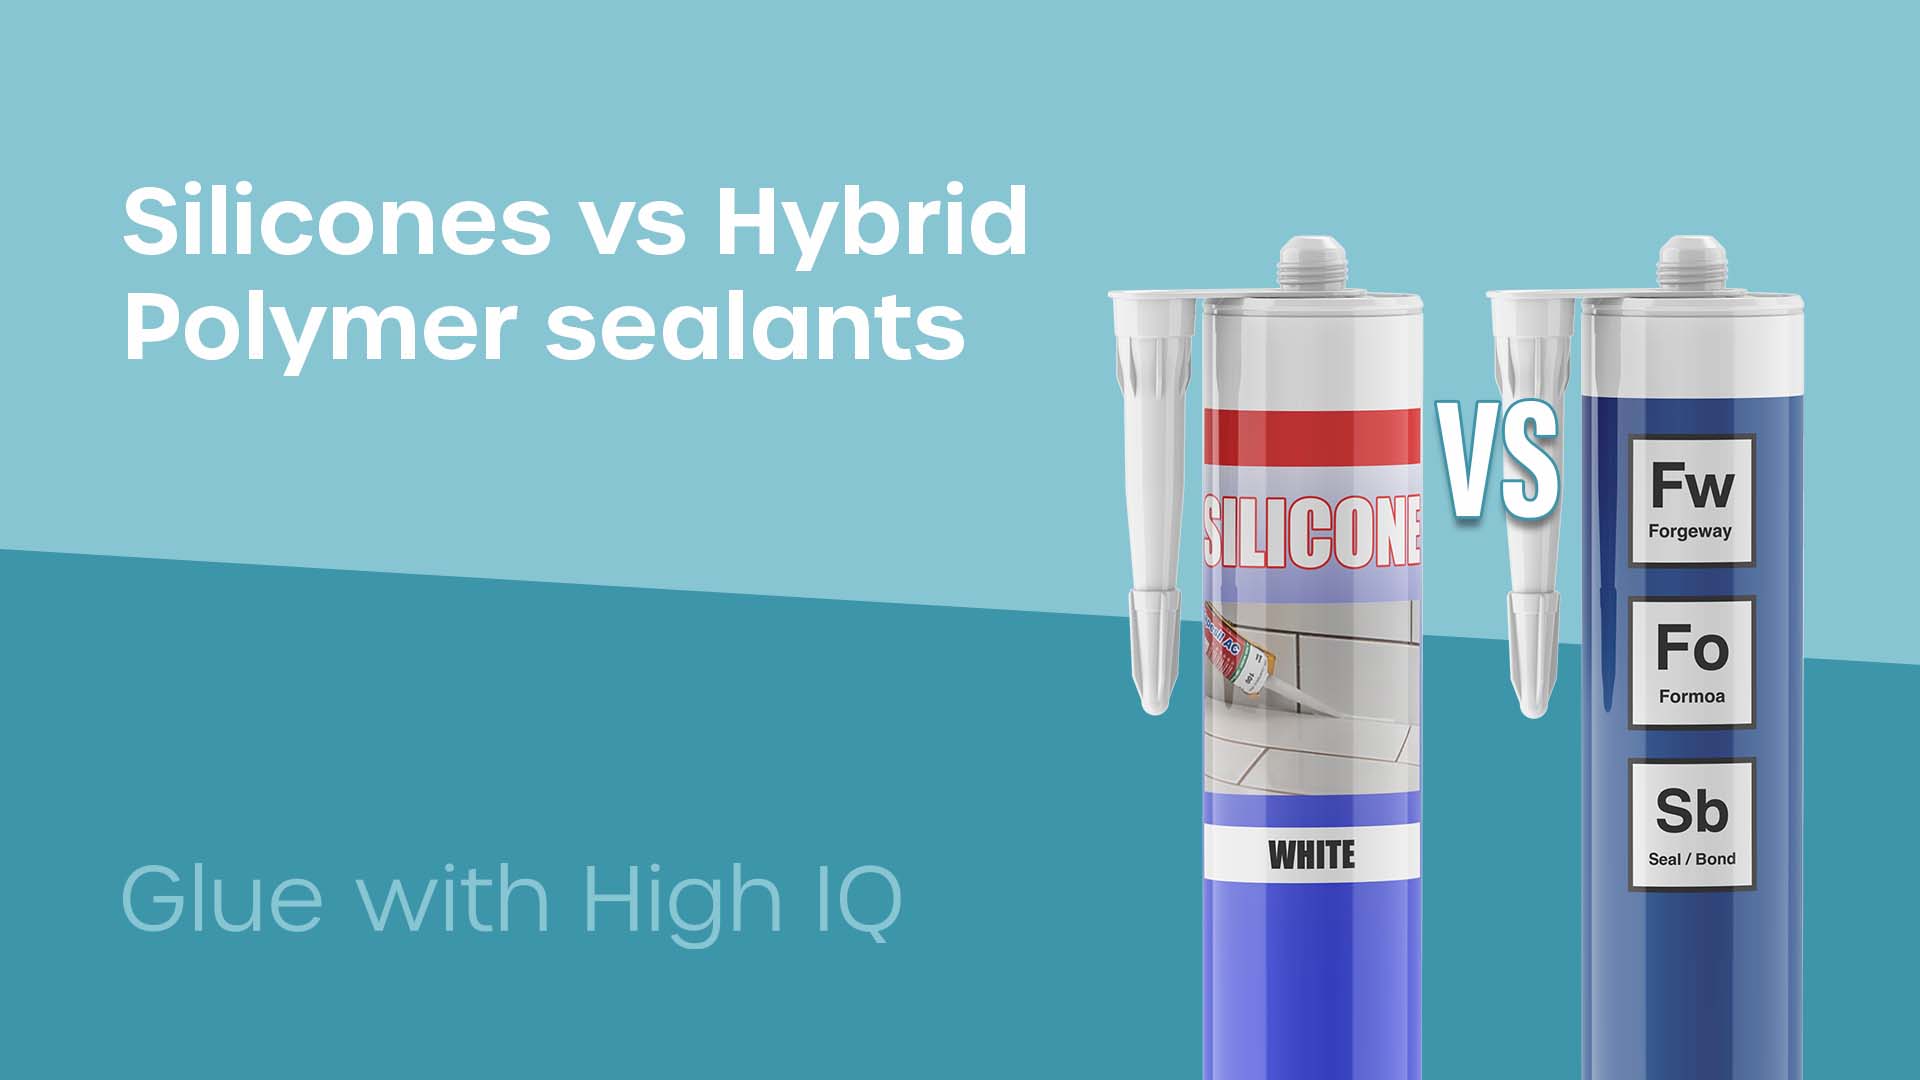
Silicone vs. Hybrid: Which Stops Leaks Longer?
Latex caulk fails fast near sinks—it’s not waterproof. Your only real choices:
| Type | Kitchen Sink Suitability | Cure Time | Paintable? |
|—————-|——————————|—————|—————-|
| 100% Silicone | ★★★★★ (Best for wet areas) | 24 hours | No |
| Hybrid Polymer | ★★★★☆ (Good flexibility) | 12 hours | Yes |
Critical: Buy “kitchen & bath” labeled silicone. Tub/shower caulk contains mildewcide—essential for sink areas. Avoid “windows & doors” formulas—they lack mold resistance.
Color Matching Tricks for Invisible Repairs
White caulk yellows over time. Match your countertop by:
1. Mixing 3 parts clear caulk + 1 part paint (use leftover countertop sample)
2. Stirring for 90 seconds with a toothpick
3. Testing on cardboard first—adjust until it dries to the right shade
For granite, add a pinch of crushed charcoal for depth. Never use colored caulk straight from the tube—it rarely matches.
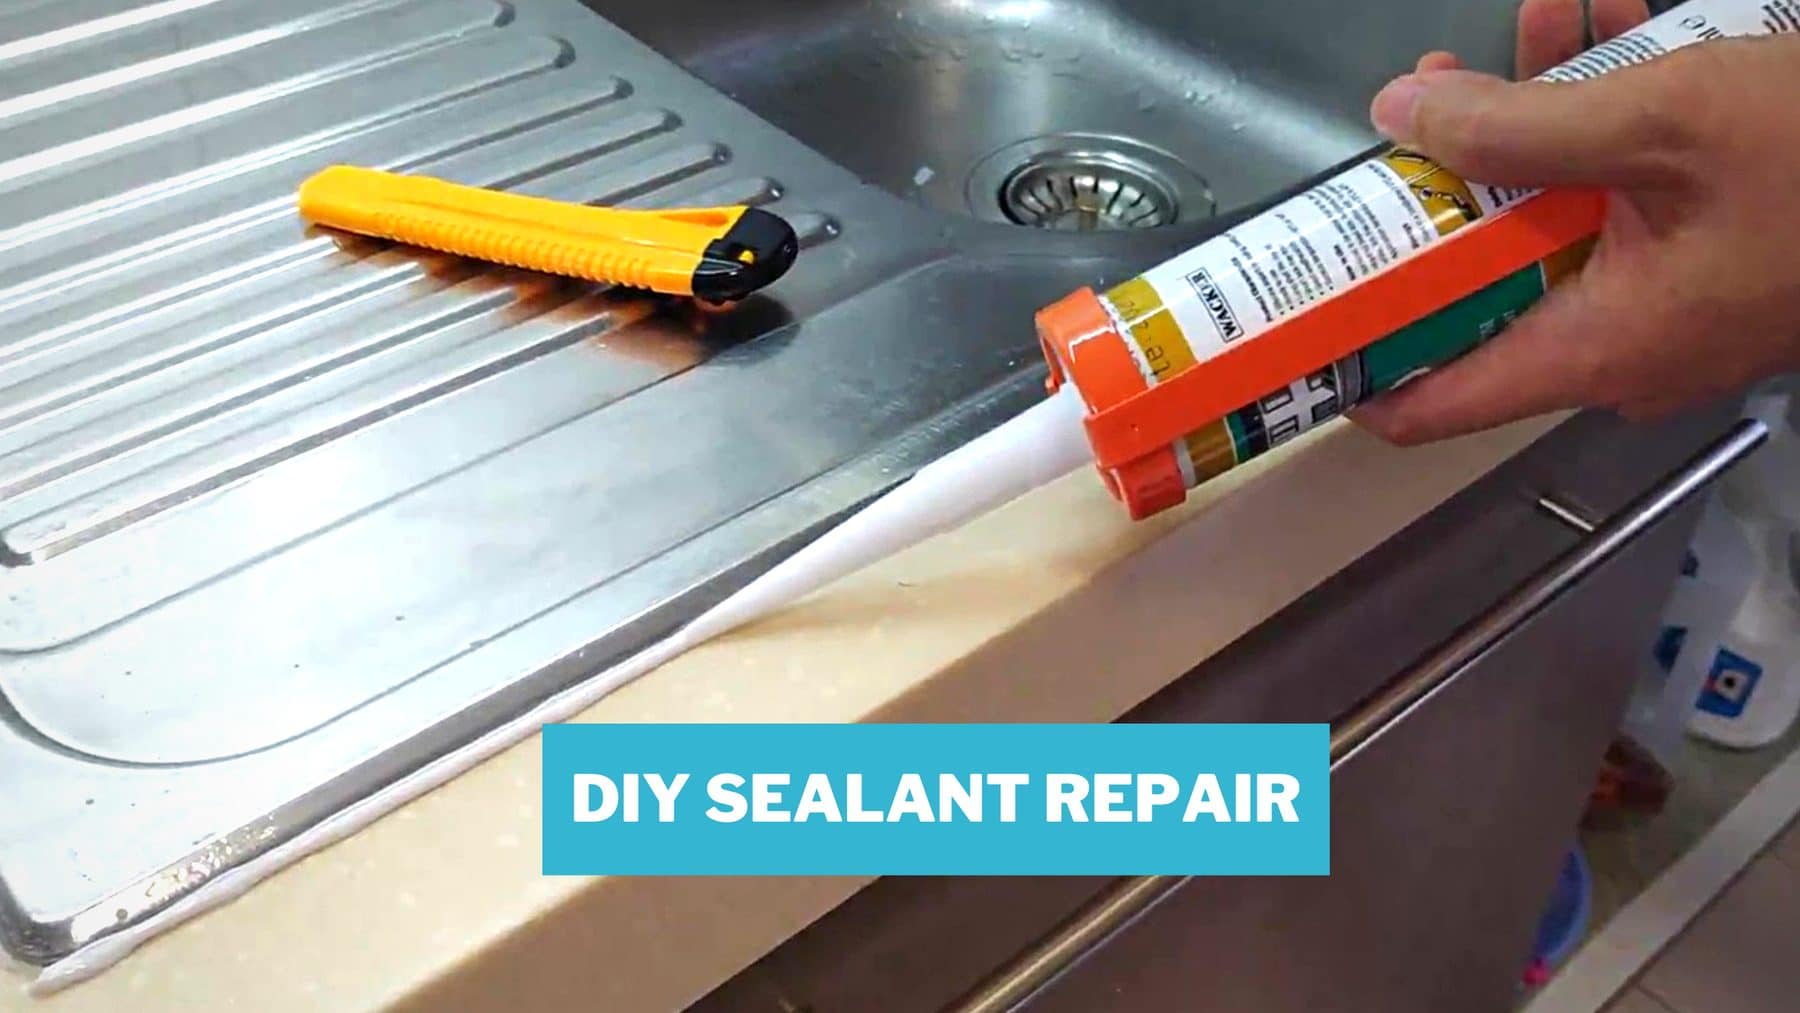
Applying Caulk for a Waterproof Seal
Loading the Caulking Gun Correctly
Squeeze out 1/2 inch of sealant before loading to clear dried clog. Cut the nozzle at 45° to match your gap width:
– Small gaps: 1/8 inch opening
– Wide gaps: 1/4 inch opening
Insert the tube with the plunger against the sealant. Pro tip: Run masking tape along both sides of the seam first—creates razor-straight edges.
The One-Hand Technique for Smooth Beads
Rest your pinky against the countertop for stability. Squeeze the trigger while moving the gun away from you at a 45° angle. Keep steady pressure—too fast creates gaps, too slow causes blobs. Move at 1 inch per second. If it sputters, stop and slice the nozzle tip shorter.
Smoothing Caulk Without Messy Fingers
The Dish Soap Trick for Perfect Finishes
Water-based smoothing creates streaks. Instead:
1. Dip a finger in soapy water (1 tsp dish soap + 1/4 cup warm water)
2. Run it lightly over the bead within 2 minutes of application
3. Wipe excess with a damp microfiber cloth
Why this works: Soap reduces surface tension, letting caulk self-level. Never use rubbing alcohol—it accelerates curing and causes cracks.
Fixing Gaps Mid-Application
If you miss a spot, don’t add more caulk later—that creates weak seams. Instead:
1. Dab a tiny drop of soapy water on the gap
2. Press caulk into it with a toothpick
3. Smooth immediately with your soapy finger
Adding caulk after initial smoothing breaks the seal. Work continuously for one seamless bead.
Curing Time and Critical Waiting Period
Why Rushing Causes 90% of Failures
Silicone needs 72 hours to reach full waterproof strength—even if the surface feels dry. Never:
– Run dishwasher or garbage disposal during curing
– Place dishes in the sink for 24 hours
– Wipe the caulk with towels (lint sticks permanently)
Set a phone reminder. Test readiness by gently pressing a fingernail—it shouldn’t leave an indent.
Testing for Leaks After Recaulking
The 5-Minute Water Test That Catches Mistakes
After 24 hours:
1. Plug the sink and fill with 2 inches of water
2. Mark the water level with tape
3. Wait 30 minutes—no drop means success
If water seeps:
– Dry the area completely
– Cut out the failed section with a knife
– Reapply caulk only to the problem spot (no full redo needed)
Maintaining Your New Sealant for 5+ Year Lifespan
Monthly Checks That Prevent Costly Damage
Inspect the caulk line every 30 days:
– Run a dry fingertip along the seam—cracks feel like hairline ridges
– Shine a flashlight at a low angle to spot shadows where caulk pulled away
– Wipe with vinegar weekly to prevent mildew growth
Reapply a thin top coat every 2 years before cracks form—it bonds to existing caulk.
Final Note: Recaulking your kitchen sink takes one hour but prevents thousands in water damage. Master the prep steps—cleaning, drying, and gap filling—and your seal will last 5+ years. If water stains already exist under your cabinet, stop and consult a plumber; hidden rot may need repair. For ongoing maintenance, keep a caulk touch-up tube under the sink. When you see the first hairline crack, slice it open with a knife and fill immediately—it’s faster than a full recaulk. Ready to tackle more fixes? Learn how to silence a noisy garbage disposal next—another 30-minute project that saves $200 in service calls.


