
Ever struggled to rinse stubborn food particles from a large pot or clean hard-to-reach corners of your sink? Adding a sprayer to your kitchen sink solves these everyday frustrations with targeted water pressure that standard faucets can’t match. The installation process is surprisingly manageable for most homeowners—you don’t need professional plumbing skills to complete this upgrade. In fact, with the right preparation and tools, you can transform your sink’s functionality in under an hour without calling a plumber.
This comprehensive guide shows you exactly how to put a sprayer on a kitchen sink, whether you’re working with a pre-drilled sink or need to adapt your existing setup. You’ll discover the critical questions to ask before buying hardware, avoid common installation pitfalls that cause leaks, and learn professional techniques for securing connections that last for years. By the end of this article, you’ll have the confidence to tackle this project and enjoy the immediate benefits of having precise water control at your fingertips.
Determine Your Sink’s Sprayer Compatibility

Your first step before purchasing any hardware determines whether your sink can accommodate a sprayer without major modifications. Most kitchen sinks fall into one of three distinct categories that dictate your installation approach.
Pre-drilled sinks with dedicated sprayer holes feature an extra opening (typically 1-3/8 inches in diameter) positioned next to your main faucet. These sinks, common in newer installations, make sprayer addition straightforward—simply remove the decorative cover plate and insert the sprayer base. The presence of this hole means your plumbing likely already includes the necessary connections beneath the sink, saving you significant installation time.
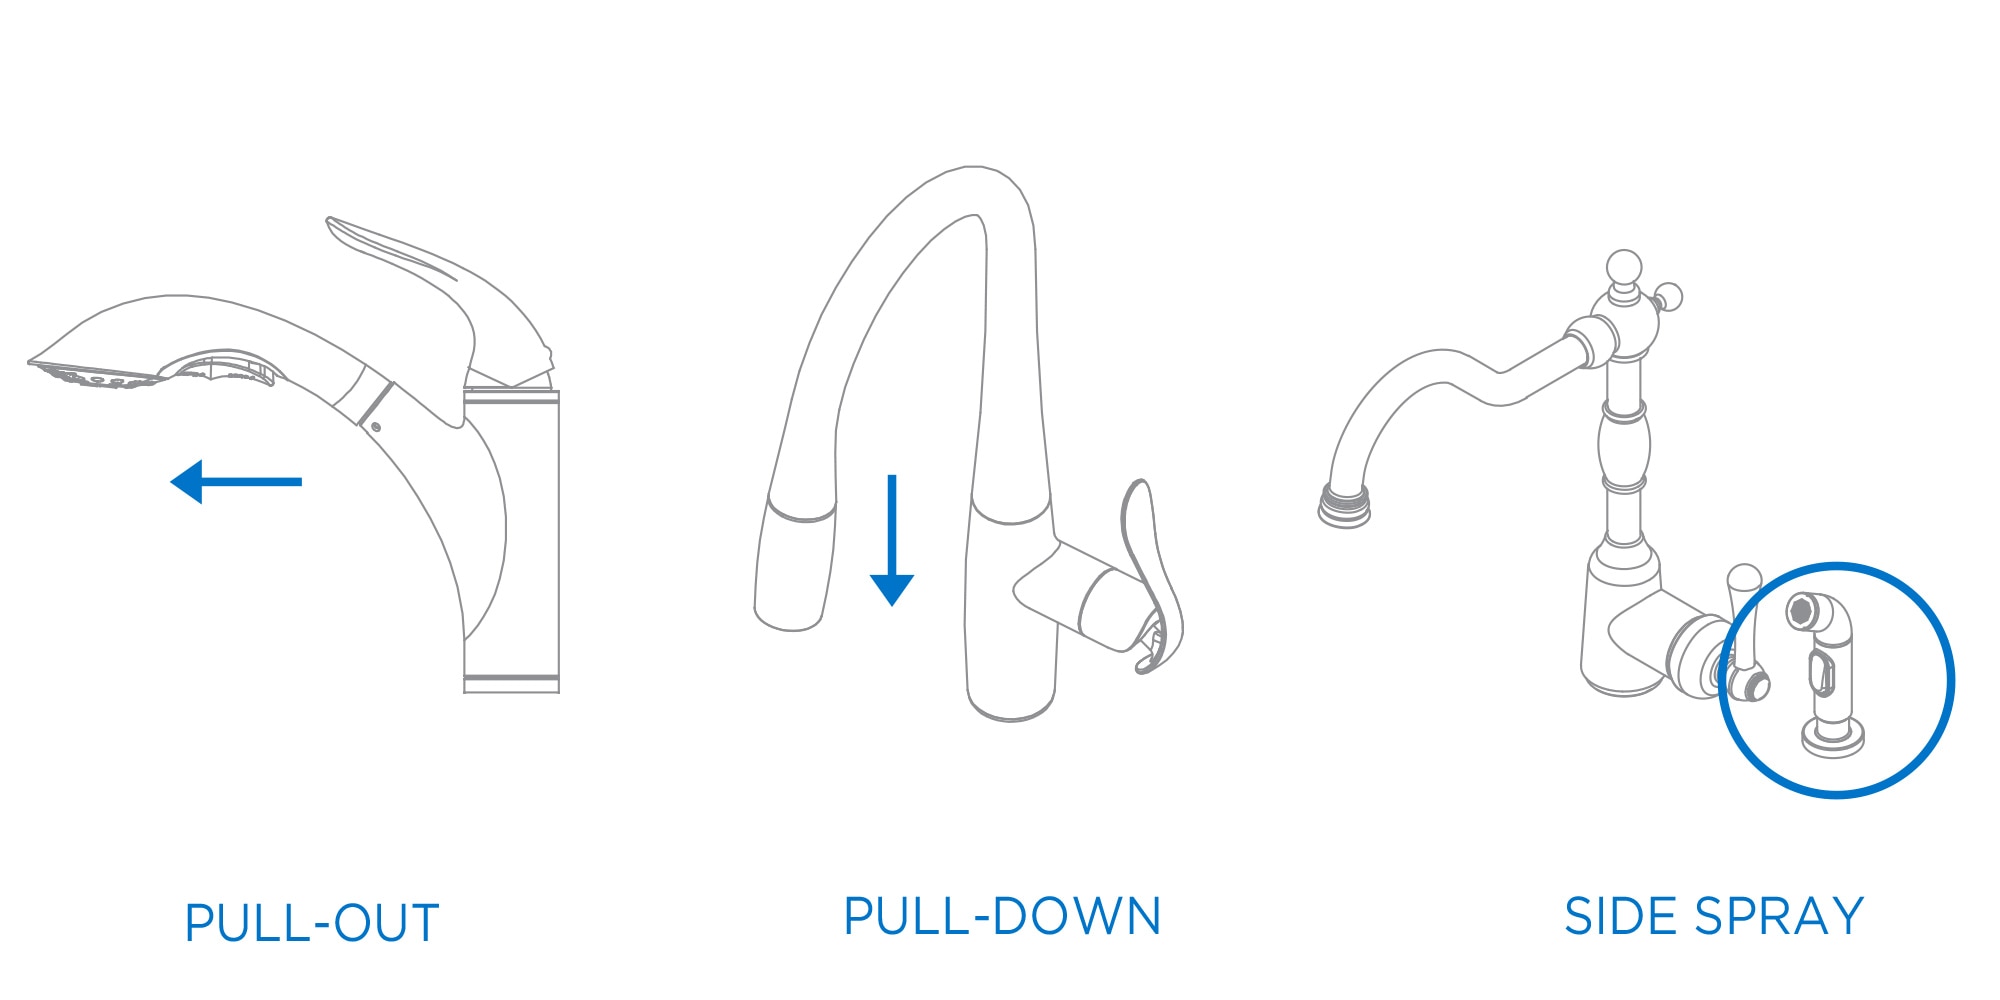
Pull-down faucet configurations have built-in sprayer functionality where the spray head retracts into the faucet spout. If your faucet has this design but the sprayer isn’t working, you’ll need to troubleshoot or replace the internal diverter mechanism rather than install a separate sprayer. These faucets eliminate the need for an additional sink hole while providing excellent reach for cleaning large pots.
Standard sinks without extra holes require creative solutions. Your options include drilling a new hole (feasible for stainless steel or composite sinks but risky for porcelain or stone), replacing your existing faucet with a model that has an integrated pull-out sprayer, or installing a special adapter that fits through your existing faucet hole. Drilling should be approached with caution—use a 1-3/8 inch hole saw with a pilot bit and apply steady pressure with light lubrication to prevent cracking.
Critical Check: Before leaving for the hardware store, measure the distance between your faucet center and the edge of your sink. This ensures your new sprayer will reach all areas of the sink basin without straining the hose.
Select the Perfect Sprayer for Your Kitchen Layout
Choosing the right sprayer type prevents costly returns and ensures optimal functionality for your specific kitchen workflow. Each style has advantages that match different sink configurations and usage patterns.
Traditional side-mounted sprayers provide the most versatile solution for standard sink setups. These units feature a handheld spray head connected by a flexible hose (typically 30-48 inches long) that mounts in a separate sink hole. The nylon or stainless steel braided hoses withstand daily use and reach across double-bowl sinks with ease. When selecting one, verify the hose length matches your sink’s dimensions—farmhouse sinks often require longer hoses (48+ inches) for full coverage.
Integrated pull-out sprayers combine spray functionality with your main faucet, eliminating the need for an extra sink hole. These systems feature a weighted hose that automatically retracts the spray head back into the spout after use. While installation requires replacing your entire faucet, the cleaner aesthetic and extended reach (often 20-30% further than side sprayers) make this worthwhile for many homeowners. Look for models with magnetic docking systems that ensure reliable retraction.
Specialty sprayers serve specific needs beyond standard sink cleaning. Pot fillers mount near your stove for filling large pots without carrying them across the kitchen, while dual-function sprayers provide both standard and high-pressure settings for tackling tough messes. These typically require professional installation due to complex plumbing requirements.
Compatibility Tip: Remove your existing faucet aerator and take it to the store—most sprayer connections must match your faucet’s threading (usually 1/2-20 UNF) for proper installation.
Assemble Your Installation Toolkit
Gathering all necessary tools before starting prevents frustrating interruptions mid-project and ensures you complete the installation efficiently. For most straightforward sprayer installations, you’ll need these essential items:
Must-have tools include:
– Adjustable wrench or basin wrench (for tight spaces under the sink)
– Needle-nose pliers (for gripping small connections)
– Flashlight or headlamp (to see plumbing details clearly)
– Small bucket and towels (to catch residual water)
– Pipe thread seal tape (plumber’s tape)
Additional helpful items:
– Work gloves (to protect hands from sharp edges)
– Spray bottle with vinegar solution (for cleaning connections)
– Measuring tape (to verify sink hole dimensions)
– Soft cloth (to protect sink surface during installation)
Pro Insight: A basin wrench pays for itself on this project alone—it reaches connections behind the faucet that standard wrenches can’t access. Rent one from your hardware store if you don’t own one.
Execute the Sprayer Installation Process
With your tools gathered and workspace prepared, it’s time to connect your new sprayer. Follow these precise steps for a leak-free installation.
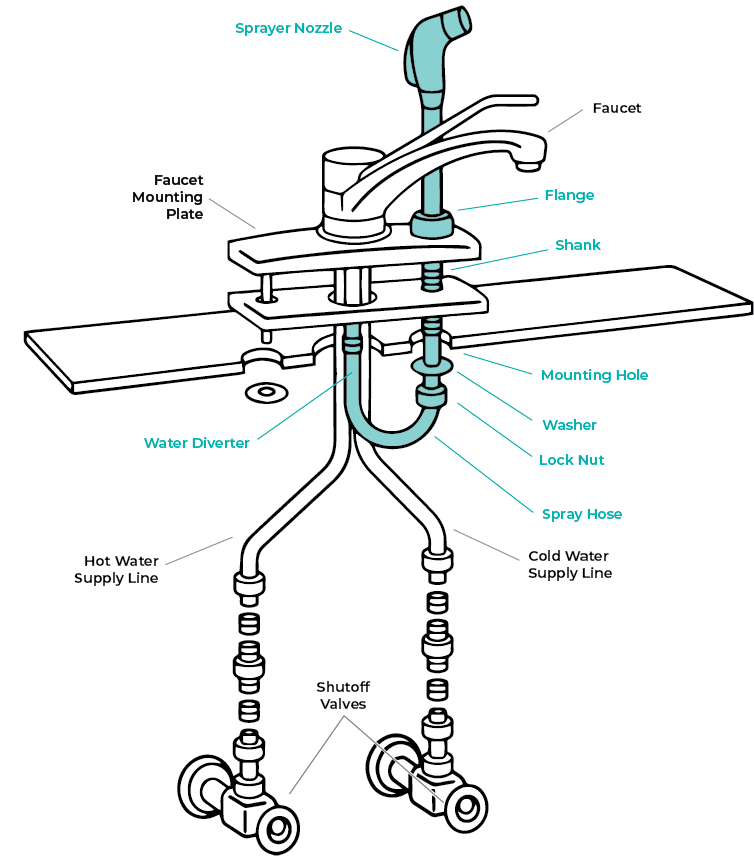
Mount the Sprayer Head
Begin by positioning the sprayer head through the sink hole from above. Apply plumber’s putty around the base flange to create a watertight seal against the sink deck. From beneath the sink, screw the mounting nut onto the threaded shaft until snug—use your wrench for a final quarter-turn to secure it without cracking the fixture.
Connect the Hose to Your Faucet
Locate the sprayer outlet on your faucet body—this usually appears as a small threaded port near the base. Apply two layers of plumber’s tape clockwise around the hose connector threads, then hand-tighten the connection. Finish with your wrench for an additional half-turn, being careful not to overtighten and damage the threads.
Install the Diverter Mechanism
Most sprayers use a diverter valve that redirects water from the faucet to the sprayer when activated. Connect the diverter according to your specific model:
– For side sprayers: Attach the diverter between the faucet spout and water supply line
– For pull-out systems: Install the diverter inside the faucet body per manufacturer instructions
– Test the diverter by hand before restoring water to ensure smooth operation
Critical Warning: Never force connections—cross-threaded fittings cause immediate leaks. If resistance increases before the connection feels secure, back off and restart the threading process.
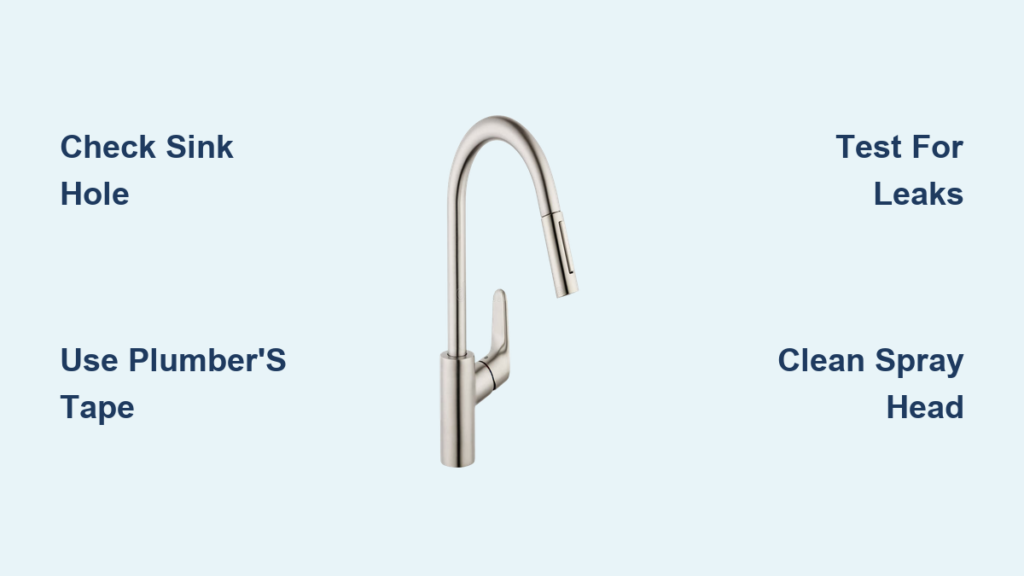
Verify Proper Functionality and Prevent Leaks
Skipping thorough testing guarantees future water damage. Complete these verification steps before considering your project finished.
Conduct a Comprehensive Leak Test
Slowly restore water supply while watching all connections. Check for drips at:
– Sprayer base mounting point
– Hose connection to faucet
– Diverter valve connections
– Supply line connections to shutoff valves
Leave water running for 5 minutes to identify slow leaks that might not appear immediately. Pay special attention to connections beneath the sink where drips can go unnoticed for weeks.
Test Spray Performance and Range
Operate the sprayer through its full range of motion:
– Verify smooth switching between faucet and sprayer modes
– Check that the hose extends fully without binding
– Confirm spray patterns (stream and spray settings) work correctly
– Ensure the hose retracts properly without kinking
Adjust the hose path beneath the sink if it catches on pipes or cabinet hardware during movement. Some homeowners install hose guides to maintain an optimal path.
Address Common Sprayer Installation Challenges
Even careful installations sometimes encounter issues that require troubleshooting. Here’s how to fix the most frequent problems:
Resolve Low Water Pressure Issues
If your sprayer delivers weak flow, check these common culprits:
– Clogged spray head (soak in vinegar overnight)
– Partially closed shutoff valve (verify full opening)
– Kinked hose (reposition for straighter path)
– Incorrect diverter installation (recheck connections)
Fix Leaking Connections
For persistent drips at connection points:
– Tighten connections slightly (1/8 to 1/4 turn)
– Replace worn rubber washers inside fittings
– Reapply plumber’s tape on threaded connections
– Replace damaged supply lines with new braided stainless steel versions
Correct Hose Retraction Problems
Sprayers that don’t return to their dock properly often need:
– Lubrication of the hose reel mechanism
– Adjustment of the hose tension spring
– Replacement of a worn weighted end
– Clearing obstructions in the hose path
Maintain Your Sprayer for Long-Term Reliability
A simple maintenance routine prevents most common sprayer problems and extends the lifespan of your installation. Every three months, remove the spray head and soak it in white vinegar for 30 minutes to dissolve mineral buildup. This restores optimal spray pressure and pattern while preventing clogs from hard water deposits.
Check all connections beneath your sink quarterly for signs of moisture or corrosion. Tighten any loose fittings and replace supply lines showing wear before they fail. If you notice reduced performance despite regular cleaning, replace the entire sprayer assembly—most cost between $30-$60 and install in 15 minutes.
Installing a kitchen sink sprayer dramatically improves your sink’s functionality with minimal investment of time and money. By carefully selecting the right sprayer type for your sink configuration, preparing your workspace thoroughly, and making secure connections with proper testing, you’ll enjoy years of reliable service from your upgraded sink. Remember to perform simple maintenance every few months to keep your sprayer operating at peak performance. Whether you’re cleaning stubborn pots, rinsing fresh produce, or simply wiping down your sink, that targeted spray stream will quickly become an indispensable part of your kitchen routine. With the knowledge you’ve gained from this guide, you’re now fully equipped to complete this practical upgrade and experience the immediate benefits of having precise water control exactly where you need it.


