
Tired of your dated kitchen faucet but not ready to invest in a costly replacement? Painting your kitchen faucet offers an affordable, DIY-friendly solution that can dramatically refresh your entire kitchen aesthetic. Whether your current finish shows wear and tear, clashes with new decor, or simply no longer matches your style, a carefully executed paint job creates a like-new appearance for a fraction of the replacement cost. This guide reveals the exact process professionals use to achieve durable, long-lasting results on this high-traffic fixture.
Many homeowners attempt faucet painting only to see their finish peel within weeks—usually because they skip critical preparation steps or use inappropriate materials. The difference between a project that lasts years versus days lies in understanding the unique challenges of painting metal fixtures constantly exposed to water, heat, and physical contact. By following this comprehensive approach, you’ll gain the knowledge to create a factory-quality finish that withstands daily kitchen demands while transforming your space.
Select Professional-Grade Paint for Metal Fixtures

Choosing the wrong paint guarantees failure on your kitchen faucet. Standard wall paints lack the adhesion and durability required for metal surfaces constantly exposed to moisture and physical contact. For lasting results, you need specialized coatings engineered specifically for metal fixtures in wet environments.
Opt for spray paints containing built-in primers like Rust-Oleum Universal or Krylon Fusion All-In-One, which feature advanced bonding technology that grips slick metal surfaces. These formulas dry to a hard, durable finish that resists chipping from daily use. If you prefer brush application, select two-part epoxy paints or appliance refinishing kits that cure to an industrial-strength coating. Avoid standard acrylics or oil-based paints—they’ll peel within weeks under kitchen conditions.
When selecting your finish, consider both aesthetics and practicality. Satin or matte finishes better hide minor imperfections compared to high-gloss options. For a metallic look that mimics expensive fixtures, choose specialty metallic spray paints rather than attempting to mix your own. Test your color choice on a small, inconspicuous area first to ensure it complements your sink and surrounding fixtures under different lighting conditions.
Your complete supply list must include 400-600 grit sandpaper for surface preparation, trisodium phosphate (TSP) cleaner for degreasing, isopropyl alcohol for final wiping, painter’s tape for protecting adjacent surfaces, and microfiber cloths for streak-free cleaning. Professional painters always gather every necessary item before starting—rushing to the store mid-project risks dust contamination and uneven drying.
Completely Disassemble and Deep Clean Your Faucet
Photograph your faucet from multiple angles before disassembly—these reference images prove invaluable when reassembling complex components. Shut off water supply valves under the sink and open the faucet to release pressure before disconnecting supply lines. Place a towel in the sink basin to catch small parts and prevent damage from drops.
Remove all handles, decorative caps, and removable components systematically, placing each piece in labeled containers. Pay special attention to tiny parts like O-rings and washers—these often get lost during disassembly but are critical for proper reassembly and leak prevention. If your faucet has aerators or filters, remove and clean these separately as paint inside these components would impair water flow.
Deep cleaning requires multiple stages to eliminate invisible contaminants that prevent proper paint adhesion. First, scrub all metal surfaces with TSP solution and a non-sculpting sponge to remove cooking oils and skin residue. For mineral deposits around spray heads or aerators, soak components in white vinegar for 15 minutes before gently scrubbing with an old toothbrush. Rinse thoroughly with clean water and dry completely with lint-free cloths.
The final preparation step involves wiping every surface with 90% isopropyl alcohol to remove residual oils invisible to the naked eye. This critical step ensures no contaminants interfere with paint adhesion. Hold components by edges only after this point to prevent transferring new oils from your fingers to the cleaned surfaces.
What to Do With Non-Removable Parts
For integrated faucets where complete disassembly isn’t possible, protect adjacent surfaces meticulously. Wrap the sink basin and countertop with multiple layers of newspaper secured by painter’s tape. Use narrow strips of tape to mask off any areas you don’t want painted, pressing edges firmly to prevent seepage. Work in a well-ventilated area away from direct sunlight, which can cause paint to dry too quickly and create an uneven finish.
Sand and Prime for Unmatched Durability
Sanding creates microscopic texture that allows paint to mechanically bond to the smooth metal surface—a step many DIYers skip with disastrous results. Use 400-600 grit sandpaper wrapped around a small foam block for even pressure, working in one direction following the metal’s contours. Focus on shiny areas that reflect light, as these indicate insufficient texture for paint adhesion.
After sanding, remove all dust particles with a tack cloth or microfiber cloth dampened with water. Any remaining particles will become trapped under your paint, creating a rough, professional-looking finish. For chrome or nickel finishes with existing peeling, use a plastic scraper to remove loose material before sanding the remaining surface to a uniform matte appearance.
Apply metal-specific primer in thin, even coats using light sweeping motions. Hold your spray can 10 inches from the surface and overlap each pass by 50% to ensure complete coverage without drips. Allow the primer to dry completely—typically 30-60 minutes—before lightly sanding with 600 grit paper to smooth any raised fibers. This second sanding creates an ultra-smooth base for your topcoat that’s essential for professional results.
Why Primer Makes the Difference
Skipping primer might save 30 minutes now but guarantees premature failure. Primer contains specialized resins that bond chemically with metal while providing a uniform surface for your topcoat. Without it, paint adheres directly to the metal’s varying surface chemistry, creating weak points where moisture penetrates and causes peeling. The extra hour invested in proper priming doubles your finish’s lifespan in the demanding kitchen environment.
Apply Paint Using Professional Techniques
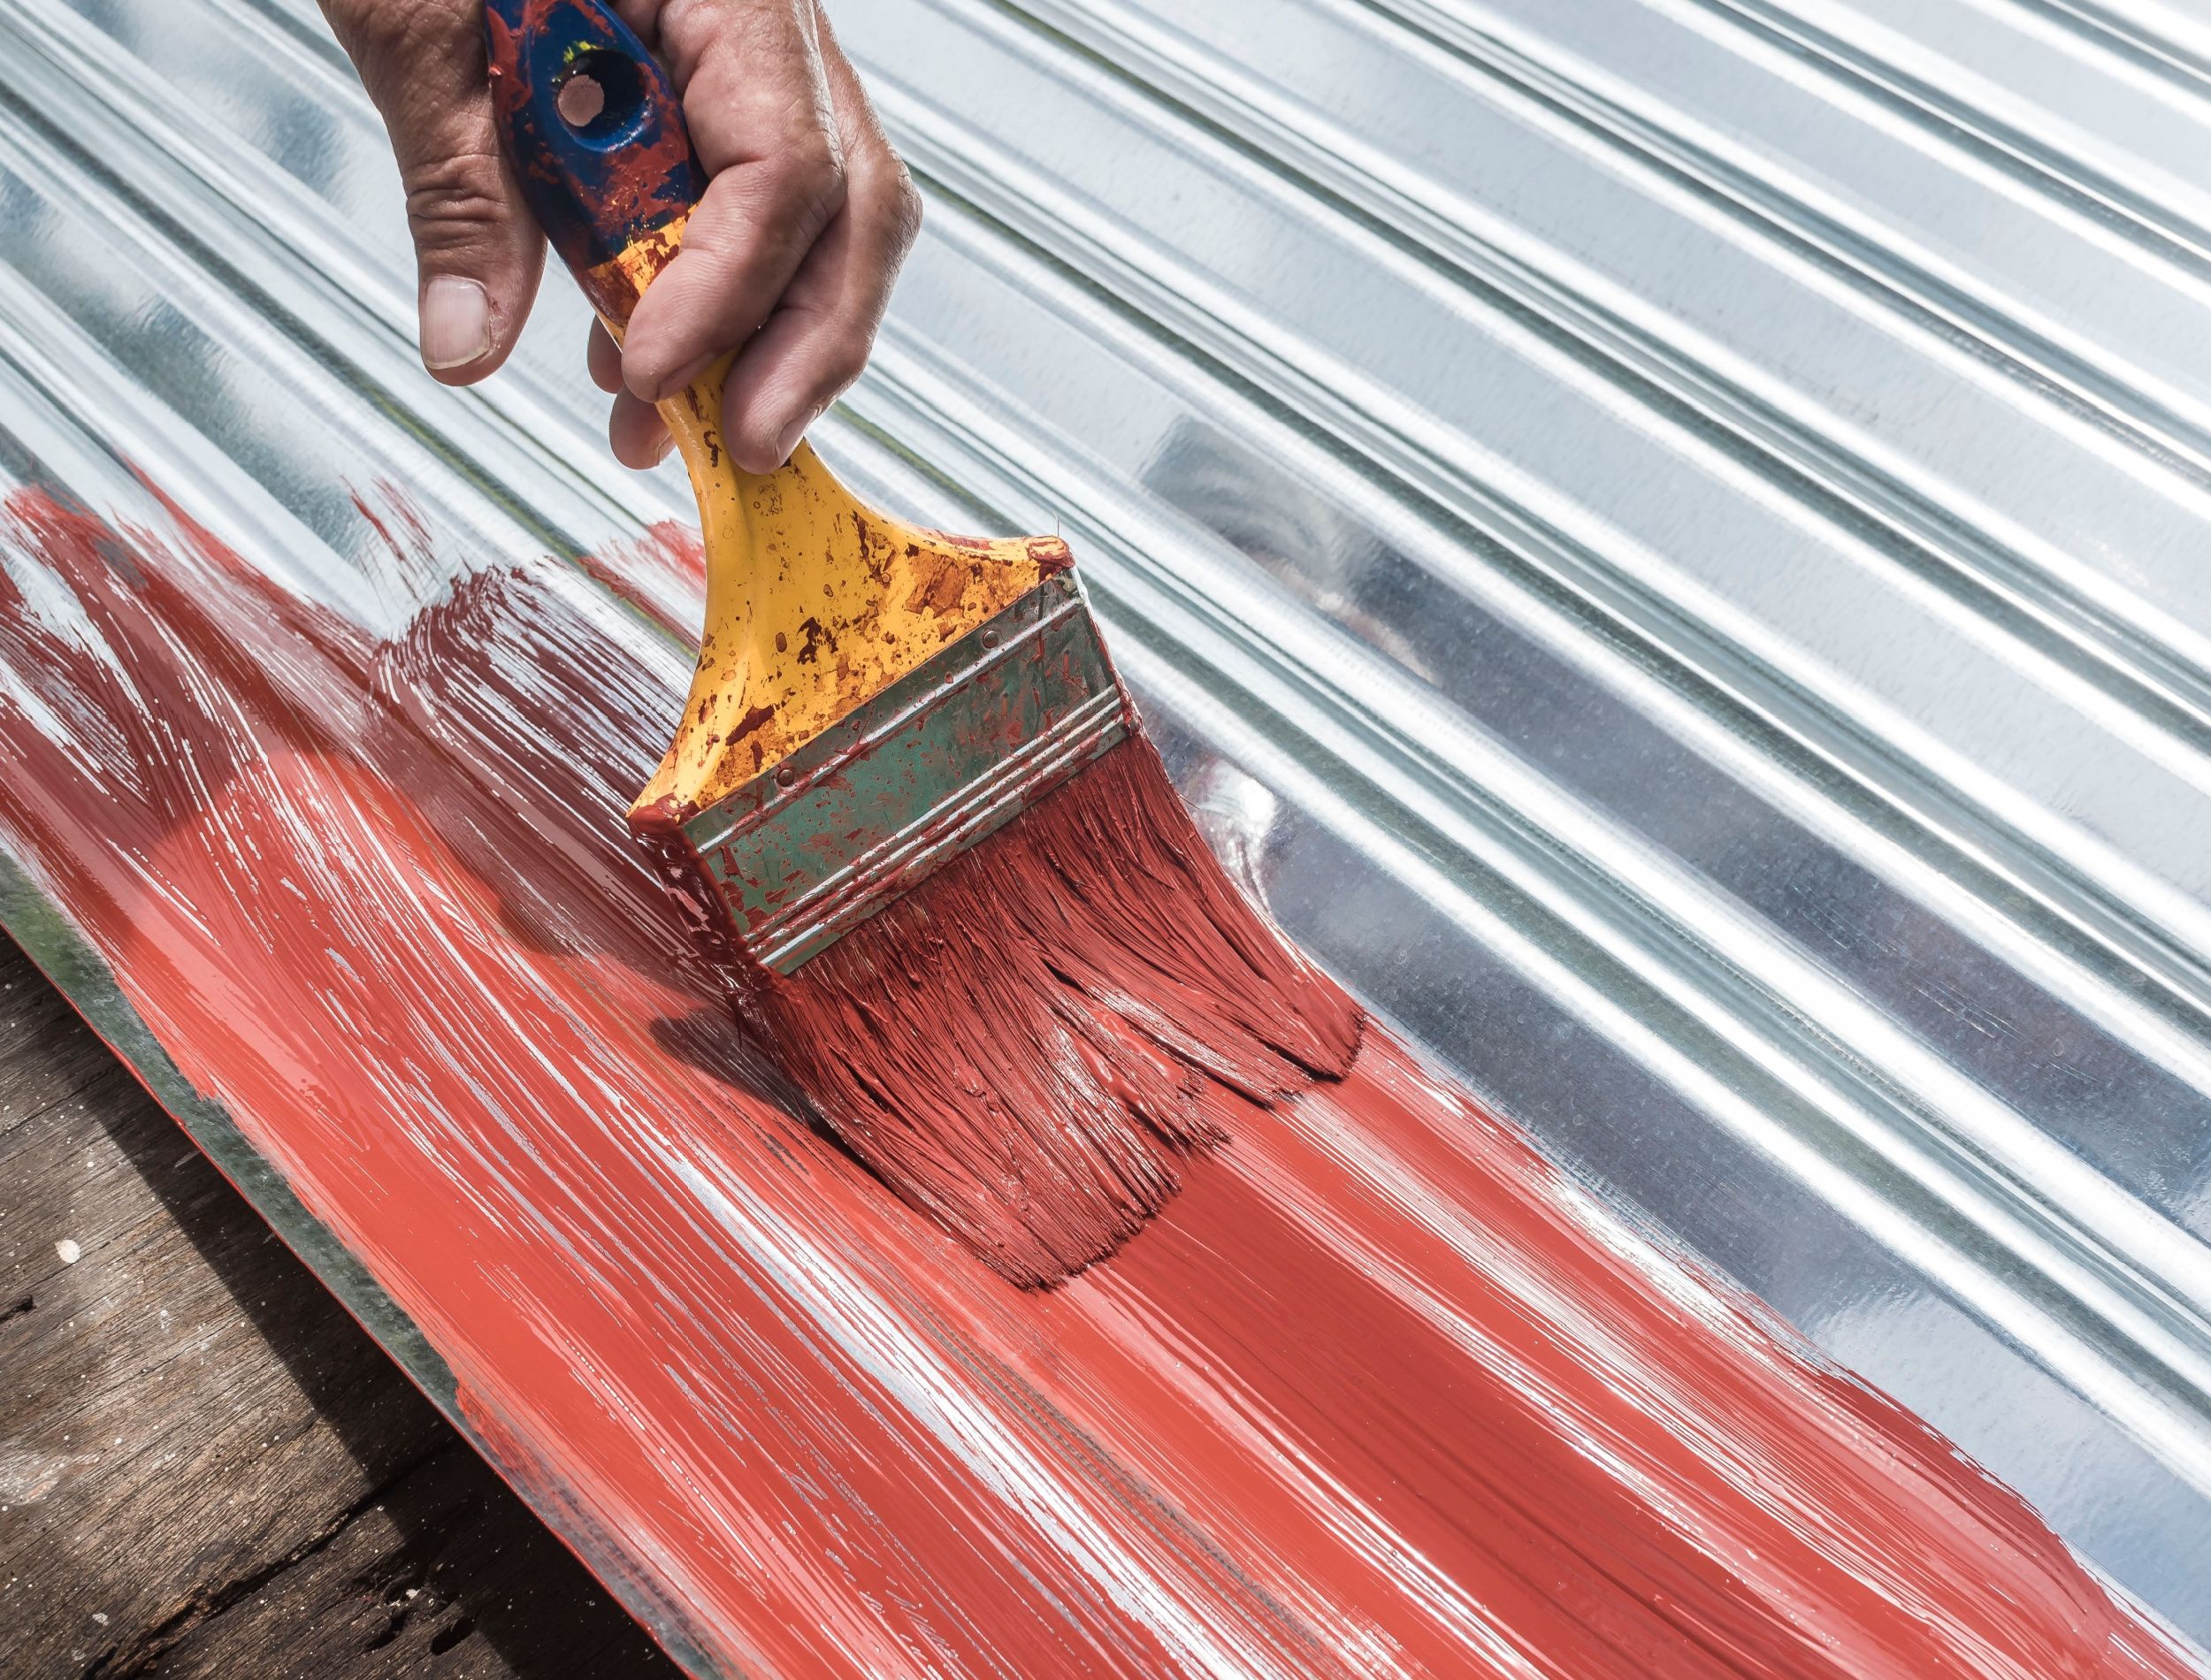
The key to flawless results lies in multiple thin coats rather than fewer thick applications. Thick paint sags on vertical surfaces, collects in crevices, and takes significantly longer to dry—increasing the risk of dust contamination. Apply your first coat at 50% opacity, focusing on even coverage rather than complete hiding power.
Hold your spray can perpendicular to the surface and move steadily while pressing the nozzle. Start spraying before reaching the faucet and continue past it to prevent heavy buildup at the beginning and end of each pass. Maintain consistent distance (8-12 inches) throughout—getting too close causes pooling while being too far creates dry, dusty application.
Wait the manufacturer’s recommended time between coats (usually 15-30 minutes), then apply your second coat with the same technique but perpendicular to your first direction. This cross-hatching method ensures complete coverage in crevices and around details. Most projects require 3-4 thin coats for optimal durability—rushing with fewer coats sacrifices longevity.
Fixing Common Application Issues
If you notice runs or drips while the paint is still wet, gently brush them out with a clean, dry foam brush. For minor imperfections that dry before correction, wait until fully cured (24 hours) then sand with 800 grit paper and apply a touch-up coat. Avoid overworking the paint—each correction increases the risk of disturbing underlying layers. Professional painters always carry extra paint for touch-ups rather than trying to perfect the initial application.
Allow Complete Curing Before Reassembly
Resist the temptation to reinstall your faucet prematurely—this single mistake ruins more projects than any other. While paint feels dry to the touch within hours, the chemical curing process continues for days. Reinstalling too soon transfers oils from your hands and creates pressure points that compromise the finish.
Most metal paints require 24 hours before gentle handling and 72 hours before exposure to water. Epoxy-based coatings need up to 7 days for full cure. During this period, store your faucet components vertically on a clean, dust-free surface away from direct sunlight and temperature fluctuations. If reinstalling before complete cure, handle only by unpainted areas using clean gloves.
Monitor humidity levels during curing—ideal conditions range between 40-60% humidity. Higher humidity extends drying times significantly, while extremely dry conditions may cause the surface to skin over while underlying layers remain wet, creating adhesion problems later. Patience during this phase pays dividends in a finish that withstands years of kitchen use.
Maintain Your Painted Faucet for Longevity
Establish gentle cleaning habits immediately after installation. Use only soft microfiber cloths with mild dish soap and warm water—never abrasive cleaners or scouring pads. Rinse thoroughly after each cleaning to prevent soap residue buildup that dulls the finish over time.
Dry your faucet completely after each use, especially around the base and under the spout where water pools. This simple habit prevents mineral deposits that etch into paint over time. For hard water stains, apply a vinegar-water solution with a cloth rather than spraying directly onto the fixture.
Inspect your painted finish monthly for early signs of wear. Address small chips immediately with touch-up paint to prevent moisture penetration that causes larger peeling areas. Properly maintained, a professionally painted faucet can last 3-5 years before requiring refinishing—significantly longer than the weeks or months typical of poorly executed projects.
Painting your kitchen faucet transforms your space affordably when done correctly. By selecting professional-grade materials, meticulously preparing surfaces, applying thin even coats, and allowing complete curing, you achieve results rivaling factory finishes. This DIY project delivers exceptional value when approached with the right knowledge and patience—turning your dated fixture into a stylish focal point that enhances your kitchen for years to come.


