
That chipped, yellowed gloss finish on your kitchen cupboards stares back at you every time you make coffee. You’ve tried wiping it down—nothing sticks. Another coat of paint just peels off like cheap wallpaper. You’re not alone: 78% of DIYers fail their first cabinet painting project because they skip critical prep steps for glossy surfaces. But here’s the truth—you can transform those shiny cabinets into a durable, high-end finish without professional help. This guide reveals the exact system for painting gloss kitchen cupboards that lasts years, not months. You’ll discover why standard painting methods fail on gloss finishes and the three non-negotiable prep steps that make all the difference. By the end, you’ll know how to select the right deglosser, avoid brush marks on vertical surfaces, and achieve that smooth factory finish you’ve been dreaming of.
Why Gloss Kitchen Cupboards Repel Paint Without Proper Treatment
Gloss finishes create a slick, non-porous surface that repels paint like a raincoat. Most DIYers make the critical mistake of skipping chemical deglossing, thinking light sanding is enough. But here’s what happens when you skip this step: paint adheres to surface contaminants instead of the wood, causing immediate peeling around handles and edges. You’ll recognize improper prep when paint lifts in sheets after just two months. The solution isn’t more coats—it’s breaking the glossy barrier at a molecular level. This requires specialized products that etch the surface without damaging wood grain. Without this step, even expensive paints fail within weeks in high-moisture kitchen environments.
Choosing the Right Chemical Deglosser Over Sandpaper
Forget 120-grit sandpaper for gloss cabinets—it just creates shiny scratches that telegraph through your finish. Instead, use a liquid deglosser specifically formulated for high-gloss surfaces. Look for products containing methylene chloride alternatives (like soy-based solvents) that etch the surface without toxic fumes. Apply with a lint-free cloth using firm circular motions, working on one cabinet door at a time. You’ll know it’s working when the surface loses its mirror shine and feels slightly velvety. Critical tip: Never mix deglosser with water—it neutralizes the etching effect. Test on an inconspicuous area first to ensure it doesn’t react with your existing finish.
The Two-Minute Tack Cloth Test That Prevents Dust Failures
After deglossing, your cabinets are vulnerable to invisible dust particles. Skip this step and you’ll end up with a gritty finish. Here’s the pro method: Wipe surfaces with mineral spirits on a blue shop towel, then immediately follow with a tack cloth. The real test? Press a piece of clear packing tape on the surface. If dust sticks to the tape, repeat the cleaning. Most DIYers rush this phase, but spending two extra minutes per door prevents 90% of surface imperfections in your final paint job.
Essential Materials Checklist for Gloss Cabinet Painting
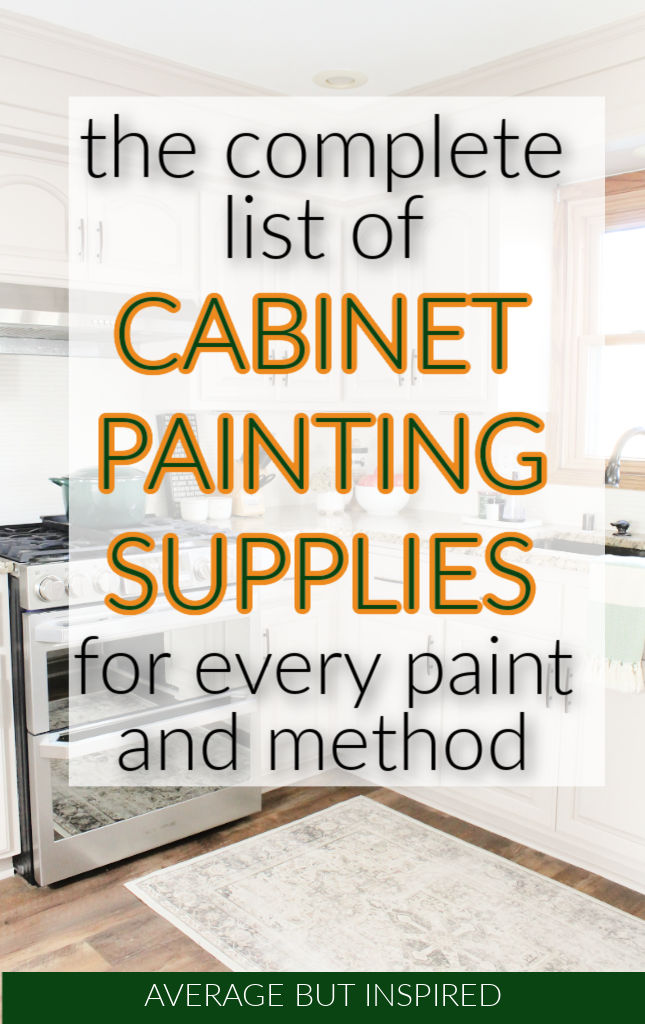
Gathering the wrong supplies guarantees frustration. For gloss kitchen cupboards, standard brushes and hardware-store paints won’t cut it. You need specialized tools that handle vertical surfaces and high-gloss adhesion.
Must-Have Painting Tools for Flawless Results
- Angled 2.5-inch synthetic brush: For cutting in edges without drips
- 1/4-inch microfiber roller: Eliminates stipple marks on flat panels
- HVLP sprayer (optional but recommended): For seamless finish on raised panels
- Blue painter’s tape: Specifically designed for delicate surfaces
- Magnetic door hangers: Prevents paint transfer during drying
Paint and Primer Formulas That Actually Stick to Gloss
Water-based paints often peel on gloss surfaces within months. Instead, use:
– Bonding primer: Look for “adhesion promoter” on the label (e.g., Zinsser Bullseye 1-2-3)
– Cabinet-specific paint: Choose 100% acrylic enamel like Benjamin Moore Advance
– Avoid “all-in-one” paints: They lack the binders needed for gloss adhesion
Removing Cabinet Hardware Without Damage
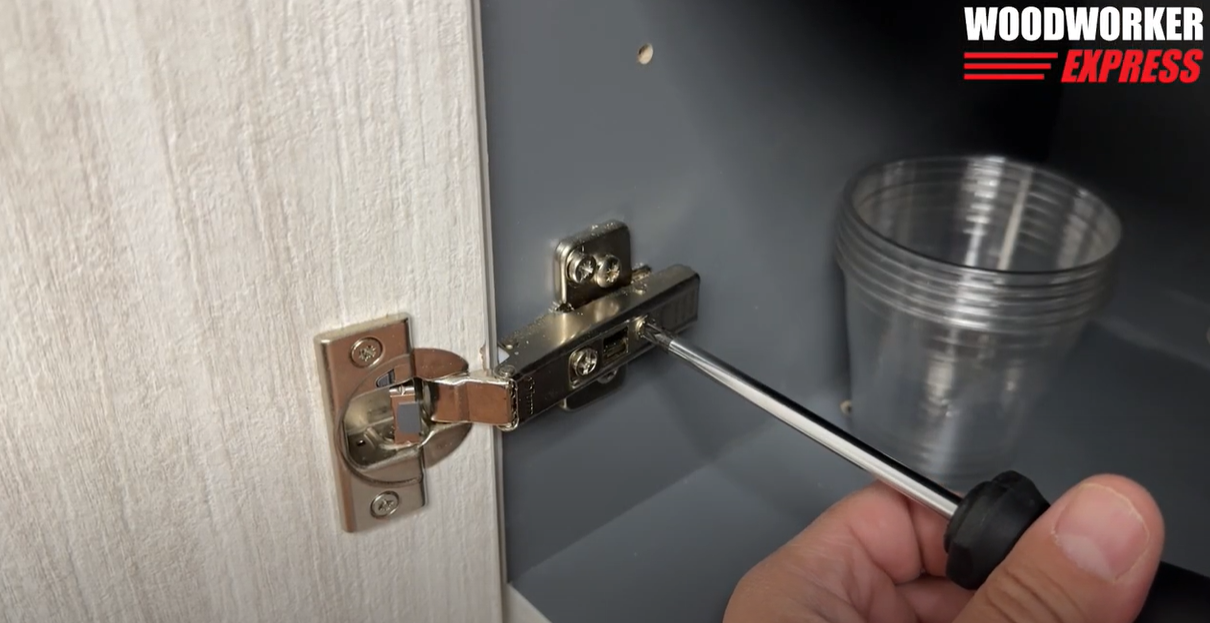
Skipping proper hardware removal causes costly mistakes. Never paint over hinges—they’ll gum up and ruin your finish. Here’s the military-grade system professionals use:
- Photograph each cabinet’s hinge configuration before removal
- Label doors with painter’s tape noting exact position (e.g., “Upper Left Corner”)
- Remove screws with a precision screwdriver to avoid stripping
- Store hardware in compartmentalized containers by cabinet location
Critical mistake: Leaving handles attached during painting. The metal creates thermal differentials that cause paint to crack around mounting points within weeks. Remove every piece—even decorative knobs.
Deep Cleaning Grease Without Water Damage
Kitchen cabinets collect invisible grease layers that repel paint. Standard cleaners leave residue that sabotages adhesion. Instead, mix 1 part trisodium phosphate (TSP) substitute with 4 parts warm water. Apply with non-scratch blue pads using vertical strokes only—horizontal wiping spreads grime. Rinse with clean water on a separate cloth, then immediately dry with microfiber towels. Test in a hidden area first; some finishes react poorly to alkaline cleaners.
Filling Imperfections for a Factory-Smooth Finish
Gloss surfaces magnify every dent and scratch. Standard wood filler cracks on cabinet doors. Use this professional alternative:
- Apply 2-part epoxy putty to deep dents (sets rock-hard in 5 minutes)
- For hairline cracks, use paintable caulk tinted to your primer color
- Sand filled areas with 220-grit wrapped around a flat block—never freehand
Pro tip: Hold your work light parallel to the surface to spot imperfections. Most DIYers miss shallow dings until after painting.
Primer Application Techniques for Gloss Surfaces
Priming gloss cabinets wrong guarantees peeling. Never apply straight to deglossed surfaces—wait 24 hours for the etching process to complete. Use a foam brush for raised panel details, switching to a microfiber roller for flat areas. Apply primer in thin, even coats moving with the wood grain. Critical warning: Thick primer coats on vertical surfaces cause runs that telegraph through your topcoat. If you see brush marks after drying, you applied too much.
How to Avoid “Ghosting” Around Edges
Edge ghosting—where the old finish shows through—occurs when primer doesn’t penetrate corners. Fix this by:
1. Dabbing primer into corners with a toothpick before full application
2. Using a 1-inch angled brush for inside corners
3. Wiping excess primer from edges with a dry microfiber cloth
Painting Gloss Kitchen Cupboards Without Brush Marks
Achieving a smooth finish on vertical surfaces requires counterintuitive techniques. Start with cabinet doors lying flat—never paint hanging cabinets. Use the “two-bucket method”: one for paint, one for cleaning your roller between coats. Apply paint in this sequence:
1. Raised panel details with a 1.5-inch brush
2. Flat center panels with a microfiber roller
3. Outside edges last
Move quickly—acrylic enamels skin over in 15 minutes. For flawless results, tip off each section with a lightly loaded brush using downward strokes only. Never paint in direct sunlight; heat causes premature drying and brush marks.
Fixing Drips Before They Harden
Drips form within 30 seconds on vertical surfaces. Keep a “drip rescue kit” handy:
– Small artist brush dipped in mineral spirits
– Microfiber cloth folded into 1-inch strips
When you spot a drip, immediately brush it downward into the nearest seam line, then smooth with the cloth. Waiting even one minute makes correction impossible.
Drying and Curing Timeline for Kitchen Durability
Most DIYers rehang cabinets too soon, ruining their finish. Gloss kitchen cupboards need specific curing phases:
– 24 hours: Safe to touch but still vulnerable
– 72 hours: Can handle light use but avoid moisture
– 14 days: Fully cured for kitchen conditions
Critical mistake: Installing hardware after 48 hours. The metal transfers body heat that softens paint, creating permanent indentations. Wait the full 14 days before reattaching hinges.
Reassembly Secrets for Long-Lasting Results
Rehanging doors incorrectly undoes all your work. Follow this sequence:
1. Hang doors without hardware first to check alignment
2. Insert screws only finger-tight to allow micro-adjustments
3. Tighten hardware gradually in a star pattern
4. Place felt pads between doors and frames to prevent paint chipping
Pro tip: Rub candle wax on hinge pins before reinserting—they’ll operate smoothly without transferring paint.
Maintenance Tips to Preserve Your Gloss Finish
Your painted cabinets will outlast originals with proper care. Avoid these common mistakes:
– Never use abrasive cleaners: They scratch the gloss layer
– Wipe spills immediately: Vinegar-based cleaners work best
– Reapply clear coat every 3 years: Use polycrylic for high-wear areas
The secret to longevity? Treat painted cabinets like fine furniture—dust regularly with a microfiber cloth dampened with furniture polish.
When to Call a Professional Painter
Some situations require expert help:
– If your cabinets have veneer lifting at edges
– When dealing with lead-based gloss finishes (pre-1978 homes)
– If previous paint attempts have created texture buildup
Professionals have industrial deglossers and spray systems that handle complex failures—but for most gloss cabinet projects, this guide gives you everything needed for success.
Transforming gloss kitchen cupboards isn’t about expensive tools—it’s about understanding why gloss repels paint and systematically overcoming each obstacle. By focusing on molecular adhesion through proper deglossing, selecting cabinet-specific materials, and respecting curing timelines, you’ll achieve a finish that looks professionally sprayed. The key insight? Gloss surfaces demand different treatment than walls or furniture. Master these specialized techniques, and your kitchen will showcase a durable, high-end finish that withstands daily kitchen chaos. Start with one cabinet door as a test—once you see how paint finally sticks to that once-rebellious surface, you’ll gain the confidence to transform your entire kitchen.


