
Moving your kitchen appliances ranks among the most stressful parts of relocation—these expensive, frequently used tools contain delicate components vulnerable to damage during transport. Learning how to pack kitchen appliances properly protects your investment and ensures you can resume cooking immediately in your new home. From coffee makers to stand mixers, these items face unique risks like shattered glass trays, damaged circuitry, and internal component displacement when improperly packed.
The right packing approach transforms what seems daunting into a manageable process. You’ll discover that starting early, using proper materials, and following systematic steps prevents the most common moving disasters. This guide provides actionable techniques specifically designed for kitchen appliances of all types, so your tools arrive ready for immediate use rather than requiring costly repairs or replacements.
Gather All Necessary Packing Supplies Before Starting
Never begin packing appliances without these essential materials ready. Having everything on hand prevents mid-process interruptions that lead to rushed decisions and damaged equipment. The foundation of appliance protection starts with the right boxes and wrapping materials—don’t substitute grocery bags or newspaper that lacks sufficient cushioning.
Must-have supplies checklist:
– Sturdy moving boxes in multiple sizes (save original appliance boxes if possible)
– Packing paper (not newspaper, which smudges and lacks cushioning)
– Bubble wrap for glass components and sharp blades
– Packing tape (reinforced for heavy items)
– Twist ties or zip ties for cord management
– Permanent marker for clear labeling
– Resealable plastic bags for small parts
Pro tip: Acquire 20% more supplies than you think you’ll need. Running out of bubble wrap while packing your blender leads to shortcuts that compromise protection. For heavy appliances like stand mixers, reinforce box bottoms with an “X” pattern of packing tape to prevent collapse under weight.
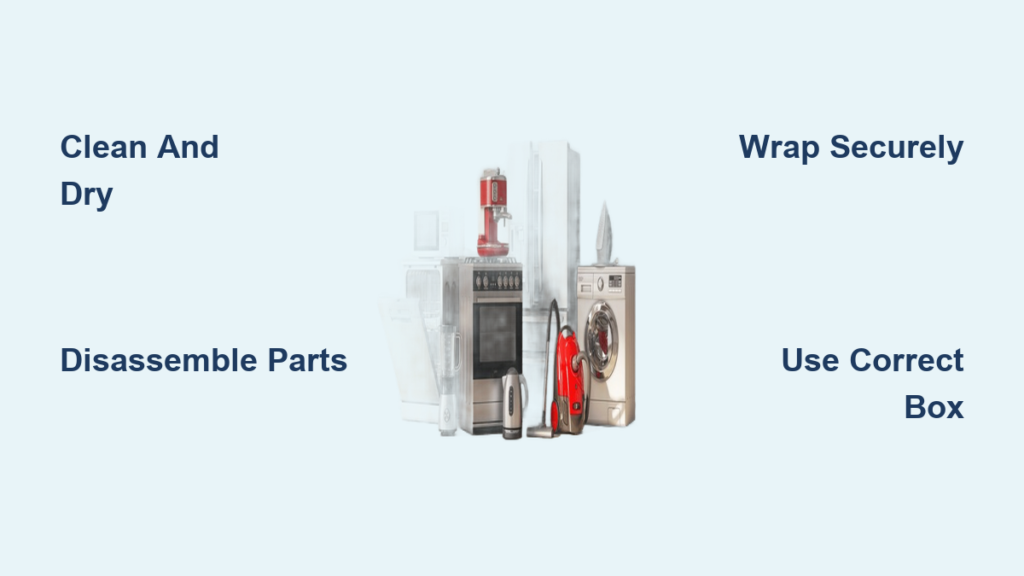
Clean and Dry Appliances Completely Before Packing
Skipping thorough cleaning causes mold growth and unpleasant odors during transit—especially problematic for appliances stored in humid conditions. Food residue trapped inside toasters or coffee makers creates breeding grounds for bacteria that damage internal components. Unplugging appliances 24-48 hours before packing ensures complete drying, critical for items like dishwashers and washing machines where residual moisture causes mold.
Appliance-specific cleaning tasks:
– Toasters: Shake out crumbs, wipe interior with damp cloth
– Microwaves: Remove and wash turntable, clean interior splatters
– Blenders: Disassemble, wash pitcher and blades, dry thoroughly
– Coffee makers: Run water cycle, clean carafe, wipe exterior
– Dishwashers: Run empty wash cycle, leave door open 48 hours
Warning: Never pack appliances while damp. Moisture trapped inside creates condensation that damages electronic components and promotes mold growth. Leave doors open for at least 24 hours after cleaning to ensure complete drying, especially for appliances with internal compartments.
Disassemble Components to Prevent Damage During Transit
Removing detachable parts serves three critical purposes: it reduces packing size, prevents fragile components from breaking, and ensures all pieces stay together for easy reassembly. Loose beaters rattling inside a stand mixer box can damage the motor housing, while unsecured blender blades scratch the pitcher during transit.
Components requiring removal:
– Power cords (coiled with twist ties)
– Removable trays and racks
– Blades and cutting attachments
– Beaters and mixing paddles
– Glass containers and lids
– Control knobs and handles
Place small parts in labeled plastic bags and tape them directly to the main appliance body. This prevents the “where did I put those mixer attachments?” panic upon unpacking. For appliances with non-removable doors (like microwaves), use packing tape to secure them closed during transit.
Properly Wrap Each Appliance for Maximum Protection
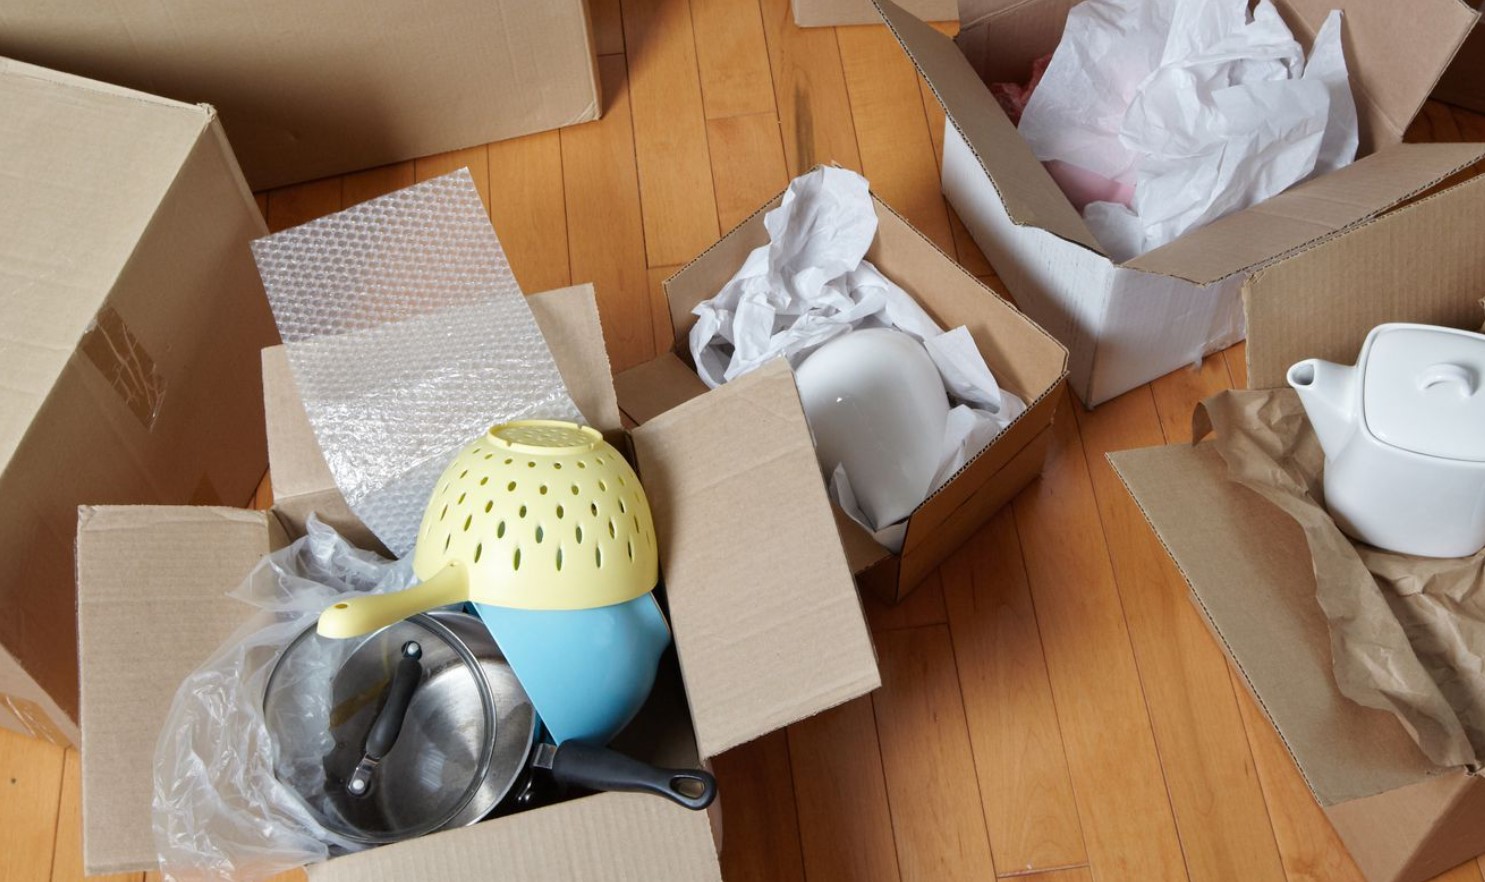
Two to three layers of packing paper provides baseline protection for most appliances. Wrap tightly and secure with tape at multiple points to prevent shifting during handling. For items with glass components (blender pitchers, microwave turntables), add bubble wrap over the paper for puncture resistance.
Special wrapping considerations:
– Sharp blades: Wrap in multiple bubble wrap layers before bagging
– Irregular shapes: Add extra padding at protruding handles and control panels
– Electrical plugs: Keep separate from appliance surfaces to prevent scratches
Never wrap appliances in plastic bags—they trap moisture and create condensation. Paper-based materials allow airflow while providing cushioning. For heavy items like stand mixers, focus extra padding on the mixing head connection point where impact damage most commonly occurs.
Select Correct Box Sizes for Different Appliance Types
Using improperly sized boxes ranks among the top causes of appliance damage. Oversized boxes require excessive filler material and allow dangerous shifting, while undersized boxes compress appliances or prevent proper closure. Original manufacturer boxes provide ideal sizing with custom foam inserts—use them if available.
Box size guidelines:
– Small appliances (toasters, coffee makers): Small to medium boxes
– Medium appliances (blenders, food processors): Medium boxes
– Large appliances (microwaves, stand mixers): Large boxes
– Extra-large appliances: Use moving blankets instead of boxes
Reinforce box bottoms with tape in an “X” pattern before placing heavy appliances inside. Line boxes with 2-3 inches of crumpled packing paper to absorb shock during transit. The appliance should fit snugly with no more than 1-2 inches of space around it after wrapping.
Secure Small Appliances in Boxes Without Shifting
Small kitchen appliances include all countertop devices that plug into wall outlets—blenders, toasters, coffee makers, air fryers, and food processors. These items suffer damage most frequently from shifting during transit, so proper immobilization is critical.
After placing the wrapped appliance in the prepared box, fill all gaps with crumpled packing paper. The appliance should be completely immobilized—shake the closed box gently to test for movement. If you hear shifting, add more filler material. Never pack multiple small appliances in one box unless separated by substantial padding.
Label boxes clearly with:
– “FRAGILE” in large letters
– Appliance name (e.g., “Breville Toaster”)
– Room destination (“Kitchen”)
– Orientation arrows showing correct upright position
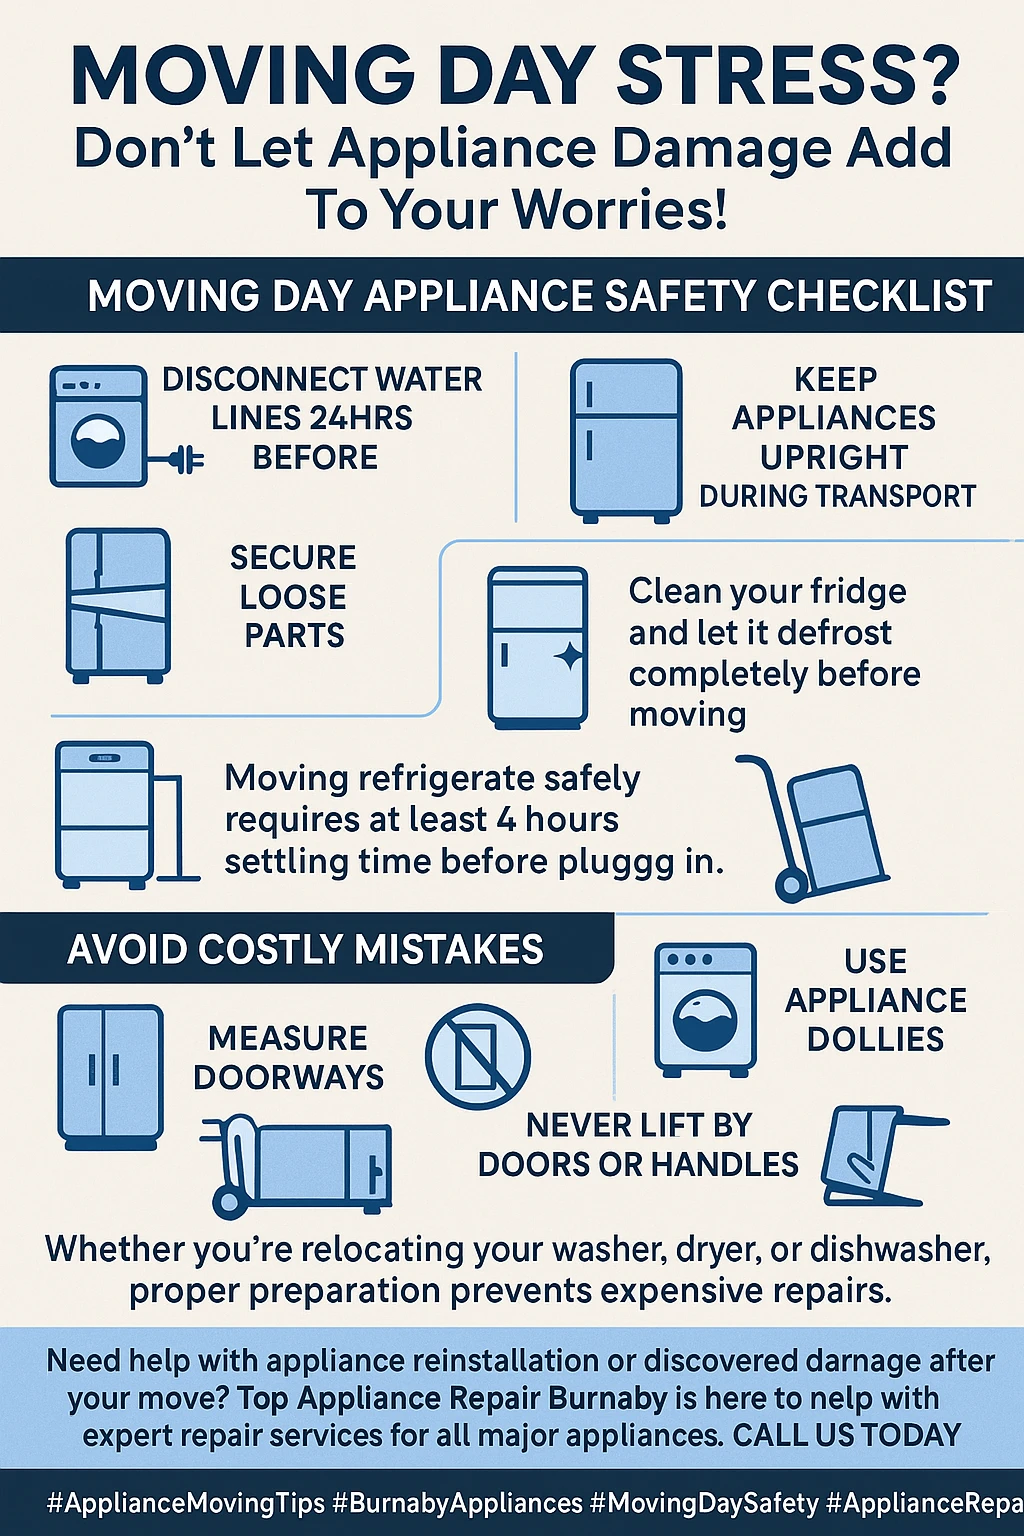
Prepare Refrigerators and Freezers for Safe Transport
Refrigerators require special handling due to their complex cooling systems. Turn off and unplug 24 hours before moving to allow complete defrosting. Remove all shelves, drawers, and interior components—wrap these separately. Wipe down interior compartments and leave the door open for 48 hours to ensure complete drying.
Critical refrigerator moving rules:
– Always transport upright (never lay on side)
– Secure doors with bungee cords or plastic straps
– Wrap entire unit in moving blankets
– Allow 24 hours upright settling before plugging in at new location
Laying a refrigerator on its side causes compressor oil to flow into cooling lines, potentially causing permanent damage when restarted. If tilting is unavoidable for doorway clearance, minimize time in non-upright position and allow extended settling time before use.
Move Washing Machines Without Damaging Internal Components
Washing machines contain delicate drum suspension systems easily damaged during transport. Remove all clothing and detergent, then run an empty cycle to clean interior. Drain remaining water using the drain hose or pump function.
If available, reinstall original shipping bolts to secure the drum. Without these, stuff thick towels into the drum to prevent movement. Wrap the entire machine in moving blankets, paying special attention to corners. Always move washing machines upright—never tilt beyond 15 degrees.
Warning: Have a professional plumber disconnect and reconnect water lines. DIY attempts often lead to leaks that cause water damage in your new home.
Pack Stand Mixers and Specialty Appliances Correctly

Stand mixers require special attention due to their weight distribution and vulnerable mixing head. Use a reinforced box with an “X” taped bottom. Wrap the mixer thoroughly, adding extra padding around the head attachment point. Place the bowl separately with padding between it and the mixer body.
For microwaves, remove and separately wrap the glass turntable in bubble wrap. Coil the cord and tape it to the back. Pack the microwave alone in its box—never with other appliances—to prevent impact damage to the sensitive electronics.
Avoid These 7 Common Kitchen Appliance Packing Mistakes
Most damaging errors that ruin appliances during moves:
1. Packing damp appliances → Causes mold and electrical damage
2. Leaving gaps in boxes → Allows shifting that damages internal components
3. Rushing the drying process → Traps moisture that creates condensation
4. Forgetting to remove batteries → Leads to corrosion from temperature changes
5. Using boxes that are too large → Requires excessive filler and allows movement
6. Packing multiple fragile items together → Causes collision damage during transit
7. Not securing loose parts → Results in lost components and difficult reassembly
Final Checks Before Loading Appliances on Moving Day
Complete these critical steps 24 hours before movers arrive:
– Double-check all “FRAGILE” labels are visible
– Verify cords are secured and small parts are bagged
– Confirm refrigerators have been upright for 24+ hours
– Photograph valuable appliances for insurance documentation
– Identify which boxes contain immediate-need items (coffee maker)
When loading the truck, place appliance boxes near the front where they won’t be buried under heavy furniture. If transporting appliances yourself, secure them with straps to prevent shifting during transit. Upon arrival, unpack essential appliances first and allow temperature acclimation before plugging in.
By following these precise steps for how to pack kitchen appliances, you’ll ensure your valuable tools arrive ready for immediate use. Proper packing prevents the frustration of discovering damaged equipment after your move—saving you both money and the inconvenience of replacement delays. Your future self will thank you when you plug in that perfectly packed coffee maker on moving day morning.


