
Picture this: you’re trying to make dinner after a long workday, but you can’t find the baking sheet for your sheet-pan meal. You dig through a jumbled mess of pots, pans, and mismatched containers, knocking over a stack of Tupperware that sends lids flying across your tiny apartment kitchen. This frustrating scenario is all too common for apartment dwellers working with limited cabinet space. Learning how to organize kitchen cabinets in an apartment transforms your cooking experience from chaotic to efficient—without requiring permanent changes that might jeopardize your security deposit. In this guide, you’ll discover practical, renter-friendly strategies specifically designed for apartment kitchen constraints that maximize every inch of your valuable storage space.
Apartment kitchens typically come with frustrating limitations: shallow cabinets, awkward layouts, and storage designed for minimal cooking. But with smart organization techniques, you can create a functional system that makes meal preparation enjoyable rather than stressful. The best part? These solutions require no drilling, no permanent modifications, and won’t leave your cabinets looking like a storage unit explosion. By the end of this guide, you’ll have a clear roadmap to transform your cluttered cabinets into an intuitive, streamlined system that works with your apartment’s unique constraints.
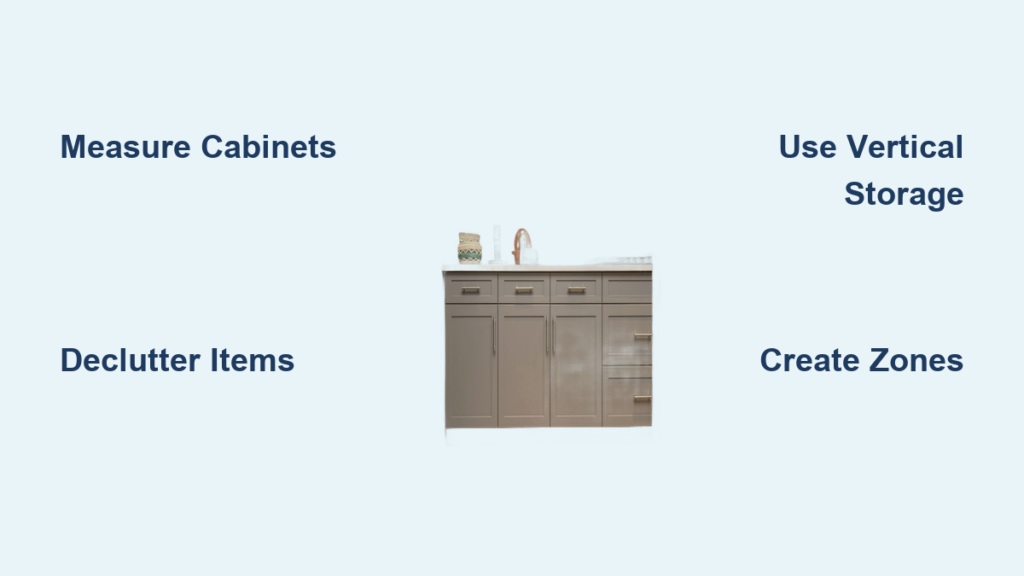
Transform Your Cabinet Assessment Process
Stop guessing what will work—start with precise measurements and honest usage patterns. Empty every cabinet completely and measure the interior dimensions with a tape measure, noting exact height, width, and depth of each space. Pay special attention to obstacles like plumbing pipes under sinks, awkward corners, or fixed shelves that can’t be adjusted—these limitations dictate what organization solutions will actually fit.
Group all your kitchen items into three distinct categories based on actual usage frequency: “daily essentials” (plates, glasses, coffee mugs), “weekly use” (specialty pans, baking equipment), and “seasonal/occasional” (holiday dishes, specialty appliances). Be brutally honest—how often do you really use that waffle maker or fondue set? This categorization reveals which items deserve prime cabinet real estate versus storage in less accessible areas.
Document your cabinet conditions with smartphone photos before and after emptying. These visual references help you identify problem areas like wobbly shelves, damaged hinges, or unused vertical space that could be optimized. This assessment phase typically takes 45-60 minutes but saves hours of trial-and-error organization attempts later.
Identify Your Most Pressing Cabinet Problem
What makes you sigh every time you open your cabinets? Is it the avalanche of baking sheets when you just need a colander? The mysterious black hole where lids disappear? Pinpointing your specific frustration points helps target solutions where they’ll have the most impact. Most apartment dwellers struggle with one or more of these common issues: deep cabinets where items get lost in the back, awkward corner spaces that go unused, or vertical space that’s completely wasted.
Create a Cabinet Usage Map
Sketch a simple diagram of your kitchen layout and note how you move through the space during meal preparation. Which cabinet do you open first when making coffee? Where do you naturally reach for cooking oil when sautéing? Mapping your actual workflow reveals which cabinets should hold specific item categories based on proximity to your cooking zones—stove, sink, and prep areas.
Execute a Strategic Decluttering Session
Apartment cabinet organization starts with ruthless elimination of unnecessary items—this step alone often creates 20-30% more usable space. Work through each category systematically, using three clearly labeled bins: “Keep,” “Donate,” and “Trash.” Focus first on expired food items, chipped dishes (potential bacterial hazards), and containers without matching lids that serve no purpose.
For the “Donate” pile, prioritize items that still function but don’t fit your current cooking habits. Apartment living rewards minimalism—consider whether you really need four different spatulas or multiple sets of holiday dishes. Be especially critical of single-use gadgets (avocado slicers, egg separators) that occupy valuable space but rarely get used. Local donation centers, Buy Nothing groups, or even leaving a “free” basket in your building lobby can find new homes for these items.
How to Decide What Stays in Limited Cabinet Space
Apply the “one-year rule” strictly: if you haven’t used it in the past 12 months, remove it from your active cabinet rotation. For sentimental items (wedding gifts, inherited dishes), store them in under-bed containers rather than prime cabinet real estate. Prioritize multi-functional items over single-use tools—your colander that doubles as a steamer basket earns its space more than a dedicated corn stripper.
Create a “Maybe” Holding Area
Place questionable items in a clearly marked box and store it out of your kitchen (closet, under-bed storage). If you haven’t needed to open that box in 90 days, donate everything inside without hesitation. This technique prevents the common decluttering mistake of keeping items “just in case” that never actually get used.
Implement Vertical Storage Solutions That Won’t Damage Cabinets

Maximize every inch of height with stackable shelf risers that create additional storage levels without permanent installation. Choose models with non-slip rubber feet that won’t scratch cabinet surfaces and adjustable heights to accommodate different container sizes. These simple additions effectively double your storage capacity in upper cabinets where vertical space often goes completely unused.
Transform deep cabinets from black holes into organized spaces with vertical file organizers or magazine holders. Store cutting boards, baking sheets, and cookie trays upright rather than stacked—this simple change makes every item immediately visible and accessible without digging through piles. For smaller items like pot lids, mount a simple adhesive-backed lid organizer on the inside of cabinet doors.
Optimize Door Storage Without Leaving Residue
Use removable adhesive hooks or over-the-door organizers specifically designed for kitchen use. Clear pocket organizers hold spice jars, sauce packets, and kitchen twine within easy reach. Magnetic strips mounted inside cabinet doors (using removable adhesive pads) keep metal tools like measuring spoons and scissors visible and accessible without taking up shelf space.
Create Pull-Out Access in Deep Cabinets
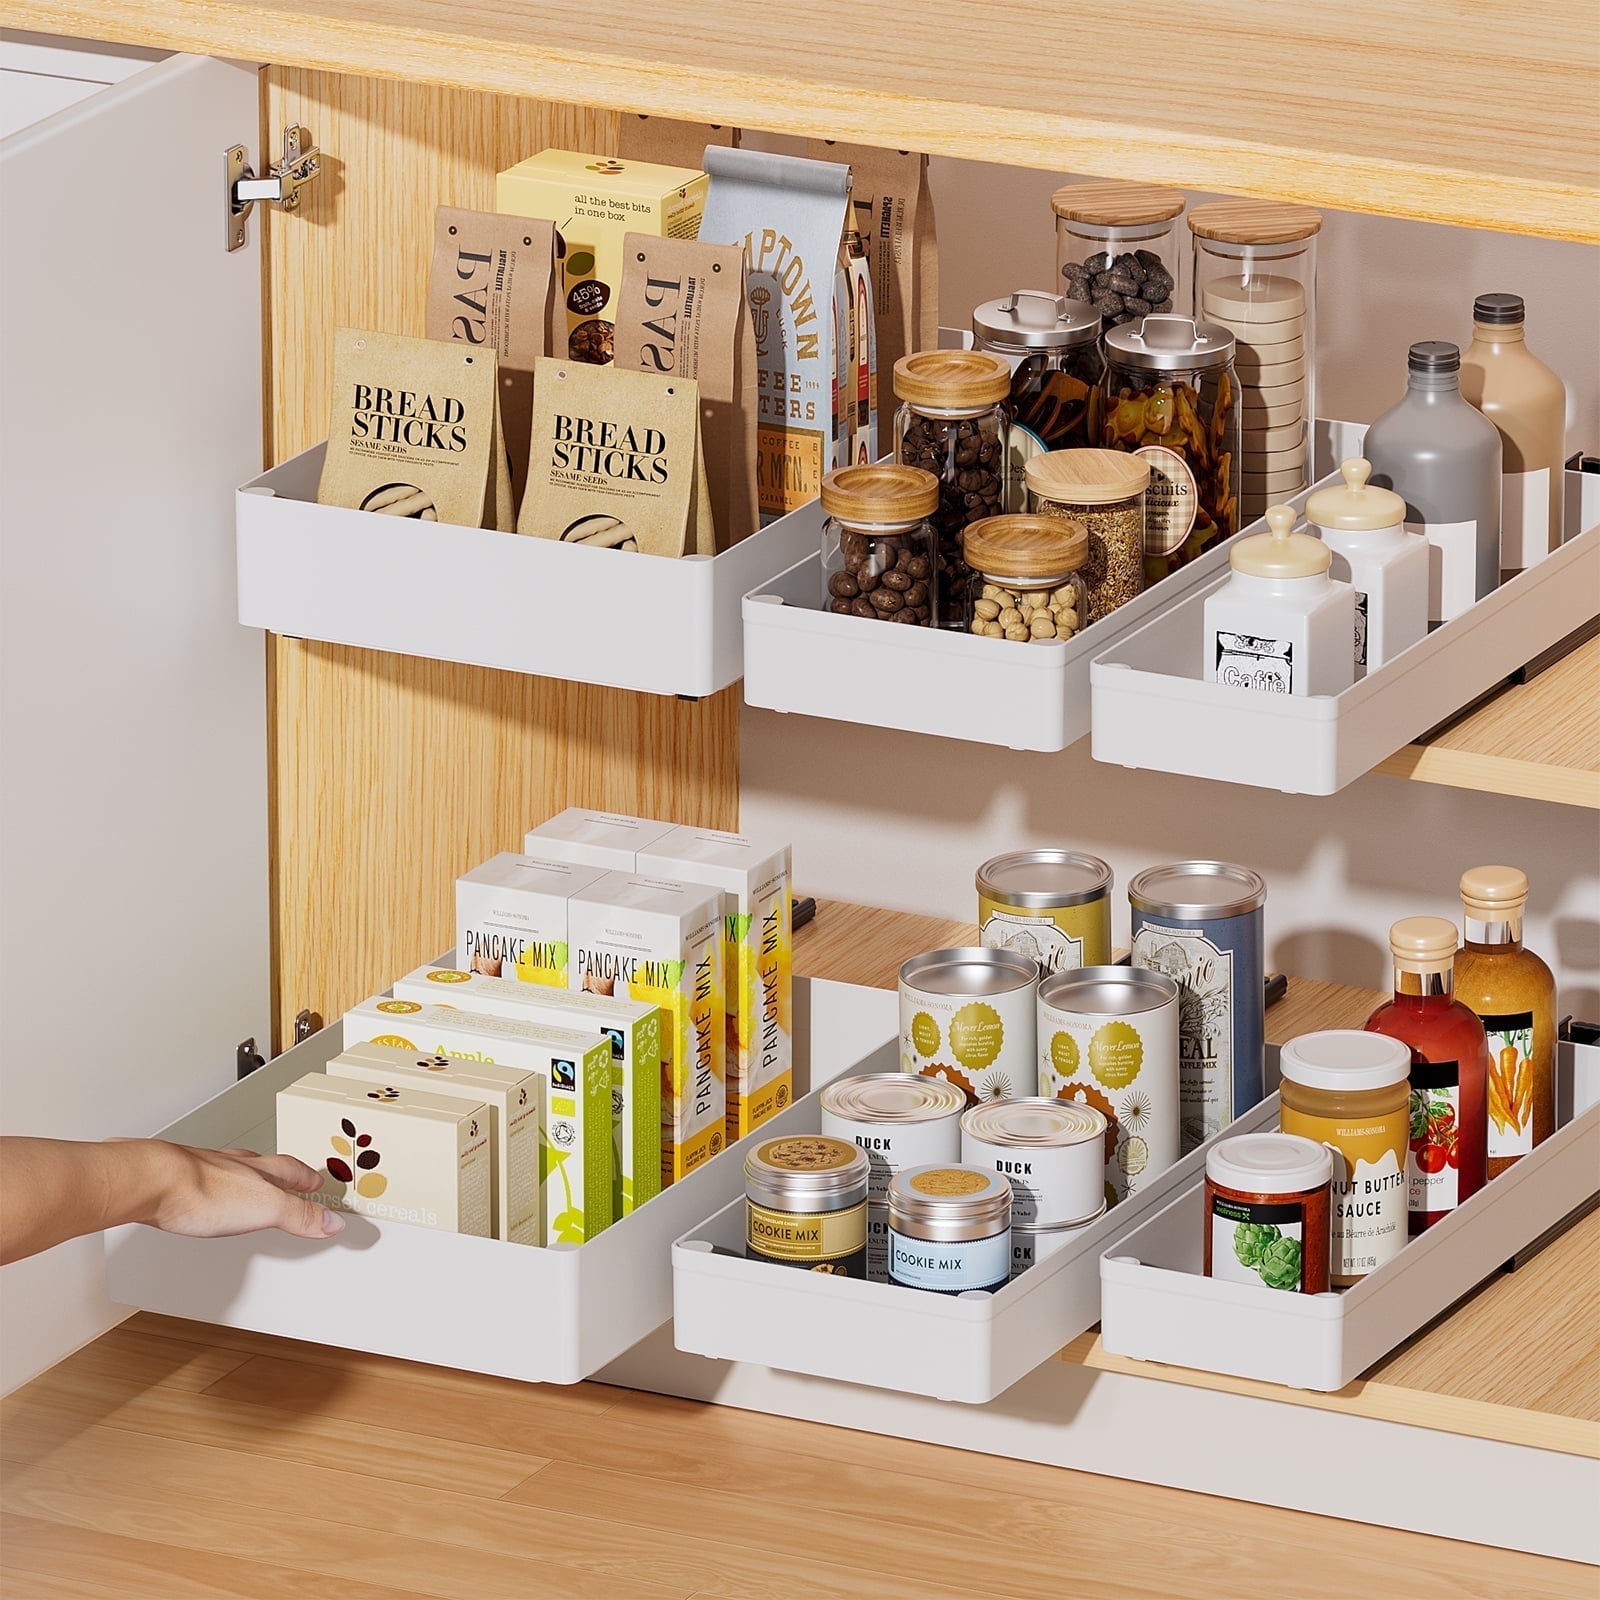
Install stackable bins with handles that function like drawers, bringing items from the back of deep cabinets to the front with a simple pull. Clear bins let you identify contents at a glance, while labeled bins create accountability for household members. These freestanding solutions require no installation and can be rearranged as your storage needs evolve.
Establish Practical Kitchen Zones Based on Workflow
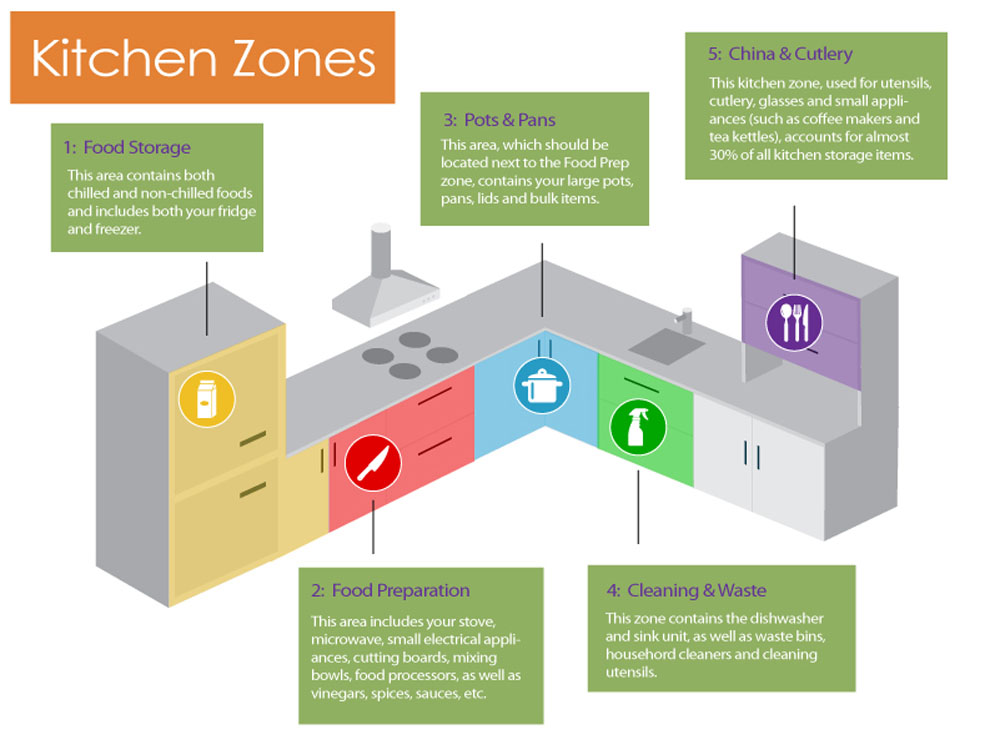
Group items by cooking function rather than traditional storage categories. Create a “baking zone” with measuring cups, mixing bowls, flour, and sugar in one cabinet so you can gather everything needed for recipes in one spot. Position your “cooking zone” (oils, spices, utensils, and pans) in the cabinet nearest your stove to minimize movement while preparing meals.
Designate a “daily dining zone” for plates, glasses, and cutlery in the cabinet closest to your eating area or dishwasher. Keep your coffee and tea essentials together in a cabinet near your morning prep space. This zone-based approach reduces wasted motion and makes cooking more efficient in compact apartment kitchens.
Adapt Zones to Your Actual Cooking Habits
If you primarily use the microwave and rarely bake, your zones will look different than someone who cooks elaborate meals daily. Be honest about your real usage patterns—there’s no point dedicating prime cabinet space to a stand mixer you haven’t used in two years. Your organization system should reflect how you actually use your kitchen, not how you think you should use it.
Maintain Your System with Simple Daily Habits
Prevent clutter from creeping back with the “one-minute rule”: if putting an item away takes less than 60 seconds, do it immediately rather than setting it aside. Return items to their designated zones as part of your cleanup routine—don’t wait until everything is dirty to address organization.
Schedule a quick 5-minute cabinet tidy every Sunday while putting away groceries. This micro-maintenance prevents the gradual accumulation of misplaced items that eventually requires another full reorganization session. When adding new items to your kitchen, immediately assign them to an existing zone rather than creating temporary “just until I figure it out” piles.
Teach Household Members Your System
Create simple visual cues like color-coded labels or picture icons for children or non-English speakers. Explain the logic behind your zones (“all baking items live here so we can find them when making cookies”) rather than just demanding compliance. When everyone understands why items belong in specific places, they’re more likely to maintain the system.
Final Thoughts
Mastering how to organize kitchen cabinets in an apartment doesn’t require expensive renovations or permanent changes—it demands smart, strategic use of the space you have. Start with one problem cabinet this weekend using the assessment and decluttering techniques outlined here. Once you experience the time savings and reduced stress of a well-organized cabinet, you’ll be motivated to extend the system throughout your kitchen. Remember that perfect organization evolves with your changing needs—what works today might need adjustment in six months, and that’s perfectly okay. The goal isn’t a Pinterest-perfect kitchen but a functional space that makes your daily cooking routines smoother and more enjoyable within your apartment’s unique constraints.


