
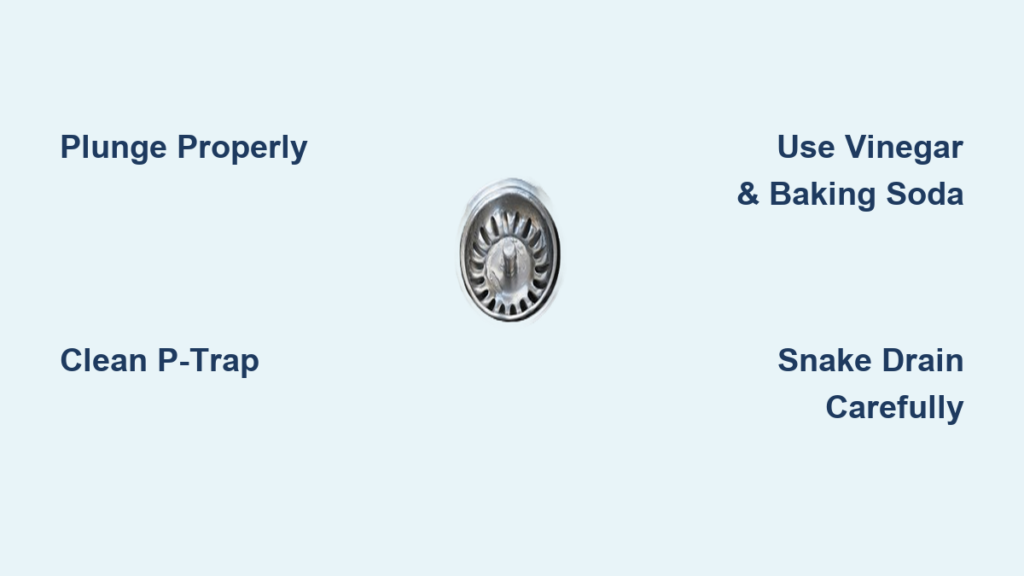
Water pooling in your kitchen sink after washing dishes is more than just an inconvenience—it’s a productivity killer that threatens to ruin your meal prep, cleanup, and entire kitchen workflow. When your sink won’t drain, that standing water creates a breeding ground for bacteria while forcing you to abandon basic kitchen functions. The good news is that 90% of kitchen sink clogs can be resolved with DIY methods before you need to call a plumber. This guide delivers proven techniques to open your kitchen sink drain quickly, safely, and effectively—whether the blockage is a minor grease buildup or a stubborn obstruction deep in your pipes.
Kitchen sink clogs typically form from a dangerous cocktail of cooking grease, food particles, coffee grounds, and soap scum that gradually accumulates in your drain system. Unlike bathroom sinks that mainly deal with hair and soap, kitchen clogs present unique challenges because cooking oils solidify as they cool, creating concrete-like blockages that resist simple fixes. Understanding where the clog resides—whether it’s right at the drain opening, trapped in the P-trap, or buried deeper in your plumbing—determines which method will work fastest to restore proper drainage.
Grab These Must-Have Tools Before Starting
Having the right equipment ready prevents mid-process frustration and wasted time when your sink is already overflowing. For immediate action, a cup plunger specifically designed for flat surfaces creates the perfect seal over kitchen sink drains—unlike toilet plungers with extended flanges that won’t work effectively here. Keep rubber gloves within reach since you’ll inevitably encounter slimy debris, and position a five-gallon bucket directly beneath your sink to catch gallons of contaminated water.
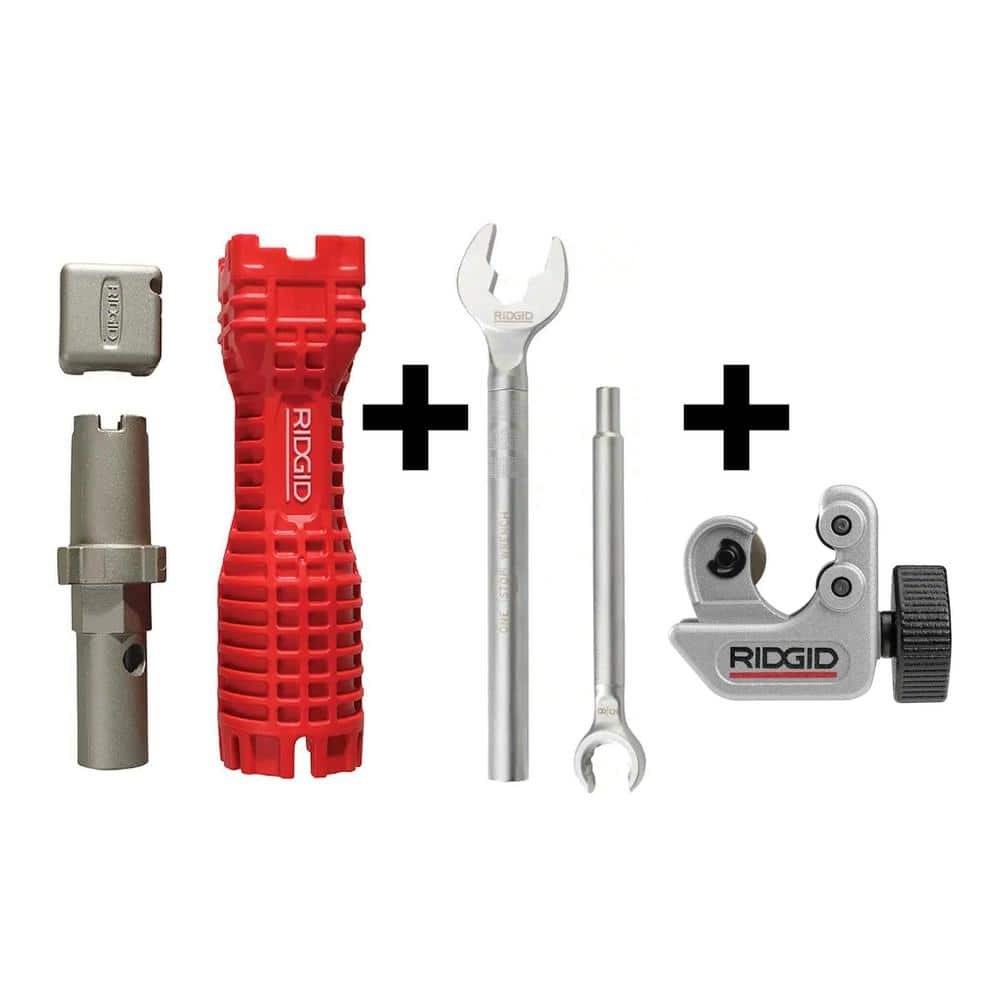
For tougher obstructions, a 25-foot hand-crank drain snake proves invaluable for reaching beyond the P-trap into branch lines. The Ridgid Model 5-15 is particularly effective for kitchen drains with its compact design and rotating head that breaks through grease balls. Supplement this with a Zip-It tool—a flexible plastic rod with barbed hooks that grabs hair and food particles—for under $3 at any hardware store. Never attempt P-trap disassembly without channel-lock pliers and a flashlight; the difference between a watertight reassembly and a flooded cabinet depends on these essentials.
What to Do When You Lack Professional Tools
Don’t have a plunger or drain snake handy? Improvise with household items while maintaining effectiveness. Straighten a wire coat hanger but leave a small hook at the end to fish out debris from accessible drain openings. Replace chemical cleaners with a combination of dish soap and hot water—pump half a cup of Dawn into the drain followed by a kettle of boiling water to cut through grease. For suction power without a plunger, use a wet rag pressed firmly over the overflow hole while plunging to maximize pressure changes that dislodge clogs.
Execute Perfect Plunger Technique in 4 Steps
Many homeowners fail with plunging because they use improper technique rather than insufficient force. Start by removing excess standing water with a cup until only 2 inches remain—enough to create a seal but not so much that you flood your kitchen during vigorous plunging. Wet the plunger’s rubber bell thoroughly, then press it directly over the drain opening while simultaneously covering the overflow hole with a wet rag (critical for creating maximum suction in kitchen sinks).
How to Generate Maximum Plunging Power
Create an airtight seal by pressing down firmly until the plunger compresses completely, then execute sharp, vertical thrusts at a rate of one plunge per second. Maintain consistent pressure throughout 20-30 plunges—don’t lift the plunger between strokes as this breaks the vacuum effect. After each set, quickly pull the plunger straight up to create a powerful suction release that often dislodges stubborn clogs. If water begins draining between plunges, immediately switch to pulling motions to draw the obstruction upward.
Deploy Natural Drain Cleaners That Actually Work
Chemical drain openers damage pipes and fail on grease clogs, but the baking soda-vinegar reaction creates natural pressure that breaks down organic buildup without corrosion. Begin by pouring ½ gallon of near-boiling water (not quite boiling to prevent PVC damage) to soften grease deposits. Immediately follow with ½ cup baking soda poured slowly down the sides of the drain to maximize contact with pipe walls.
Why Most People Fail With Baking Soda & Vinegar
The critical mistake 80% of homeowners make is not containing the reaction. After adding one cup of white vinegar, instantly cover the drain with a wet rag or rubber stopper—this traps carbon dioxide gas inside your pipes where it creates pressure that forces clogs through narrow sections. Wait exactly 15 minutes (set a timer), then flush with another ½ gallon of hot water. For severe grease blockages, repeat this process twice with 30-minute intervals between treatments, never mixing with chemical cleaners that create toxic chlorine gas.
Remove and Clean the P-Trap Like a Pro

When surface methods fail, the clog likely resides in the U-shaped P-trap that collects debris before it enters your main drain line. Place your bucket directly beneath the trap, then use channel-lock pliers to loosen the slip nuts at both ends—turn counterclockwise while stabilizing the trap with your other hand to prevent pipe twisting. For PVC pipes, hand-tighten connections when reassembling; for metal traps, give nuts one-quarter turn beyond finger-tight with pliers.
What to Do When Water Gushes Out
Expect 1-2 gallons of contaminated water to empty when disconnecting the trap—this is normal. If water flows freely through the disconnected trap but not when installed, the obstruction lies in the tailpiece (the straight pipe from sink to trap). Remove this section by loosening its single slip nut, then use a bottle brush or wire hanger to clear the vertical pipe. When reassembling, apply pipe dope to slip nut threads for a watertight seal and test with slow water flow before tightening connections completely.
Snake Your Drain Without Making It Worse
Improper snaking can scratch pipes or push clogs deeper, so feed your drain snake slowly while rotating the handle clockwise. Insert only 15-20 feet maximum for kitchen sinks—any further risks damaging connections in branch lines. When you feel resistance, rotate the snake while applying gentle forward pressure; never force it as this can kink the cable inside your pipes.
How to Retrieve Maximum Debris
Once you’ve broken through the clog, slowly retract the snake while continuing to rotate—it’s this retraction phase that actually pulls debris out. For hair and fiber clogs, reverse rotation to a counterclockwise direction as you withdraw to better entangle material. After clearing, flush with hot water for two minutes while feeding the snake just past the P-trap to ensure complete removal of dislodged material.
Implement These Daily Habits to Prevent Future Clogs
Stop clogs before they start with three non-negotiable routines. First, never pour cooking oil down the drain—even “liquid” oils like canola solidify when cooled. Instead, pour into an old coffee can and dispose in trash once solidified. Second, install a fine-mesh strainer that catches rice grains, vegetable peels, and coffee grounds—empty it directly into compost or trash after every use. Third, run hot water for 30 seconds after each dishwashing session to flush residual grease before it cools and adheres to pipes.
Monthly Maintenance That Doubles Drain Lifespan
Once monthly, pour ¼ cup of washing soda (not baking soda) down the drain followed by 4 cups boiling water—this stronger alkali dissolves soap scum that baking soda can’t touch. Follow with a cup of white vinegar to neutralize and deodorize. For garbage disposal drains, freeze vinegar in ice cube trays with lemon peels, then grind these cubes weekly to scrub disposal blades and pipes.
Recognize These 5 Signs You Need a Professional Immediately
Certain symptoms indicate problems beyond DIY capabilities. If water backs up in other fixtures when running the kitchen sink, you likely have a main line blockage requiring professional hydro-jetting. Persistent foul odors after cleaning suggest broken seals or cracked pipes. Gurgling sounds from drains indicate air trying to escape through clogs—a precursor to complete blockage. Multiple failed attempts with different methods mean the clog sits beyond your reach in branch lines. Most critically, any sign of water damage under cabinets requires immediate professional assessment to prevent structural damage.
Restoring your kitchen sink’s functionality doesn’t require plumbing expertise—just the right sequence of proven methods applied with proper technique. Start with the simplest solutions like plunging and natural cleaners before progressing to mechanical approaches, always prioritizing pipe safety over speed. Implement the prevention strategies consistently, and you’ll dramatically reduce future clogs while extending your plumbing system’s lifespan. When in doubt, don’t hesitate to call a licensed plumber—the $200 service call beats $2,000 in water damage repairs from a botched DIY attempt. Your kitchen’s drainage health is worth protecting with the right knowledge and timely action.


