
Your kitchen faucet handle suddenly refuses to budge. You twist harder, but it’s frozen solid—no water flows for dinner prep. Or worse, that persistent drip under the sink is eating away at your sanity (and your water bill). When your faucet won’t open properly, it’s not just inconvenient—it halts meal prep, dishwashing, and basic hygiene. How to open a kitchen faucet safely is critical DIY knowledge that prevents costly plumber visits. Most homeowners waste hours forcing stuck components, only to break expensive parts. This guide reveals precise disassembly methods for all major faucet types—without stripping screws or cracking ceramic discs. You’ll learn to diagnose handle resistance in 90 seconds, remove stubborn components safely, and fix leaks at the source. Forget generic tutorials; we’re targeting the exact failure points that trap DIYers.
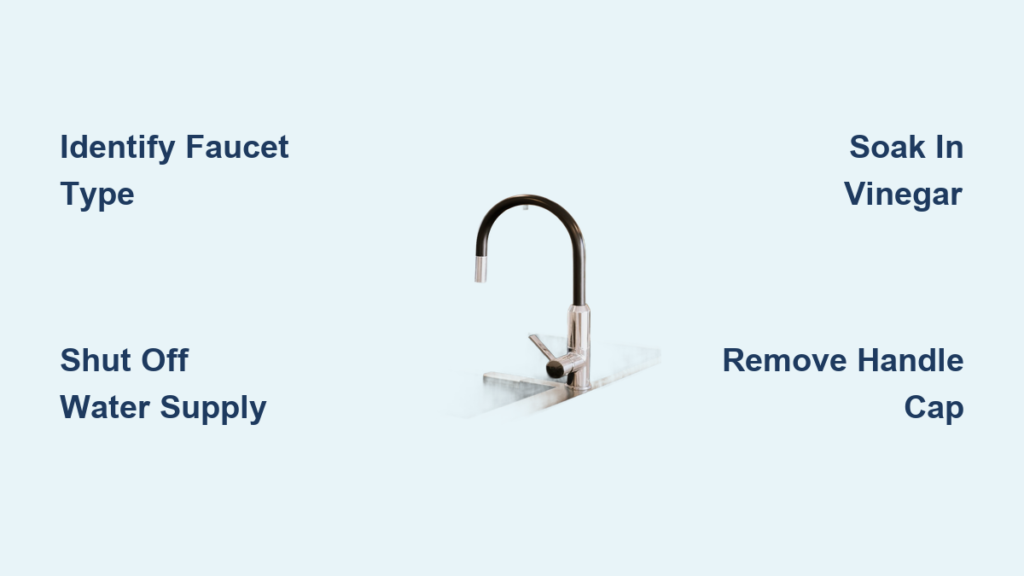
Why Your Kitchen Faucet Handle Won’t Budge (And How to Fix It)
Stuck faucet handles usually stem from mineral buildup, corroded screws, or deformed internal components. Hard water deposits cement the handle to the stem over time, while neglected maintenance causes plastic cartridges to swell. Forcing a frozen handle often snaps the stem—turning a $5 repair into a $150 replacement. Before grabbing tools, diagnose the culprit:
– Test handle wiggle: If it rocks loosely but won’t lift, the retaining screw is stripped
– Check for leaks: Water seeping around the base indicates failed O-rings
– Assess temperature control: Single-handle faucets that won’t rotate suggest cartridge corrosion
Pro tip: Soak the handle base overnight with vinegar before attempting disassembly. The acid dissolves mineral bonds without damaging chrome finishes. Never use pliers directly on handles—always wrap jaws with electrical tape to prevent scratches.
How to Identify Your Faucet Type in Under 2 Minutes

Your repair approach depends entirely on the faucet mechanism. Misidentifying it guarantees broken parts:
| Faucet Type | Key Visual Clues | Common Brands |
|---|---|---|
| Cartridge | Single handle, no visible cap | Moen, Delta (some models) |
| Ceramic Disc | Wide cylindrical body, two handles | Kohler, Grohe |
| Compression | Separate hot/cold handles with caps | Older American Standard |
| Ball | Rounded cap covering rotating ball | Price Pfister |
Critical check: Look for manufacturer logos under the spout aerator. Moen cartridges often have blue handles, while Delta uses red. If your faucet has a decorative cap over the handle base, pry it off gently with a flathead screwdriver—it hides the retaining screw.
Essential Safety Steps Before Opening Any Faucet

Skipping these steps risks flooding your kitchen or electrocuting yourself near appliances. Always:
1. Shut off water at the source: Locate shutoff valves under the sink (turn clockwise until tight). If none exist, shut off the main house supply.
2. Relieve line pressure: Open the faucet fully to drain residual water—this prevents geyser-like spurts when disassembling.
3. Plug the sink drain: Stuff a rag inside to catch dropped screws or springs. A lost screw in the P-trap means disassembling pipes later.
Warning: Never skip step 2. Pressurized lines can blast apart cartridge assemblies, spraying water 10+ feet. Test by turning handles after shutting valves—if water still flows, you missed a valve.
Tools You Need to Disassemble Kitchen Faucets
Most repairs require only 5 basic tools. Forcing components with wrong tools causes 70% of DIY failures:
- 6mm Allen wrench (for Moen cartridge setscrews)
- Adjustable wrench (8-inch for handle nuts)
- Flathead screwdriver (prying caps, 1/8-inch tip)
- Needle-nose pliers (extracting broken stems)
- White vinegar (for mineral dissolution)
Pro tip: Wrap wrench jaws with rubber bands for grip on rounded nuts. For ceramic disc faucets, add a specialized cartridge puller ($12 on Amazon)—regular pliers crack the ceramic.
Opening a Compression Faucet Handle Without Damage
Compression faucets (common in pre-1990s homes) leak when rubber washers degrade. Stuck handles usually mean corroded stem nuts.
How to Remove a Frozen Compression Handle
- Pry off the decorative cap on the handle top with a flathead screwdriver
- Unscrew the exposed Phillips screw (soak in vinegar first if stuck)
- Grip the stem hex nut with an adjustable wrench—turn counterclockwise
- If the nut won’t budge, tap it gently with a hammer and chisel to break corrosion bonds
Critical mistake to avoid: Never twist the handle while the stem nut is tight. This shears the valve stem, requiring full faucet replacement. If the handle still resists after step 2, the screw is likely stripped—use a screw extractor bit.
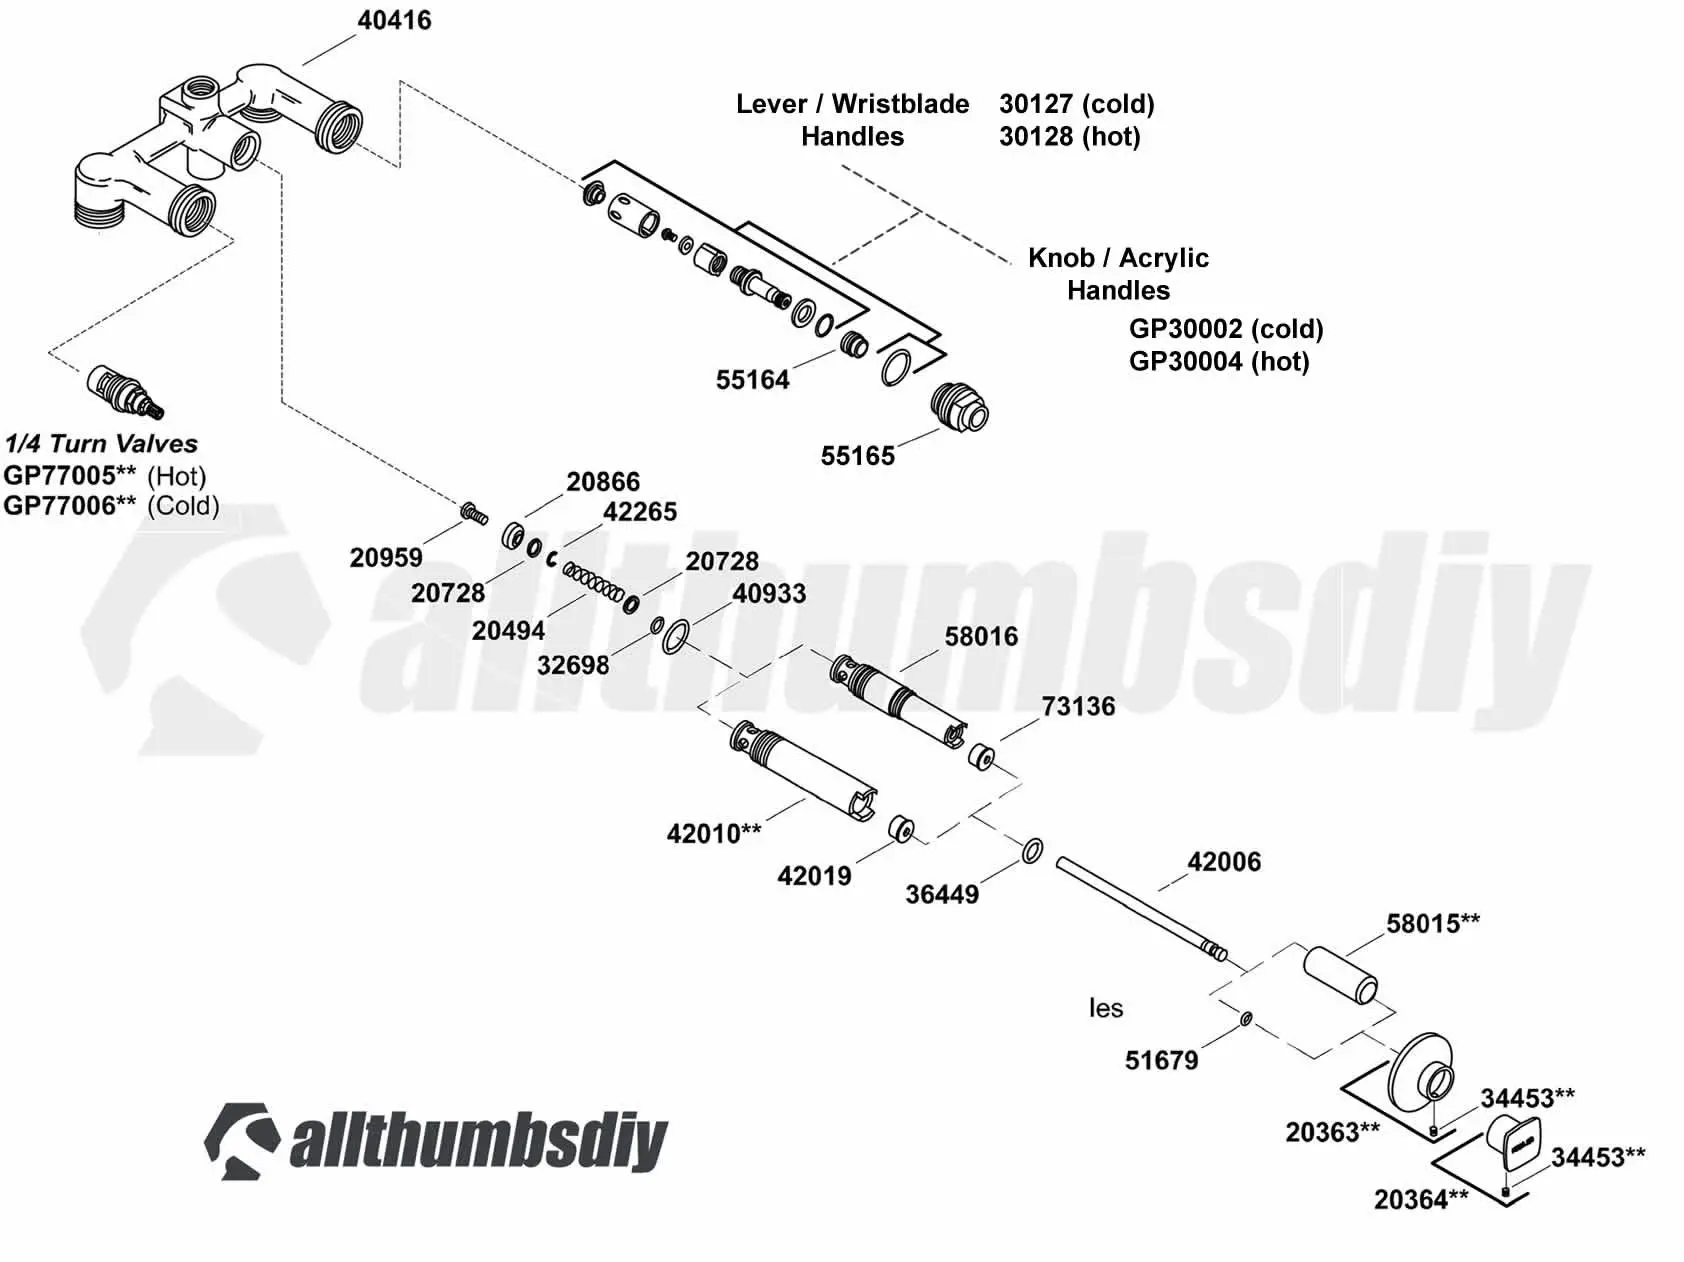
Disassembling Cartridge Faucets Safely
Single-handle cartridge faucets (like Moen 1225) freeze when hard water calcifies the cartridge. Forcing rotation cracks the ceramic housing.
How to Extract a Seized Moen Cartridge
- Remove the handle cap and loosen the setscrew with a 6mm Allen wrench
- Lift off the handle to expose the cartridge retaining clip
- Use needle-nose pliers to pull the U-shaped clip straight up—never sideways
- Insert cartridge puller jaws into the cartridge slots and tighten the screw
- Turn clockwise while applying upward pressure until it releases
Time estimate: 8-12 minutes. If the cartridge won’t budge after 30 seconds of pulling, re-soak with vinegar—forcing it shatters the brass housing. Never hammer on cartridge stems.
Taking Apart Ceramic Disc Faucets Without Cracking
Kohler and Grohe disc faucets leak when sediment jams the rotating ceramic discs. Stuck handles indicate seized disc cylinders.
How to Open a Frozen Ceramic Disc Faucet
- Remove the handle set screw (often hidden under a color-coded cap)
- Lift off the handle to expose the cylinder housing
- Unscrew the cylinder retainer nut with adjustable pliers (turn left)
- Lift the cylinder straight up—no twisting allowed
- Soak discs in vinegar for 20 minutes to dissolve mineral deposits
Visual cue: If the cylinder wobbles but won’t lift, sediment is wedged in the guide rails. Use a plastic toothpick to clear debris from the rail grooves before lifting.
Troubleshooting Stuck Parts During Faucet Disassembly

When components refuse to move, these field-tested solutions prevent breakage:
- Rusted handle screw: Drip vinegar into the screw head, wait 15 minutes, then try again
- Seized cartridge: Tap the faucet body gently with a rubber mallet to break mineral bonds
- Fused O-rings: Slide dental floss under the ring to slice through calcified deposits
- Stripped setscrew: Use a left-handed drill bit to extract broken screws
Never do this: Avoid heat guns on plastic cartridges—melting occurs at 180°F, warping critical tolerances. For ball faucets (Price Pfister), never force the cam assembly—rotate it to the “off” position first to release spring tension.
How to Clean and Inspect Faucet Components
Post-disassembly, check these failure points:
- Cartridge stems: Look for pitting or cracks in the brass
- Ceramic discs: Hold to light—hairline fractures cause leaks
- O-rings: Replace if flattened or nicked (use faucet-specific kits)
- Valve seats: Sand corrosion with 400-grit emery cloth
Pro tip: Lubricate new O-rings with silicone grease—not petroleum jelly, which degrades rubber. For disc faucets, align the cylinder guide pins with housing slots before reassembly—misalignment causes handle binding.
Reassembling Your Kitchen Faucet Correctly
Rushed reassembly causes 40% of post-repair leaks. Follow this sequence:
- Insert new cartridge/disc assembly straight down—no tilting
- Hand-tighten retaining clips/nuts before final wrench turns
- Stop tightening when resistance increases sharply—over-torquing cracks housings
- Test for leaks at 50% handle rotation before full reassembly
Critical step: Open water valves SLOWLY while watching connections. A sudden pressure surge can blow out new seals.
When to Call a Professional Instead of DIY
Abort your repair if you encounter:
– Rusted shutoff valves that won’t turn (risk of breaking pipes)
– Cracked faucet bodies (requires full replacement)
– No access to valve stems under cabinetry (needs specialized tools)
– Persistent leaks after reassembly (indicates hidden damage)
Urgent warning: If water pools under the sink during disassembly, shut off the main house supply immediately—this signals a failed supply line connection requiring professional repair.
Final Note: Most kitchen faucet repairs take 20-45 minutes once you identify the type and apply the correct disassembly method. Always photograph each step during disassembly—this prevents reassembly errors. For persistent mineral buildup, install an inline water softener filter ($25) to prevent future freeze-ups. If your faucet lacks manufacturer markings, search the handle shape online (e.g., “round Moen handle”) to find exploded diagrams. Remember: patience with vinegar soaks beats replacing a $200 faucet because you forced a stuck cartridge. Test your repair by running hot water for 2 minutes—this checks both temperature control and leak integrity before calling the job done.


