
Your kitchen cabinets wobble when you open the doors. The countertops sit unevenly. Doors refuse to align properly. These common frustrations stem from one critical mistake: improper mounting. When you learn how to mount kitchen cabinets correctly, you transform a shaky, frustrating space into a durable, functional kitchen that lasts decades. Most DIYers rush through installation without understanding wall preparation or leveling techniques—resulting in costly repairs later. This guide reveals the exact process professionals use to mount cabinets with laser precision. You’ll discover why skipping stud-finding causes catastrophic failures, how to achieve perfect alignment in under 30 minutes per cabinet, and the $5 tool that prevents 90% of installation errors. Whether you’re replacing old cabinets or building new, mastering these techniques saves you time, money, and endless frustration.
Why Your Cabinet Mounting Method Determines Long-Term Success
Mounting kitchen cabinets isn’t just about screwing boxes to the wall—it’s structural engineering for your workspace. Cabinets bear 200+ pounds of dishes, appliances, and countertops. Improper mounting causes doors to warp, countertops to crack, and screws to tear through drywall. The critical failure point? Attaching cabinets solely to drywall instead of wall studs. Drywall anchors fail under constant stress, while studs provide the anchor points that distribute weight safely. You’ll recognize mounting failure through telltale signs: gaps between cabinets and walls, doors that won’t stay closed, or visible screw holes pulling through drywall. Before lifting a single cabinet, verify your method addresses three non-negotiable requirements: stud-based fastening, absolute level alignment, and sequential installation order. Skip these, and no amount of caulk will hide the consequences.
How to Identify and Mark Wall Studs Accurately
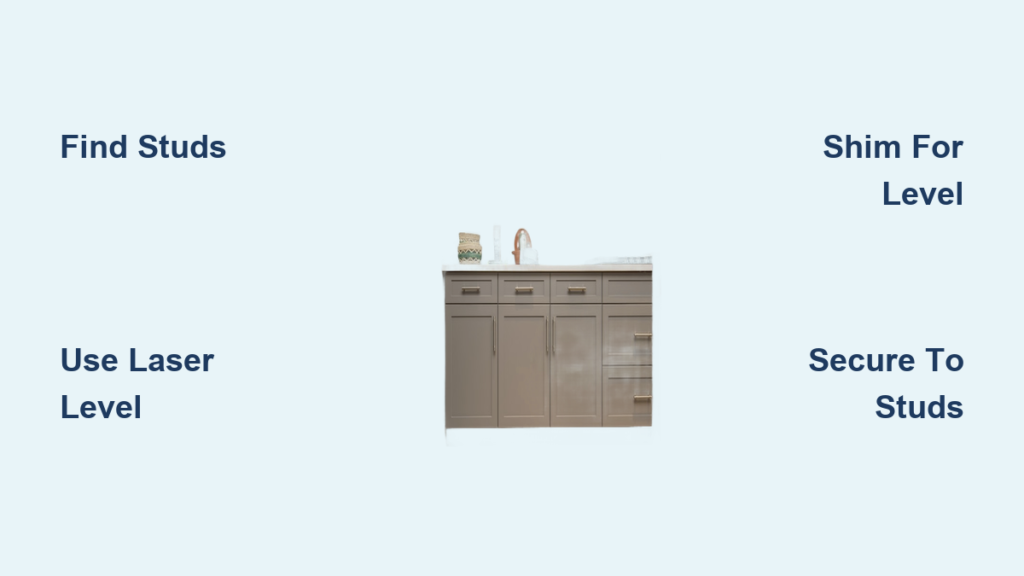
Finding studs requires more than a basic stud finder—many DIYers hit electrical wires or miss shallow studs. Start by locating your home’s main electrical panel and turning off kitchen circuits. Use a stud finder with deep-scan mode (1.5+ inches) since cabinets require 2.5-inch screws to reach full stud depth. Sweep horizontally every 16 inches from corners—standard stud spacing—but verify each location by drilling a 1/8-inch pilot hole. If you hit solid wood at 1.25 inches deep, mark it with blue painter’s tape. If you hit nothing, move 1 inch left/right and retest. For plaster walls, tap lightly; a dull thud indicates studs versus a hollow sound. Always mark the center of each stud with a vertical pencil line. Professional installers double-check by sighting along the wall—stud edges often cast subtle shadows.
Essential Tools That Prevent Costly Mounting Errors
Most failed installations trace back to inadequate tools. You need exactly seven items:
– Laser level (not a bubble level): Projects a straight reference line across entire walls
– 3-inch cabinet screws (not drywall screws): Coarse threads grip wood without splitting
– 1/4-inch drill bit: Creates pilot holes that prevent stud cracking
– Shim stacks: Thin cardboard wedges for micro-adjustments
– Cabinet clamps: Hold units together while securing joints
– Impact driver: Delivers consistent torque without stripping screws
– 2-foot framing square: Verifies 90-degree corners for L-shaped layouts
Skip the laser level at your peril—bubble levels fail over distances beyond 4 feet, causing cabinets to “swim” out of alignment. The $15 shim stacks are non-negotiable; they compensate for walls that aren’t perfectly plumb, a flaw in 80% of homes.
Mounting Base Cabinets: Achieving Perfect Height and Level

Base cabinets form your kitchen’s foundation. Install them before uppers—mounting uppers first creates alignment disasters when countertop weight shifts everything. Start by snapping a chalk line 34.5 inches above the finished floor (standard base height). Why not 36 inches? This accounts for 1.5-inch countertop overhang. Position the first cabinet against the wall, aligning its top edge with your chalk line. Drill two pilot holes through the mounting rail into studs, but insert screws only 75% tight. Now place your laser level on the cabinet top, projecting a line across adjacent cabinets. Adjust with shims under the cabinet until the laser hits your reference line consistently. Only then fully tighten screws.
Fixing Uneven Floors Without Visible Shims
Sloping floors sabotage base cabinet alignment. Don’t trim cabinet legs—this creates weak points. Instead, stack shims under the cabinet’s mounting rail until a level shows perfect horizontality. Test by placing a marble on the cabinet top; if it rolls, add shims opposite the roll direction. Once level, trace the shim outline with a pencil, then glue stacked shims together with construction adhesive before reinserting. The cabinet’s toe kick will conceal this permanently. For severe slopes (>1/2 inch), install a “leveling rail”—a horizontal 1×3 board screwed to studs at perfect level, then mount cabinets to this rail.
Installing Upper Cabinets: No-Ladder Alignment Techniques
Upper cabinets cause the most DIY injuries from unstable ladders. Eliminate this risk with the ledger board method:
1. Screw a 1×3 board horizontally to wall studs at your desired height (typically 54 inches from floor)
2. Rest cabinet tops on this board while installing
3. The board bears the weight, freeing both hands for precise positioning
Align the first upper cabinet with a plumb line dropped from the base cabinet corner. Use cabinet clamps to join adjacent units before screwing—they’ll shift if secured individually. When mounting corner uppers, install the longer run first, then position the corner cabinet against it. Check alignment by placing a 4-foot level diagonally across both cabinet fronts; gaps indicate misalignment.
Securing Cabinets to Prevent Door Sagging
Doors sag when cabinets twist on the wall. Prevent this by:
– Installing at least three screws per stud (top, middle, bottom rail)
– Adding “kicker screws” through the cabinet’s bottom rail into the base cabinet’s top rail
– Using figure-8 fasteners at cabinet joints to absorb movement
– Never relying on just the mounting rail—screw through cabinet sides into adjacent units
Tighten screws gradually in a star pattern (like lug nuts on tires) to distribute pressure evenly. Overtightening cracks particleboard; stop when the screw head is 1/16 inch above surface.
Critical Mistakes That Ruin Cabinet Installations
Skipping the Dry Run Assembly
Assembling cabinets on the floor reveals manufacturing defects before mounting. Lay out all units, connect them with clamps, and check:
– Face frames align perfectly (no gaps between doors)
– Countertop edges will sit flush across all units
– Corner cabinets form true 90-degree angles
Fix misalignments now with shims between clamped units. Trying to adjust after mounting wastes hours.
Ignoring Countertop Overhang Requirements
Cabinets must support countertops with precise overhangs:
– Backsplash: 0.5-inch gap between cabinet top and wall for countertop expansion
– Front edge: 1–1.5 inches beyond cabinet frame
– End panels: Countertop must overhang by 0.5 inches to hide imperfect cuts
Mounting cabinets too high creates gaps behind countertops; too low causes overhangs to look bulky. Dry-fit countertops during installation to verify.
Time-Saving Pro Techniques for Faster Mounting
The 10-Minute Alignment Method
- Install laser level at final cabinet height
- Mount first cabinet with 50%-tight screws
- Place second cabinet against it, clamped tightly
- Shine laser across both fronts—adjust until one continuous line appears
- Tighten all screws simultaneously
This eliminates the “domino effect” where misalignment compounds with each added cabinet.
Preventing Gaps at Wall Irregularities
Walls often bow between studs. Before mounting, place a straightedge vertically along the wall. Where gaps exceed 1/8 inch, glue cardboard shims directly to the wall at stud locations. The cabinet will sit flush against these, eliminating visible gaps behind face frames.
When to Call a Professional Despite DIY Efforts
Stop mounting immediately if you encounter:
– Studs spaced irregularly (e.g., 19 inches instead of 16): Requires custom bracing
– Load-bearing walls: Cutting into these without permits risks structural damage
– Cabinets heavier than 150 lbs each: Needs specialized hardware like French cleats
– Visible wall cracks wider than 1/4 inch: Indicates foundation issues requiring repair first
Professionals charge $200–$500 for complex mounts but prevent $2,000+ in drywall and cabinet damage from failed DIY attempts.
Maintaining Your Cabinet Mounting for Decades
Properly mounted cabinets last 30+ years with minimal care. Every six months:
1. Tighten all mounting screws (vibrations from dishwashers loosen them)
2. Check for gaps between cabinets and walls—add shims if new gaps appear
3. Wipe mounting rails clean to prevent grease buildup that attracts pests
Never hang heavy items (like pot racks) directly on cabinet sides—use wall-mounted rails anchored to studs. This preserves your careful mounting work while adding functionality.
Mastering how to mount kitchen cabinets transforms a daunting task into a satisfying victory. By prioritizing stud-based fastening, laser-guided alignment, and strategic shim placement, you create a foundation that withstands decades of use. Remember: the difference between amateur and professional results lies in preparation, not power tools. Take time to verify every stud location and level reference—you’ll open cabinet doors with confidence for years, knowing each screw was placed with purpose. Now that your cabinets are perfectly mounted, focus on the finishing touches: installing hardware with precise spacing and adding under-cabinet lighting to showcase your expert work.


