
Kitchen hot pads protect your hands and countertops from burns while adding a decorative touch to your cooking space. Learning how to make kitchen hot pads yourself gives you complete control over size, color, and design while saving money compared to store-bought options. Whether you need pot holders for everyday cooking or want to create matching sets as gifts, DIY hot pads offer customization that commercial products simply cannot match. This guide walks you through every step of the process, from selecting heat-resistant materials to applying the final binding, ensuring your finished hot pads stand up to regular use while looking professionally crafted.
The process of making kitchen hot pads combines basic sewing skills with an understanding of heat protection principles. A well-constructed hot pad consists of multiple layers that work together to insulate your hands from temperatures that can exceed 400 degrees Fahrenheit in a home oven. By following these instructions, you’ll create durable, attractive hot pads that outperform most retail options while reflecting your personal style.
Selecting Heat-Resistant Fabrics for Kitchen Hot Pads

Your fabric choices directly determine how well your hot pads perform under high heat conditions. Choosing the right materials forms the foundation of any successful hot pad project.
Why Cotton Works Best for Hot Pads
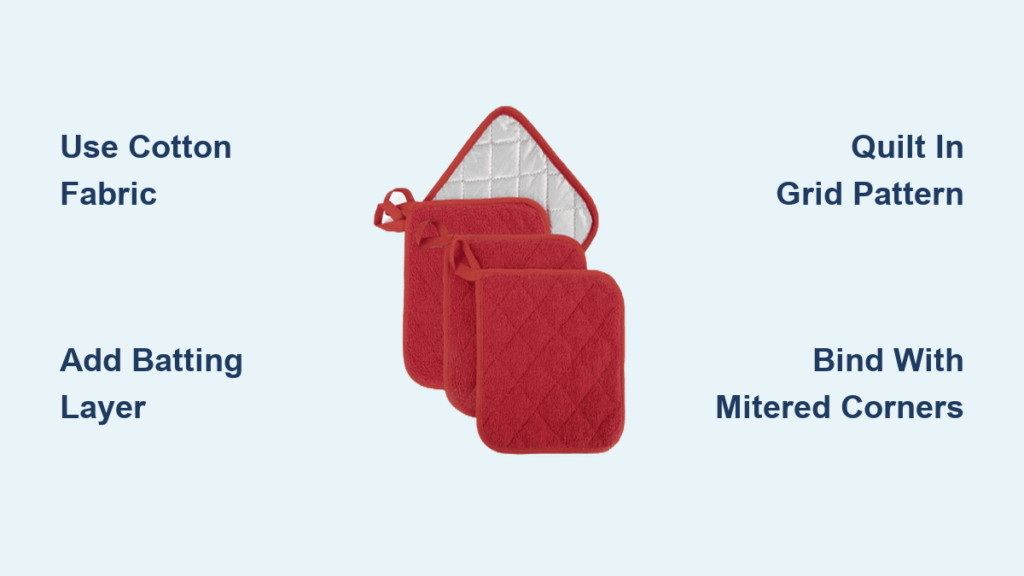
Cotton remains the gold standard for kitchen hot pads due to its natural heat tolerance and ease of care. Choose 100% cotton fabrics in medium to heavy weights—quilting cotton, canvas, or denim work exceptionally well for the outer layers. Avoid synthetic materials like polyester unless specifically designed for heat resistance, as these can melt or scorch when exposed to high temperatures. You’ll need two squares of fabric for the top and bottom of each hot pad, typically measuring 8 to 9 inches square to allow for seam allowance and shrinkage.
Specialized Batting for Maximum Protection
The batting layer provides the critical heat insulation that makes a hot pad functional. Traditional quilters batting works adequately for moderate heat protection, but for superior performance, seek out batting specifically rated for pot holders and kitchen textiles. This specialized batting features higher loft and better heat resistance than standard craft batting. Wool batting offers excellent natural heat protection, while cotton batting provides good insulation with easy care. Plan to use a layer of batting approximately the same size as your fabric squares, though some crafters prefer two layers for extra protection.
Essential Tools for Professional Hot Pad Construction

Having the right tools streamlines the construction process and produces more professional results. Most households already own the essential items, though a few specialized tools make certain steps much easier.
Must-Have Cutting Equipment
A quality rotary cutter paired with a cutting mat and acrylic ruler enables precise fabric cutting, though sharp fabric scissors work equally well for those who prefer traditional tools. Measure and mark your fabric before cutting, using a fabric marker or chalk to indicate the cutting lines. For standard 8-inch finished hot pads, cut your fabric squares at 9 inches square to accommodate seam allowance and any shrinkage during quilting. Use long, smooth cutting strokes with your rotary cutter, applying even pressure throughout the stroke.
Sewing Machine Upgrades That Make a Difference
An iron and ironing board prove indispensable for pressing seams flat throughout construction, as crisp pressed seams translate directly to professional-looking finished hot pads. Straight pins or fabric clips keep layers aligned during sewing, and a walking foot for your sewing machine prevents shifting of the multiple fabric layers. Your sewing machine should be capable of a straight stitch and have a clean zigzag stitch for finishing raw edges. A walking foot attachment proves particularly valuable when sewing through the thick layers of a hot pad, as it feeds all layers evenly rather than allowing the top layer to stretch ahead of the batting.
Constructing Your First Quilted Square Hot Pad
The classic quilted square represents the most popular design for DIY kitchen hot pads and suits beginners exceptionally well. This design features two fabric squares sandwiched around batting, quilted together in a grid or decorative pattern, and bound around the edges.
Assembling the Fabric Sandwich Correctly
Place your bottom fabric square right-side down on your work surface. Center the batting square on top, ensuring even margins around all edges. Finally, place your top fabric square right-side up, aligning all edges carefully. The three layers should form a perfect stack with fabric right sides facing outward. Pin or clip the layers together starting from the center and working outward in all directions. This radial pinning prevents the layers from shifting when you begin quilting.
Quilting Patterns That Work Best for Heat Protection
A simple grid quilt, stitched at 1-inch intervals in both directions, creates a classic look that appeals to traditionalists and beginners alike. This straightforward pattern is easy to execute and distributes heat evenly across the surface of the hot pad. Space your quilting lines no more than 2 inches apart for adequate heat protection. Closer quilting—around 1 inch—provides better insulation and creates a more structured finished appearance. Avoid quilting lines more than 3 inches apart, as the batting in unquilted areas can shift and create cold spots in your hot pad.
Applying Professional Binding to Finish Your Hot Pad
The binding finishes the raw edges of your hot pad while adding a coordinating frame that ties the entire piece together. This step requires patience and precision but transforms a quilted square into a polished, professional-looking product.
Cutting and Preparing Binding Strips
Cut binding strips on the bias—diagonal to the fabric grain—for curved edges or on the straight grain for square hot pads. Bias-cut binding conforms more easily to curves and produces less bulk at corners, though straight-grain binding works perfectly for square designs. Join multiple short strips end-to-end with diagonal seams to create one continuous length long enough to encircle your hot pad.
Perfecting the Mitered Corners
Attach the binding using your machine’s blind stitch or a decorative stitch, folding the binding to encase the raw edges completely. Fold the binding to the back side first, pressed in place, then fold the folded edge to the front and stitch close to the fold. This double-fold method creates a clean finish on both sides and stands up to heavy use and repeated washing. At each corner, fold the binding at a 45-degree angle before continuing to the next side, creating a mitered corner that looks crisp and professional. Take your time with corners—rushed binding often results in bulky or misshapen corners that detract from the overall appearance.
Testing and Caring for Your Homemade Hot Pads
Before relying on your newly made hot pads, conduct a basic heat resistance test to ensure they provide adequate protection. This step protects you from potential burns and validates your construction choices.
Simple Heat Test Procedure
Heat your oven to 400 degrees Fahrenheit and allow it to fully preheat. Place a finished hot pad on the oven rack for 30 seconds, then remove it carefully and check the fabric temperature with your hand held an inch above the surface. The hot pad should feel warm but not painful to touch, and the fabric should show no signs of scorching or melting. If your hot pad fails the heat test—feeling uncomfortably hot or showing fabric damage—consider adding an additional batting layer or switching to a higher-rated heat-resistant batting.
Washing Instructions for Longevity
Machine wash your hot pads in warm water on a gentle cycle, using mild detergent that contains no bleach or harsh chemicals. Avoid fabric softeners, as these can reduce the heat resistance of natural fibers over time. Tumble dry on low heat or lay flat to dry, as high heat can degrade batting fibers and cause separation of layers. Inspect your hot pads regularly for signs of wear, particularly around the binding and in the center where heat exposure is most frequent. Replace hot pads that show fraying, thinning batting, or scorched spots, as damaged hot pads cannot provide reliable heat protection.
Adding Personal Touches with Decorative Embellishments
Personalize your kitchen hot pads with decorative techniques that transform functional items into statement pieces. These embellishments work best when planned before assembly, ensuring they integrate smoothly with the overall construction.
Simple Appliqué Techniques for Beginners
Fabric appliqué allows you to add shapes, images, or monograms to your hot pad tops. Cut shapes from contrasting fabrics and fuse them in place with adhesive webbing before stitching around the edges with a zigzag or decorative straight stitch. Simple shapes—stars, hearts, fruit motifs, or initial letters—work particularly well on the small surface of a hot pad. Ensure any appliqué lies completely flat before quilting, as puckered appliqué creates problems during the quilting process.
Strategic Fabric Selection for Instant Style
Sometimes the decoration is inherent in the fabric itself. Prints featuring kitchen motifs, seasonal designs, or bold geometrics require minimal additional embellishment. When selecting patterned fabrics, consider how the print will appear at the size of a finished hot pad—large prints may need to be fussy-cut to position the design element where you want it, while small prints work well as allover patterns. A set of four hot pads in coordinating fabrics creates a cohesive look that elevates your entire kitchen aesthetic.
Making kitchen hot pads combines practical skill-building with creative expression, resulting in functional items that reflect your personal style while protecting your hands from kitchen burns. Start with the basic quilted square design, then progress to more complex variations as your confidence grows. Each hot pad you create builds your skills while adding unique character to your kitchen—making the investment of time well worth the finished product you’ll use and admire for years to come. With proper care, well-constructed homemade hot pads last for years of regular kitchen use, providing reliable heat protection and a personal touch to your cooking space.


