
That untouched head of cauliflower mocking you from the crisper drawer? It’s not a healthy eating failure—it’s your ticket to restaurant-quality “rice” in under 20 minutes. Your Cuisinart food processor transforms this humble vegetable into fluffy, grain-like perfection when you master the right techniques. Skip the soggy, mashed results from your last attempt; we’re revealing the exact blade selection, processing speed, and batch methods that prevent cauliflower rice disasters. By the time you finish reading, you’ll know how to make cauliflower rice with Cuisinart food processor that rivals your favorite takeout, packed with 25 calories per cup and ready for any global flavor twist.
Most home cooks waste precious time and produce mushy results because they treat cauliflower like regular rice. But here’s the game-changer: cauliflower contains 92% water, meaning improper processing or cooking guarantees a watery mess. Your Cuisinart’s precision blades solve this—if used correctly. In this guide, you’ll discover why blade choice matters more than cooking method, how to avoid the #1 mistake that turns florets into paste, and why batch size impacts texture more than you’d think. Get ready to unlock the full potential of your Cuisinart for grain-free meals that actually satisfy.
Select Your Cuisinart Blade for Rice-Perfect Texture
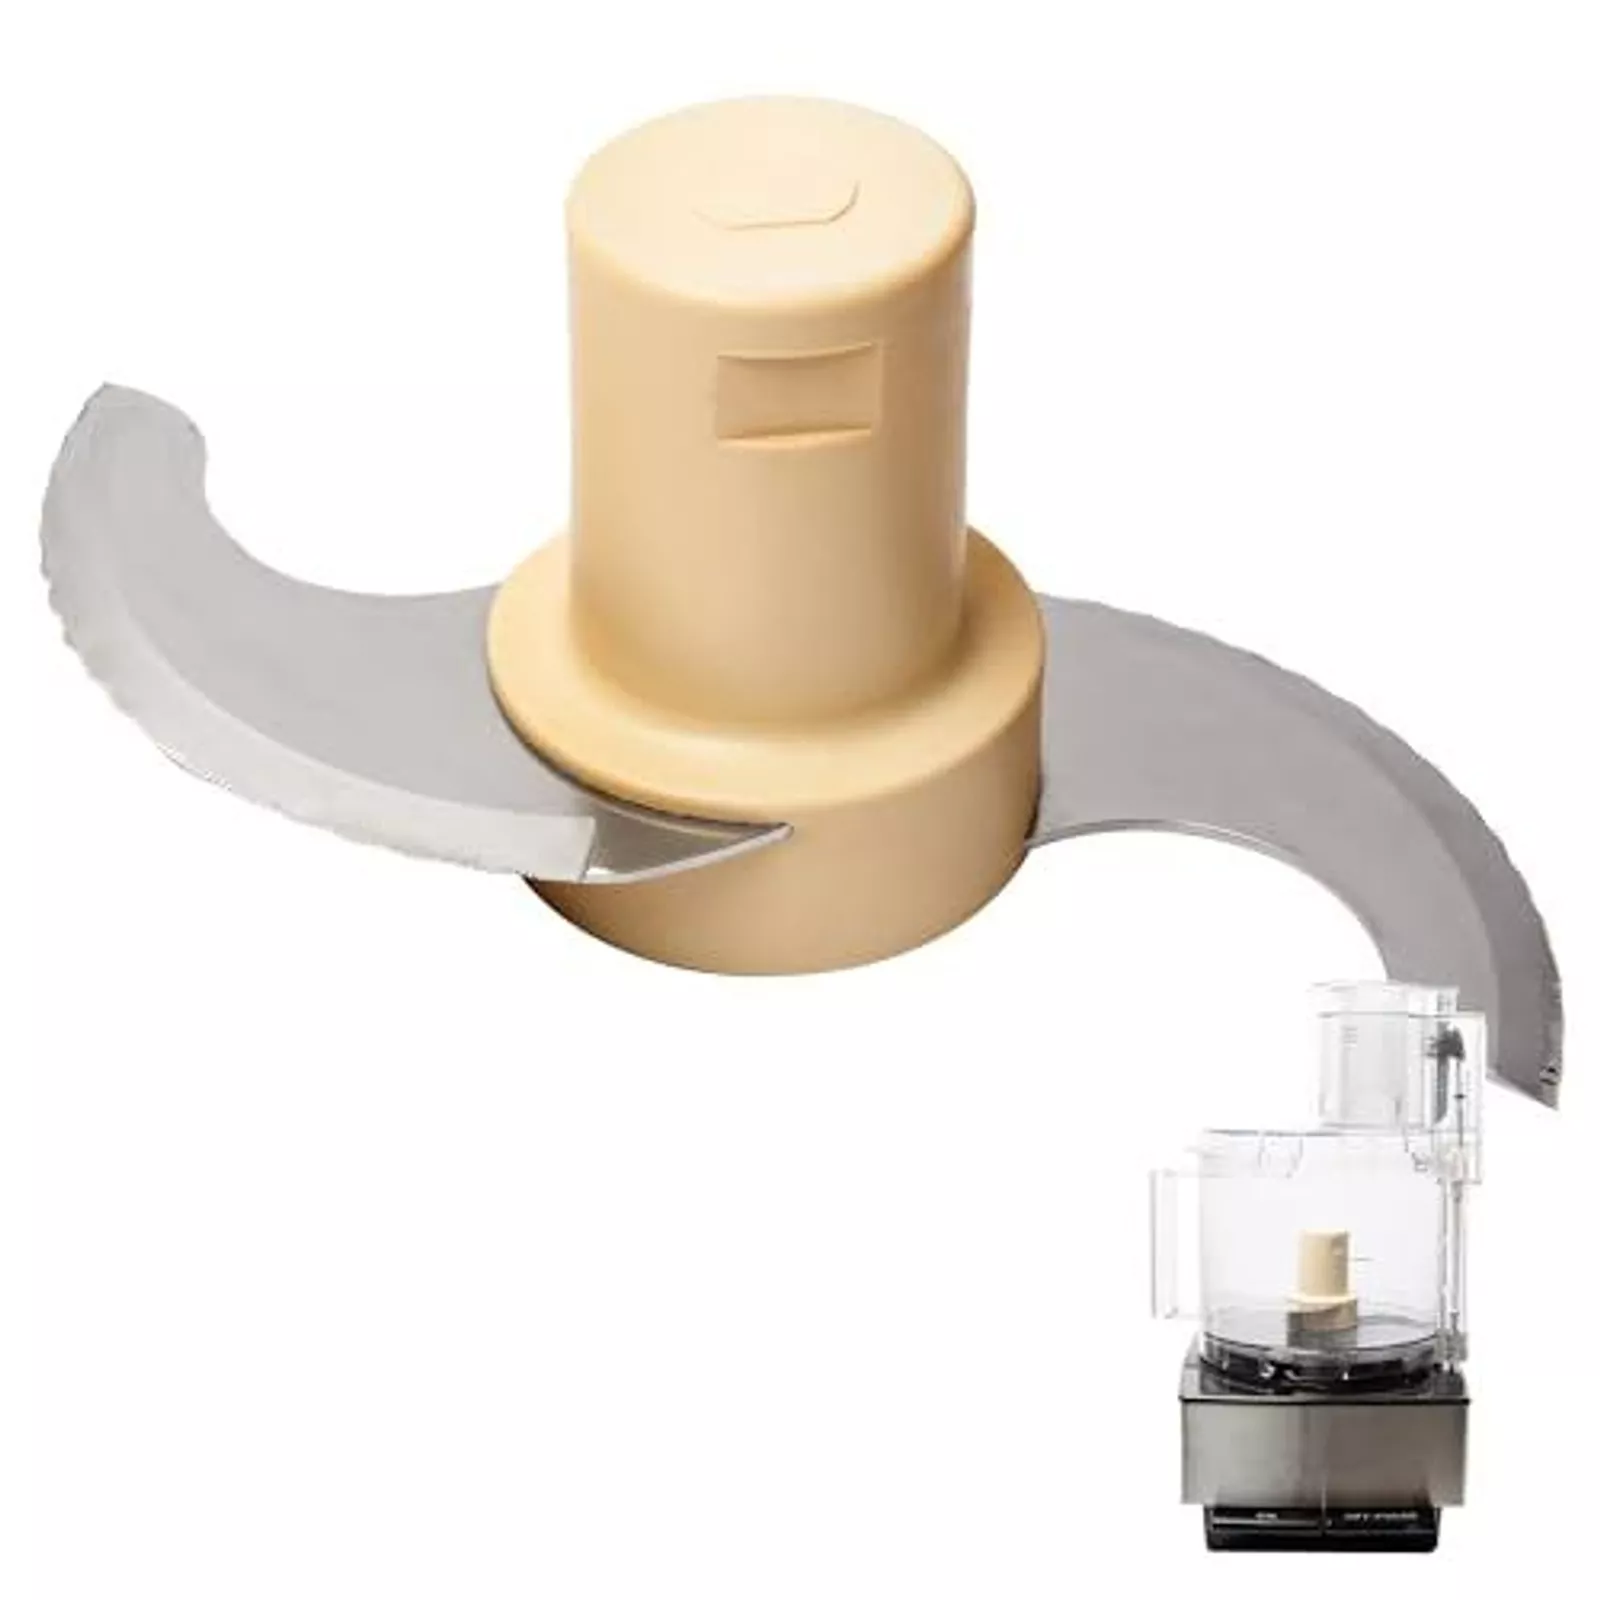
Shredder Blade: The Secret to Authentic Grains
Your Cuisinart’s circular shredder blade creates elongated, rice-shaped pieces that mimic short-grain rice texture flawlessly. Unlike the standard S-blade, this attachment processes cauliflower continuously as you feed florets through the chute, yielding uniform grains that stay distinct during cooking. Critical tip: Always lock the shredder blade securely into the processor base before starting—loose blades cause uneven pieces. For best results, run the processor on medium speed while steadily pushing florets through the feed tube. You’ll know you’ve nailed it when the rice collects in the bowl looking like actual grains, not wet clumps. This method works so well because the blade’s design minimizes cell damage, preserving the cauliflower’s structure and preventing excess moisture release.
S-Blade Pulse Technique: Avoiding the Mash Zone
When using your standard S-shaped blade, treat pulsing like a precision science. Fill the bowl only ¾ full with 1-2 inch florets—overfilling creates uneven pressure that smashes pieces. Never hold the pulse button continuously; use 1-2 second bursts followed by a 3-second pause to check progress. After every 3-4 pulses, stop and shake the bowl to redistribute pieces. Your target texture appears when grains resemble coarse sand with no large chunks. If you spot any wet spots developing, immediately stop processing—cauliflower turns to paste within 2 extra pulses. This method demands vigilance but works when your shredder blade isn’t available. Remember: under-processed beats over-processed every time; you can always re-chop large pieces separately.
Prep Cauliflower for Zero-Waste Processing
Efficient Washing and Trimming Protocol
Organic cauliflower often harbors tiny pests in its florets, so skip the quick rinse. Submerge the entire head upside-down in a bowl of cold water mixed with 1 tablespoon vinegar for 5 minutes—this flushes out hidden bugs. Then, place it stem-side down on your cutting board and slice away the thick green leaves and woody core in one motion. Pro move: Save the stems and outer leaves! They process beautifully into “rice” and reduce waste. Focus on the compact inner florets for consistent texture, but don’t discard tougher parts—they work great in soups later.
Optimal Floret Sizing for Cuisinart Efficiency
Cut florets into uniform golf ball-sized chunks (1-2 inches). Pieces larger than 2 inches jam the feed tube, while undersized bits (<1 inch) over-process instantly. Visual cue: Hold a floret next to a quarter—if it’s bigger, trim it down. This sizing ensures smooth feeding through the chute without stopping the processor. For large heads, work in sections: process the dense center florets first (they yield the best “rice”), then tackle looser outer pieces separately. This prevents having to re-process half the batch while the first portion turns to mush.
Execute Flawless Processing in 5 Minutes
Shredder Blade Step-by-Step Method
- Install the shredder blade securely into your Cuisinart base
- Turn processor to medium speed and maintain constant operation
- Feed florets steadily through the chute—no pauses or forcing
- Stop when bowl is ¾ full to prevent compaction (empty as needed)
- Check texture immediately: Should resemble uncooked rice, not snow
Warning: Never let the processor run empty—it damages blades. If rice grains exceed ¼ inch, process in smaller batches next time. This method produces 4 cups from one large head in under 3 minutes with zero cleanup between batches.
S-Blade Pulse Checklist
- Load 3 cups max of uniform florets into the bowl
- Pulse 4 times at 1.5-second intervals with 3-second pauses
- Shake bowl gently after every 2 pulses for even processing
- Stop at first sign of rice-like texture—do not wait for perfection
- Scoop out finished rice before reprocessing any large pieces
Critical mistake: Using high speed with the S-blade. Stick to low/medium settings to maintain control. If your processor stops mid-pulse, you’ve overloaded it—empty half the bowl and restart.
Cook Without Sogginess Every Time

Stovetop Method: 8-Minute Crisp-Tender Results
Heat 1.5 tbsp avocado oil in a 12-inch skillet over medium heat until shimmering. Add 4 cups of processed cauliflower rice and ¼ tsp sea salt. Stir continuously for the first 2 minutes to evaporate surface moisture, then reduce to stirring every 90 seconds. Cook uncovered for 6-8 minutes until tender but still slightly crisp. For softer texture, cover the last 2 minutes—but never exceed 10 total minutes to avoid mush. Key indicator: Rice turns translucent with golden edges when perfectly done.
Oven Roasting: Hands-Off Flavor Boost
Preheat oven to 400°F. Spread rice in a single layer on a parchment-lined baking sheet. Drizzle with 1 tbsp olive oil and toss gently. Roast 12 minutes, then flip with a spatula. Roast 3 more minutes until edges brown. Advantage: This method intensifies cauliflower’s natural nuttiness while creating crave-worthy crispy bits—ideal for grain-free “fried rice” bowls. No stirring required after the initial flip.
Smart Storage for Fresh-Every-Time Results
Refrigerator Protocol: 3-Day Freshness
Store rice in a shallow airtight container lined with a paper towel to absorb moisture. Critical step: Spread in a ½-inch layer—not heaped—to prevent steam pockets that cause sogginess. Change the paper towel daily if storing beyond 24 hours. Properly stored, it stays crisp for stir-fries or salads up to 72 hours. Never store warm rice—it creates condensation that ruins texture.
Freezer Strategy: 6-Month Ready-to-Cook Portions
Portion rice into 2-cup servings in resealable freezer bags. Pro technique: Lay bags flat on a baking sheet before freezing to create thin, flexible sheets that break apart easily. Thaw overnight in the fridge for salads, or cook straight from frozen: add ¼ cup water to the skillet and steam 2 extra minutes. Label bags with date and flavor base (e.g., “plain,” “curry-spiced”) for instant meal assembly.
Flavor Variations That Beat Takeout
Transform plain rice in 5 minutes with these chef-approved combos:
– Asian Fusion: Sauté with 1 tsp sesame oil + 2 tbsp coconut aminos. Top with scallions and toasted sesame seeds.
– Mediterranean Bright: Toss with lemon zest, fresh dill, and crumbled feta after cooking.
– Golden Indian: Bloom ½ tsp turmeric and cumin seeds in oil before adding rice. Finish with cilantro.
Pro tip: Add dried spices during cooking to toast them—this unlocks 3x more flavor than post-cooking sprinkling.
Fix These 3 Common Cauliflower Rice Disasters

Rescue Mushy Processed Cauliflower
Why it happens: Over-pulsing with S-blade or processing warm florets. Fix: Spread immediately on a baking sheet and roast at 350°F for 5 minutes to evaporate excess moisture. For next time: pulse in 1-second bursts and stop when pieces are still slightly coarse.
Prevent Watery Cooked Results
Cause: Undried florets releasing steam during processing. Solution: After washing, spin in a salad spinner for 30 seconds or pat dry with clean kitchen towels. Test: Florets should feel completely dry to the touch before processing.
Correct Uneven Grain Sizes
Issue: Mixed chunk sizes from inconsistent cutting. Quick fix: Sift processed rice through a ¼-inch mesh strainer—reprocess oversize pieces separately. Prevention: Use a mandoline slicer for uniform florets (wear cut-resistant gloves!).
Maximize Your Weekly Meal Prep Efficiency
The 18-Minute Power Schedule
- Prep (7 min): Wash, trim, and chunk 2 heads while processor warms up
- Process (4 min): Run shredder blade continuously for both heads
- Cook (5 min): Roast one batch while stovetop-cooking the other
- Portion (2 min): Divide into containers while still warm
Time-saver: Process cauliflower while your main protein cooks—you’ll finish meals faster than ordering delivery.
Batch-Processing Pro System
Process 3-4 heads at once: freeze plain portions for versatility, and pre-season others (e.g., curry-spiced for tacos, garlic-herb for Italian dishes). Game-changing trick: Freeze rice in silicone muffin cups, then pop out “rice pucks” into freezer bags. Each puck = one serving, thawing in under 10 minutes.
Unlock Maximum Nutrition Per Bite
One cup of your Cuisinart-made cauliflower rice delivers 73% of your daily vitamin C, 10% of vitamin K, and 3g fiber—all for 25 calories versus white rice’s 205. Key advantage: Unlike grains, it won’t spike blood sugar, making it ideal for diabetes management. The fiber feeds gut bacteria that reduce inflammation, while sulforaphane (released when chopped) fights cellular damage. For extra nutrition, add 1 tbsp nutritional yeast during cooking—it creates a cheesy flavor while boosting B vitamins.
Creative Uses That Surprise Even Cauliflower Skeptics
Turn your rice into:
– Crispy tots: Mix with egg and cheese, bake at 400°F for 20 minutes
– Soup thickener: Stir into broccoli cheddar during last 5 minutes of simmering
– Sushi “rice”: Season with 1 tbsp rice vinegar + ½ tsp sugar before rolling
– Stuffed pepper base: Combine with ground turkey and tomato sauce
Pro chef secret: Freeze rice overnight, then pulse again for ultra-fine “flour” to thicken sauces without altering flavor.
Mastering how to make cauliflower rice with Cuisinart food processor transforms your health journey from restrictive to exciting. That intimidating head of cauliflower? It’s now your 5-minute ticket to vibrant grain-free bowls, crispy tots, and even pizza crusts. Remember the golden rule: when processing, under-do it slightly—you can always refine texture, but you can’t undo mush. Your Cuisinart isn’t just a kitchen gadget anymore; it’s your personal healthy meal accelerator. Fire it up tonight and taste the difference precision processing makes—your future self (and your waistline) will thank you.


