
An L-shaped kitchen island transforms a standard kitchen into a functional workspace that maximizes counter area, provides casual seating, and creates natural traffic flow. Whether you’re a seasoned DIYer or tackling your first major carpentry project, building an L-shaped island offers flexibility for custom dimensions, storage solutions, and style choices that match your home perfectly. This comprehensive guide walks you through every phase of construction, from initial planning through final installation, helping you create a stunning centerpiece that elevates both form and function in your kitchen.
Before diving into construction, consider how your L-shaped island will serve your household. These islands work exceptionally well in larger kitchens where they can define separate zones for food preparation, casual dining, and appliance storage. The L-shape naturally creates an inner corner that serves as a focal point, while the two extending legs provide generous countertop real estate on multiple sides. Measure your kitchen carefully, ensuring at least 36 to 48 inches of clearance around all sides for comfortable movement and appliance door clearance.
Design Your L-Shaped Island Layout
Successful island construction begins with detailed planning that accounts for your kitchen layout, intended uses, and local building codes. Sketch your space on graph paper, noting existing windows, doorways, utilities, and traffic patterns. The L-shape configuration typically extends from one wall and turns a 90-degree corner, though you can customize the angle and leg lengths to suit your specific layout. Most homeowners find that making one leg 4 to 6 feet long and the other 3 to 5 feet creates balanced proportions that doesn’t overwhelm the space.
Decide whether your island will include seating, which dictates countertop overhang specifications and height considerations. Standard kitchen islands sit at 36 inches tall, matching standard counter height, while bar-height setups reach 42 inches with corresponding taller seating. If you plan to include bar stools, you’ll need a 12 to 15-inch overhang with at least 18 inches of knee space beneath the counter. For dining-height seating at 30 inches, allow a 24-inch overhang to accommodate chairs comfortably. These measurements ensure your island functions as both workspace and gathering spot without compromising either purpose.
Check local building codes before finalizing your design, particularly if you plan to add electrical outlets, plumbing connections, or gas lines. Most jurisdictions require permits for permanent kitchen modifications involving electrical work, and inspections ensure your installation meets safety standards. Planning around these requirements from the start prevents costly modifications mid-project. Document your design with detailed drawings including dimensions, electrical locations, and material specifications—this documentation proves invaluable during permit applications and actual construction.
Gather Essential Tools and Materials
Equipping your workshop with the right tools before beginning prevents frustrating mid-project delays and ensures professional-quality results. For the frame construction, you’ll need a circular saw or miter saw for accurate cuts, a power drill with bits and driver attachments, a level (both torpedo and 4-foot lengths), a tape measure, and a speed square for marking angles. A pocket hole jig creates strong, invisible joints ideal for cabinet frames, while bar clamps and pipe clamps hold pieces securely during assembly and adhesive drying.
The material list depends on your design choices, but most L-shaped islands require 2×4 lumber for the base frame, 3/4-inch plywood or oriented strand board for cabinet sides and shelves, and 1×4 trim boards for finishing edges. For the countertop, options include butcher block, granite, quartz, or laminate, each with different mounting requirements and cost considerations. Select cabinet hardware including soft-close hinges, drawer slides if incorporating drawers, and adjustable legs for precise height adjustment and leveling on uneven floors.
Electrical components, if included in your design, require appropriate supplies: NM electrical cable, electrical boxes, outlets, switches, and a GFCI-protected circuit if placing outlets near water sources. Plumbing additions require PEX or copper supply lines, shut-off valves, and drain fittings matching your existing plumbing configuration. Purchase all materials with approximately 10 percent overage calculated into your quantities—this buffer accommodates cutting mistakes, natural material variations, and future repairs or modifications.
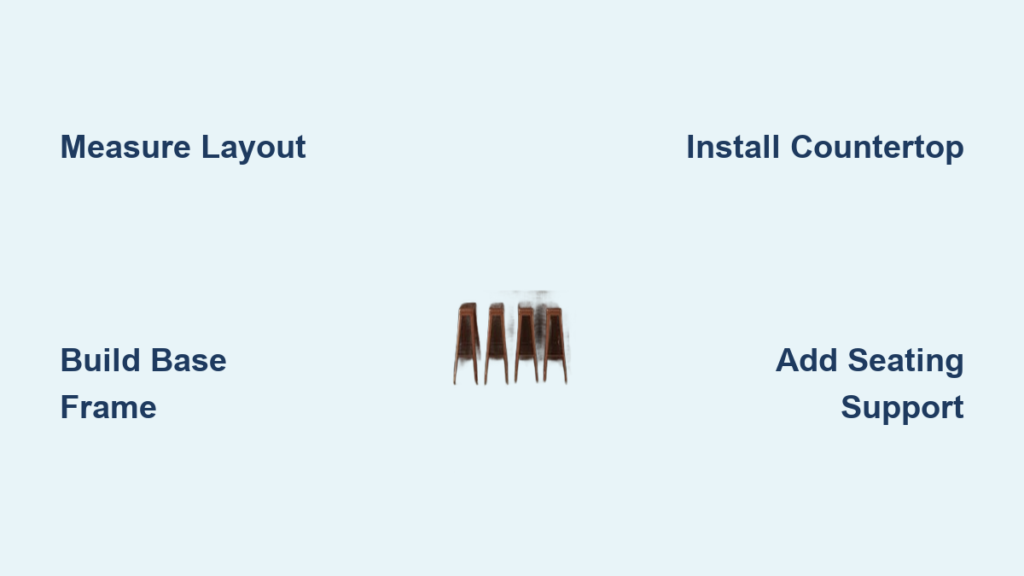
Construct the Base Frame
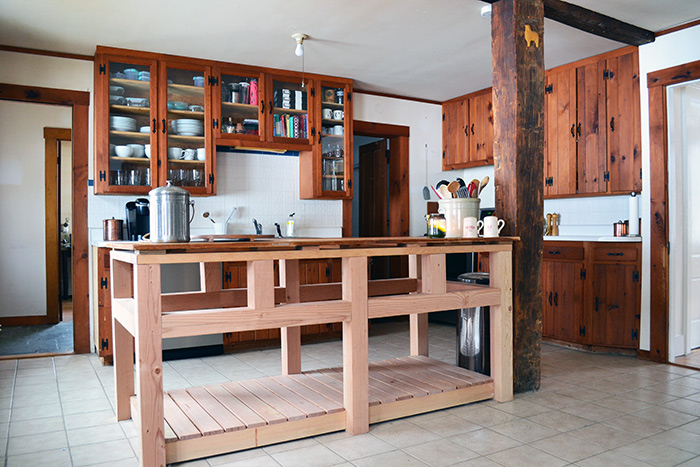
The base frame forms the structural foundation of your L-shaped island, and constructing it with precision ensures your finished piece remains stable and level for decades. Begin by cutting your 2×4 lumber to length according to your design specifications, using a miter saw for clean 90-degree cuts or your designated angle if customizing the corner. Assemble the outer frame first, creating two rectangular sections that will connect at the corner. Use 3-inch wood screws driven through pre-drilled pilot holes, or create pocket hole joints with your jig for hidden, professional-strength connections.
Reinforce each corner with metal angle brackets rated for structural connections, and add intermediate supports every 16 to 24 inches along longer spans to prevent sagging under countertop weight. The corner connection between the two L-arms requires special attention—consider using a 4×4 post at the interior corner for maximum strength, or create a laminated corner using two 2x4s overlapped and fastened securely. This joint bears significant weight and stress, so err on the side of over-engineering rather than risking structural failure later.
Install adjustable island legs at each corner and at intermediate points along the base, positioning them to distribute weight evenly and provide leveling capability. These legs typically feature a threaded shaft allowing 1 to 3 inches of adjustment—set them to achieve your target height minus countertop thickness, leaving room for final adjustment after countertop installation. Check the frame for square by measuring diagonally from corner to corner; the two measurements should match exactly, indicating perfect 90-degree angles throughout the structure.
Install Cabinet Panels and Storage Solutions
With the frame complete, enclose your island with cabinet panels that transform the structural skeleton into attractive, functional storage. Cut your 3/4-inch plywood panels to size using a circular saw guided by a straight edge or fence for perfectly straight cuts. Panel dimensions should match the outer frame measurements, with a 1/16-inch gap on all sides to allow for wood movement and easier installation. Sand all panel edges smooth, removing any splinters or roughness that could interfere with door and drawer operation.
Install adjustable shelf standards inside the cabinet compartments, spacing them to accommodate your intended shelf positions. Standard spacing uses holes every 32 millimeters, allowing shelves to be repositioned as storage needs change over time. Cut shelf boards from 1/2-inch plywood or melamine-coated particleboard, rounding front edges for a finished appearance and easier access to stored items. Include doors on one or both sections of your L-shape, selecting from slab, shaker, or raised panel styles to match your kitchen’s existing cabinetry.
Drawer construction requires additional precision but provides superior access to stored items compared to shelves. Install full-extension drawer slides on cabinet sides, positioning them according to drawer box height to ensure smooth operation and full access. Build drawer boxes from 1/2-inch plywood with dovetail or box joints at corners for durability, and attach Blum or equivalent soft-close mechanisms to both slides and drawer sides. These mechanisms cost slightly more but dramatically improve the daily user experience by preventing slamming and extending hardware life.
Secure Countertop and Seating Components
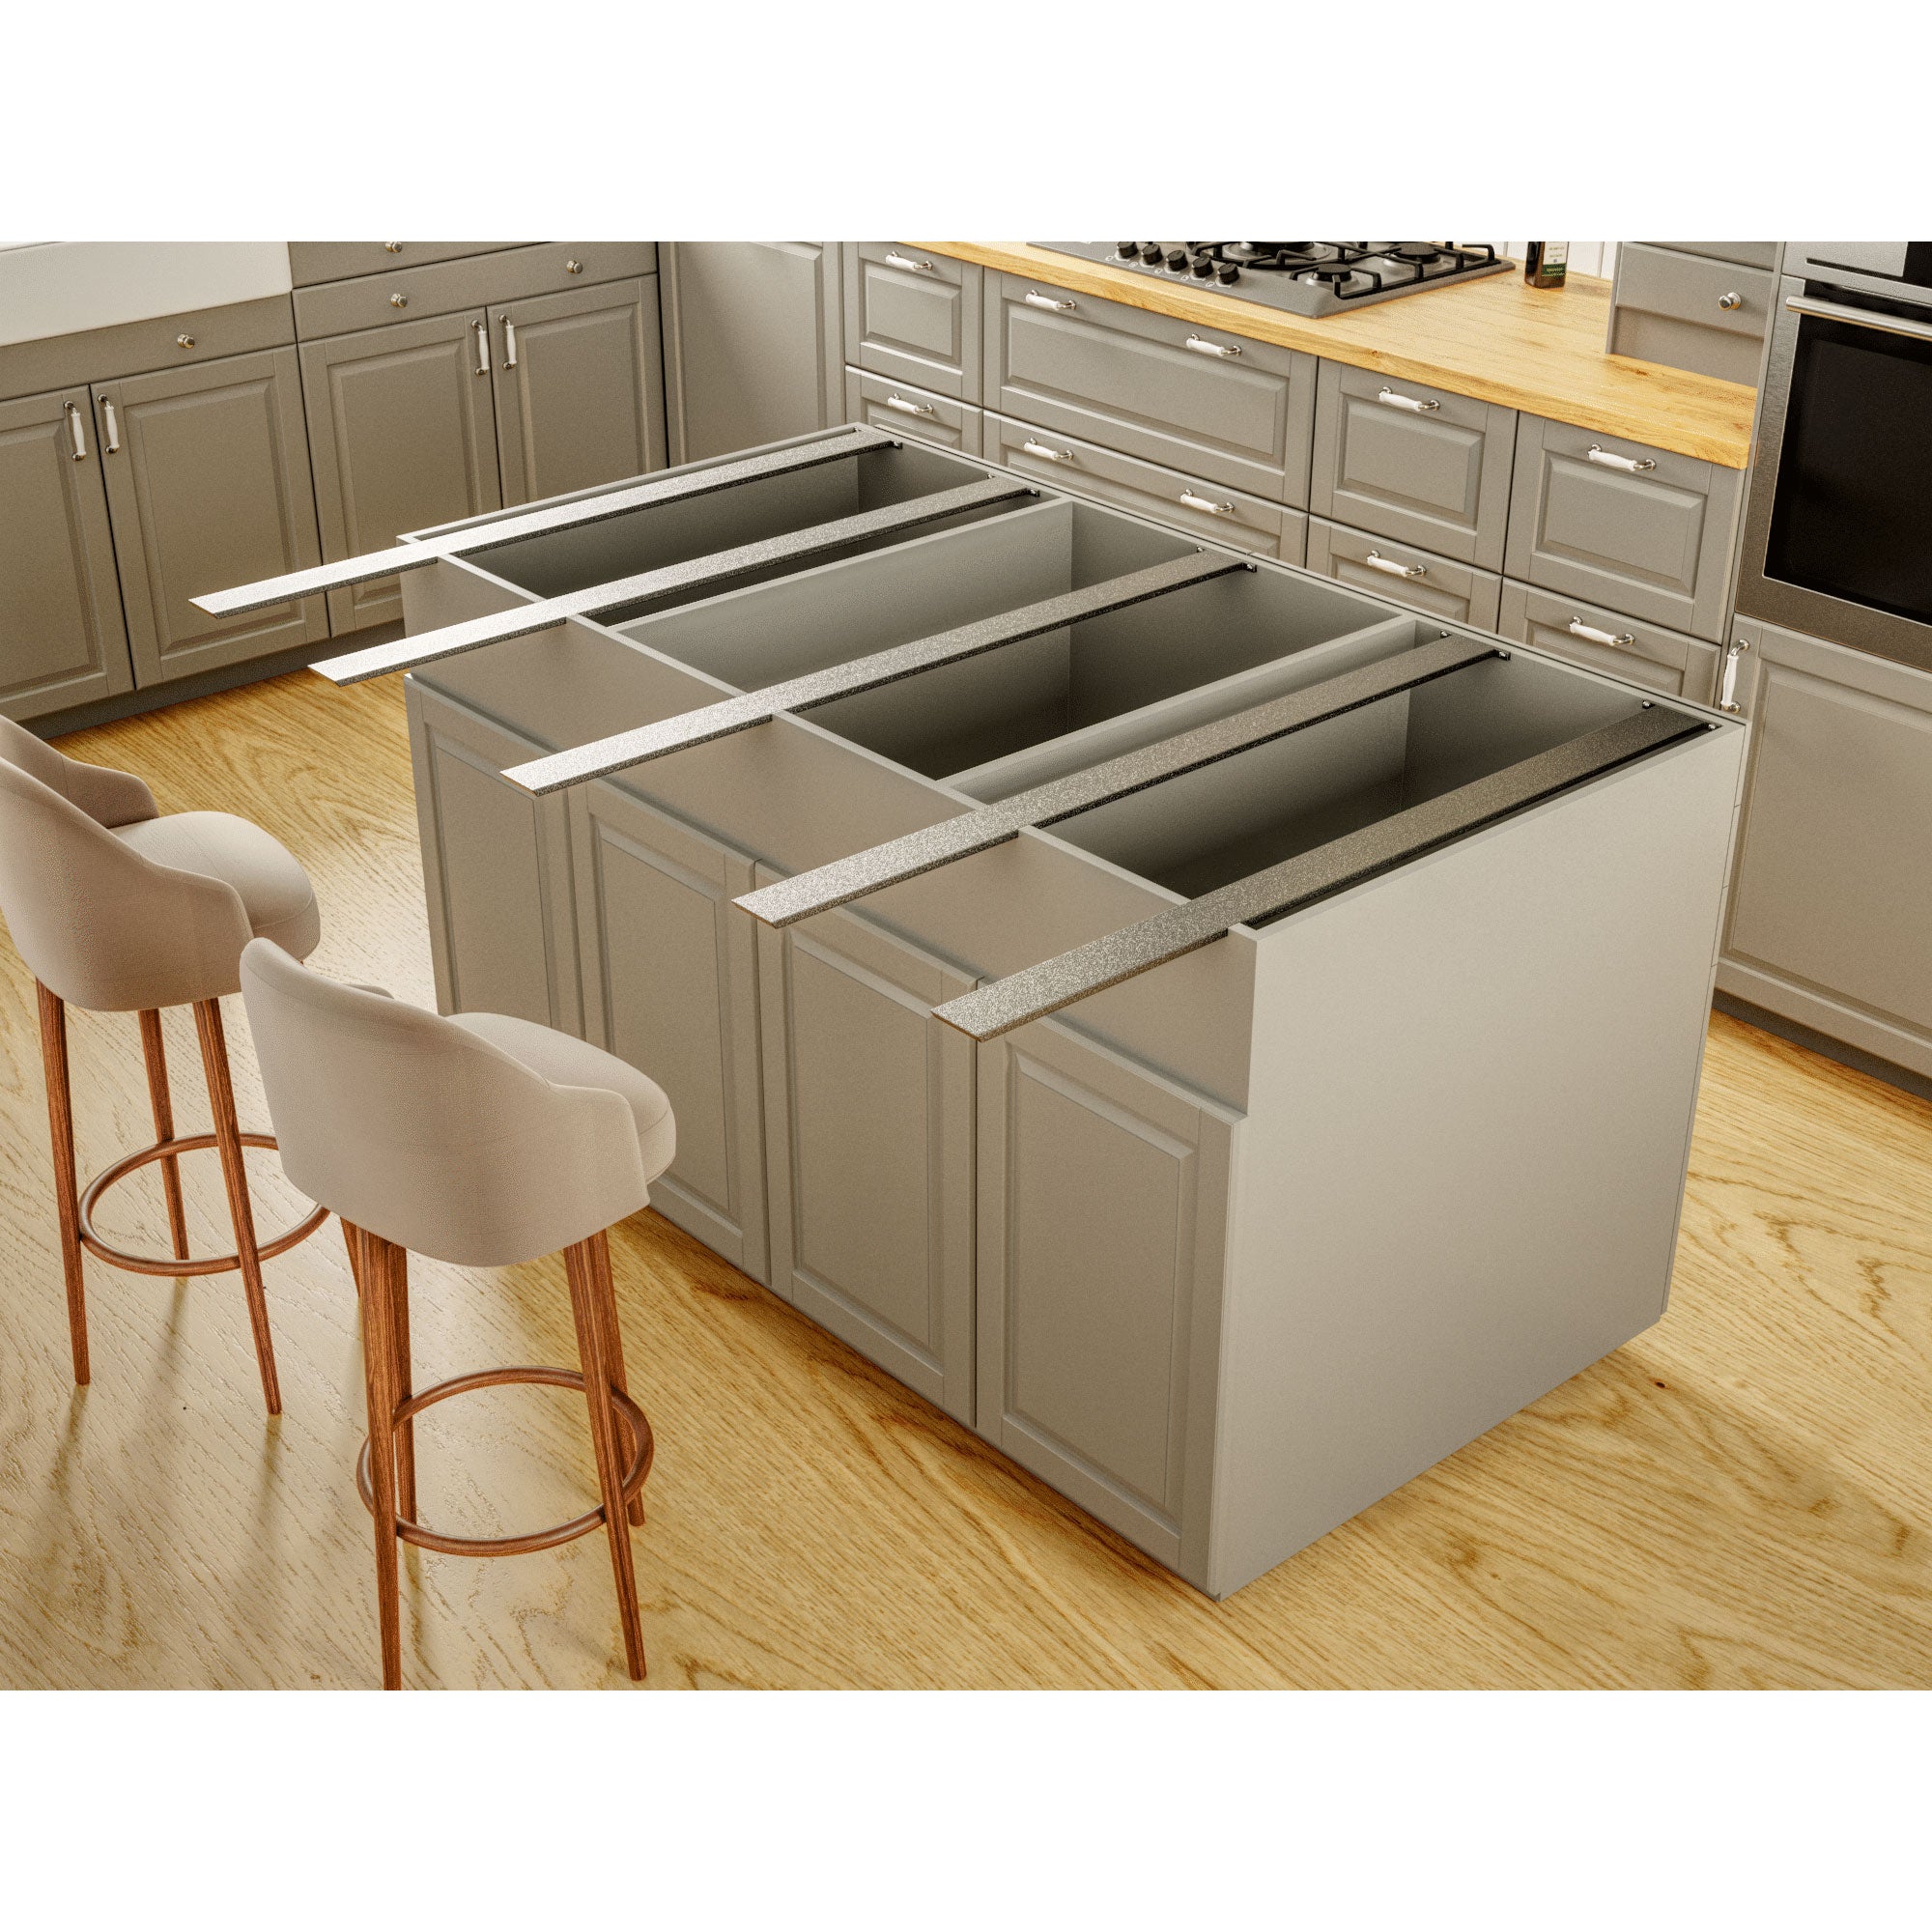
The countertop defines your island’s appearance and functionality, making material selection and installation critical finishing steps. Butcher block offers warmth, natural beauty, and food-preparation suitability at moderate cost, while requiring regular oil treatment and careful sealing around moisture sources. Granite and quartz provide superior durability and stain resistance but require professional template fabrication and installation due to their weight and cutting complexity. Laminate provides budget-friendly versatility with countless color and pattern options, and DIY-friendly installation using contact cement and a router for edge finishing.
For butcher block installation, apply a bead of silicone caulk along the top of the cabinet frame before setting the countertop in place. This seals against moisture penetration while allowing slight natural movement as humidity levels change. Secure the countertop from below using screws driven up through mounting blocks attached to the cabinet frame—never drive screws directly through the countertop surface, as this causes cracking and void warranties on many products. Allow the silicone to cure for 24 hours before heavy use, and apply food-safe mineral oil or polyurethane finish according to manufacturer recommendations.
If incorporating seating, calculate overhang requirements based on your chosen stool height and ensure structural support for the extended countertop section. Add blocking between cabinet frame members beneath overhang areas to reinforce against the increased stress of leaning and sitting. Consider installing a support leg at the outer corner of seating areas for additional stability, particularly in households with children or elderly family members who may apply unexpected leverage while sitting or standing.
Finalize Electrical and Plumbing Connections
Integrating electrical and plumbing features elevates your island from simple furniture to truly functional kitchen infrastructure. Electrical installation requires permits and inspections in most jurisdictions, but the process ensures safe, code-compliant results that protect your home and family. Run 12/2 NM electrical cable from a breaker circuit to your island location, fishing the cable through walls and securing it with staples at 4-foot intervals maximum. Install electrical boxes at your planned outlet locations, typically 20 inches above the countertop on the cabinet face, and connect outlets using standard pigtail connections.
Include at least two outlets on opposite sides of your L-shape to accommodate small appliances from any position, and consider USB-equipped outlets for charging devices conveniently. All outlets within 6 feet of a water source require GFCI protection, either through a GFCI breaker at the circuit panel or by using GFCI-protected outlet receptacles. This protection shuts off power within milliseconds if water contact is detected, preventing dangerous shock hazards that cause numerous kitchen injuries annually.
Plumbing additions follow similar permit requirements and include installing shut-off valves at connection points, running supply lines to faucet locations, and connecting drain assemblies. Use PEX tubing for supply lines when possible, as it resists freezing damage, requires fewer connections than copper, and crimps together with simple hand tools. Install an air gap fitting for dishwasher connections if including one, and ensure all drains slope at least 1/4 inch per foot toward the sink to prevent standing water and clogs. Pressure-test all connections before closing walls or enclosing spaces to identify and repair any leaks before they cause water damage.
Apply Professional Finishing Touches
Final finishing transforms your construction project from functional structure to polished kitchen feature that enhances your home’s value and aesthetic appeal. Fill any nail holes, gaps, or imperfections with wood filler matching your cabinet finish, allowing it to dry completely before sanding smooth with 120-grit followed by 220-grit sandpaper. Remove all dust with tack cloth or a slightly damp rag, ensuring a clean surface for primer and paint or stain application.
Paint-grade finishes benefit from a coat of stain-blocking primer followed by two coats of semi-gloss or satin latex paint designed for cabinetry. These finishes resist moisture, clean easily, and maintain their appearance through years of daily use. Apply paint with a foam roller for smooth, brush-free results, and use a quality brush for cutting in edges and corners. Allow each coat to dry fully according to manufacturer recommendations before lightly sanding and applying the next coat—rushing this process leads to visible brush marks and premature finish failure.
Stain-grade surfaces require careful sanding, wood conditioner application for even stain penetration, and your choice of stain color followed by protective topcoats. Oil-based polyurethane provides durable protection but requires longer drying times and proper ventilation during application. Water-based alternatives offer faster drying, lower odor, and easier cleanup while providing comparable protection when applied correctly. Complete your island with cabinet hardware matching your kitchen’s existing style, installing pulls and knobs with provided screws and ensuring consistent positioning for visual harmony.
Pro Tips for Long-Term Island Success
Protect your investment by using cutting boards rather than cutting directly on countertops, cleaning spills immediately to prevent staining or water damage, and avoiding placing hot pots and pans on heat-sensitive surfaces. Inspect hardware quarterly and tighten any loose screws before they cause alignment issues or hardware failure. Reapply protective finishes to butcher block surfaces monthly or as needed based on usage patterns, and keep adjustable legs clean and lubricated to maintain leveling capability over time.
An L-shaped kitchen island built with careful planning and quality materials serves your household for decades while adding significant value to your home. Take your time with each construction phase, double-check measurements before cutting, and don’t hesitate to consult professionals for electrical and plumbing work requiring permits. The result transforms your kitchen into a more functional, beautiful space that reflects your craftsmanship and enhances daily life for everyone in your home.


