
Have you ever stared at your kitchen windows wondering how to add that perfect finishing touch? A well-crafted kitchen valance can transform ordinary windows into stylish focal points, tying together your entire kitchen decor. But when searching for “how to make a kitchen valance” online, you quickly discover a critical problem: many guides lack proper sourcing, contain contradictory information, or provide unsafe instructions. This creates a real dilemma for DIY enthusiasts who want accurate, reliable guidance for their home improvement projects.
Without verified information from authoritative sources, attempting to create a kitchen valance could lead to wasted materials, poor results, or even safety issues. You might measure incorrectly, use incompatible materials, or employ techniques that won’t hold up over time. In the world of home DIY projects, precise measurements and proper techniques aren’t just helpful—they’re essential for creating something that looks professional and lasts. This guide will help you navigate the process of finding trustworthy instructions for making your own kitchen valance while explaining why proper sourcing matters more than you might think.
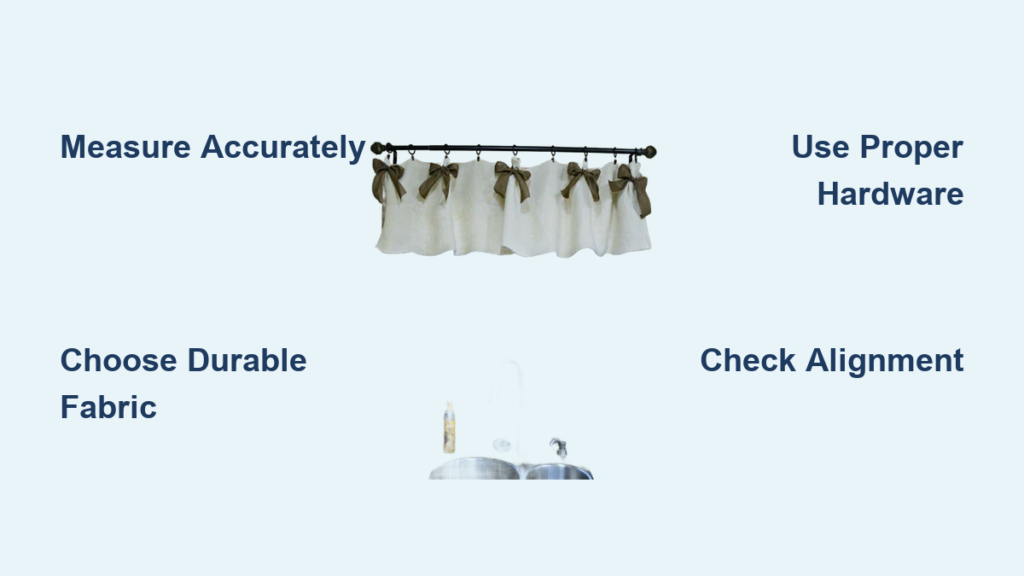
Why Proper Valance Instructions Matter
Avoiding Costly Measurement Mistakes
Kitchen valances require precise measurements that account for multiple variables including window dimensions, mounting hardware, and fabric behavior. Without verified guidelines, you risk cutting fabric too short or too long—errors that can’t be easily corrected once the material is cut. Professional sewing guides emphasize that accurate measurements should include not just the window width but also allowances for seams, hems, and any decorative elements. Some sources recommend adding 2-3 inches to each side for proper coverage, while others suggest different calculations based on valance style.
Selecting Appropriate Materials
Not all fabrics work well for kitchen valances. The kitchen environment presents unique challenges including exposure to heat, moisture, and potential splatters. Reliable instructions would specify which fabric types withstand these conditions while maintaining their appearance. For instance, tightly woven cottons or easy-care synthetics typically perform better in kitchens than delicate silks or heavy velvets. Without verified guidance, you might select a beautiful fabric that quickly stains, fades, or becomes difficult to clean—defeating the purpose of your DIY project.
Understanding Construction Techniques
The difference between a professional-looking valance and a homemade disaster often comes down to construction techniques. Proper instructions would detail whether to use lining, interfacing, or special sewing methods to achieve crisp edges and maintain shape. Some valance styles require specific pleating techniques or mounting hardware that significantly impacts the final appearance. Without authoritative guidance, you might use methods that cause the valance to sag, wrinkle, or fail to install properly.
Essential Components of Reliable Valance Instructions
Complete Material Specifications
Trustworthy guides provide exact fabric requirements based on window dimensions and valance style. This includes not just the main fabric but also lining material (if recommended), interfacing requirements, and specific notions like curtain hooks or mounting hardware. Detailed instructions would specify whether to pre-wash fabric to prevent shrinkage and what thread type works best for the chosen materials.
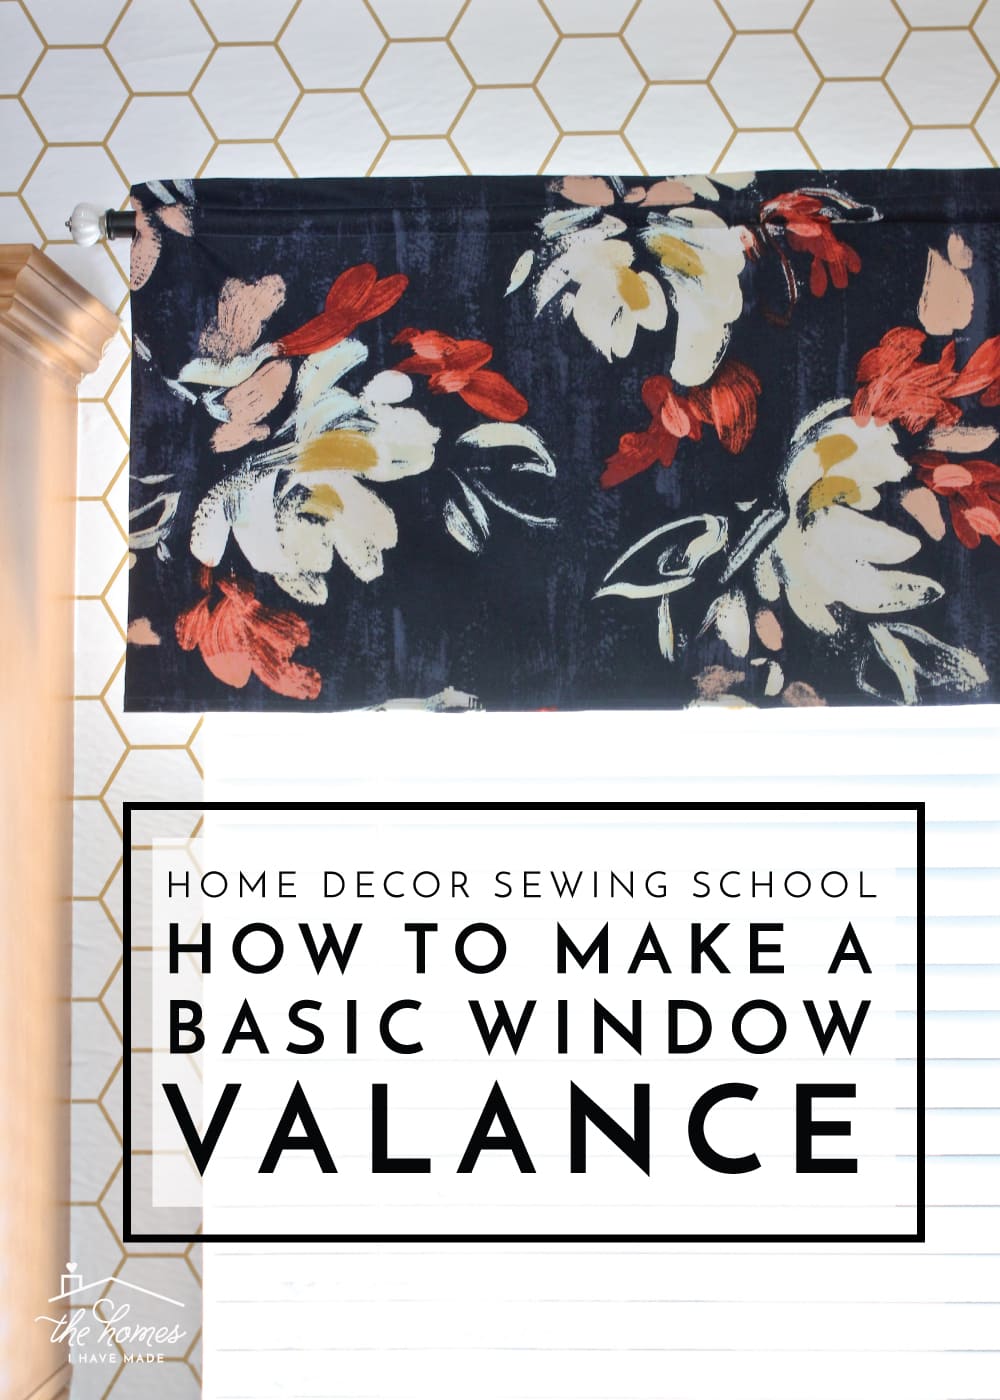
Step-by-Step Visual Guidance
Quality valance instructions include clear photographs or diagrams showing each construction phase. This visual component is crucial for understanding complex steps like creating returns (the sides that wrap around to the wall) or installing mounting boards. Without these visual references, even experienced sewers can misinterpret written instructions, leading to frustration and wasted materials.
Safety Considerations for Kitchen Environments
Kitchen-specific guidance would address fire safety concerns, especially for windows above stoves. Reliable sources note appropriate clearance distances from heat sources and recommend flame-resistant materials where necessary. They might also suggest easy-removal features for cleaning or warn against certain hardware that could become hot near cooking areas.
How to Evaluate Valance-Making Resources
Checking Author Credentials
Before following any DIY instructions, verify the author’s expertise. Look for sewing professionals, interior designers, or experienced DIYers with demonstrated knowledge. Check if they’ve created similar projects successfully and whether they explain why certain techniques work better than alternatives. Resources from established home improvement brands or reputable sewing publications generally provide more reliable guidance than anonymous blog posts.
Assessing Instruction Completeness
Complete valance instructions should cover every phase from measurement to installation. Be wary of guides that skip critical steps like calculating fabric yardage or explaining how to create professional finishes. Reliable resources anticipate common mistakes and address them proactively—such as warning about fabric shrinkage or explaining how to account for pattern repeats when cutting.
Confirming Community Validation
Check if other crafters have successfully followed the instructions by looking for comment sections, forum discussions, or social media posts featuring the project. When multiple people have achieved good results using the same guide, it provides strong evidence of its reliability. Pay particular attention to comments about modifications needed to make the instructions work—these often reveal shortcomings in the original guide.
Creating Your Valance with Verified Information
Measuring Your Kitchen Windows Properly
Start by measuring your window at three points (top, middle, bottom) since windows are rarely perfectly square. Record the narrowest width as your base measurement. For standard valances, you’ll typically want the finished width to extend 3-6 inches beyond the window frame on each side. Height measurements depend on your desired style—some valances cover just the top portion of the window while others extend lower for a more dramatic effect.
Calculating Fabric Requirements
Once you have accurate measurements, calculate fabric needs based on your chosen style. Most valances require fabric width equal to 1.5-2 times the window width for proper fullness, plus seam allowances. For a 36-inch window, this might mean cutting fabric 60-72 inches wide. Height calculations vary significantly by style—box pleat valances need more fabric than flat panels. Always add extra for hems and potential mistakes, especially if working with patterned fabric that requires matching.
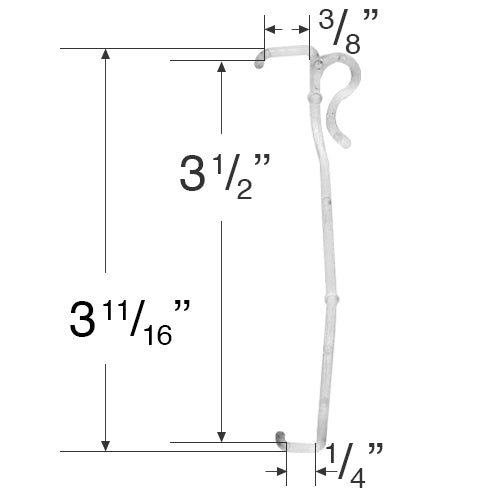
Selecting Appropriate Hardware
The mounting method significantly impacts both construction and appearance. Options include:
– Simple rod pockets for casual valances
– Professional mounting boards for structured designs
– Traverse rods for valances that need to open and close
– Hidden hardware systems for clean, modern looks
Each method requires different construction techniques and affects how much fabric you’ll need. Reliable instructions specify which hardware works best for each valance style and provide installation guidance that ensures proper support.
Troubleshooting Common Valance Problems
Addressing Fabric Sagging
If your valance sags in the middle, it likely lacks sufficient structure. Solutions include adding interfacing to the back, installing additional mounting brackets, or incorporating a sturdier header board. Some styles benefit from internal boning—thin, flexible strips inserted into channels to maintain shape. Without proper guidance, you might try fixes that create new problems, like using adhesives that damage fabric or create visible bumps.
Fixing Uneven Pleats
For pleated valances, inconsistent pleat sizes ruin the professional appearance. The solution often lies in precise marking before sewing and using weights or templates to maintain uniformity. Experienced sewers recommend basting pleats in place before final stitching to check the overall effect. Without verified techniques, you might pull pleats too tight or position them incorrectly, creating a lopsided look that’s difficult to correct.
Correcting Mounting Issues
Valances that tilt or slide on their mounting hardware frustrate many DIYers. Proper installation requires level mounting brackets placed at appropriate intervals, typically every 12-18 inches depending on valance weight. Some systems use hidden clips or Velcro strips for secure attachment. Reliable instructions explain how to test the mounting system before final installation to prevent damage to walls or the valance itself.
Maintaining Your Kitchen Valance
Cleaning Considerations
Kitchen valances collect more dust and grease than those in other rooms, making easy cleaning essential. Choose washable fabrics or designs that allow you to remove just the decorative portion while leaving mounting hardware in place. Machine-washable cotton blends often work well, but check care instructions before finalizing your fabric choice. Some valance styles incorporate removable liners that can be washed separately from the main structure.
Seasonal Adjustments
Consider how your valance will function with seasonal changes. In summer, you might want lighter fabrics that allow more light, while winter calls for heavier materials that provide extra insulation. Some DIYers create interchangeable valance toppers that slide over a basic mounting system, allowing quick style changes without complete reconstruction. This approach requires planning during initial construction but pays off with versatile window treatments.
Long-Term Preservation
To extend your valance’s lifespan, protect it from direct sunlight that can fade colors over time. If your kitchen receives strong afternoon light, consider UV-protective window film or positioning the valance slightly away from the glass. Periodically check mounting hardware for tightness, as even small shifts can affect appearance. For fabric valances, occasional steaming (rather than ironing) helps maintain shape without risking scorch marks.
Creating a beautiful kitchen valance requires more than just sewing skills—it demands reliable information at every step. By seeking properly sourced instructions and understanding what makes guidance trustworthy, you’ll increase your chances of success while avoiding common pitfalls. The extra time spent finding quality resources pays off in professional results that enhance your kitchen’s appearance for years to come.


