
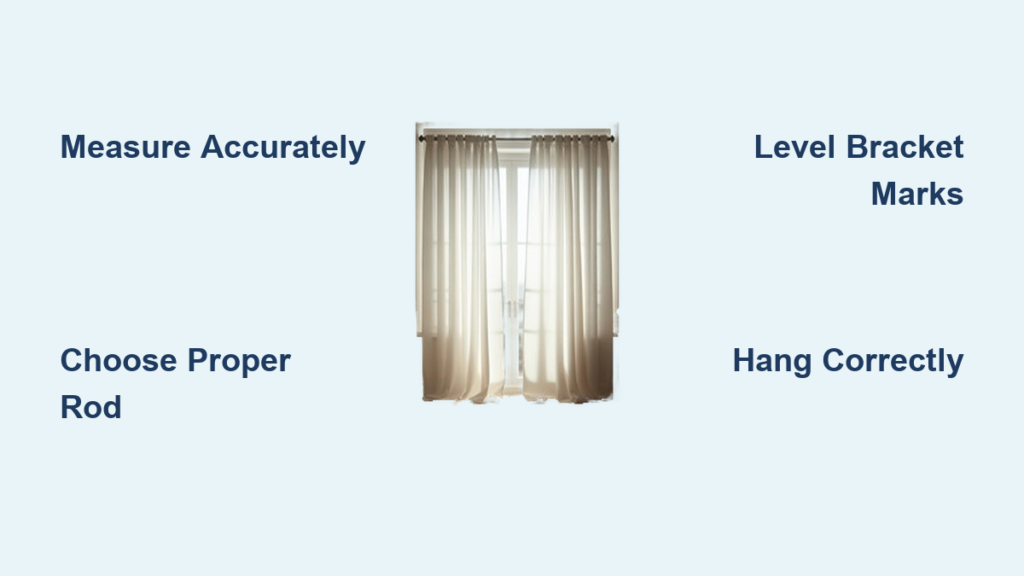
Nothing ruins a beautifully designed kitchen quite like ill-fitting or improperly installed curtains. When your kitchen window treatments hang crooked, don’t provide enough coverage, or come crashing down after a week, it’s more than just frustrating—it can actually damage your windows and create safety hazards. Installing kitchen curtains properly ensures privacy, controls natural light for cooking tasks, and completes your kitchen’s aesthetic. Whether you’re a first-time homeowner or refreshing your space, this guide will walk you through exactly how to install kitchen curtains correctly the first time, avoiding the most common installation mistakes that leave DIYers scrambling for a ladder at 2 AM.
Measuring Your Kitchen Window Correctly
Inside Mount vs. Outside Mount Measurements
Choosing between an inside mount and outside mount dramatically affects your curtain’s appearance and functionality. For inside mounts (where the rod fits within the window frame), measure the exact width at the top, middle, and bottom of the window opening—windows are rarely perfectly square. Use the smallest measurement to ensure your rod fits without forcing it. For height, measure from where you want the rod positioned to where you want the curtains to end, typically 3-6 inches below the window sill for proper coverage. Outside mounts (where the rod extends beyond the window frame) require different calculations: add 6-12 inches to each side of the window width for optimal light control and add 4-8 inches above the window frame for height to create the illusion of a larger window.
Common Measurement Mistakes That Cause Problems
Most curtain installation failures begin with inaccurate measurements. The top mistake is measuring only once—always take multiple measurements at different points since window frames often vary by up to 1/2 inch. Another critical error is forgetting to account for hardware protrusion; decorative finials can extend several inches beyond the rod ends, potentially blocking cabinet doors or interfering with window operation. When measuring height, many DIYers fail to consider the curtain header style—grommet tops require more hanging height than rod pocket styles. For kitchens with upper cabinets above the window, measure from the cabinet bottom to the sill to determine maximum curtain length without obstructing storage space.
Selecting the Right Hardware for Kitchen Use
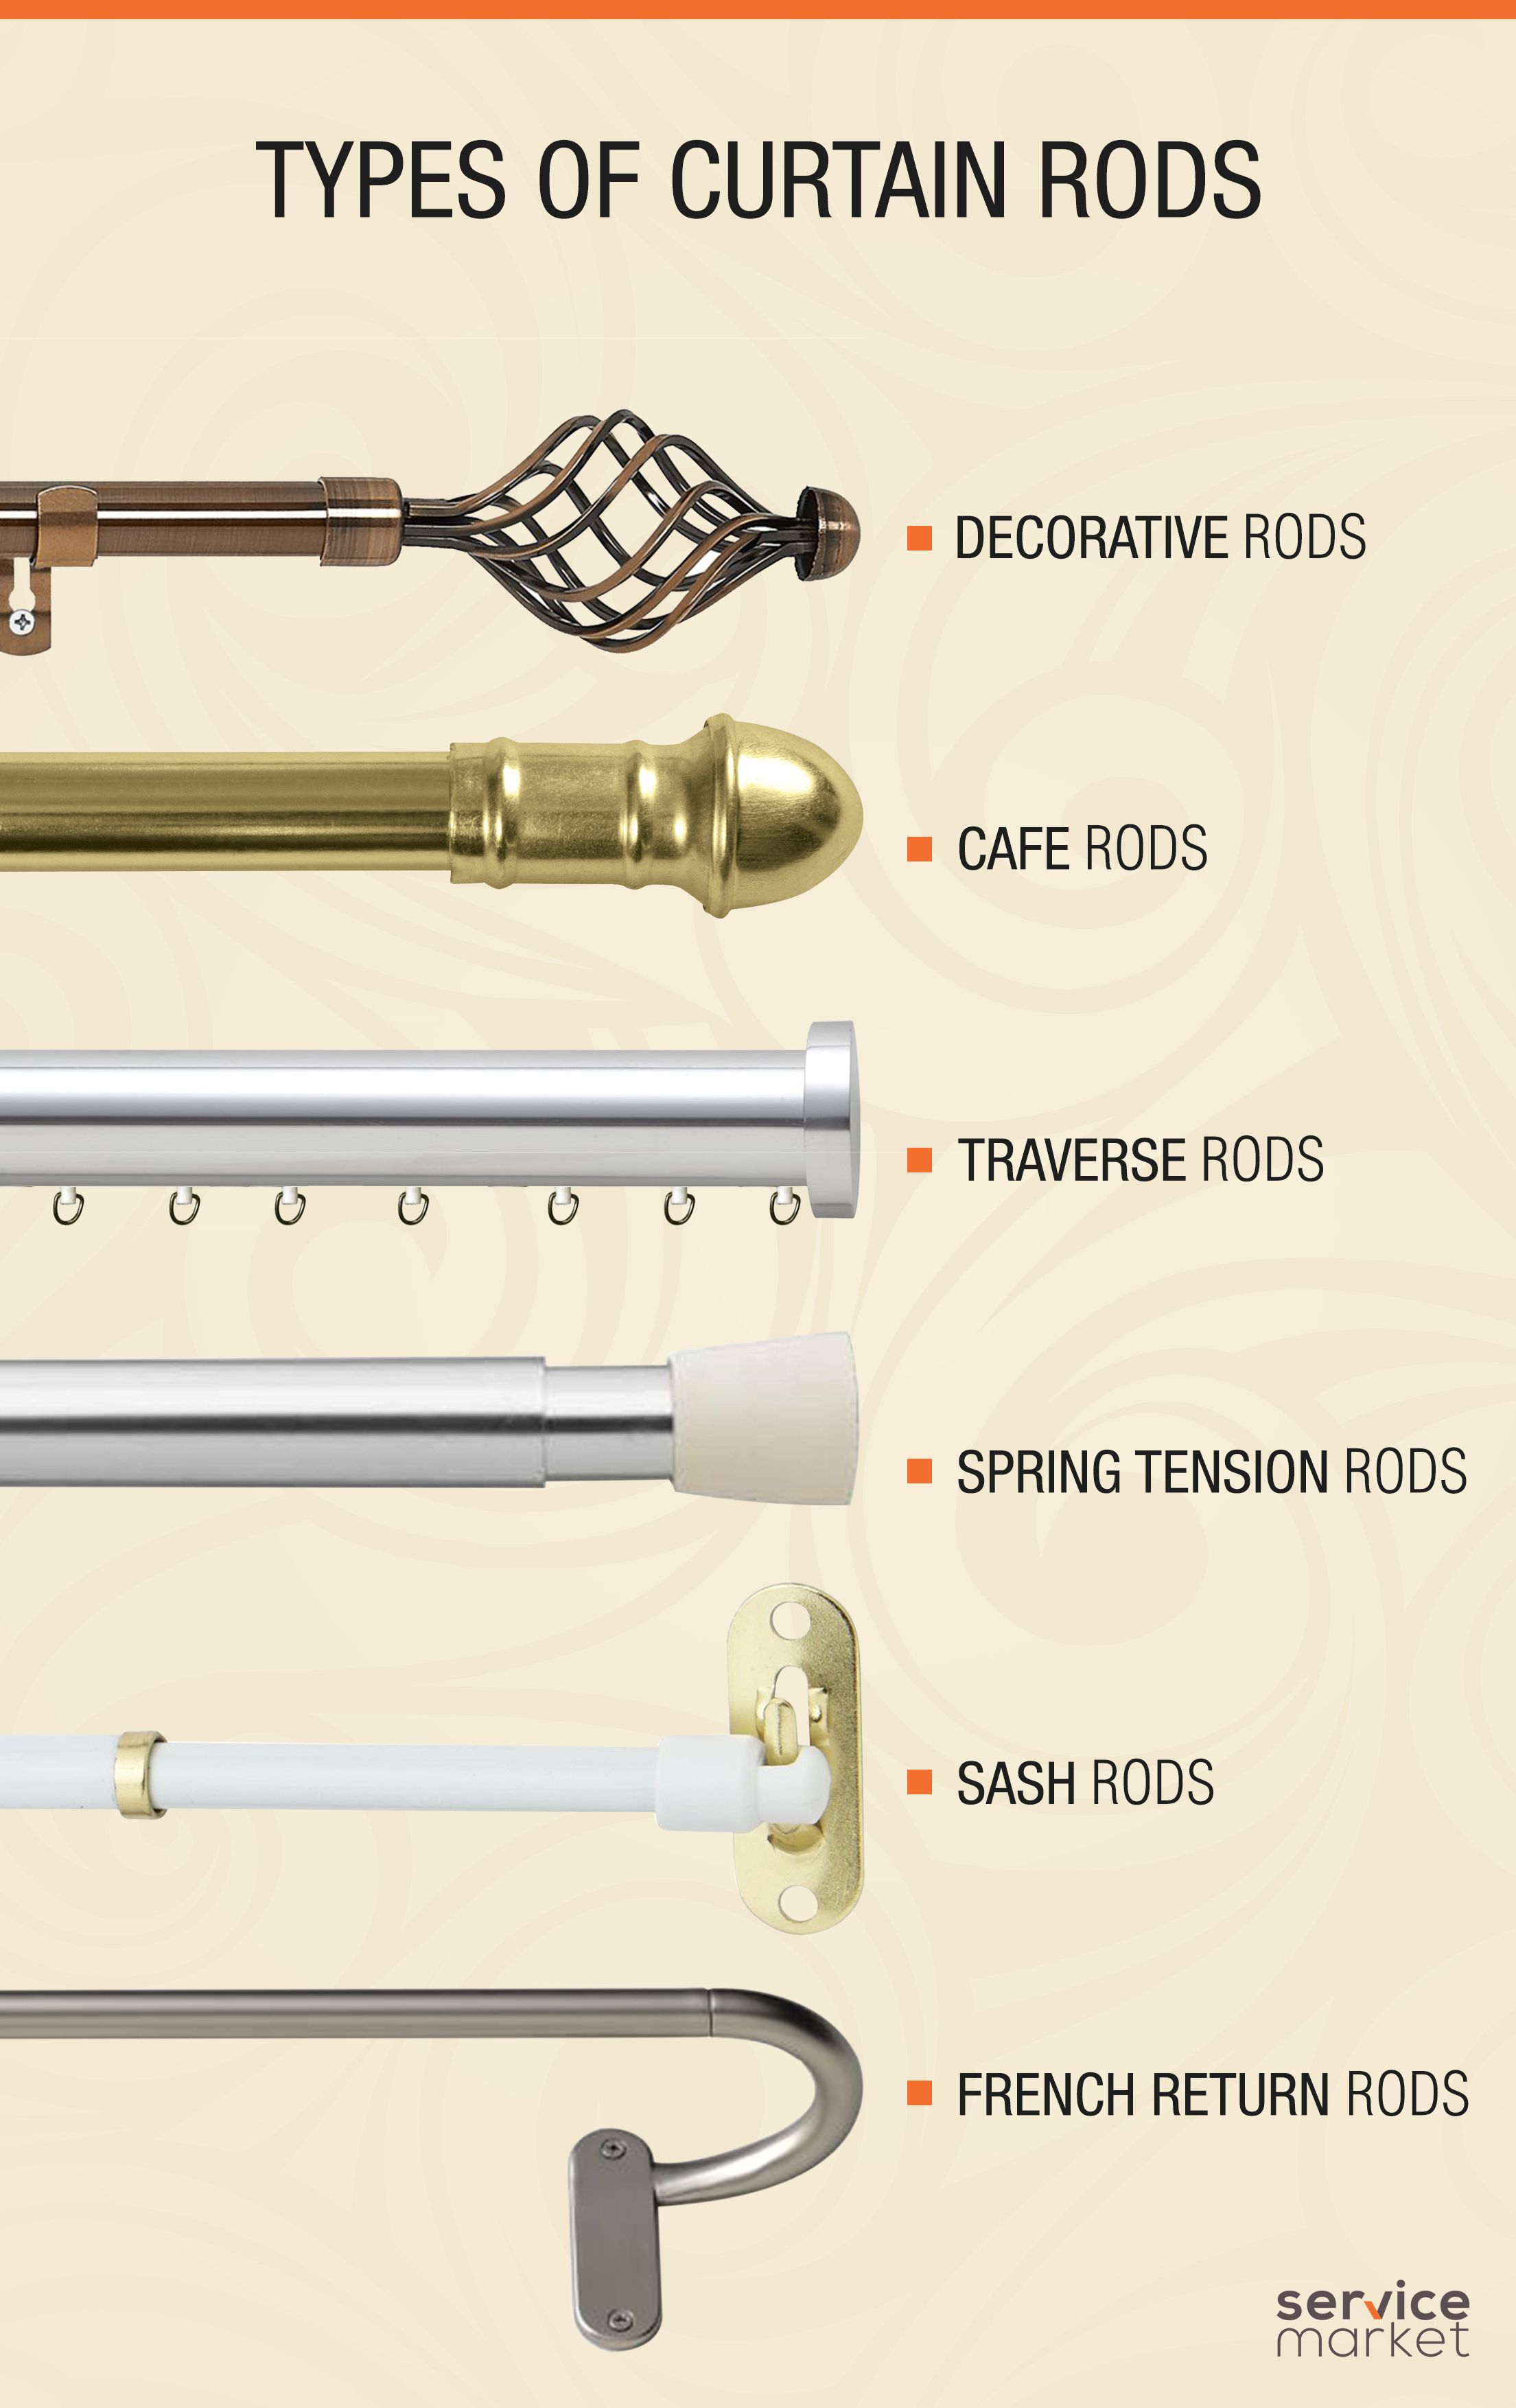
Choosing Between Tension Rods and Mounted Rods
Kitchen environments demand hardware that can withstand steam, grease, and frequent use. Tension rods work well for temporary solutions or rental properties but often fail in kitchens where humidity causes window frames to swell and contract. For permanent installations, mounted curtain rods with secure brackets are superior. Choose brackets that sit at least 1/2 inch above where you want the curtain to hang to prevent dragging on the sill. In kitchens with limited wall space above the window, consider ceiling-mounted rods that extend from wall to wall for dramatic effect and maximum light control. For heavy thermal or blackout curtains needed in sunny kitchens, select reinforced brackets with drywall anchors rather than standard screws.
Bracket Spacing and Weight Capacity Guidelines
Proper bracket placement prevents sagging and ensures smooth operation. For rods under 48 inches, two brackets (one at each end) suffice. Rods between 48-96 inches need three brackets—one at each end and a center support. Longer spans require additional supports every 36 inches. When installing in drywall, locate studs whenever possible—most kitchen walls have studs every 16 inches. If brackets don’t align with studs, use appropriate drywall anchors rated for at least twice the expected weight. Test your anchors before hanging curtains by applying downward pressure equal to the curtain weight. For tile backsplashes or stone walls common in kitchens, use masonry anchors designed for your specific wall material to prevent cracking.
Installing Your Kitchen Curtain Rod
Marking and Leveling for Professional Results
The difference between amateur and professional curtain installation lies in precise leveling. Start by measuring up from the window frame to determine rod height, typically 4-6 inches above the window for standard installations. Use a tape measure to mark this height at both ends of the window. Connect these points with a level—never eyeball it—as even a slight angle becomes glaringly obvious with curtains hanging. For outside mounts, extend your marks beyond the window frame according to your earlier measurements. Mark bracket positions on these lines, ensuring equal overhang on both sides. Hold the bracket against the wall at each mark and lightly mark screw holes with a pencil. Double-check all marks with your level before drilling.
Drilling and Securing Brackets Properly
Kitchen vibrations from appliances and cabinet doors demand secure mounting. Use a drill bit slightly smaller than your anchors for tight grip. For drywall, drill straight in—not at an angle—to prevent anchors from pulling out. Insert anchors firmly until flush with the wall. When screwing in brackets, tighten gradually in a star pattern if multiple screws are used to distribute pressure evenly. Test bracket stability by applying firm downward pressure—any movement means you need stronger anchors. For tension rods in rental kitchens, choose models with non-slip rubber ends and test the tension by gently pulling down; the rod should resist movement without damaging the window frame.
Hanging and Adjusting Kitchen Curtains

Proper Curtain Hanging Techniques
How you hang curtains affects both appearance and function in kitchen spaces. For pinch-pleat curtains, insert hooks into the designated fabric pockets, skipping every other pocket for natural draping. With grommet-top curtains, thread the rod through the metal rings from one end rather than trying to slide it through already-mounted curtains. For cafe curtains common in kitchen windows, ensure the upper edge sits precisely at your predetermined height line. When installing double rods for sheers and drapes, position the decorative rod 1-2 inches in front of the functional rod to prevent fabric tangling. In kitchens with limited space, hang curtains closer together than the rod width to create deeper folds that take up less horizontal space when open.
Troubleshooting Common Hanging Issues
Kitchen-specific challenges require special solutions. If curtains stick to cabinet doors when opening, shorten the rod length or reposition brackets outward. For windows above sinks, ensure curtain length stops 1-2 inches above the counter to prevent water damage and interference with dishwashing. When dealing with uneven windows, hang curtains at the height of the highest point to maintain a straight line. If your curtains constantly blow inward from kitchen ventilation, add magnetic weights to the bottom hem or install discreet Velcro tabs to secure them to the wall when needed. For persistent swaying, consider tension wires above the rod to stabilize the fabric.
Maintaining Your Kitchen Curtains
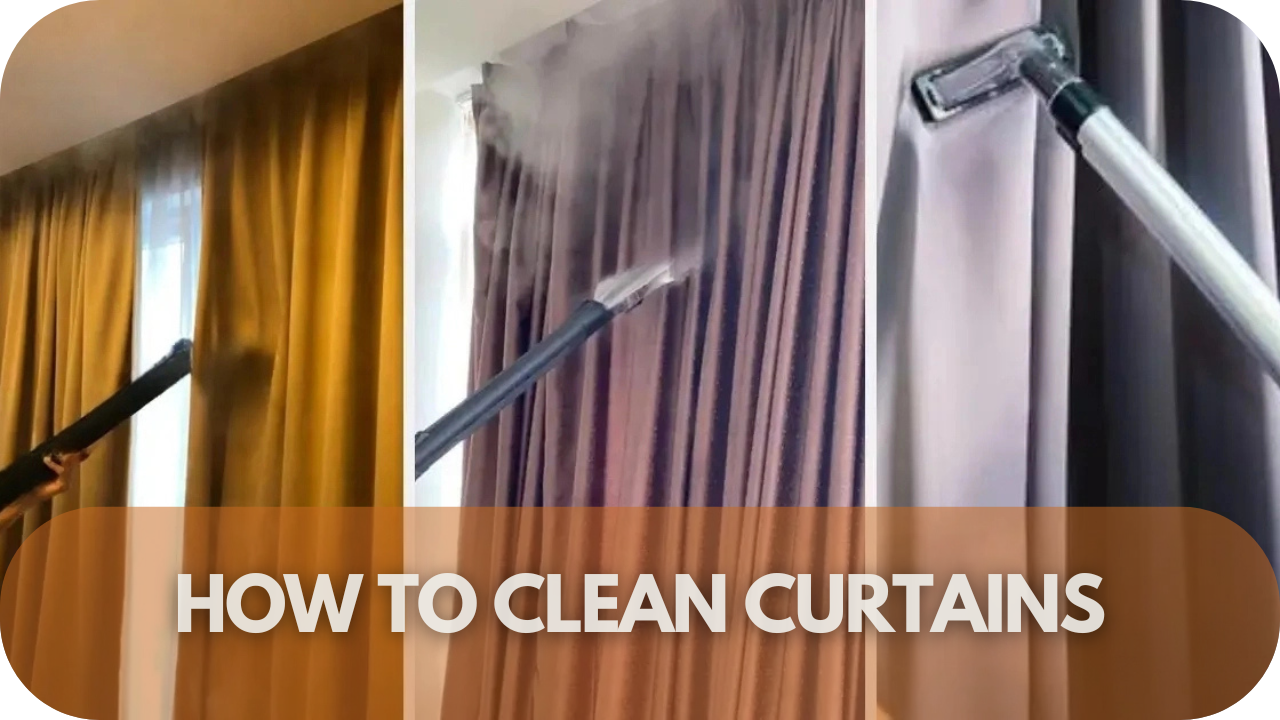
Cleaning and Care for High-Traffic Areas
Kitchen curtains face unique challenges from cooking oils, steam, and splatters. Washable fabrics should be cleaned every 3-6 months depending on cooking frequency—more often if you regularly fry foods. Before washing, check manufacturer labels as some “washable” curtains shrink dramatically when machine dried. For spot cleaning grease splatters, use a mixture of mild dish soap and warm water with a soft cloth, working from the outside of the stain inward. Never use harsh chemicals that could damage fabric dyes. For non-washable curtains, vacuum monthly with a brush attachment to remove grease buildup that attracts more dirt over time.
When to Replace Hardware or Curtains
Kitchen curtain hardware often fails before the fabric wears out. Replace rods that show signs of rust or bending, especially in steamy environments. If brackets pull away from the wall repeatedly, upgrade to heavier-duty anchors designed for moisture-prone areas. Curtains typically need replacing when they show permanent grease stains, frayed edges from frequent washing, or fading from direct sunlight—common in south-facing kitchen windows. Consider switching to moisture-resistant fabrics like polyester blends or treated cotton for longer life in kitchen environments. When replacing only the fabric, maintain the same header style to work with your existing hardware.
Installing kitchen curtains properly transforms both the functionality and aesthetics of your cooking space. By taking precise measurements, selecting appropriate hardware for kitchen conditions, and following professional installation techniques, you’ll avoid the most common pitfalls that lead to crooked, unstable, or impractical window treatments. Remember that kitchen curtains serve dual purposes—they need to look beautiful while withstanding heat, moisture, and frequent use. Regular maintenance and timely replacements will keep your kitchen windows looking fresh and functioning well for years. For best results, take your time with measurements and installation; rushing through these steps almost always leads to having to redo the work later. Your perfectly hung kitchen curtains will not only enhance your daily cooking experience but also add that finishing touch that makes your kitchen feel complete.


