
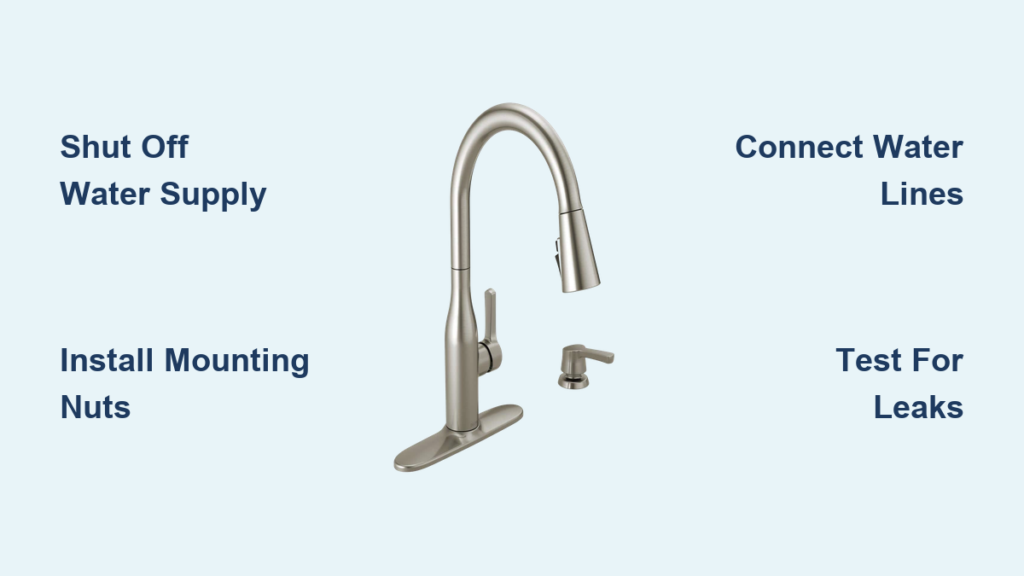
Your kitchen faucet handles dozens of daily tasks, and when it’s time for an upgrade, installing a Delta kitchen faucet with sprayer delivers professional functionality without professional costs. This pull-down design features an integrated spray head that tucks neatly into the faucet body, providing powerful water access for rinsing stubborn food particles, cleaning large pots, and filling containers without the clutter of a separate sprayer hose. Most homeowners complete this DIY project in 2-4 hours using basic tools, saving hundreds compared to hiring a plumber. Before you begin, gather everything you’ll need and shut off the water supply—these critical first steps prevent costly flooding and ensure your installation proceeds smoothly from start to finish.
Delta’s innovative MagnaTite docking system keeps the spray head securely in place until you need it, then retracts automatically when released. While specific installation details vary slightly between models, the core process remains consistent across their pull-down faucet line. Your new faucet kit includes model-specific instructions—always consult these first for any unique requirements. This guide walks you through each essential phase: preparing your workspace, removing the old faucet, mounting your new Delta assembly, connecting water lines and spray hose, testing for leaks, and troubleshooting common issues. Following these steps carefully ensures reliable, drip-free performance for years to come.
Gather Essential Tools Before Starting
Before touching any plumbing, assemble all necessary tools and materials where you can easily reach them—interruptions during installation often lead to mistakes or forgotten steps. The right tools not only speed up your project but also protect your new faucet from damage that could void the warranty.
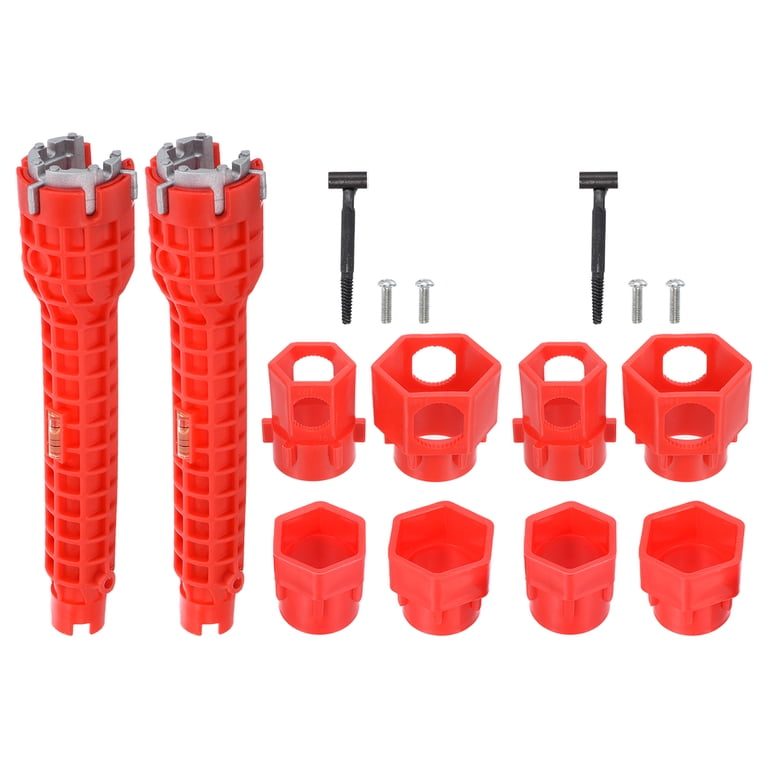
Your must-have tool collection starts with an adjustable wrench for tightening water supply connections and mounting nuts without damaging fittings. Add a basin wrench to your kit for accessing tight spaces under the sink—its pivoting jaw reaches mounting nuts standard wrenches can’t. Keep both Phillips and flathead screwdrivers handy for removing retaining clips and securing hardware, and position a bright work light under the sink to illuminate connection points clearly. Don’t skip the flashlight; working in dark, confined spaces increases error risk significantly.
Beyond tools, prepare these critical supplies: Plumber’s tape (Teflon tape) creates watertight seals on threaded connections—apply three clockwise wraps for optimal results. Place thick towels or a bucket under the sink to catch residual water when disconnecting lines, protecting your cabinets from water damage. Verify your Delta faucet kit contains all mounting hardware, supply lines, and the instruction manual before beginning. Missing components discovered mid-installation derail your progress and force frustrating trips to the hardware store.
Shut Off Water Supply Correctly
Improper water shutoff causes most DIY faucet installation disasters—flooding cabinets and flooring with hundreds of gallons before you notice. Taking two minutes to shut off supply correctly prevents catastrophic water damage and creates a safe work environment.
Locate hot and cold shutoff valves beneath your sink, typically quarter-turn ball valves on copper or flexible supply lines. Turn each valve clockwise until it stops completely—older homes may have compression valves requiring multiple turns. Open the faucet handles fully to confirm water stops flowing and release residual pressure in the lines. If water continues after closing valves, the valves may need replacement before proceeding. Place towels under connection points to catch remaining water in the lines.
After closing valves, open the faucet handles again to drain residual water through the spout rather than onto your cabinets. Allow 2-3 minutes for complete drainage before disconnecting supply lines. Lay additional towels inside the cabinet to protect surfaces from drips during removal. Never skip this drainage step—water trapped in lines will flood your workspace when connections break.
Remove Old Faucet Without Damage
Replacing your existing faucet requires careful disconnection and extraction to avoid damaging sink surfaces or plumbing components. Rushing this phase often leads to stripped nuts, broken connections, or scratches on your sink deck.
Disconnect water supply lines using your adjustable wrench while supporting each line with your free hand to prevent bending. Position your bucket beneath connection points to catch residual water. Note how the sprayer hose connects to the old faucet—this reference helps during new installation. From beneath the sink, locate mounting nuts securing the faucet to the sink deck, typically large plastic or metal nuts on threaded studs. Use a basin wrench to loosen these counterclockwise, working slowly to avoid dropping nuts into cabinet depths.
With mounting hardware removed, lift the old faucet straight up and out of the sink. Clean the sink surface thoroughly where the old faucet sat, removing old putty, mineral deposits, or debris that could compromise your new faucet’s seal. Inspect sink holes for cracks or damage that might affect installation—repair issues before proceeding. A clean, smooth surface ensures proper gasket contact and prevents future leaks.
Mount Delta Faucet Securely to Sink
Proper mounting creates a stable foundation for your new faucet and prevents leaks around the base—a common failure point in DIY installations. Following Delta’s specific mounting procedure ensures reliable performance.
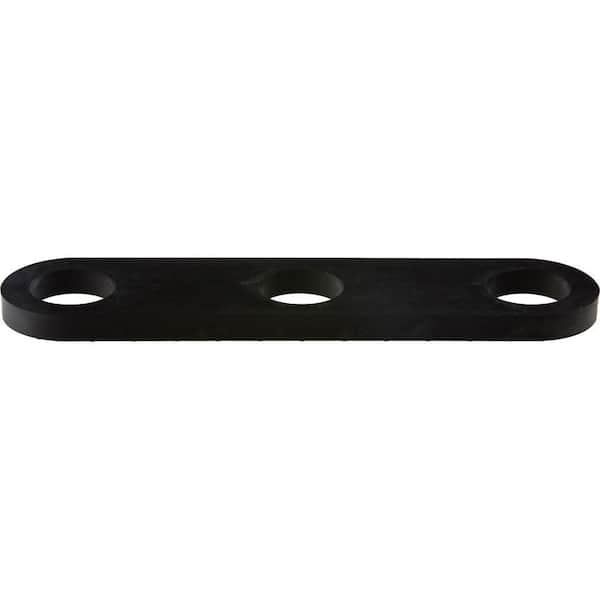
Remove your Delta faucet from packaging and verify all components against the parts list. Slide the rubber gasket onto the faucet base according to instructions—this critical seal prevents water from seeping under the faucet. Feed the spray hose through the designated sink hole, ensuring unrestricted movement. Position the faucet upright and centered on the sink deck, pressing firmly to seat the gasket evenly.
From beneath the sink, thread mounting nuts onto faucet studs by hand first, then tighten alternately with your basin wrench in small increments. Avoid overtightening—this cracks the base or strips threads. The faucet should feel solid with no rocking when you press the handle. Some models include a mounting plate; install this before securing nuts according to your specific instructions.
Connect Water Lines Without Leaks

Improper water line connections cause 80% of post-installation leaks—taking extra care during this phase prevents water damage and repeat work. Delta’s flexible supply lines simplify installation but require precise connection techniques.
Locate hot (left) and cold (right) inlet connections on the faucet underside. Hand-tighten each supply line, then give a quarter-turn more with your wrench while supporting the connection point. Apply plumber’s tape to shutoff valve threads before connecting supply lines—three clockwise wraps prevent leaks at this critical junction. Match hot-to-hot and cold-to-cold connections exactly; reversing them creates confusing temperature control.
Tighten connections firmly but don’t force them—resistance indicates cross-threading. If you feel resistance, unscrew completely and restart the connection. Some installations require adapters between supply lines and shutoff valves; install these before connecting main lines.
Attach Spray Hose for Smooth Operation
Delta’s pull-down spray system requires proper hose routing and secure connections to function correctly. Incorrect installation causes spray head retraction issues and premature hose wear.
Feed the spray hose through the faucet body channel, allowing enough length for full extension without tension. Install the hose weight according to instructions—this critical component ensures smooth retraction. Route the hose away from sharp edges and moving parts to prevent kinks or abrasion. Push the hose connector firmly into the quick-connect fitting until it clicks securely, then test by gently pulling on the hose.
Coil excess hose loosely beneath the sink, ensuring it cannot contact hot pipes or moving components. Verify the spray head extends and retracts smoothly before final testing—correcting routing issues now prevents frustration later.
Test for Leaks Thoroughly Before Finishing
Skipping comprehensive leak testing risks hidden water damage that manifests weeks later—thorough testing takes 10 minutes now but prevents thousands in repair costs later.
Slowly open shutoff valves while watching all connection points. Wipe each joint with a dry paper towel, then watch for moisture reappearing. Tighten leaking connections slightly—overtightening causes more leaks. Run water for 5 minutes to flush debris and check for slow leaks that only appear under sustained pressure.
Test spray function multiple times, checking for leaks at the spray head connection. Inspect the faucet base seal thoroughly—moisture here indicates improper gasket seating. Check cabinet floors and walls for any signs of moisture after 10 minutes of operation.
Fix Common Installation Issues Immediately
Addressing problems during installation prevents recurring issues and ensures reliable long-term performance. Most post-installation problems stem from easily correctable setup errors.
Persistent leaks usually indicate improper tape application or damaged washers—reapply tape clockwise and replace worn washers. Restricted water flow typically means debris in the aerator—remove and clean it thoroughly. If the spray head won’t retract smoothly, check for kinks in the hose or improper weight placement.
For handle stiffness, verify no supply lines interfere with handle movement. If water temperature mixes incorrectly, double-check hot/cold line connections. Most issues resolve with minor adjustments made during installation—don’t wait for problems to worsen.
Maintain Your Delta Faucet for Longevity
Proper maintenance keeps your Delta faucet operating smoothly for years. Simple care routines prevent most common problems and extend your faucet’s lifespan significantly.
Clean the finish weekly with mild soap and a soft cloth—avoid abrasive cleaners that scratch protective coatings. Dry the faucet after each use to prevent mineral buildup. Every three months, remove the aerator and soak in vinegar to dissolve mineral deposits.
Inspect supply line connections quarterly for moisture signs. Address drips immediately—a single drip per second wastes 3,000 gallons annually. Clean spray nozzles monthly by removing the faceplate and clearing debris with a soft brush. Following these simple steps ensures your Delta kitchen faucet with sprayer delivers reliable performance for a decade or more.


